Making dress shields is a practical and eco-friendly solution for those seeking to protect their clothing from sweat stains and odors.
These discreet, absorbent pads are designed to be worn in the underarm area, creating a barrier between your skin and clothing.
By crafting your own dress shields, you can customize their size, materials, and design to suit your preferences and needs.
This DIY approach not only saves money but also promotes sustainability by reducing reliance on disposable alternatives.
In this guide, we’ll walk you through the step-by-step process of creating your dress shields, allowing you to enjoy freshness and confidence in your attire.
What Are Dress Shields?
Dress shields are discreet and protective accessories designed to prevent sweat stains and odor on clothing. These thin, absorbent pads are typically worn in the underarm area, where perspiration is most common.
They serve as a barrier between your skin and clothing, absorbing sweat to keep your garments dry and stain-free.
Dress shields are available in various materials, including cotton, terry cloth, and disposable options.
They come in different shapes and sizes to fit snugly in the underarm region without causing discomfort or visibility.
These practical solutions are especially valuable during warm weather or for individuals prone to excessive sweating.
Whether you choose reusable or disposable options, dress shields are a convenient way to maintain garment freshness and confidence.
How to Make Dress Shields?
Dress shields, also known as garment or sweat shields, are handy accessories that help protect your clothing from sweat stains and odors.
They are particularly useful in hot weather or for individuals who perspire heavily. Making your own dress shields is a cost-effective and eco-friendly alternative to buying disposable ones.
Here’s a step-by-step guide on how to make dress shields:
What You Need
- Fabric: You’ll need a soft, absorbent fabric like cotton, flannel, or terry cloth. You can also use old T-shirts or towels for this purpose.
- Waterproof Layer: A waterproof layer such as polyurethane laminate (PUL) or a plastic shower curtain liner will prevent sweat from seeping through the shield onto your clothing.
- Scissors: Sharp fabric scissors for cutting your materials.
- Sewing Machine or Needle and Thread: You can either sew your dress shields by hand or use a sewing machine for faster and more secure stitching.
- Pins: To hold your fabric layers together while sewing.
- Pattern: You can find dress shield patterns online or create a simple one by tracing an existing dress shield or shaping it like a teardrop.
Step-by-Step Instructions:
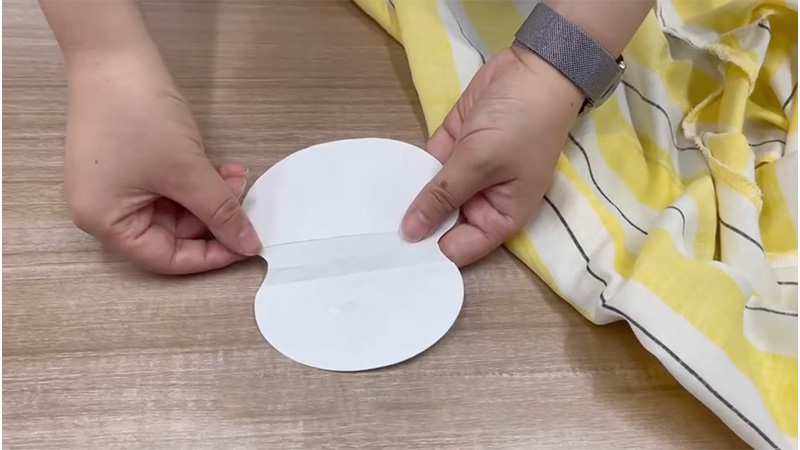
Prepare Your Pattern
If you’re using an existing dress shield as a template, make sure it’s clean and in good condition. Lay it on a flat surface, and carefully trace its shape onto your chosen fabric.
If you’re creating your own pattern, draw a teardrop shape that’s approximately 6-8 inches long and 4-6 inches wide at its widest point. This site is a good starting point, but you can adjust it to your preference.
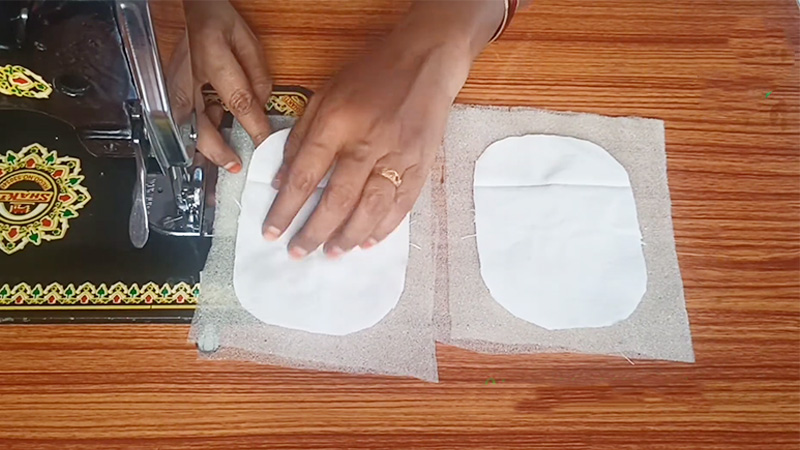
Cut the Fabric
Set your sewing machine to a straight stitch or use a basic hand-sewing technique. Start sewing about 1/4 inch from the edge of the fabric, leaving a small margin.
Sew along the entire perimeter of the two layers, maintaining a consistent seam allowance (usually 1/4 inch is sufficient). Backstitch at the beginning and end of your stitching to secure it.
Layer the Materials
Lay the waterproof layer on top of the absorbent fabric with the right sides facing each other (if your waterproof layer has a right and wrong side).
Align the edges carefully, ensuring there are no wrinkles or creases between the layers. Pin the layers together to keep them in place, placing pins about 1-2 inches apart.
Sew the Edges
Set your sewing machine to a straight stitch or use a basic hand-sewing technique. Start sewing about 1/4 inch from the edge of the fabric, leaving a small margin.
Sew along the entire perimeter of the two layers, maintaining a consistent seam allowance (usually 1/4 inch is sufficient). Backstitch at the beginning and end of your stitching to secure it.
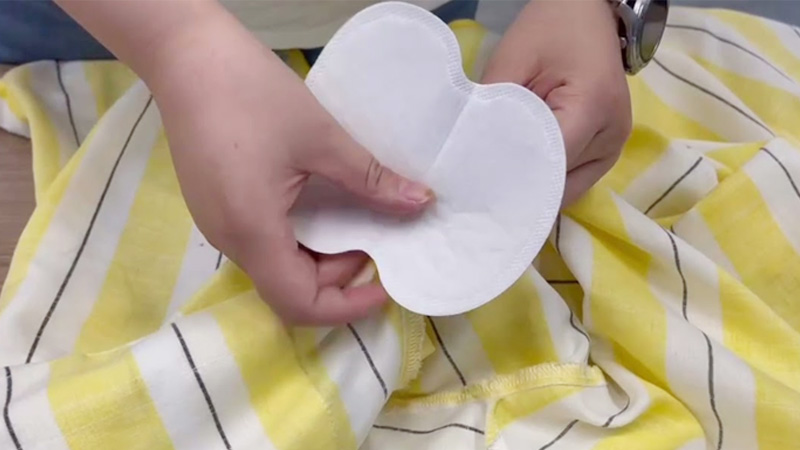
Turn Inside Out
Once you’ve sewn around the entire perimeter, you’ll need to carefully turn the shield inside out through the opening you left. This step may require some patience, especially for smaller dress shields.
Use a pencil, chopstick, or the blunt end of a pair of scissors to gently push out the corners and ensure the shield is fully turned right side out. Be cautious not to poke through the fabric.
Close the Opening
Fold the raw edges of the opening inside, aligning them with the sewn seam, and pin it closed.
To create an invisible closure, use a slip stitch or ladder stitch to hand-sew the opening shut. Make your stitches as discreet as possible to maintain a clean finish.
Finish the Edges
While optional, adding bias tape or fabric binding around the edges of the dress shield can provide extra durability and a professional appearance.
To do this, carefully fold the bias tape or fabric binding over the raw edges of the shield and sew it in place, ensuring that it covers the edge completely.
Repeat
Repeat the entire process for as many dress shields as you need, adjusting the size or fabric types as desired. Consider making several shields to have on hand for different outfits and occasions.
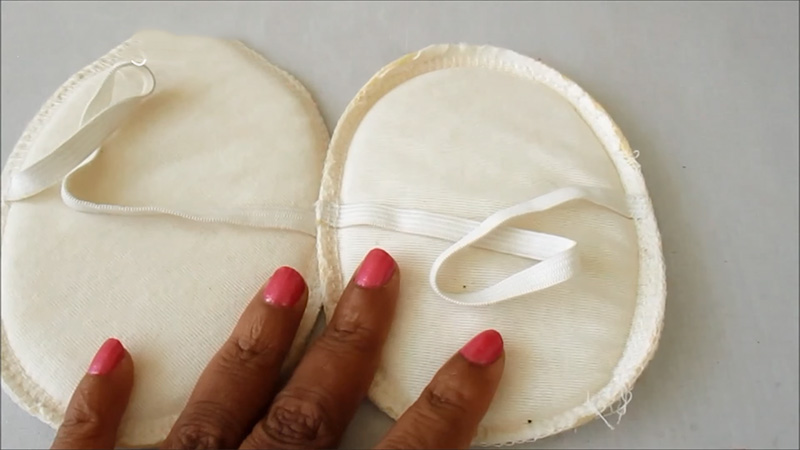
Attach the Dress Shields
To use the dress shields, slip them into the underarm area of your clothing with the absorbent side facing your skin.
Ensure that the shields are positioned comfortably and cover the area where you typically experience sweat and odor. You can use small safety pins to secure them in place by pinning the dress shield to the inside of your clothing.
Cleaning
Regular cleaning and maintenance are essential to keep your dress shields effective and hygienic. After each use, remove the dress shields from your clothing and launder them following the care instructions for the fabric you used.
Typically, it’s best to wash them in cold or lukewarm water to prevent shrinkage and preserve their absorbency.
Why Do You Need to Use Dress Shield?
Dress shields serve several important purposes, making them a valuable addition to your wardrobe:
Sweat and Odor Protection
Dress shields act as a barrier between your skin and clothing, preventing sweat from reaching your garments.
They help keep your clothes dry and free from unsightly sweat stains and the associated unpleasant odor.
Garment Preservation
By using dress shields, you can extend the lifespan of your favorite clothing items.
Sweat can cause fabrics to weaken and discolor over time, but dress shields help protect your clothing, allowing it to look newer for longer.
Confidence and Comfort
Dress shields provide peace of mind, particularly in stressful or high-stress situations.
They help you feel more confident, knowing that your clothing remains fresh and stain-free even during busy or nerve-wracking days.
Versatility
Dress shields are versatile and can be used with a wide range of clothing, including blouses, dresses, shirts, and formal wear.
They are especially useful for sleeveless or lightweight garments that are more susceptible to sweat stains.
Cost Savings
Making your dress shields or using reusable ones can save you money in the long run compared to constantly purchasing disposable alternatives. It’s a sustainable and cost-effective solution.
Environmental Impact
Reusable dress shields contribute to reducing waste and the environmental impact of disposable products, aligning with eco-conscious choices.
Suggestions for Making Dress Shields
Using dress shields effectively can help you stay comfortable and keep your clothing free from sweat stains and odors.
Here are some tips for using dress shields:
Proper Placement
Ensure that you place the dress shields correctly inside your clothing. Position them in the underarm area where you tend to sweat the most. Make sure they cover the entire area prone to perspiration.
Size Matters
Choose dress shields that match the size of your clothing. If they are too large, they may be visible or uncomfortable. If they are too small, they may not provide adequate protection.
Secure Attachment
If you’re concerned about the dress shields shifting during wear, consider using small safety pins or hand-stitching them in place. This will help keep them in position throughout the day.
Layer Appropriately
Dress shields work best when layered between your skin and your clothing. Place the absorbent side of the shield against your skin to capture sweat, while the waterproof side faces your clothing to prevent stains.
Rotate and Clean Regularly
Rotate your dress shields to allow them to air out between uses. After each wear, remove them from your clothing and clean them according to the care instructions. Regular cleaning is essential to maintain their effectiveness and hygiene.
Check for Comfort
Ensure that the dress shields do not cause discomfort or irritation. If you experience itching or discomfort, it may be due to the type of fabric or improper placement. Consider trying different shield materials or adjusting their position.
Choose the Right Garments
While dress shields can be used with various types of clothing, they work particularly well with sleeveless or lightweight garments that may show sweat stains more easily. Consider using them with your favorite blouses, dresses, or shirts.
Precautions for Utilizing Dress Shields
Utilizing dress shields can be a helpful way to protect your clothing from sweat stains and odors. However, it’s essential to take some precautions to ensure their effectiveness and your comfort.
Here are some precautions to keep in mind when using dress shields:
Choose the Right Size and Style
Dress shields come in various sizes and styles. To maximize comfort and coverage, select shields that are the right size for your clothing.
If you’re wearing a sleeveless dress, opt for shields designed for that specific style. Ensure they are not too large, as this can lead to discomfort and visibility under your clothing.
Proper Placement
Correct placement is crucial for dress shields to work effectively. Position them in the underarm area where you tend to sweat the most.
Make sure they cover the entire sweat-prone area, extending into the sleeve region if needed.
Inspect and Replace Regularly
Dress shields are subject to wear and tear over time, especially if they are reused. Regularly inspect them for signs of damage, such as frayed edges or reduced absorbency. Replace shields as needed to maintain their effectiveness.
Maintain Hygiene
Dress shields should not replace good personal hygiene practices. Regularly shower, use antiperspirants or deodorants, and wear clean clothing to minimize sweating and odor. Dress shields are a supplementary solution to maintain clothing freshness.
Check for Skin Sensitivity
Some individuals may experience skin sensitivity or irritation when using certain dress shields, especially if they are made from materials that don’t agree with their skin.
If you notice any discomfort or itching, consider trying shields made from a different fabric or adjusting their placement.
Avoid Overloading
While dress shields are designed to absorb sweat, they have limits.
If you know you’ll be in a situation where you might sweat excessively, it’s a good idea to have spare dress shields on hand.
Change them as needed throughout the day to maintain their effectiveness.
Choose Appropriate Fabrics
Opt for dress shields made from breathable and comfortable fabrics like cotton or cotton blends.
These materials are gentle on the skin and help wick moisture away. Avoid shields made from materials that may trap heat or cause excessive sweating.
Stay Mindful of Dress Shield Visibility
While dress shields are designed to be discreet, they may still be slightly visible under certain clothing, especially if they are not properly sized or positioned.
Be mindful of this when choosing your outfits, and consider using them with clothing that naturally conceals the shields.
Proper Cleaning and Drying
Regularly clean your dress shields according to the manufacturer’s recommendations or the care instructions for the fabric you used if you made your own.
Ensure they are completely dry before wearing them again to prevent mold or mildew growth.
Combine with Other Solutions
Dress shields work best when used in conjunction with antiperspirants or deodorants.
Apply your preferred product before putting on your dress shields for added protection against sweat and odor.
FAQs
Yes, dress shields can be tailored to fit various clothing styles, adjusting their size and shape accordingly.
Yes, fabric adhesive or hemming tape can be used for no-sew dress shield options, making the process faster and easier.
Try thinner materials, adjust placement, or wear looser-fitting clothing to prevent dress shields from showing.
Use lightweight, gentle materials, and sew carefully to avoid damaging delicate garments.
It’s not recommended, as scented materials may irritate skin or cause allergies; using scents in your wardrobe is a better approach.
To Wrap Up
Mastering the art of making dress shields empowers you with a practical and sustainable solution to combat sweat-related wardrobe woes.
Crafting these discreet underarm protectors not only saves you money but also reduces your environmental footprint by eliminating the need for disposable alternatives.
By tailoring the materials, size, and design to your preferences, you can ensure both comfort and effectiveness.
Moreover, the DIY approach allows you to exercise creativity, transforming a simple accessory into a personalized garment guardian.
As you embark on this journey of dress shield creation, you not only enhance the longevity of your favorite clothes but also gain a valuable skill that contributes to a more eco-conscious and resourceful lifestyle.
Leave a Reply