Restretching a canvas is a meticulous art form that goes beyond mere technique; it’s a crucial skill that can breathe new life into your artwork.
Whether you’re an emerging artist or a seasoned creator, the need to restore a canvas’s tautness can arise due to various factors like humidity, wear and tear, or transport-induced sagging.
In this comprehensive guide, we delve into the intricate process of restretching a canvas, step by step.
From identifying imperfections to achieving even tension and preserving your artwork’s integrity, this exploration offers insights and practical tips to help you master the art of canvas restoration, ensuring your creations stand the test of time.

Brief Idea About Canvas
Canvas is a versatile and popular material used in various artistic and practical applications.
Typically made from cotton, linen, or synthetic fibers, it consists of a tightly woven fabric that is both durable and flexible.
In the realm of art, canvas serves as a common surface for painting, offering a textured and absorbent surface that accommodates a wide range of painting techniques.
It can be stretched over wooden frames, allowing artists to create stretched canvas paintings.
Beyond art, canvas finds utility in creating bags, tents, sails, and more, thanks to its strength and resilience, making it a valued material for both creative and functional purposes.
How to Restretch a Canvas?
Restretching a canvas is a crucial skill for artists who work on stretched canvas paintings.
Over time, the canvas can become loose or sag due to changes in humidity or the natural settling of the canvas on the stretcher bars.
Fortunately, you can easily restretch a canvas to restore its tautness and prepare it for your next masterpiece.
Here’s a step-by-step guide on how to restretch a canvas:
Materials You will need:
- A canvas stretcher frame with adjustable keys
- Your loose canvas
- A staple gun and staples
- A hammer
- Pliers
- A canvas stretching tool (optional but helpful)
- A flat, clean workspace
Step 1: Gather Your Materials
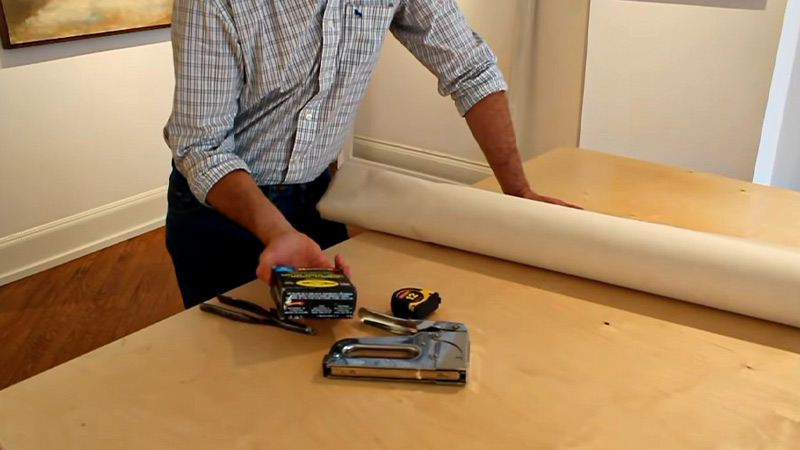
Before you begin, ensure you have all the necessary materials ready. After gathering materials, you will start to restretch a canvas.
Step 2: Remove the Canvas from the Frame
If your canvas is already stretched on a frame, carefully remove it. You can use pliers to pull out any staples or nails securing the canvas to the stretcher bars. Be gentle to avoid damaging the canvas.
Step 3: Clean the Canvas

Inspect the canvas for any dust or dirt. Wipe it clean using a soft cloth or a lint roller. This step ensures that no debris gets trapped under the canvas when you restretch it.
Step 4: Prepare the Stretcher Frame
If you’re using an existing stretcher frame, make sure it’s clean and in good condition. If not, consider sanding and refinishing it.
Ensure that the corners are square and that the keys can be adjusted to tighten the canvas.
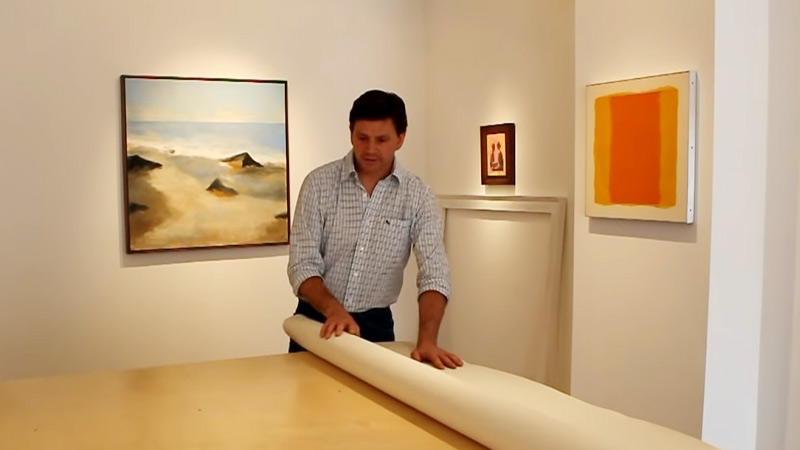
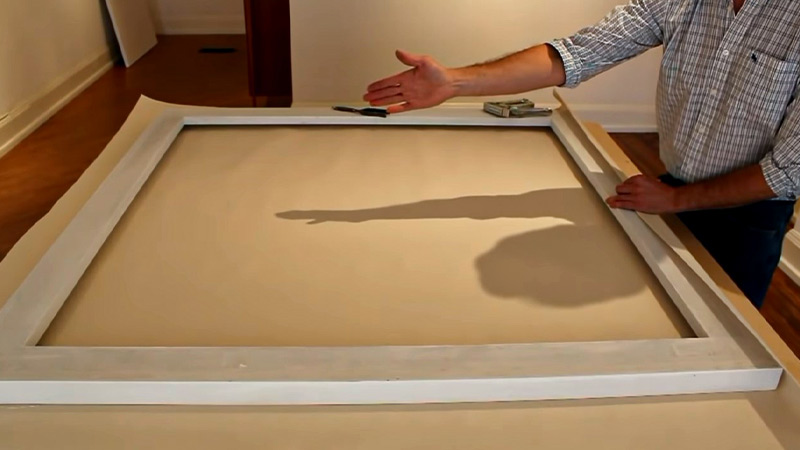
Step 5: Position the Canvas
Lay the loose canvas flat on your work surface, face down. Place the stretcher frame face down on top of the canvas, aligning it with the desired composition. Ensure that there is enough excess canvas around the frame to staple.
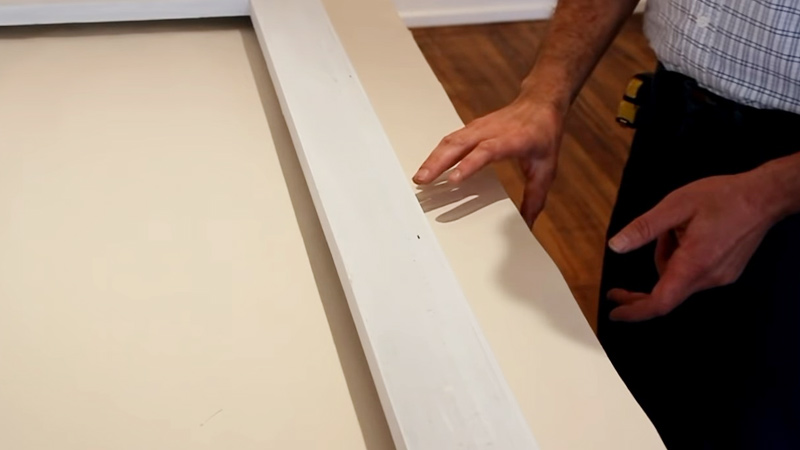
Step 6: Start Stretching
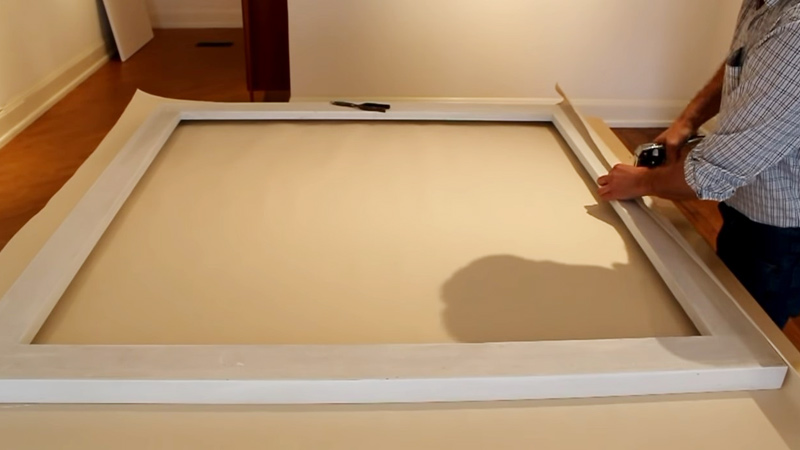
Begin by stapling one side of the canvas to the stretcher bar in the center. Work your way outward, alternating sides to ensure even tension.
Use a staple gun to secure the canvas, placing staples about 2 inches apart. Pull the canvas taut as you staple to eliminate wrinkles or slack.
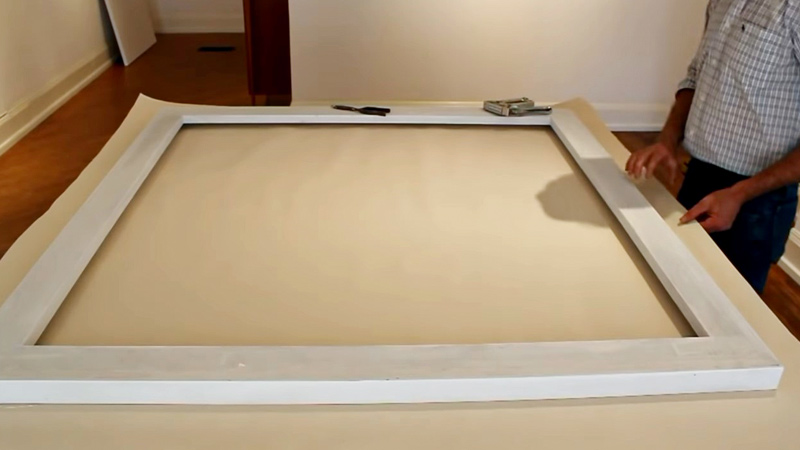
Step 7: Corners and Edges
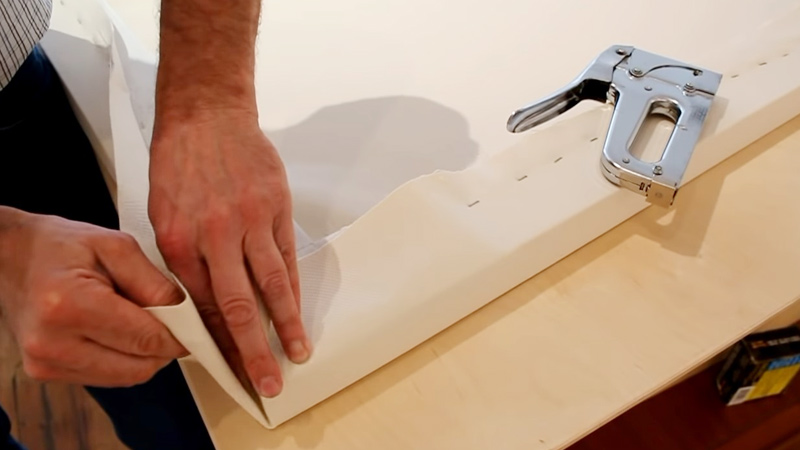
When you reach the corners, fold them neatly like wrapping a gift. Ensure there are no bulky folds or creases, as these can create uneven tension.
Secure the corners with staples. Continue stapling along the edges, maintaining even tension.
Step 8: Adjust Tension
After securing all sides and corners, check the canvas tension by tapping it lightly. It should produce a drum-like sound.
If it sounds loose or if there are any visible wrinkles, use the stretcher keys to tighten the canvas further. Insert the keys into the slots on the stretcher bars and turn them clockwise to expand the frame slightly.
Step 9: Trim Excess Canvas
Once you are satisfied with the canvas tension, trim any excess canvas with scissors or a utility knife.
Be careful not to cut too close to the staples to prevent the canvas from coming loose.
Step 10: Finish and Seal
Inspect the back of the canvas to ensure all staples are secure and that there are no sharp edges. You can use a hammer to gently tap down any protruding staples. If desired, you can seal the back of the canvas with tape or cover it with a dust cover.
How Do You Smooth Out Any Wrinkles or Bubbles on the Canvas?
Smoothing out wrinkles or bubbles on a canvas is essential to ensure a flawless surface for your artwork.
Here’s how you can do it:
Identify the Issue
Begin by carefully examining your canvas to identify any wrinkles or bubbles. These imperfections can occur for various reasons, including improper stretching, changes in humidity, or handling during storage.
Understanding the root cause will help you choose the most appropriate method for correction.
Apply Moisture
For minor wrinkles or bubbles, moisture can be your ally. Dampen a clean, lint-free cloth or sponge with water.
Be cautious not to soak the canvas; you only want to introduce a slight amount of moisture. Gently pat or rub the affected area on the backside of the canvas.
Stretch and Tug
With the canvas slightly moist, carefully stretch and tug the affected area in the direction opposite to the wrinkles or bubbles.
Use your fingers or a clean cloth to apply even pressure. Work slowly and patiently, making small adjustments until the imperfections smooth out.
Apply Heat
For more stubborn wrinkles or bubbles, introduce controlled heat. Use a hairdryer on its lowest heat setting. As you gently pass the dryer over the affected area, simultaneously massage it with your hand or a clean cloth. The heat helps relax the canvas fibers, making them more pliable.
Use a Canvas Stretcher
If the wrinkles or bubbles are due to poor initial stretching, consider using a canvas stretcher tool.
This tool allows you to re-stretch and fine-tune the tension of the canvas. By gradually adjusting the stretcher bars, you can eliminate imperfections and restore a smooth surface.
Weight and Rest
After manipulating the canvas to smooth out wrinkles or bubbles, it’s essential to let it rest and dry properly. Place a heavy, flat object like books or weights on the affected area.
This added pressure will help the canvas maintain its new shape as it dries. Allow sufficient time for the canvas to air dry thoroughly.
Retest and Repeat
Once the canvas is completely dry, reevaluate it for any remaining wrinkles or bubbles.
If you still notice imperfections, don’t hesitate to repeat the moisture, stretching, or heat methods as needed. Achieving a perfectly smooth canvas may require several iterations.
Suggestion for Restretching a Canvas
Restretching a canvas can be a crucial skill for artists, ensuring your painting surface remains taut and free from imperfections.
Here are some tips to help you successfully restretch a canvas:
Workspace Preparation
Ensure your workspace is clean, well-lit, and free of dust or debris. A clutter-free environment will make the restretching process smoother and help maintain the cleanliness of your canvas.
Humidity Control
Consider the humidity levels in your workspace. Canvas can react to changes in humidity, so try to work in a stable environment.
If your canvas has become loose due to high humidity, you can attempt to tighten it during a drier period.
Quality Materials
Invest in high-quality stretcher bars and canvas materials. Better materials are more durable and can provide a smoother surface for your artwork.
The stretcher bars should be sturdy and well-constructed to prevent warping.
Gentle Handling
Handle your canvas with care throughout the restretching process. Avoid excessive pulling or tugging, as this can damage the canvas or stretch it unevenly.
Use a delicate touch, especially when adjusting tension.
Consistent Tension
Maintain even tension across the entire canvas. Check the tension regularly as you staple or adjust the canvas. Uneven tension can result in wrinkles or distortions.
Collaborate with Others
Restretching a large canvas can be challenging, so consider seeking assistance from a friend or colleague.
Having an extra pair of hands can make it easier to handle the canvas and ensure even tension.
Practice and Patience
Restretching canvas is a skill that improves with practice. Don’t get discouraged if your first attempt isn’t perfect. Be patient with yourself and continue refining your technique over time.
Document the Process
Take photos or make notes during the restretching process, especially if you’re working on a complex artwork.
This documentation can be valuable if you ever need to recreate the exact tension or dimensions for future projects.
Proper Storage
Once your canvas is successfully restretched, store it in a dry, controlled environment. Consider covering it with a clean dust cover to protect it from dust and potential damage.
Seek Professional Help
If you encounter significant issues or are unsure about your restretching abilities, consider consulting a professional art conservator or restorer.
They have the expertise and tools to handle delicate or valuable artworks safely.
FAQs
Canvas can become loose due to changes in humidity, temperature, or the natural settling of the canvas on the stretcher bars.
Basic tools like a staple gun, hammer, and pliers suffice, but specialized tools like canvas stretching pliers and stretcher bars can be helpful.
Yes, you can reuse an old canvas after removing any previous artwork or staples and ensuring it’s in good condition.
You can release tension by using stretcher keys, but avoid overcompensating to prevent under-tensioning.
Restretch as needed, typically every few years, or when you notice sagging or wrinkles in the canvas.
To Wrap Up
In the realm of artistry, a canvas isn’t merely a surface; it’s a portal to imagination and expression.
As we conclude our journey through the art of restretching a canvas, we’ve explored the delicate balance of technique and patience required to rejuvenate your canvas, allowing your artistic visions to shine without the distractions of wrinkles or bubbles.
This restretching process is a testament to your commitment to preserving your creations, ensuring they endure for generations to come.
So, whether you’re an aspiring artist seeking mastery or an experienced creator honing your skills, remember that the canvas is not just a medium—it’s a canvas of possibilities, waiting for your artistry to unfold.
Leave a Reply