A well-maintained serger blade is the unsung hero behind clean, precise fabric cuts and impeccable sewing projects. However, as with any tool, serger blades can lose their edge over time due to wear and tear.
Learning how to sharpen a serger blade is a valuable skill that can breathe new life into your sewing machine and elevate the quality of your creations.
This guide will take you through the step-by-step process of sharpening a serger blade, from the initial inspection and understanding of blade geometry to the practical testing of its newfound sharpness.
With the right tools, a little patience, and a commitment to safety, you can ensure your serger performs at its best for years to come.
When Should a Serger Blade Be Sharpened?
A serger blade should be sharpened when it exhibits signs of wear and reduced cutting efficiency. Knowing when to sharpen your serger blade is crucial for maintaining sewing quality and prolonging the life of the blade.
Here are key indicators of when a serger blade should be sharpened:
Decreased Cutting Performance
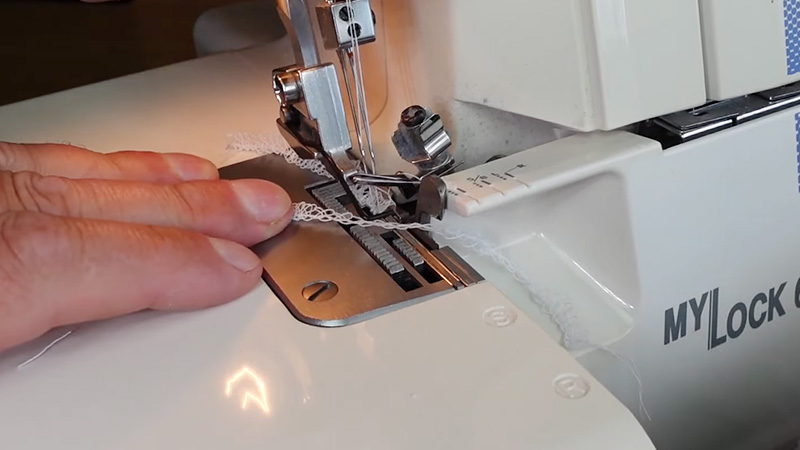
When you notice that your serger is no longer cutting fabric smoothly and cleanly, it’s a clear sign that the blade may be getting dull. Uneven or jagged cuts are common indicators.
Visible Damage
Inspect the blade closely under good lighting. If you see visible nicks, chips, or signs of wear along the cutting edge, it’s time to address the blade’s sharpness.
Fabric Irregularities
If the serger begins to snag, pull, or chew on the fabric instead of making clean, precise cuts, this is a strong indication that the blade needs sharpening.
Audible Changes
Pay attention to the sound your serger makes when cutting fabric. A blade that has lost its sharpness may produce a different, less crisp sound.
Uneven Edges
If the serger is producing uneven or frayed edges on the fabric, it’s a clear sign that the blade is no longer performing optimally.
Increased Effort
If you find yourself having to exert more force or pressure while cutting fabric, it’s an indication that the blade is struggling and needs attention.
Regular Maintenance Schedule
Consider implementing a regular maintenance schedule based on your serger’s usage. For light home use, this could mean checking and potentially sharpening the blade every 6-12 months.
In contrast, heavy professional use may necessitate more frequent inspections and sharpening.
How to Sharpen a Serger Blade?
Sharpening a serger blade is a task that can extend the life of your serger and improve the quality of your sewing projects.
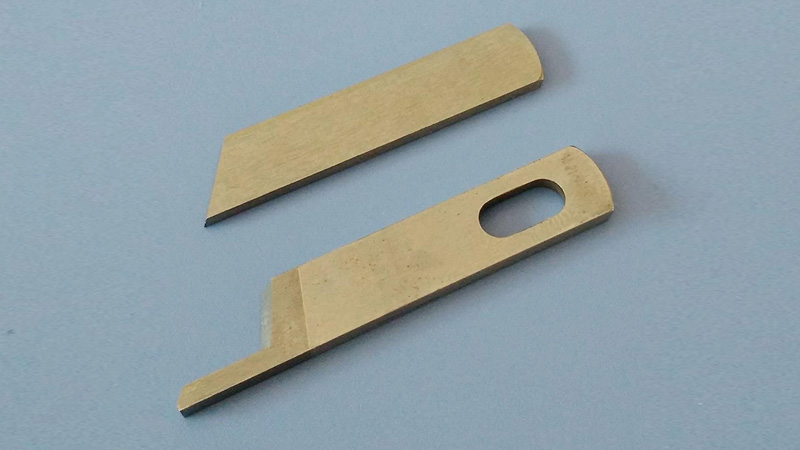
However, it’s important to note that serger blades are not like typical scissors or knives; they have unique shapes and angles that require precision and care during the sharpening process.
Here’s a step-by-step guide on how to sharpen a serger blade:
Step 1: Inspect the Blade
Begin by carefully inspecting the serger blade. Look for signs of damage, nicks, or wear. If the blade is excessively damaged, it may be better to replace it instead of attempting to sharpen it.
A magnifying glass or loupe can be helpful for a closer examination.
Step 2: Understand the Blade Geometry
Each serger blade has a unique shape and angle. It’s essential to understand the specific geometry of your blade. This knowledge will be crucial in maintaining the correct angle during sharpening to ensure effective results.
Step 3: Gather the Necessary Tools
Depending on your sharpening method, you may need specialized tools such as a serger blade sharpening kit, a flattened sharpening stone (for carbide tips), lubricants or coolants, and safety gear, including gloves and safety glasses.
Step 4: Follow Manufacturer’s Instructions (Optional)
If you have a specialized serger blade sharpening kit, it’s advisable to follow the manufacturer’s instructions carefully. These kits are designed to simplify the process and ensure that you achieve the correct angle.
Step 5: Maintain a Consistent Angle
When sharpening the blade manually, it’s essential to maintain a consistent angle throughout the process. Deviating from the correct angle can result in an ineffective sharpening or even damage the blade.
Take your time to ensure precision.
Step 6: Use Lubrication (if Necessary)
Depending on your sharpening method, applying a lubricant or coolant may be necessary to prevent overheating during the sharpening process. Overheating can compromise the blade’s temper and sharpness.
Step 7: Check Your Progress
Periodically inspect the blade’s sharpness using a magnifying glass or loupe. Ensure that you’re achieving a sharp edge without any visible defects. It’s crucial to be patient and make adjustments as needed.
Step 8: Hone the Blade
Consider honing the blade after sharpening to further refine the edge and remove any burrs. You can use a leather strop or a fine honing stone for this purpose, ensuring a smoother cutting surface.
Step 9: Test the Blade
After sharpening and honing, test the serger blade on a piece of scrap fabric to ensure it cuts smoothly and cleanly. This practical test will help confirm the effectiveness of your sharpening efforts.
Step 10: Prioritize Safety
Throughout the entire process, prioritize safety. Handle the blade with care, work in a well-ventilated area, and wear appropriate protective gear, including gloves and safety glasses, to prevent accidents.
Step 11: Consider Professional Help (if Uncertain)
If you’re unsure of your sharpening skills or if you own a high-end serger, it might be wise to seek professional assistance from a sewing machine technician or a blade sharpening specialist to ensure the best results.
How Often Should Serger Blades Be Sharpened?
Serger blades should be sharpened as needed, based on their usage. Regular inspection is essential. For light home use, sharpening may be required every 6-12 months.
However, heavy usage, like in a professional setting, may necessitate more frequent sharpening, perhaps every 2-4 months. The key is to monitor the blade’s performance; when it starts to produce uneven or frayed cuts, it’s time for sharpening.
Adhering to a proactive maintenance schedule can extend the life of your serger blades and maintain sewing precision.
What is the Cost of a New Serger Blade?
The cost of a new serger blade varies depending on the brand, model, and where you purchase it. On average, replacement serger blades can range from $10 to $50 or more.
High-end or specialized sergers may have pricier replacement blades due to their intricate design. It’s crucial to check with the manufacturer or authorized dealers for the specific blade compatible with your serger model to get an accurate price.
Regularly replacing worn blades is essential for maintaining sewing quality.
FAQs
Can I sharpen my serger blade at home?
Yes, you can sharpen it at home, but it requires skill and the right tools. Consider professional help if you’re unsure.
Can I use a regular sharpening stone for my serger blade?
For carbide-tipped blades, a flattened sharpening stone is recommended. Regular stones may not be effective.
Can I use any sharpening method for my serger blade, or should I follow the manufacturer’s recommendations
It’s advisable to follow the manufacturer’s recommendations if available. Using the correct method ensures you maintain the blade’s intended geometry and sharpness.
Are there any safety precautions I should be aware of when sharpening a serger blade at home?
Yes, always wear safety glasses and gloves to protect your eyes and hands. Work in a well-ventilated area, and be cautious with sharp tools.
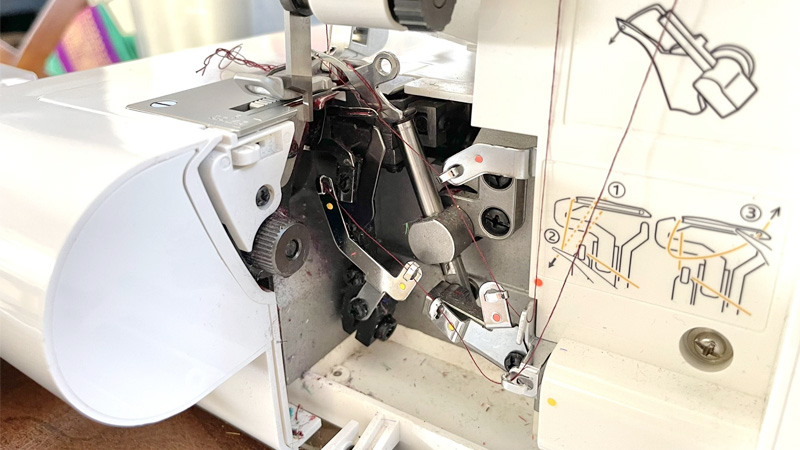
Is it possible to sharpen a serger blade without removing it from the machine?
It’s not recommended. Removing the blade ensures safe and thorough sharpening without risking damage to the machine or injury.
To Recap
Knowing how to sharpen a serger blade is an essential skill for any sewing enthusiast. A well-maintained blade not only ensures smooth and precise cuts but also prolongs the life of your serger while enhancing the quality of your sewing projects.
By following the steps outlined in this guide and regularly inspecting your blade for signs of wear, you can confidently maintain the sharpness of your serger blade.
Whether you’re a home sewer or a professional, the ability to sharpen your serger blade empowers you to achieve consistently outstanding results and elevates your sewing experience.
So, keep your blade sharp, your stitches precise, and your creativity flowing. Happy sewing!
Leave a Reply