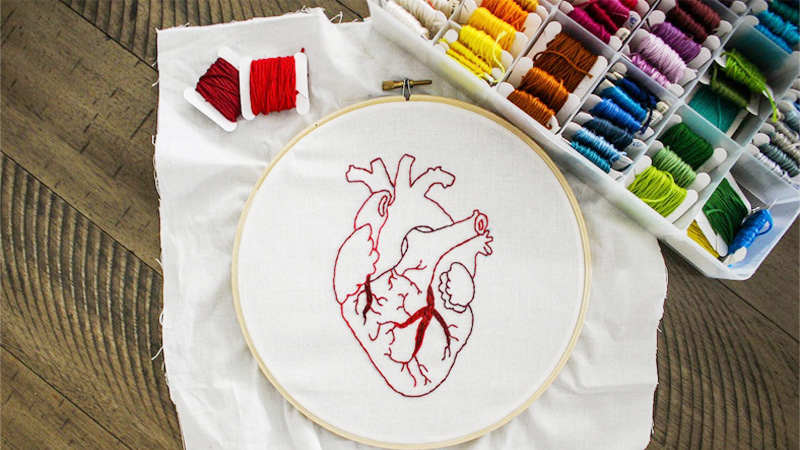
Embroidery floss is the painter’s palette of the stitching world, offering endless creative possibilities for those who wield the needle.
Whether you’re a seasoned embroiderer or just beginning to explore the art of needlework, mastering the use of embroidery floss is a fundamental skill that unlocks a world of design potential.
This versatile thread, made from a rainbow of colors, is used to add intricate detail, texture, and vibrancy to fabrics, creating everything from elegant monograms to intricate floral motifs.
In this introduction, we embark on a journey into how you use embroidery floss. We will delve into the essential techniques and methods that transform a simple thread into a powerful tool for self-expression and creativity.
Whether you’re crafting personalized gifts or embellishing clothing and home decor, understanding how to use embroidery floss effectively is the key to turning your imagination into a stitched reality.
How Do You Use Embroidery Floss?
Using embroidery floss is essential for a variety of embroidery and needlework projects. Here are the simple methods for using embroidery floss:
Threading a Needle
Start by selecting the desired floss color and separating the strands according to your project’s thickness preference. Thread the floss through the eye of a sharp embroidery or tapestry needle.
Knot one end of the floss to secure it, leaving the other end loose for stitching.
Creating a Basic Running Stitch
A running stitch is one of the simplest embroidery stitches. Bring the threaded needle up through the fabric from the back, make a straight stitch, and then take the needle back down, repeating the process to create a dashed line of stitches.
Satin Stitch for Solid Areas
The satin stitch is used to fill in solid areas with smooth and continuous embroidery floss. Begin by outlining the area you want to fill and then work closely spaced parallel stitches within that outline.
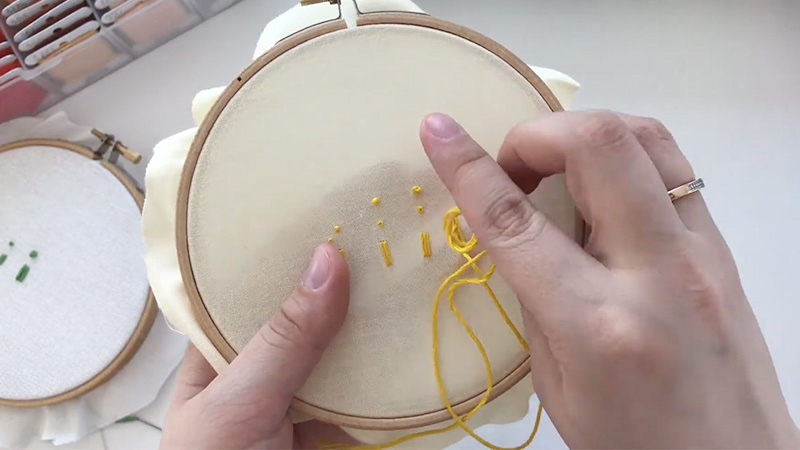
French Knots for Texture
French knots are ideal for adding textured details or small dots. Insert the needle from the back, wrap the floss around the needle a few times, and then pull the needle back through to the back while holding the wraps in place with your fingers.
Backstitch for Outlines
Backstitch is excellent for creating precise outlines and contours. Bring the needle up from the back, make a short stitch backward, then bring the needle up ahead of the previous stitch, repeating the process to form a continuous line.
Chain Stitch for Decorative Lines
Chain stitch is perfect for creating decorative lines and borders. Start by making a small straight stitch, then bring the needle up inside that stitch’s loop, forming a chain-like effect.
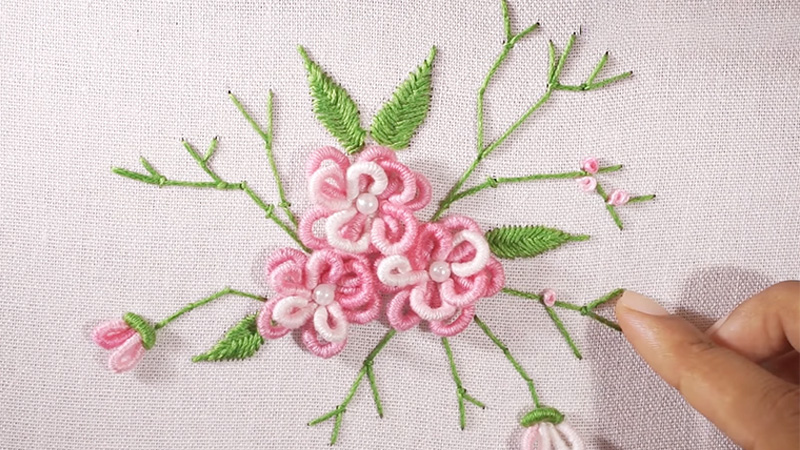
Blending and Layering Colors
Embroidery floss comes in various colors, allowing you to blend or layer shades to achieve gradients or color transitions. Experiment with different color combinations to create unique and artistic effects in your embroidery.
These methods cover the basics of using embroidery floss for a wide range of embroidery projects, from simple stitching to intricate designs.
With practice, you can create beautiful and personalized needlework to embellish clothing, accessories, home decor, and more.
Supplies Needed For Embroidery Floss?
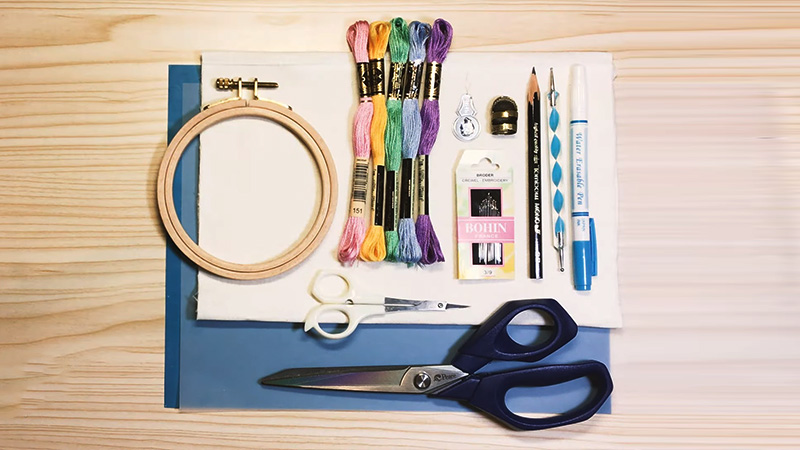
Embroidery floss is a versatile medium used for various needlework projects. To work with embroidery floss effectively, you’ll need several essential supplies:
Embroidery Floss
Naturally, you need a selection of embroidery floss in various colors. Floss is typically sold in skeins or bobbins, and it’s available in an extensive array of hues, allowing you to create vibrant and detailed designs.
Embroidery Needles
Specialized embroidery needles have larger eyes to accommodate multiple strands of floss. They come in various sizes and point styles, making it easier to work with different fabrics and achieve desired effects.
Embroidery Hoop
An embroidery hoop consisting of two interlocking rings is used to stretch and hold the fabric taut while you embroider. It prevents fabric distortion and facilitates precise stitching.
Fabric
Choose a fabric appropriate for your project. Cotton, linen, and even felt are common choices. The fabric should have an open weave or be appropriate for embroidery.
Scissors
A pair of sharp embroidery scissors or snips is essential for cutting floss, separating strands, and trimming excess threads neatly.
Pattern or Design
Depending on your project, you may need a pattern or design to follow. This can be a printed pattern, a transfer design, or a digital template.
Thread Organizer
A thread organizer, such as a floss organizer box or thread card, helps keep your embroidery floss neatly organized and prevents tangling, making it easier to find the colors you need.
These supplies form the foundation for successful embroidery projects. Depending on your specific project, you may also require additional tools like fabric markers, transfer paper, or stabilizers to achieve the desired results.
How Many Strands Of Embroidery Floss Do I Use?
The number of strands of embroidery floss you use depends on your specific project and the desired effect you want to achieve. Here are the common scenarios for determining the number of strands:
Single Strand
For delicate and fine embroidery work, a single strand of embroidery floss is often sufficient. It creates subtle and intricate details, making it suitable for fine lettering or delicate designs.
Two Strands
Using two strands is a standard choice for most embroidery projects. It strikes a balance between thickness and detail, providing good coverage and definition for most designs.
Three Strands
When you want slightly bolder lines and more color saturation, using three strands is a common choice. It adds more depth and coverage to your stitches without being too bulky.
Four to Five Strands
For larger designs or when you want to emphasize texture and thickness, using four to five strands of floss can create a bold and textured appearance, which works well for filling areas or achieving a chunky, rustic look.
Six Strands
Six strands are typically the maximum number of strands you’ll use. This provides maximum coverage and thickness, ideal for large, solid-fill areas or when you want a pronounced texture in your embroidery.
Variegated Threads
Variegated embroidery floss often comes in six strands. The color variations create a unique effect, and using all six strands allows you to fully showcase the thread’s color transitions.
Blending Colors
To achieve subtle color blending, you can combine different strand numbers of various colors. For example, you might blend two strands of one color with three strands of another to create a smooth transition between hues.
The choice of strand number depends on your design’s complexity, the fabric’s weave, and your personal preference for the appearance and texture of your embroidery.
Experimentation and practice will help you determine the ideal number of strands for each specific project.
Cautions When Using Needlepoint Embroidery Floss
Using needlepoint embroidery floss can be a delightful and creative experience, but it’s essential to exercise caution and follow best practices to ensure the quality of your needlepoint work.
Here are the cautions to consider:
Thread Tangling
Needlepoint embroidery floss can easily tangle, causing frustration and affecting your stitching. To avoid this, always keep your thread lengths manageable, typically around 18 to 24 inches.
Use a thread conditioner to reduce friction and minimize tangles.
Colorfastness
Some embroidery floss may not be colorfast, meaning the colors can bleed or fade when exposed to moisture or sunlight.
It’s wise to test the floss’s colorfastness on a small piece of fabric before starting your project, especially if it may be subjected to washing or prolonged exposure to light.
Knots
Knots in your floss can create unsightly bumps on the front or back of your needlepoint work. When threading your needle, take care to avoid creating knots at the end of your thread.
If knots occur while stitching, gently remove them rather than pulling too forcefully, which can distort the fabric.
Thread Tension
Uneven thread tension can result in puckering or bunching of your needlepoint. Be mindful of your stitching tension, ensuring it’s consistent to maintain a smooth and even appearance on the fabric.
Proper Storage
Store your needlepoint embroidery floss in a cool, dry place away from direct sunlight. Exposure to sunlight and humidity can cause the floss to deteriorate and lose its vibrancy over time.
Fabric Selection
Choose the appropriate fabric for your needlepoint project, ensuring it can adequately support the thickness and weight of your floss. Using a fabric with a suitable thread count and weave prevents the floss from stretching the fabric or distorting the design.
Needle Size
The size of your needle matters. Using a needle that’s too large for your floss and fabric can leave visible holes and may even damage the fibers. Conversely, a needle that’s too small can make stitching difficult and may fray the floss.
By paying attention to these cautions and adopting good stitching habits, you can ensure that your needlepoint embroidery floss enhances your creative projects rather than presenting unnecessary challenges.
FAQs
How do I separate embroidery floss strands for stitching?
To separate strands, gently pull one strand at a time from the floss skein. Most embroidery floss consists of six strands twisted together. Depending on your project, you can use one or more strands by separating them accordingly.
What type of needle should I use with embroidery floss?
Choose embroidery or tapestry needles, which have larger eyes to accommodate multiple floss strands. The needle’s size depends on your fabric’s weave and the thickness of the floss.
Can I mix different floss colors in one stitch?
Absolutely! Mixing colors in a single stitch or blending them on the fabric creates unique effects. Experiment with color combinations to achieve the desired look for your embroidery design.
How do I secure the end of embroidery floss when starting a project?
To secure the floss, knot the end or use a waste knot technique, where you start stitching with a small, hidden knot. As you stitch over it, the knot becomes concealed, and you can trim the excess.
How do I prevent embroidery floss from tangling while stitching?
To minimize tangling, keep your thread lengths short (around 18-24 inches), use a thread conditioner to reduce friction, and occasionally let the needle hang freely to untwist the floss.
Conclusion
Embroidery floss, with its kaleidoscope of colors and the promise of creativity, has been a beloved medium for generations of crafters. In this exploration of how to use embroidery floss, we’ve uncovered the basics of threading needles, executing essential stitches, and creating intricate designs.
As we conclude this journey, it’s worth noting that using embroidery floss is not just a skill; it’s an art form that allows you to translate your ideas and emotions into tangible, stitched expressions.
Whether you’re adding delicate details to a cherished heirloom or crafting contemporary designs, the versatility of embroidery floss knows no bounds. From the meditative rhythm of stitching to the joy of seeing your creations come to life, using embroidery floss offers a unique and rewarding experience.
So, pick up your needle, select your favorite colors, and let your imagination soar as you continue to explore the colorful world of embroidery floss and all it has to offer.
Leave a Reply