Quilt borders are the exquisite finishing touch that transforms a pieced quilt top into a complete masterpiece. For beginners stepping into the world of quilting, adding simple quilt borders is an ideal starting point.
These borders not only frame your quilt but also offer an opportunity to refine your sewing skills and enhance the overall aesthetic of your creation.
In this introduction, we embark on a journey into how to sew simple quilt borders for beginners. We’ll explore seven straightforward methods that will guide you through the process, from selecting the perfect fabric to attaching borders with precision.
These techniques ensure that your quilts not only have a polished appearance but also maintain a harmonious balance with the quilt’s design.
So, whether you’re crafting your first quilt or looking to sharpen your border-sewing skills, let’s dive into the world of simple quilt borders and discover how they can elevate your quilting endeavors.
How To Sew Simple Quilt Borders For Beginners?
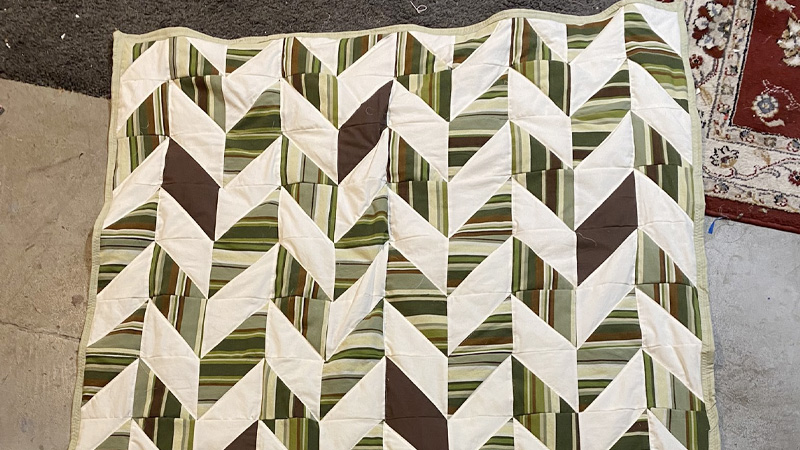
Creating simple quilt borders is an essential skill for any quilter, especially beginners. These borders provide the finishing touch to your quilt, framing the design and adding a polished look.
Here are the straightforward methods for sewing simple quilt borders:
Single Fabric Border
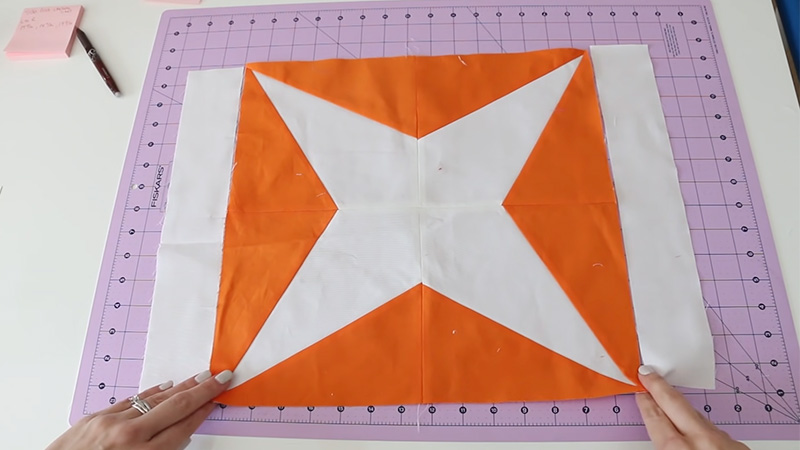
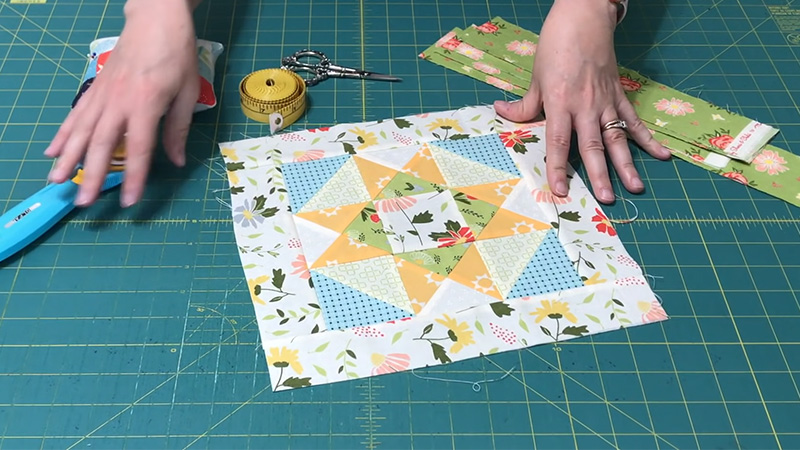
Begin by selecting a fabric that complements your quilt top. Measure the sides of your quilt and cut strips of fabric to match these dimensions, adding seam allowances.
Sew these strips to the quilt top’s sides, pressing the seams open for a flat finish.
Contrasting Border
Choose a contrasting fabric for your border to create a visually striking effect. Follow the same process as the single fabric border, measuring and sewing strips along the quilt’s sides. The contrast adds vibrancy and interest to your quilt.
Mitered Borders
For a more sophisticated look, sew mitered borders. Cut border strips with diagonal ends at a 45-degree angle. Join the strips at the corners to form seamless mitered corners for a neat and tidy appearance.
Strip Piecing Border
Opt for a pieced border by sewing together multiple fabric strips to create a unique design. Sew these strips into a border, ensuring the seams match the quilt top’s dimensions. Strip piecing allows for creative variations.
Checkerboard Border
Create a checkerboard effect by sewing alternating squares of two different fabrics. The contrasting squares add a playful touch to your quilt. Ensure precise measuring and sewing to maintain the pattern’s symmetry.
Scallop Border
Add an elegant touch with a scalloped border. Draw the desired scallop shape along the border edge using a template or curved ruler. Cut along the drawn lines, then stitch bias binding along the scalloped edge for a finished look.
Appliqué Border
Incorporate appliqué by sewing fabric shapes onto the border strips. You can create themed or personalized borders by appliquéing motifs, such as flowers, stars, or letters, onto your quilt.
These methods offer various options for sewing simple quilt borders, allowing you to choose the style that best complements your quilt’s design and your personal preferences.
Whether you prefer clean lines or decorative touches, the right border can enhance your quilt’s overall appeal.
Which Kind Of Quilts Need A Border?
Borders are a versatile and essential component of many quilts, adding both functionality and aesthetic appeal. Here are the kinds of quilts that typically benefit from having a border:
Traditional Quilts
Traditional quilts, such as log cabin, nine-patch, or sampler quilts, often feature borders. Borders frame the quilt top, giving it a finished and cohesive look that complements the classic quilt blocks.
Medallion Quilts
Medallion quilts are structured around a central design or motif, with multiple borders added progressively outward. Borders in medallion quilts provide a sense of balance and symmetry, guiding the viewer’s eye from the center outward.
Panel Quilts
Quilts made from fabric panels, which typically feature large central designs or images, benefit from borders that frame and enhance the panel’s visual impact. Borders can also serve to extend the quilt’s size if needed.
Baby and Crib Quilts
Borders are commonly used in baby and crib quilts to provide a protective edge and create a visually pleasing frame for the quilt. They can also be useful for adding baby-themed appliqué or embroidery.
Bed Quilts
Quilts intended for beds, such as twin, queen, or king-sized quilts, often have borders. Borders help ensure that the quilt covers the mattress correctly and adds a decorative element that complements the bedroom decor.
Wall Quilts
Wall quilts, designed to be hung as art pieces, frequently feature borders. Borders create a defined edge for the quilt, enhancing its visual appeal when displayed on a wall.
Art Quilts
Art quilts are known for their creativity and experimentation. While not all art quilts have borders, many artists use borders to frame their unique and expressive designs, emphasizing the quilt’s individuality.
Borders in quilts serve practical purposes, such as framing and sizing, while also offering opportunities for creative expression and design.
Whether you’re crafting a traditional masterpiece or an avant-garde art quilt, choosing the right border can elevate your quilt’s overall impact and functionality.
Supplies For Quilt Borders
Creating quilt borders requires a set of essential supplies to ensure accuracy and a professional finish.
Here are the supplies you’ll need to add beautiful borders to your quilts:
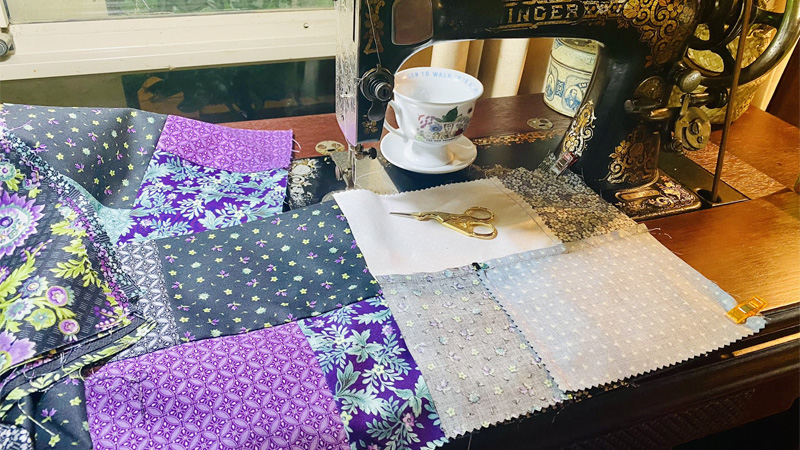
Fabric for Borders
Select a fabric that complements your quilt’s design and color scheme. Measure the length of the sides where you’ll add borders and cut strips of fabric accordingly. Borders can be a single fabric or a combination for added visual interest.
Quilting Ruler
A quilting ruler is indispensable for measuring and cutting border strips accurately. Look for a long ruler with clear markings to help you achieve precise measurements and straight cuts.
Rotary Cutter and Cutting Mat
A rotary cutter and self-healing cutting mat make cutting border strips efficient and accurate. The rotary cutter allows for clean, straight cuts, while the cutting mat protects your work surface and extends the life of your rotary blade.
Sewing Machine and Thread
A sewing machine equipped with the appropriate quilting or piecing foot is essential for stitching borders to your quilt top. Use thread that matches or complements your quilt’s colors to create seamless seams.
Pins or Quilting Clips
Pins or quilting clips are necessary for securing border strips in place before sewing. They help prevent shifting and ensure the borders align correctly with the quilt top.
Iron and Ironing Board
An iron and ironing board is vital for pressing seams, ensuring your borders lie flat and the quilt top remains smooth. Pressing also helps set the stitches and creates a professional finish.
Quilting Ruler or Straightedge
A quilting ruler or straightedge is useful for ensuring your border strips are attached in straight lines and at right angles to your quilt top. It aids in achieving a neat and uniform appearance.
With these supplies in your quilting toolkit, you’ll be well-equipped to add borders that enhance the beauty and structure of your quilts. Accurate measuring, cutting, and stitching are key to achieving polished and visually pleasing quilt borders.
How Do I Know How Much Fabric I Need?
Knowing how much fabric you need for a quilt project is crucial for efficient cutting and avoiding fabric shortages. Here are the tips to help you determine the right amount of fabric:
Quilt Pattern Instructions
Always start by checking your quilt pattern instructions. Patterns typically provide detailed fabric requirements, including the yardage needed for each fabric and border. Follow these recommendations for the most accurate results.
Calculate Block Size
If you’re designing your own quilt or working with a pattern that doesn’t specify fabric requirements, calculate the size of your quilt blocks. Multiply the finished block size by the number of blocks you plan to make.
Then, add extra fabric for seam allowances, borders, and binding.
Fabric Width
Pay attention to the width of the fabric you plan to use. Most quilting cottons come in standard widths of 42 to 44 inches. Wider fabrics may require less yardage, while narrower fabrics may need more to achieve the same coverage.
Consider Directional Prints
If your fabric has directional prints (like stripes or motifs that must face a certain way), you’ll need extra fabric to ensure the patterns align correctly. Factor in this extra yardage when calculating your fabric needs.
Add for Piecing and Errors
It’s wise to add extra fabric for piecing mistakes, misalignments, and cutting errors. A 10% to 20% buffer is a good rule of thumb to prevent running out of fabric.
Calculate Borders and Backing
Determine the dimensions of your borders and backing. These require additional fabric, usually measured in width-of-fabric (WOF) units. Remember to account for any seam allowances.
Consult Quilting Guides
Quilting books and online calculators can be invaluable resources for estimating fabric requirements. Many websites offer fabric calculators where you input your quilt’s dimensions, and they provide an estimate of how much fabric you’ll need for various components.
By combining these tips and taking precise measurements, you can confidently calculate the fabric needed for your quilt project, reducing waste and ensuring you have enough to complete your beautiful creation.
FAQs
Do I need special tools to sew quilt borders as a beginner?
As a beginner, you’ll benefit from basic quilting tools such as a ruler, rotary cutter, cutting mat, sewing machine, and quilting pins. While not specialized, these tools will help you accurately measure, cut, and sew your quilt borders.
Can I use any fabric for my quilt borders?
You can use a variety of fabrics for quilt borders, but it’s essential to choose one that complements your quilt top. Cotton is a common choice due to its ease of use and wide range of prints and solids suitable for different quilt styles.
How do I prevent my quilt borders from puckering or stretching?
To prevent puckering, use pins to secure the borders evenly along the quilt top and sew with a consistent seam allowance. If you find your borders are stretching, consider using a walking foot on your sewing machine for more even feeding of fabric layers.
Is it necessary to prewash fabric for quilt borders?
Prewashing fabric for borders is a personal preference. Some quilters prewash to remove sizing and prevent shrinkage, while others prefer the look and feel of unwashed fabric.
If using both prewashed and unwashed fabrics in a project, consider potential differences in shrinkage.
How can I ensure my quilt borders lie flat and square?
To ensure flat and square borders, measure the quilt’s width and length in multiple places to confirm they are equal. If necessary, adjust your border strip measurements accordingly.
Use a quilting ruler or square to ensure your corners are at right angles before sewing.
Conclusion
As we conclude our exploration of sewing simple quilt borders for beginners, it becomes clear that these borders are more than just finishing touches; they are the final strokes of artistic expression in the world of quilting.
From single fabric borders to mitered and scalloped edges, each method adds a unique dimension to your quilt, enhancing its beauty and structure.
Simple quilt borders offer a valuable starting point for novices, providing an opportunity to learn essential quilting techniques while contributing to a polished and cohesive finished product. Whether you’re creating a quilt for warmth, comfort, or as a work of art, these borders play a crucial role in bringing your vision to life.
So, embrace the art of quilting with simple borders, experiment with different techniques, and let your creativity flourish as you embark on your quilting journey, one border at a time.
Leave a Reply