Dealing with seam puckering in your sewing projects can be a frustrating setback, but fear not, as there are effective solutions at your disposal.
In this comprehensive guide on “Fixing Seam Puckering – Tips,” we will delve into seven invaluable techniques that will help you conquer this common sewing challenge.
Seam puckering not only mars the appearance of your creations but can also compromise their overall quality. By mastering these tips, you’ll be equipped to identify the root causes of puckering and take steps to prevent it in the future.
Whether you’re a beginner or an experienced sewist, this guide will empower you to achieve smoother, more professional seams and elevate the quality of your sewing projects.
Fix Seam Puckering- Tips
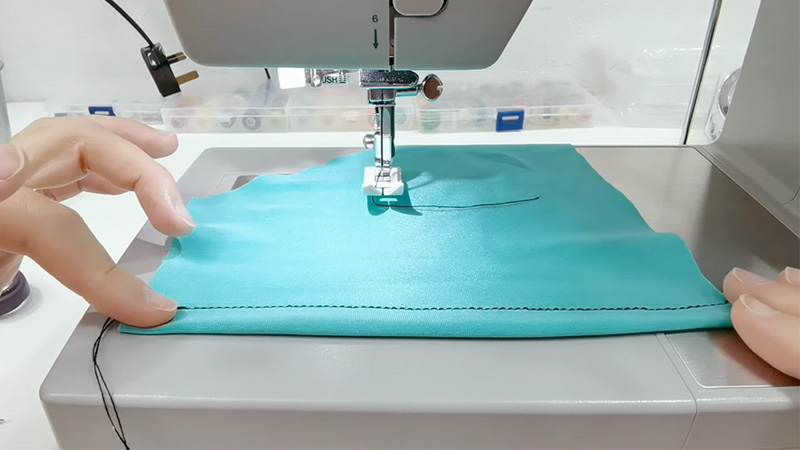
Fixing seam puckering is essential to achieving a polished and professional finish in your sewing projects.
Here are the tips with descriptions for each to help you address and prevent seam puckering:
Proper Needle and Thread Selection
Choose a needle and thread appropriate for your fabric. Use fine needles for delicate fabrics and heavier ones for thicker materials.
Ensure the thread matches the fabric weight to prevent tension issues that can cause puckering.
Optimal Thread Tension
Check your sewing machine’s thread tension settings. Adjust it as needed, ensuring the thread is neither too tight nor too loose. Balanced thread tension is crucial to preventing puckering.
Needle Condition
Regularly inspect and replace your sewing machine needle. A dull or damaged needle can pull and distort fabric, leading to puckering.
Change the needle after every project or when you notice issues like skipped stitches.
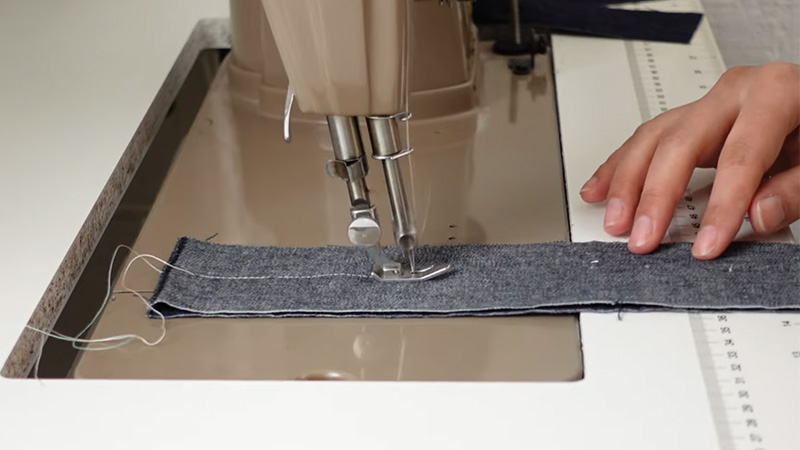
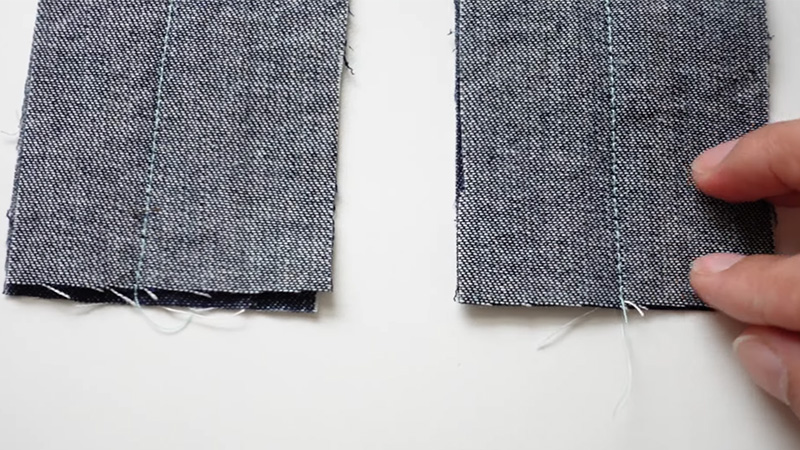
Stitch Length Adjustment
Experiment with different stitch lengths. For lightweight fabrics, use shorter stitches to reduce the chance of puckering. For heavyweight materials, longer stitches can prevent fabric distortion.
Use of Stabilizers
Employ stabilizers like tear-away or wash-away types when working with delicate or stretchy fabrics. These provide support during stitching and minimize puckering.
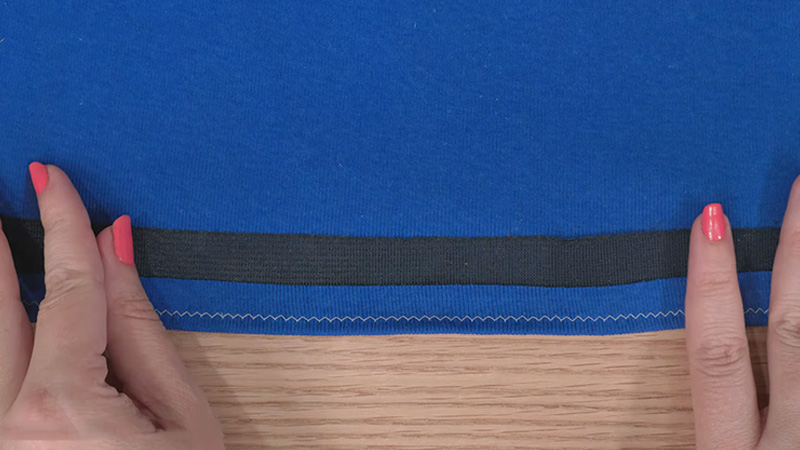
Pressing and Steam
Properly press your seams during and after sewing. Use a pressing cloth when necessary, and apply steam to set the stitches and relax the fabric, reducing the appearance of puckering.
Practice and Skill Refinement
Improve your sewing skills through practice. Seam puckering often decreases with experience as you develop better control over your sewing machine and fabric handling techniques.
By implementing these tips, you can effectively address and prevent seam puckering in your sewing projects, ensuring a more polished and professional outcome.
Each tip contributes to achieving balanced tension and proper fabric handling, resulting in beautifully stitched seams.
How To Iron Out Seam Puckering?
Ironing out seam puckering is a crucial step in achieving smooth and professional-looking sewing projects.
Here are the ways to iron out seam puckering:
Use a Pressing Cloth
Lay a pressing cloth, such as a clean cotton fabric or muslin, over the puckered seam. Apply the iron to the pressing cloth with steam, and gently press the seam.
The cloth acts as a barrier, protecting the fabric while allowing the steam to relax the puckers.
Steam and Steam Burst
Steam is your ally in fixing seam puckering. Hold the iron close to the puckered seam and apply steam.
Then, while the fabric is still warm and slightly damp, use a steam burst (if your iron has this function) directly on the pucker. Gently smooth the fabric with your fingers or a presser foot.
Pressing with a Tailor’s Ham
A tailor’s ham is a curved, cushioned tool designed for pressing seams. Place the ham inside the garment, under the puckered area, and press the seam with steam. The curved surface helps reshape the fabric without flattening it.
Use the Correct Iron Temperature
Ensure your iron is set to the appropriate temperature for the fabric type. Too much heat can set puckers, while not enough heat won’t relax the fabric. Refer to the fabric’s care label or conduct a heat test on a scrap piece.
Press on a Flat Surface
For seam puckering along a garment’s curved area, like sleeves or neckline, place the fabric on a flat, padded surface like an ironing board with a curved seam allowance or a tailor’s ham under the curve.
Press the fabric from the wrong side to eliminate puckers.
Reshape and Finger-Press
While applying steam, gently reshape the fabric with your fingers, pulling it taut and smoothing out the puckers. Finger-pressing helps mold the fabric into the desired shape.
Block and Pin
If the seam puckering persists, you can block the garment by pinning it flat on a surface, misting it with water, and letting it dry. Alternatively, use a fabric-specific spray stabilizer to help relax the fabric and remove puckers.
By employing these ironing techniques, you can effectively eliminate seam puckering and achieve clean, smooth seams in your sewing projects.
Proper pressing is a crucial aspect of sewing that contributes to the overall quality and professional appearance of your creations.
Why Does My Fabric Keep Puckering?
Experiencing fabric puckering in your sewing projects can be frustrating, but understanding the underlying reasons can help you address and prevent it.
Here are the common reasons why fabric keeps puckering:
Tension Issues
Incorrect thread tension on your sewing machine is a primary culprit. If the tension is too tight, it can cause the fabric to pucker as the upper and lower threads pull against each other excessively. Ensure balanced tension for your fabric type.
Incorrect Needle and Thread Selection
Using the wrong needle or thread for your fabric can lead to puckering. A needle that’s too large or small or thread that’s too heavy or light can disrupt the stitch formation, causing puckers.
Stitch Length
Inappropriate stitch length can also cause puckering. Shorter stitches on lightweight fabrics and longer stitches on heavier fabrics can help prevent puckers.
Fabric Type
Some fabrics inherently have a tendency to pucker more than others. Delicate and lightweight fabrics, like chiffon, are more susceptible, while stable woven fabrics are less prone to puckering.
Dull or Damaged Needle
A dull or damaged needle can snag and pull the fabric, leading to puckering. Ensure you use a sharp and appropriate needle for your fabric type and replace it regularly.
Improper Pressing
Failing to properly press your fabric before and during sewing can lead to puckering. Pressing helps relax the fabric and smooth out any distortions or wrinkles that could cause puckers.
Fabric Handling
Rough or careless handling of the fabric while sewing, such as excessive pulling or pushing, can distort the fabric and cause puckering. Handle the fabric gently to maintain its original shape.
Identifying the specific reason for puckering is essential to finding a solution. By addressing the root cause, whether it’s tension, needle and thread choice, or fabric handling, you can reduce or eliminate puckering in your sewing projects and achieve smoother, more professional results.
What Is The Puckering Defect?
“Puckering” refers to a sewing defect characterized by the formation of unwanted wrinkles, gathers, or waves in the fabric along the stitched seam. It can diminish the overall quality and appearance of a sewing project.
Here are the common puckering defects:
Thread Puckering
Thread puckering occurs when the thread pulls and gathers the fabric along the stitched line. It can result from improper thread tension, thread type, or a mismatch between the thread and fabric weight.
Fabric Distortion
Fabric distortion puckering is caused by uneven feed or tension issues. It results in the fabric stretching or shrinking unevenly during sewing, leading to wrinkles and puckers along the seam.
Needle Puckering
Needle puckering happens when the needle perforates the fabric in a way that causes it to bunch or gather along the stitch line. Using a dull or incorrect needle can contribute to this defect.
Uneven Stitch Length
Inconsistent stitch lengths, where the machine produces shorter and longer stitches, can lead to puckering. It disrupts the fabric’s smooth flow under the presser foot, causing irregular gathers.
Excessive Seam Allowance
Puckering can occur when the seam allowance is too wide. The excess fabric in the seam allowance gathers and creates unwanted wrinkles. Trimming or reducing the seam allowance can help alleviate this issue.
Fabric Type and Handling
Delicate and lightweight fabrics, like chiffon or silk, are more susceptible to puckering. Rough or careless fabric handling during sewing, such as excessive pulling or pushing, can exacerbate the problem.
Machine Issues
Sewing machine problems like incorrect presser foot pressure, a malfunctioning feed dog, or a misaligned needle bar can contribute to puckering.
Regular machine maintenance can help prevent these issues.
Identifying the specific cause of puckering is crucial for finding a solution. Whether it’s related to thread tension, needle choice, or fabric handling, addressing the root problem can help eliminate puckering and result in smoother, more professional seams.
FAQs
What causes seam puckering in sewing projects?
Seam puckering can result from issues like incorrect thread tension, the wrong needle choice, or improper fabric handling. It occurs when fabric gathers or wrinkles along the stitched seam, marring the appearance of the project.
Can seam puckering be prevented altogether?
While it’s challenging to prevent seam puckering entirely, you can significantly minimize it by using the correct thread tension, selecting the appropriate needle, and handling the fabric with care during sewing.
Does the type of fabric impact seam puckering?
Yes, fabric type plays a role in seam puckering. Delicate and lightweight fabrics are more prone to puckering, while stable woven fabrics are less susceptible. It’s essential to adjust your sewing techniques accordingly.
Why is pressing important in fixing seam puckering?
Pressing relaxes the fabric, helps set the stitches, and smooths out any distortions or wrinkles that may contribute to puckering. Proper pressing is crucial for achieving clean, professional seams.
Are there specific needle and thread combinations to prevent puckering?
Yes, selecting the right needle and thread for your fabric type is essential. Finer needles and lightweight threads for delicate fabrics and heavier needles and threads for thicker materials can help prevent puckering issues.
Matching the needle and thread to your fabric weight is key.
Conclusion
In the world of sewing, mastering the art of fixing seam puckering is a significant step toward achieving impeccable results.
As we conclude our exploration of “Fixing Seam Puckering – Tips,” it’s evident that with the right knowledge and techniques, seam puckering need not be a persistent issue.
By addressing factors such as thread tension, needle selection, and proper pressing, you can bid farewell to unwanted puckers and say hello to beautifully stitched seams.
These tips not only improve the aesthetic appeal of your projects but also enhance their overall quality and durability. So, armed with this newfound expertise, sew with confidence, knowing that seam puckering is a challenge you can conquer.
Your sewing creations will reflect the craftsmanship and attention to detail you’ve always envisioned.
Leave a Reply