Sewing a bias-bound seam is a delightful technique that not only adds a touch of elegance to your garments but also provides durability and strength to seams that might undergo stress.
The term “bias” refers to the diagonal grain of fabric, and sewing with bias binding creates a beautiful contrast, framing the edges of your creations. Whether you’re working on clothing, quilts, or home décor items, mastering this skill opens up a world of creative possibilities.
In this tutorial, we’ll guide you on how to sew a bias-bound seam. You’ll learn how to cut and prepare bias binding, attach it to your fabric edges, and finish with precision.
By the end, you’ll have the confidence to incorporate bias binding into your sewing projects, elevating them from ordinary to extraordinary. So, grab your sewing supplies, and let’s get started on this exciting journey of sewing with bias binding!
How to Sew a Bias Bound Seam? 12 Steps
Sewing a bias-bound seam is a technique that adds both functionality and visual appeal to your sewing projects. Whether you’re working on clothing, quilts, or home decor items, mastering this skill allows you to create beautifully finished edges.
Materials You’ll Need
To complete the task, you’ll need suitable fabric for your project. Collect bias tape or self-made bias binding, a sewing machine, and pins or clips. You’ll also need an iron and ironing board, scissors or rotary cutter, and fabric marker or chalk.
Step 1: Prepare Your Fabric
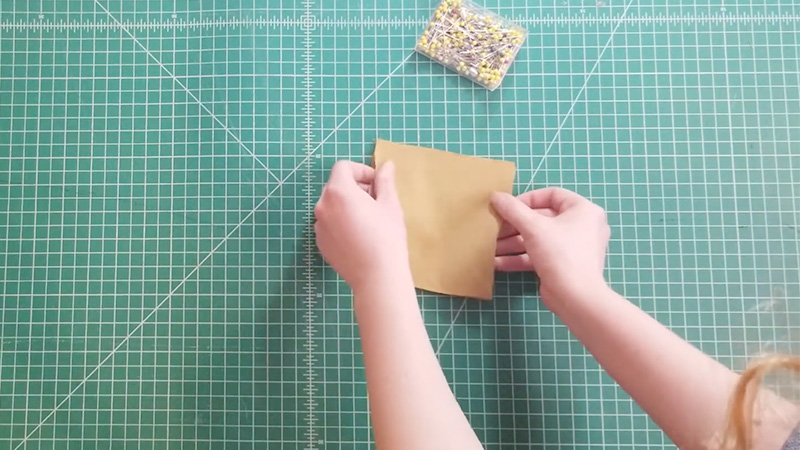
Before you start sewing a bias-bound seam, ensure your fabric pieces are cut and prepared as needed for your project. This includes seam allowances, any necessary interfacing, and marking seam lines if applicable. Proceed to the next step only when you’re done with the preparation.
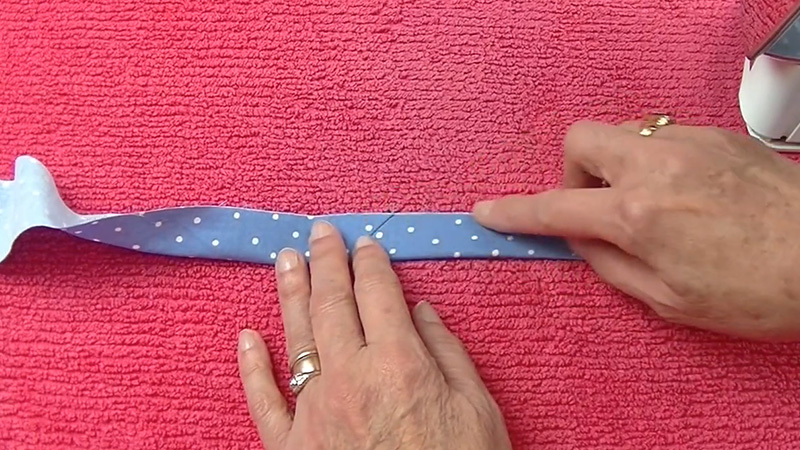
Step 2: Choose or Create Bias Binding
You have the option to purchase pre-made bias tape in various colors and widths, or you can make your own from fabric. To make bias binding, cut strips of fabric on the bias (at a 45-degree angle to the selvage). The width of the strips depends on the desired finished width of your bias binding.
Join the strips together to create a continuous length by sewing them at a 45-degree angle. Press the seams open and fold the strip in half lengthwise, wrong sides together. Press again to create your bias binding.
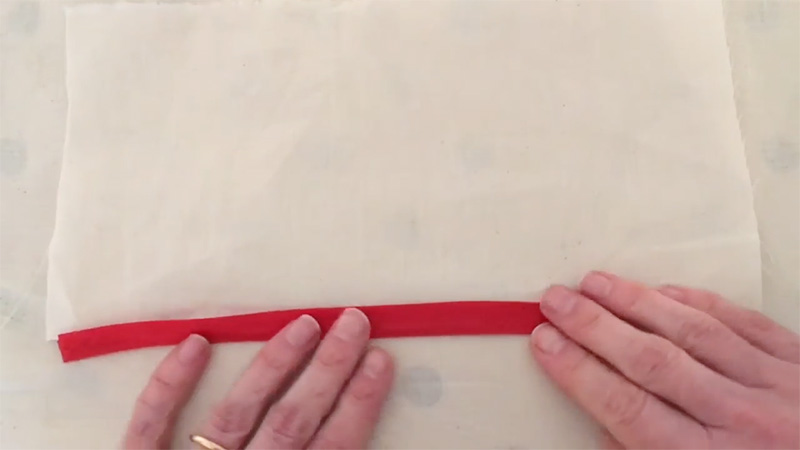
Step 3: Open and Pin the Bias Binding
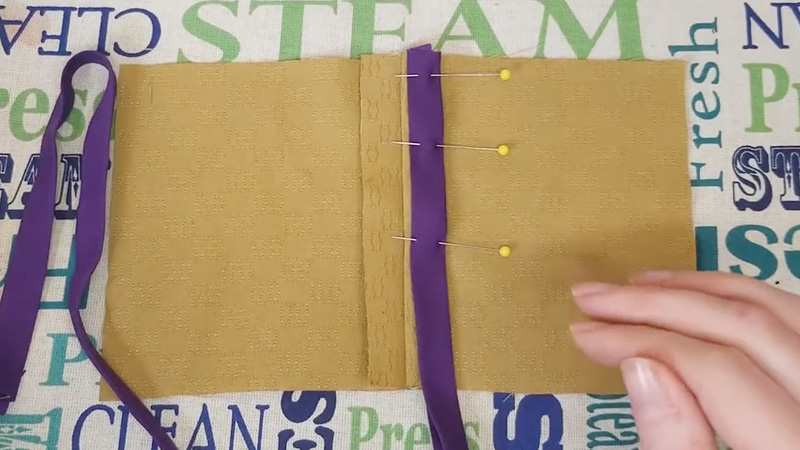
Unfold your bias binding and align the raw edge of the binding with the raw edge of your fabric, right sides together. Pin or use clips to secure it in place. Leave a small tail of bias tape hanging over the edge as you start.
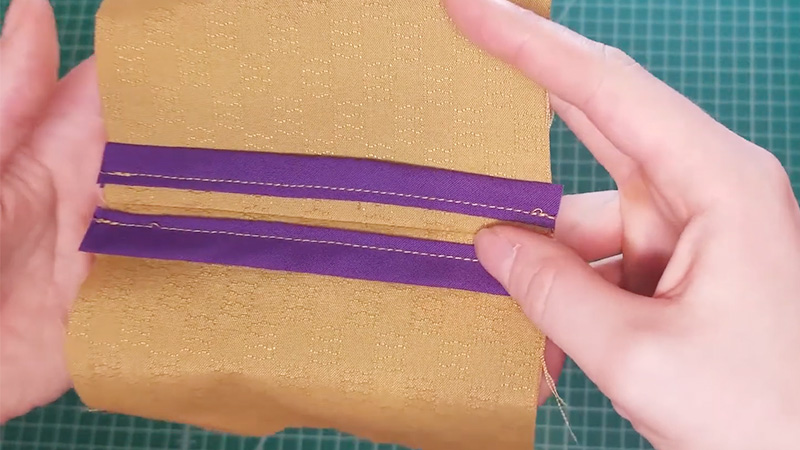
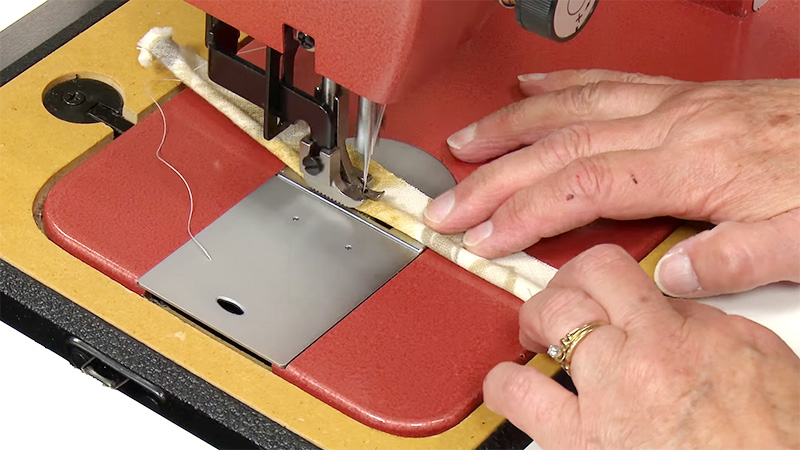
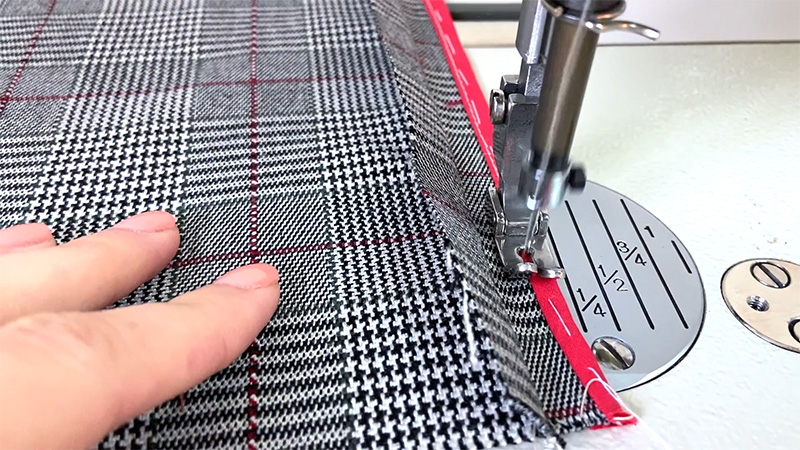
Step 4: Sew the First Side
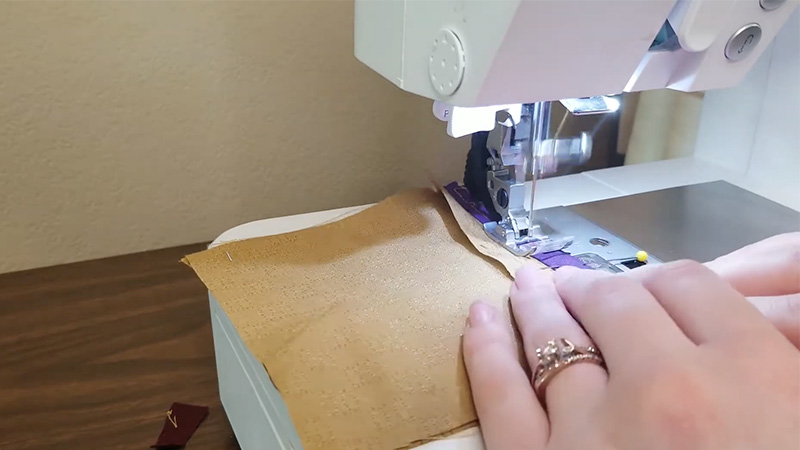
Using a regular straight stitch on your sewing machine, stitch along the crease line of the bias tape, which is the inner fold while keeping the fabric aligned with the edge of the bias binding. Be sure to backstitch at the beginning and end to secure your stitching.
Step 5: Miter the Corners (if applicable)
If your project has corners, you’ll need to miter them for a neat finish. When you approach a corner, stop sewing a seam allowance’s width away from the corner. Pivot your fabric and bias tape at a 45-degree angle.
Continue sewing down the next side, maintaining the fold of the bias binding. Repeat this process for each corner.
Step 6: Finish the Seam
Continue sewing the bias binding along the entire length of your seam, maintaining an even stitch length. When you reach the end, leave a small tail of bias tape hanging off, about the same length as the one at the beginning.
Step 7: Join the Ends
Overlap the ends of the bias binding by about 1/2 inch (12mm) and cut off any excess. Fold back the overlapping end to create a clean edge and finish sewing the binding in place, overlapping the beginning stitching slightly. This creates a seamless finish.
Step 8: Press the Bias Bound Seam
With your bias binding sewn in place, it’s time to press the seam. Lay your project flat on the ironing board and gently press the seam allowance toward the bias binding. This helps set the stitches and gives your seam a crisp appearance.
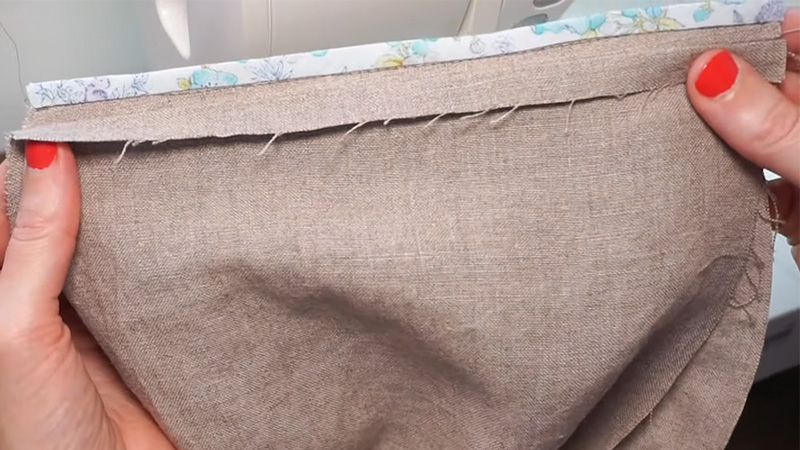
Step 9: Fold and Press the Binding
Fold the bias binding over the raw edge to the wrong side of your fabric. The fold should cover the stitching line and encase the raw edge entirely. Secure the binding in place with pins or clips.
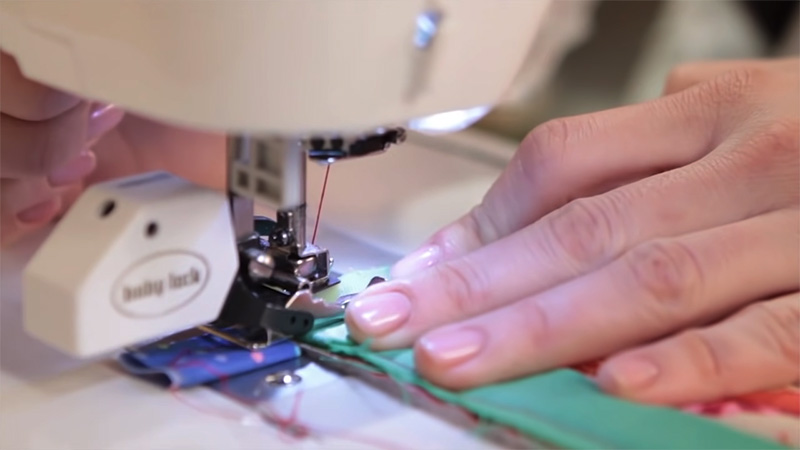
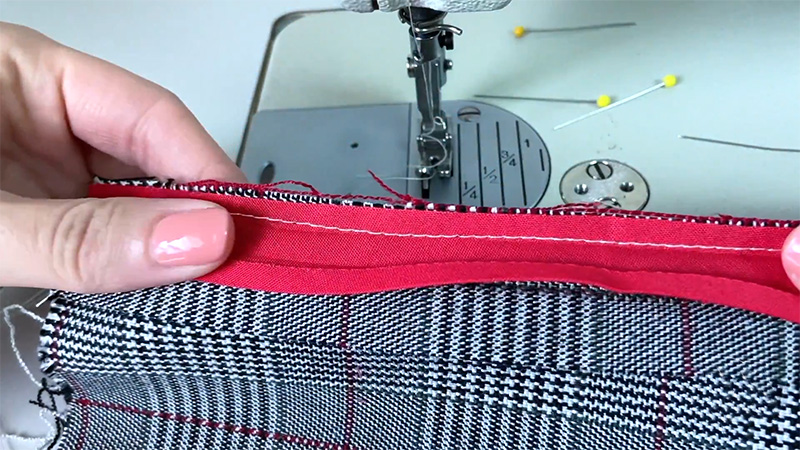
Step 10: Stitch the Binding in Place
You have a few options for stitching the bias binding to the wrong side of your fabric. You can use a straight stitch close to the inner edge of the binding or use a blind hem stitch for a more concealed finish.
Ensure your stitching catches the folded edge of the binding and goes through all layers of fabric.
Step 11: Remove Pins or Clips
As you sew along the binding, remove the pins or clips to prevent any distortion in your stitches. Take your time to maintain even stitching and a clean finish.
After stitching, press the entire seam once more. This final pressing step helps set the stitches and gives your bias-bound seam a polished appearance.
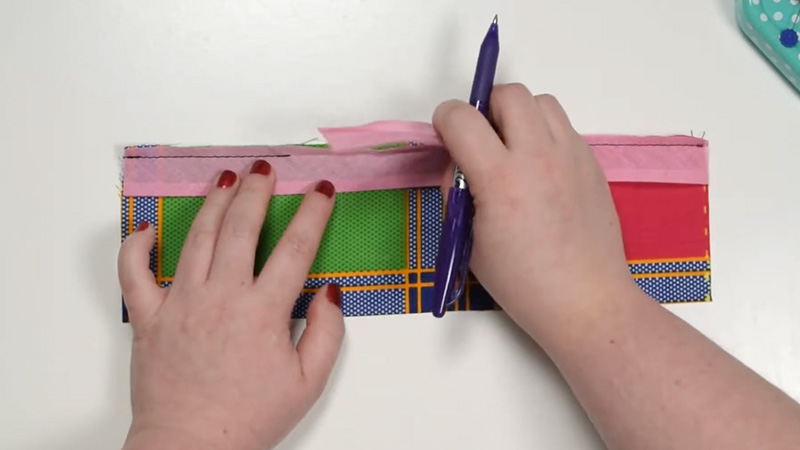
Step 12: Trim Excess Binding (if necessary)
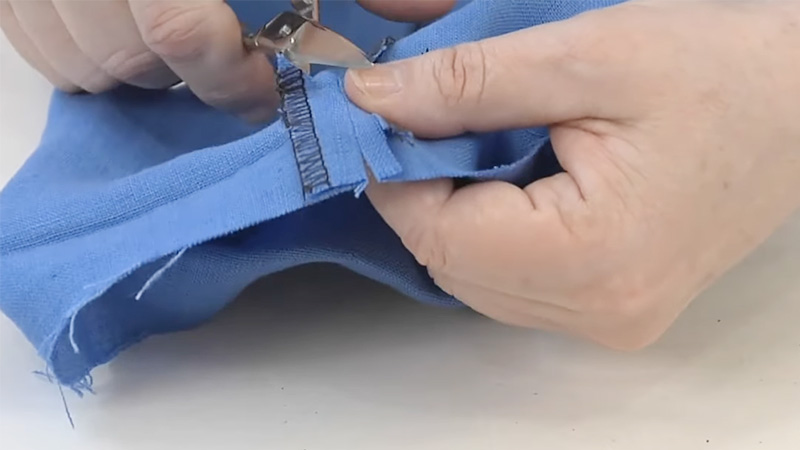
If your bias binding extends beyond the seam allowance, trim it evenly to match the seam allowance width.
Inspect your bias-bound seam to ensure it’s secure and looks neat from both the right and wrong sides. Trim any loose threads, and you’re done. Congratulations!
You’ve successfully sewn a bias-bound seam, adding a professional touch to your sewing projects. With practice, you’ll become more confident in using this versatile technique to create beautifully finished edges on a wide range of items.
Whether it’s a garment, quilt, or home decor piece, bias binding adds both style and durability to your creations.
What’s the Purpose of a Bias Bound Seam?
The purpose of a bias-bound seam in sewing is multifaceted and offers various functional and aesthetic benefits:
Durability
Bias-bound seams are stronger and more resilient than standard seam finishes. The bias binding adds an extra layer of fabric, which helps reinforce the seam and prevents fraying over time.
This is particularly advantageous in high-stress areas of a garment or when working with delicate fabrics.
Clean and Neat Finish
Bias binding provides a clean and polished appearance to the seam both on the right and wrong sides of the fabric. This is especially valuable in projects where seams are visible, such as unlined jackets, and skirts, or when sewing with sheer or lightweight fabrics.
Contrast and Decoration
Bias-bound seams offer an opportunity for creative expression. You can choose bias tape in contrasting colors or patterns to add decorative elements to your project.
This decorative touch can elevate the overall look of your garment, quilt, or home decor item.
Versatility and Stabilization
Bias-bound seams are versatile and can be used in various sewing applications, including clothing, quilting, and home sewing. They work well for finishing the edges of collars, cuffs, armholes, necklines, quilts, and placemats, among other projects.
Bias binding can help stabilize the edges of the fabric, preventing stretching or distortion. This is particularly useful when working with bias-cut fabric, which tends to be more susceptible to stretching.
Comfort
Bias-bound seams can provide added comfort in garments by preventing scratchy or rough seam allowances from coming into direct contact with the skin.
This is especially appreciated in children’s clothing or items worn in sensitive areas like lingerie.
Professional Look
It Incorporating bias-bound seams into your sewing projects gives them a professional, tailored appearance. The clean finish and attention to detail reflect a high level of craftsmanship, enhancing the overall quality of your work.
Flexibility
Bias binding is flexible and conforms well to curved or rounded edges, making it ideal for finishing seams in areas with curves, such as armholes or neckline curves. So, the purpose of a bias-bound seam in sewing is to combine both functionality and aesthetics.
It strengthens and reinforces seams, provides a clean and polished finish, allows for creative embellishments, and offers versatility in a wide range of sewing applications.
Whether you’re sewing clothing, quilts, or home decor, mastering the art of bias-bound seams can elevate your projects to a professional level and add a touch of style and durability.
FAQs
Can I use bias binding on straight seams, or is it only for curved edges?
While bias binding is often used on curved seams to accommodate the shape, you can absolutely use it on straight seams as well. Bias binding provides a clean finish and added durability to both straight and curved edges.
What width should I cut my bias strips for binding?
The width of your bias strips depends on your project and personal preference. Common widths for bias binding range from 1/2 inch (12mm) to 2 inches (5cm). Choose a width that suits the scale of your project and the look you want to achieve.
Is it better to purchase pre-made bias tape or make my own?
Both pre-made bias tape and homemade bias binding have their advantages. Pre-made tape is convenient and comes in a variety of colors and patterns. Making your own allows you to choose any fabric and customize the width to your liking.
Can I sew bias binding by hand if I don’t have a sewing machine?
Yes, you can sew bias binding by hand using a slip stitch or whip stitch. It may be more time-consuming than using a machine, but it can yield beautiful results. Ensure that your stitches are even and secure to achieve a neat finish.
How do I handle corners when sewing a bias-bound seam?
Corners can be a bit tricky when sewing bias binding. To handle them, stop sewing a seam allowance’s width away from the corner, pivot the fabric and binding at a 45-degree angle, and continue stitching down the next side.
This creates a mitered corner, which gives a clean and polished appearance.
Conclusion
Sewing a bias-bound seam is a versatile technique that can transform your sewing projects into works of art. It offers both functional and aesthetic benefits, adding strength and style to your seams.
By following the steps outlined in this tutorial, you’ve gained the knowledge and skills needed to create beautifully finished edges on garments, quilts, and various other fabric creations.
Remember that practice is key to mastery, so don’t hesitate to experiment with different fabrics and binding materials to achieve the look you desire.
Whether you’re aiming for a classic, understated finish or a bold, contrasting edge, bias binding allows you to unleash your creativity.
So, as you embark on your sewing adventures, embrace the art of bias-bound seams, and let your imagination run wild.
With each project, you’ll refine your technique and discover new ways to enhance the quality and aesthetics of your handmade treasures.
Leave a Reply