Altering a blouse to achieve the perfect fit is a valuable skill that can transform your clothing and your wardrobe’s versatility.
Whether you’re looking to rescue a cherished blouse that’s become a bit too snug or personalize a thrift store find, the ability to adjust its size easily is a sustainable solution that can save you money and reduce fashion waste.
In this guide, we’ll walk you through the steps to effortlessly alter a blouse to make it bigger or smaller.
With some basic sewing techniques, the right tools, and attention to detail, you can give your blouse a second life, ensuring it complements your body and style perfectly.
How to Alter a Blouse to Make It Bigger or Smaller Easily?
Altering a blouse to achieve the perfect fit is a practical and sustainable way to update your wardrobe. Whether your blouse is too tight or loose, you don’t need to discard it or spend money on a new one.
You can easily resize your blouse with some basic sewing skills and a few tools.
Here’s a step-by-step guide on how to alter a blouse to make it bigger or smaller:
To Make a Blouse Bigger: 8 Steps
Altering a blouse to make it more significant is a straightforward process that can help you salvage a favorite garment or thrift store find that’s too snug.
Here’s a detailed guide on how to do it:
Step 1: Assess the Fit
Begin by trying on the blouse and carefully evaluating how it fits on your body. Pay close attention to areas that feel tight or restrictive. Using pins or chalk, mark these areas to guide your adjustments.
This initial assessment is crucial in determining where and how much you need to make the blouse bigger, ensuring a comfortable fit.
Step 2: Turn the Blouse Inside Out

Gently turn the blouse inside out to expose the seams that require modification. This step provides access to the areas where you’ll be making alterations.
Handling the garment with care is essential to avoid damaging it during the process.
Step 3: Remove Existing Stitches
With a seam ripper in hand, painstakingly remove the existing stitches along the areas you’ve marked for adjustment. Take your time and work methodically to avoid damaging the fabric.
By carefully undoing the original stitching, you’ll create openings to insert extra fabric to make the blouse bigger.
Step 4: Prepare the Extra Fabric
Select an extra fabric that closely matches your blouse’s color and texture. Cut pieces of this fabric slightly larger than the gaps created by removing the stitches.
This extra fabric will seamlessly integrate into the garment to achieve the desired enlargement.
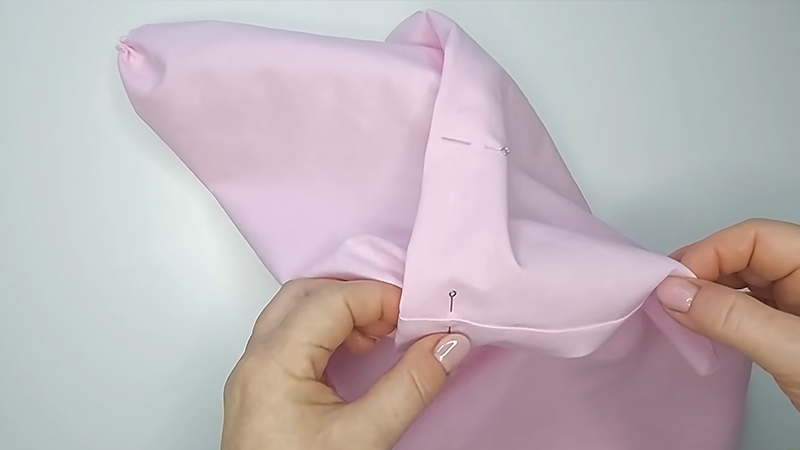
Step 5: Pin and Sew the Extra Fabric
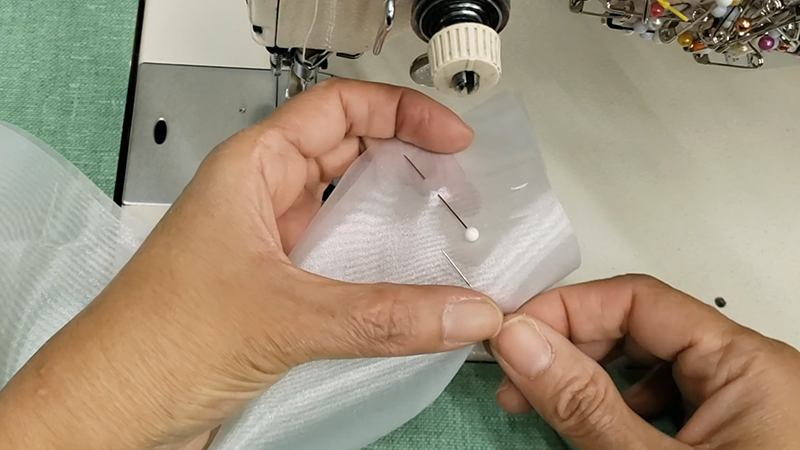
Using pins, secure the extra fabric pieces to the edges of the gaps inside the blouse. Pay attention to proper alignment to maintain symmetry.
Carefully sew the extra fabric in place using a sewing machine and thread that matches the original stitching. Choose a stitch style that matches the original seams, ensuring a consistent and professional appearance.
Step 6: Trim and Finish
After sewing, trim any excess fabric and threads to create a tidy and polished look. Use an iron to press the seams to flatten and blend the newly added fabric seamlessly with the rest of the garment.
This step is essential for achieving a finished and cohesive appearance.
Step 7: Try It on
Once you’ve completed the alterations, put the blouse back on to assess the fit. Take time to ensure that it feels comfortable and that the added fabric blends naturally with the original garment.
This step allows you to make any final adjustments for the perfect fit.
Step 8: Final Touches
Conduct a final inspection, trimming any remaining loose threads and pressing the seams as needed. This attention to detail ensures that your blouse looks professionally altered and ready to be worn confidently.
To Make a Blouse Smaller: 8 Steps
Altering a blouse to make it smaller is a practical and sustainable way to ensure your clothing fits comfortably and flatters your figure. This step-by-step guide will walk you through the process with ease.
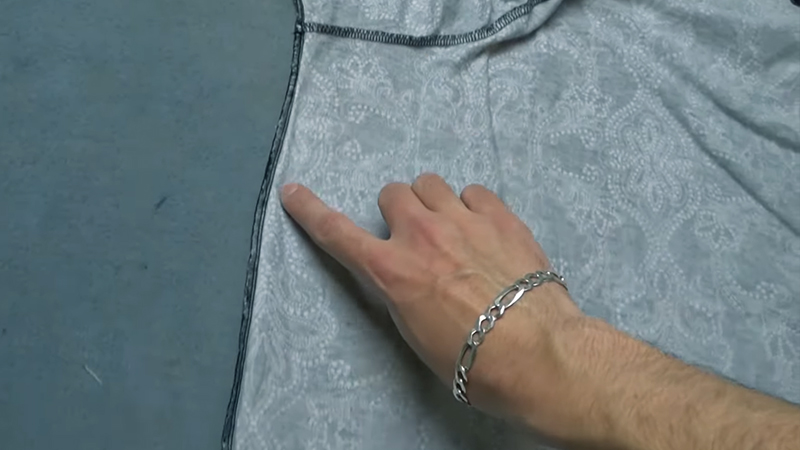
Step 1: Assess the Fit
Start by trying on the blouse and critically evaluating how it fits on your body. Identify the areas that need to be made smaller and use pins or chalk to mark these areas.
This initial assessment will guide your adjustments and help you achieve a more comfortable and flattering fit.
Step 2: Turn the Blouse Inside Out
Carefully turn the blouse inside out, exposing the seams that require modification. This step provides access to the areas where you’ll be making alterations.
Be gentle to avoid any damage to the fabric during this process.
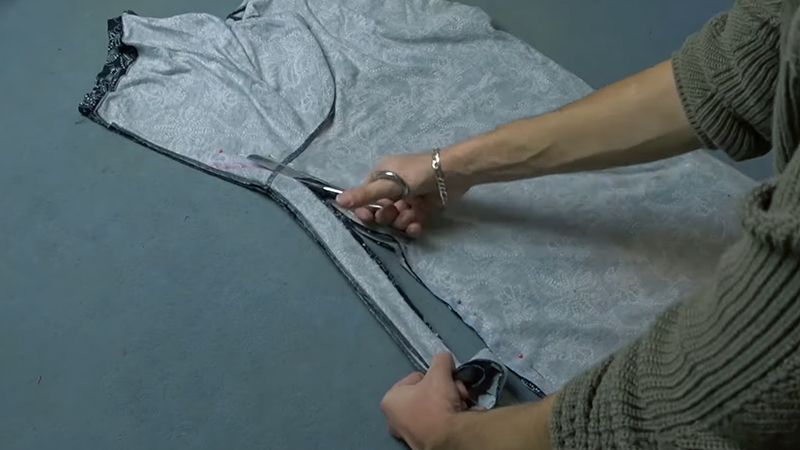
Step 3: Remove Existing Stitches
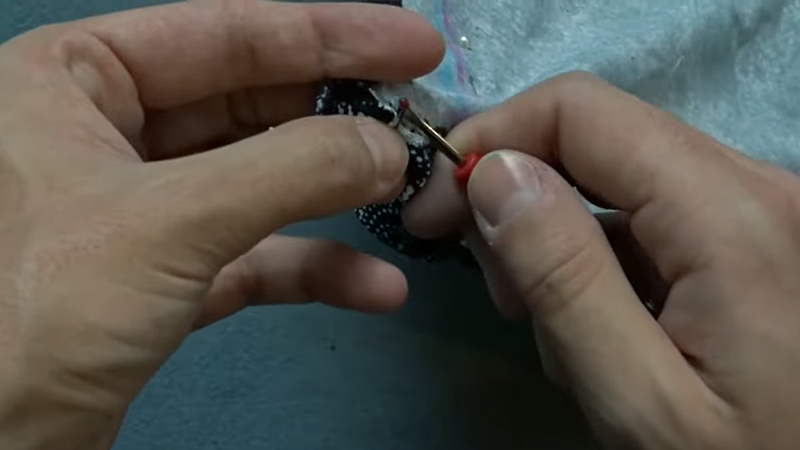
Using a seam ripper, meticulously remove the existing stitches along the areas you’ve marked for adjustment. Take your time and work methodically to avoid any harm to the fabric.
By undoing the original stitching with care, you create openings where you can tailor the blouse to make it smaller.
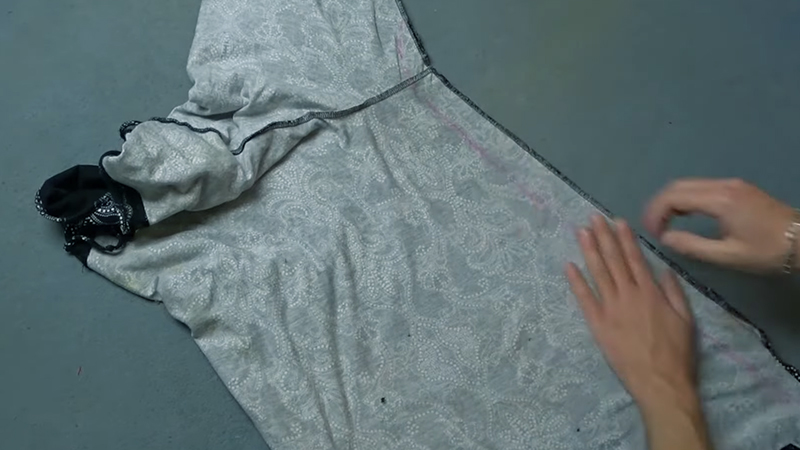
Step 4: Pin the Edges Together
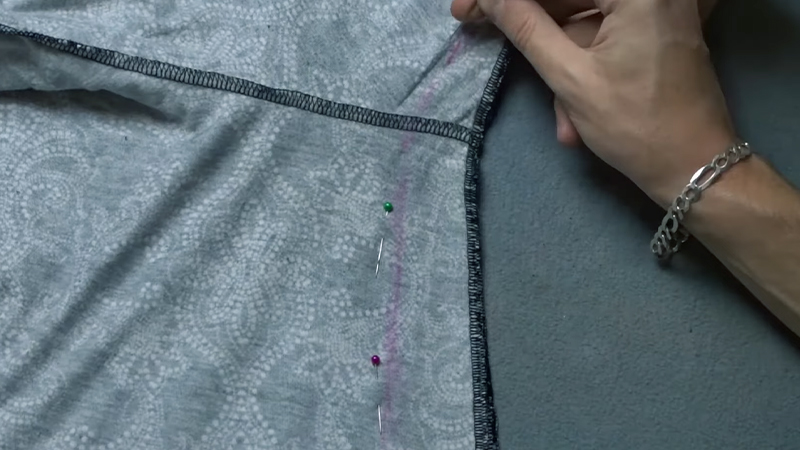
Pin the edges of the gaps together on the inside of the blouse. Ensure proper alignment for a symmetrical and well-fitting result. These pinned areas will be securely sewn together to reduce the size of the blouse.
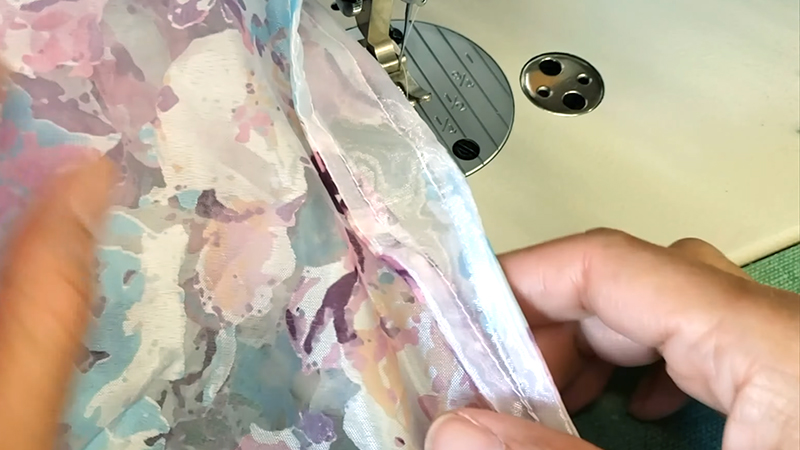
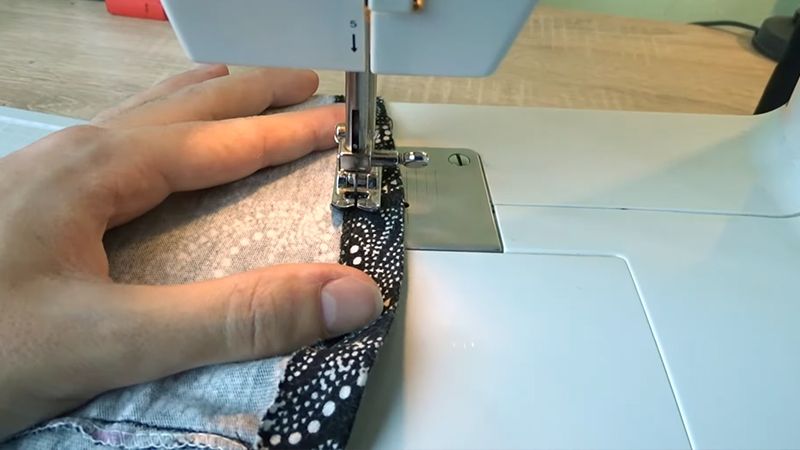
Step 5: Sew the Seams
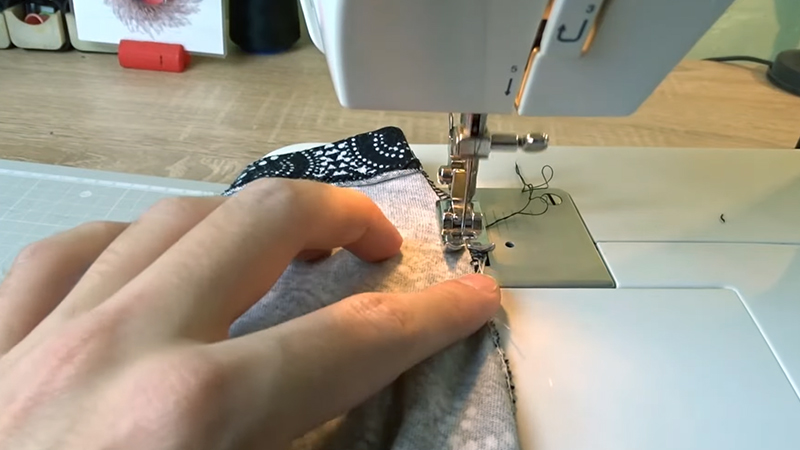
Sew the edges you’ve pinned together using a sewing machine and thread that matches the original stitching. Select a stitch style that resembles the original seams to maintain a cohesive and professional appearance.
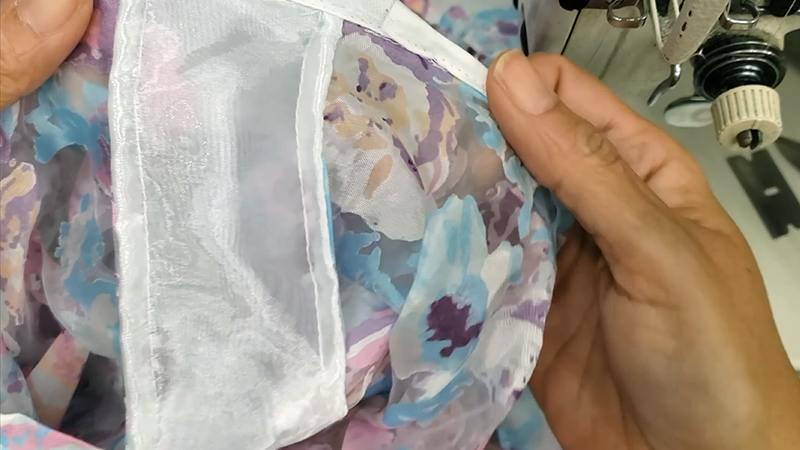
Step 6: Trim and Finish
After sewing, trim any excess fabric and threads to create a neat and polished look. To flatten and blend the newly altered seams seamlessly with the rest of the garment, use an iron to press them.
This step is essential for achieving a finished and cohesive appearance.
Step 7: Try It on
Put the blouse back on to evaluate the fit. Take your time to ensure that it feels comfortable and that the alterations have resulted in a blouse that flatters your body shape.
Make any final adjustments, if necessary, to achieve the desired fit.
Step 8: Final Touches
Conduct a final inspection, trimming any remaining loose threads and pressing the seams as needed. Attention to detail in this step ensures that your blouse appears professionally altered, allowing you to enjoy your newly resized garment confidently.
Tips for Effortlessly Altering Blouses to Achieve the Perfect Fit
Altering a blouse to achieve the perfect fit doesn’t have to be a daunting task. With the proper knowledge and a few clever tricks, you can quickly transform a blouse that’s too big or too small into one that complements your body beautifully.
Here are some valuable tips to help you effortlessly alter blouses and achieve that flawless fit:
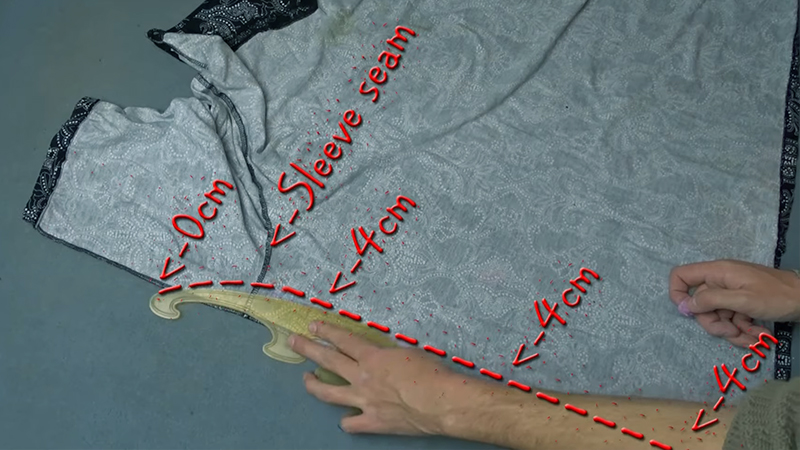
Begin With a Thorough Assessment
Start by wearing the blouse and identifying areas that need adjustment. Use pins or chalk to mark tight or loose spots and measurements to quantify the alterations required.
This initial assessment provides a clear picture of where your focus should be.
Invest in Quality Tools
High-quality tools, including a sharp seam ripper, a reliable sewing machine or needle and thread, quality pins, and fabric markers, are essential for a successful blouse alteration project.
They make the process more efficient and the results more professional.
Understand Your Sewing Machine
If you’re using a sewing machine, get acquainted with its settings, including stitch length, tension, and presser foot adjustments. This knowledge ensures you can adapt your machine to suit the fabric and type of alteration.
Start Small
Begin with minor adjustments to gauge their impact. This approach allows you to refine your alterations progressively and avoid overdoing it. Continually test the fit to ensure it aligns with your desired outcome.
Match Thread and Fabric
Choose a thread that closely matches the blouse’s color. A well-matched thread ensures that your alterations blend seamlessly with the original garment.
Preserve Original Hemlines
Maintain the blouse’s original hemlines whenever possible, as they often have a professional finish. This saves you time and effort while preserving the garment’s overall appearance.
Alter the Seams First
For making a blouse smaller, focus on altering the seams initially. This approach allows for precise adjustments without drastically changing the blouse’s style.
For enlarging, add extra fabric to seams or incorporate darts as needed.
Take Care With Buttons and Zippers
Blouses with buttons or zippers require special attention. Ensure these features function correctly after alterations, possibly by adjusting their placement or creating new buttonholes.
Press Seams Carefully
After sewing alterations, use an iron to press the seams. Pressing ensures the fabric lies flat and the alterations blend seamlessly. It provides a polished appearance and sets stitches in place.
Practice Makes Perfect
If you’re new to sewing or clothing alterations, practice on scrap fabric first. This helps you gain confidence and refine your techniques, reducing the risk of errors on your cherished clothing.
Seek Professional Help When Needed
Consult a professional tailor for complex alterations, delicate fabrics, or when uncertain. Their expertise can ensure that challenging alterations are executed with precision.
Regular Maintenance
To extend the life of your altered blouse, follow care instructions meticulously. Address stains promptly, mend loose threads or popped stitches, and store the blouse properly to keep it looking its best for numerous occasions.
FAQs
Can I alter any blouse?
Yes, you can alter most blouses, but the ease of alteration may vary depending on the fabric and construction. Delicate fabrics or highly structured blouses may require more care and skill.
I don’t have a sewing machine; can I still make these alterations?
Yes, you can. You can make these alterations with a needle and thread, but it may require more time and patience.
What if I make a mistake during the alteration process?
If you make a mistake, don’t panic. Carefully undo the stitches and try again. Consider practicing on scrap fabric before working on your blouse.
Is it better to make gradual adjustments or simultaneously go for a significant change?
Gradual adjustments are often safer, especially if you’re new to sewing. It’s easier to take in more fabric if needed rather than having to let it out.
Can I take in or let out a blouse multiple times if needed?
Yes, you can alter a blouse multiple times if necessary, as long as there’s enough fabric to work with. However, each alteration may weaken the fabric slightly, so be mindful of this.
To Recap
The art of altering a blouse to make it bigger or smaller empowers you to breathe new life into your clothing collection while promoting sustainability and resourcefulness.
This skill allows you to rescue beloved garments and adapt them to your ever-changing body shape or style preferences.
With careful assessment, precision in teamwork, and a keen eye for detail, you can quickly achieve a professional and customized fit that ensures your blouse flatters your figure and complements your fashion sense.
By embracing the art of alteration, you not only save money and reduce fashion waste but also gain a valuable skill that can serve you for a lifetime, making your clothing not just a fashion statement but a sustainable and tailored expression of your personality.
Leave a Reply