Using different presser feet in sewing is akin to having a diverse set of tools in a craftsman’s workshop.
Each presser foot serves a unique purpose, unlocking a world of possibilities for enhancing the quality and efficiency of your sewing projects.
From creating precise buttonholes to achieving flawless zippers, these specialized attachments play a pivotal role in elevating the professional finish of your creations.
Whether you’re quilting, embroidering, or simply sewing a straight seam, choosing the right presser foot can significantly impact the outcome.
In this guide, we’ll explore the myriad benefits of employing various presser feet, empowering you to take your sewing skills to new heights.
What Are Presser Feet?
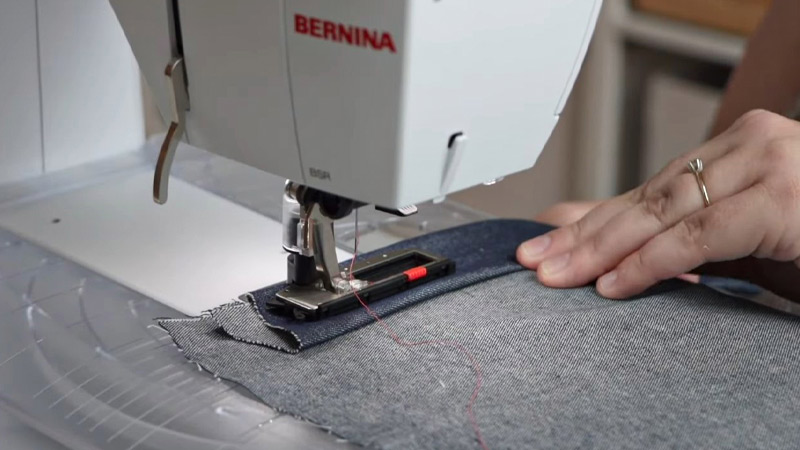
Presser feet are essential attachments in sewing machines that play a pivotal role in guiding fabric through the stitching process.
These small, detachable devices are positioned below the sewing machine’s needle and press against the fabric, holding it firmly against the machine’s feed dogs.
Presser feet come in a wide variety of designs, each tailored to specific sewing tasks.
They serve multiple functions, from ensuring precise seam allowances and preventing fabric slippage to facilitating specialized techniques like buttonholing, quilting, and embroidery.
The use of different presser feet enhances sewing versatility, precision, and efficiency, enabling sewists to tackle various projects and achieve professional-quality results.
Why to Use Different Presser Feet for Sewing?
Using different presser feet is an essential aspect of sewing that can greatly enhance the quality and efficiency of your projects.
Here are several compelling reasons why you should utilize various presser feet in your sewing endeavors:
Versatility
Having a variety of presser feet at your disposal means you can take on a wider range of sewing projects.
For instance, a cording foot allows you to add decorative cords to your creations, while a button sewing foot makes attaching buttons a breeze.
This versatility empowers you to tackle diverse sewing tasks with confidence and ease.
Professional Finish
When you use the right presser foot for the job, your sewing projects exude a level of professionalism that’s hard to achieve otherwise.
A blind hem foot, for instance, creates virtually invisible hems on garments, giving them a store-bought appearance.
This attention to detail elevates the overall quality of your creations.
Time Efficiency
Presser feet are designed to streamline specific sewing operations. For example, a serger foot makes finishing edges quick and efficient, while a quilting foot simplifies the process of quilting intricate patterns.
These specialized feet help you complete tasks in less time, allowing you to take on more projects or devote extra time to perfecting your craft.
Precision and Accuracy
Achieving consistent seam allowances and stitch lengths is crucial for a professional-looking finish.
Presser feet like the edge-stitching foot provide guides and markers that ensure your stitches are straight and evenly spaced.
This precision elevates the overall appearance of your sewing projects.
Ease of Use
Certain presser feet come with built-in guides and markings that make executing complex techniques much easier.
For instance, a rolled hem foot includes a channel for folding and guiding the fabric, resulting in a neat, narrow hem without the need for meticulous folding by hand. This convenience simplifies intricate sewing tasks.
Reduced Fabric Shifting
The walking foot, also known as an even feed foot, is particularly valuable when working with multiple layers of fabric or slippery materials.
This foot has feed dogs that move the upper layer of fabric in sync with the lower layer, preventing shifting and ensuring precise stitching.
This is especially important in tasks like quilting.
Specialized Techniques
Some projects demand specialized techniques that can be facilitated by specific presser feet.
A ruffler foot, for example, allows you to create even, perfectly spaced pleats or gathers in fabric.
This foot automates what would otherwise be a time-consuming and labor-intensive process.
Increased Creativity
With specialized presser feet, you have the tools to explore various decorative techniques.
An embroidery foot, for instance, allows you to attach intricate embroidery designs with precision.
This opens up a world of creative possibilities, enabling you to add personalized touches to your sewing projects.
Avoidance of Fabric Damage
Using the wrong presser foot can lead to fabric distortion, puckering, or even tearing.
For instance, attempting to sew heavy fabrics with a standard foot can strain both the fabric and your sewing machine.
Using a heavy-duty foot designed for thicker materials ensures smooth and damage-free sewing.
Improved Ergonomics
Some presser feet are designed with ergonomic considerations in mind.
A walking foot, for example, reduces the need for excessive force and manipulation when working with challenging fabrics.
This minimizes strain on your hands and allows for a more comfortable and enjoyable sewing experience.
What Are Some Common Types of Presser Feet and What Are They Used For?

You also need to know which presser foot is suitable for your project.
Here are many types of presser feet available, but some of the most common ones are:
All-Purpose Foot
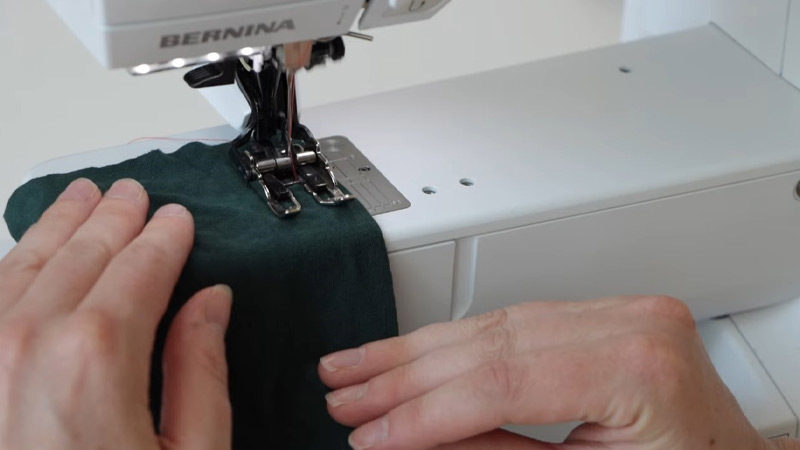
The all-purpose foot is the go-to foot for most sewing tasks.
It accommodates both straight and zigzag stitches, making it versatile for various applications such as garment construction, basic alterations, and general sewing projects.
Zipper Foot
The zipper foot is designed with a narrow, adjustable slot that allows it to get close to edges, zippers, and piping.
It’s invaluable for creating neat and precise zipper installations in garments, cushions, and bags.
Buttonhole Foot
This specialized foot comes with a sensor or guide that measures the size of the button.
It then automatically creates a buttonhole with the perfect dimensions, ensuring a snug fit for the button.
Blind Hem Foot
The blind hem foot is equipped with a guide that helps fold the fabric while sewing.
This results in nearly invisible hems, making it particularly useful for creating professional-looking finishes on garments and home decor items.
Overcasting Foot
The overcasting foot is designed to prevent fabric edges from fraying.
It works by aligning the fabric edge with the guide on the foot, allowing the machine to apply a stitch that encapsulates the raw edge.
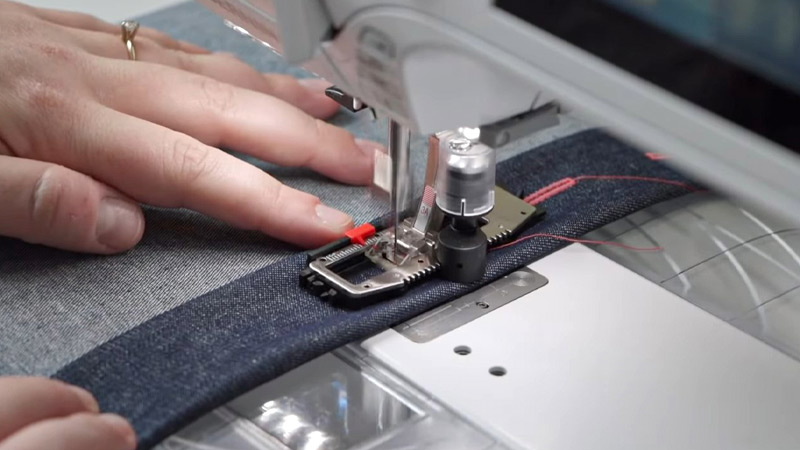
Walking Foot
This foot has a set of feed dogs (teeth) that work in conjunction with the sewing machine’s built-in feed dogs.
This dual-feeding system ensures that multiple layers of fabric are fed evenly through the machine.
It’s a must-have for quilting, sewing stretch fabrics, and working with fabrics that tend to shift during sewing.
Button Sewing Foot
The button sewing foot is equipped with a small clamp that holds the button in place while the machine stitches it securely.
This eliminates the need for manual button sewing, saving time and ensuring buttons are firmly attached.
Satin Stitch Foot
The satin stitch foot is wider and flatter to accommodate dense or decorative stitches. It provides a smooth surface for the stitches to form without getting caught on the foot.
This foot is essential for creating intricate appliqué and decorative stitching.
How to Choose the Right Presser Foot for Your Project?
Choosing the right presser foot is crucial for achieving the best results in your sewing projects.
Here are steps to help you make the right selection:
Understand Your Project
Take the time to thoroughly examine the project you’re working on.
Consider factors such as the type of garment or item you’re making, the intended use, and any specific details or techniques involved.
This initial assessment will guide you in selecting the most appropriate presser foot.
Read the Manual
The manual that comes with your sewing machine is a valuable resource. It often provides detailed information about the various presser feet that are compatible with your machine.
Review the manual to familiarize yourself with the available options and their intended uses.
Research Specialized Feet
If your project involves specific techniques, such as inserting zippers, creating ruffles, or attaching bias tape, research which presser feet are designed for these tasks.
Many sewing machine manufacturers offer specialized feet that can greatly simplify and enhance these processes.
Consider Fabric Type
The type of fabric you’re working with is a crucial factor in choosing the right presser foot.
For example, a walking foot is excellent for handling multiple layers or slippery fabrics, while a Teflon or roller foot is designed for materials like leather or vinyl.
Ensure that the presser foot you choose is compatible with the fabric you’re using.
Evaluate Stitching Needs
If your project involves decorative stitching, consider which presser feet have specific capabilities for creating unique patterns.
For instance, an open-toe embroidery foot provides excellent visibility for executing intricate embroidery designs, while a cording foot is perfect for adding decorative cords or piping.
Check for Compatibility
Verify that the presser foot you’re considering is compatible with your specific sewing machine model.
While many presser feet are universal and fit a wide range of machines, some may be designed for specific brands or models. Double-check compatibility to ensure a proper fit.
Test on Scrap Fabric
Before starting on your actual project, it’s good practice to test the chosen presser foot on a scrap piece of fabric.
This allows you to familiarize yourself with how the foot works with your machine and fabric.
It also provides an opportunity to make any necessary adjustments to settings like stitch length or tension.
Consider Adjustments
Some presser feet may require adjustments to the needle position, stitch length, or tension settings.
Refer to your sewing machine manual for guidance on making these adjustments.
Taking the time to fine-tune these settings will help ensure smooth and accurate stitching.
Seek Recommendations
Don’t hesitate to seek advice from experienced sewists. Online forums, sewing communities, and in-person classes can be excellent sources of recommendations and tips for choosing the right presser foot for your specific project.
Others may have valuable insights based on their own experiences.
Invest in a Presser footset
If you frequently engage in a variety of sewing techniques, consider investing in a presser footset.
These kits often include a range of specialized feet for tasks like quilting, piping, gathering, and more.
Having a diverse set of presser feet on hand can greatly expand your sewing capabilities.
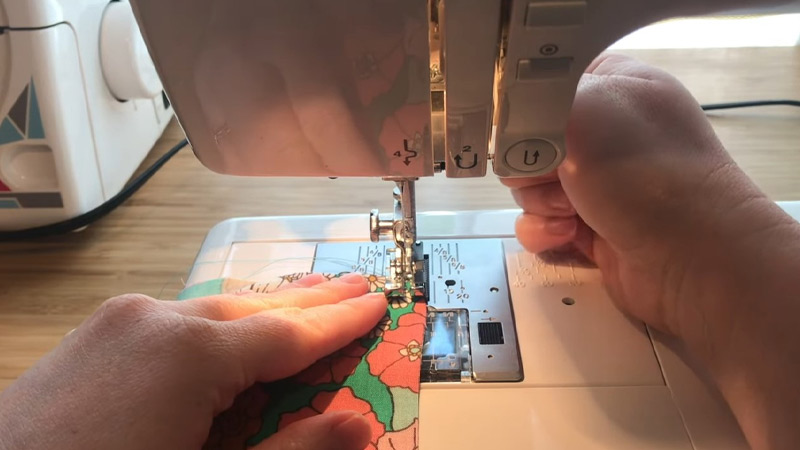
How to Change the Presser Foot on Your Sewing Machine?
Changing the presser foot on your sewing machine is a straightforward process.
Here’s a step-by-step guide:
Turn Off the Machine
Ensuring the machine is turned off and unplugged is a crucial safety measure. This prevents any accidental starts or electrical mishaps while you’re changing the pressure foot.
Raise the Presser Foot Lever
The presser foot lever is typically located at the back of the sewing machine, near the needle area.
By lifting it up, you disengage the current presser foot, allowing you to remove it.
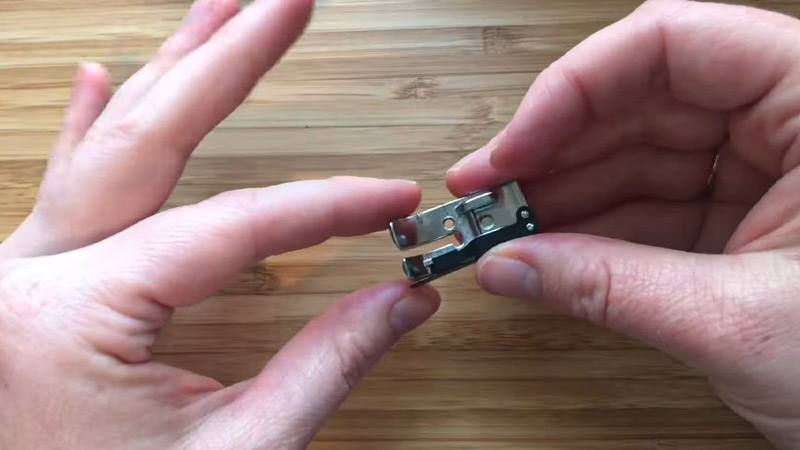
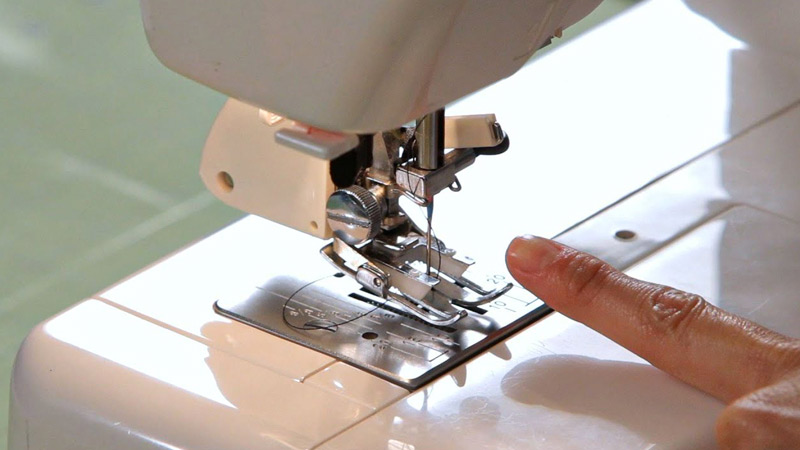
Release the Current Presser Foot
With the presser foot lever raised, gently grasp the sides or back of the current presser foot. Give it a slight tug towards you.
It should detach easily from the presser foot holder. If it doesn’t, double-check that the presser foot lever is fully raised.
Select the New Presser Foot
Consider the specific needs of your sewing project and choose the presser foot that is best suited for the task at hand. Make sure it’s compatible with your sewing machine model.
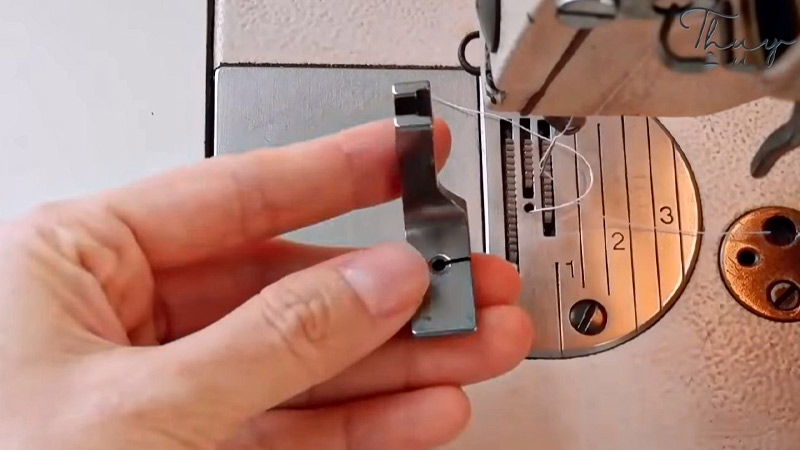
Position the New Presser Foot
The shank of the presser foot is the flat, narrow part that fits into the presser foot holder on the machine. Align it with the holder, ensuring it’s seated properly.
Lower the Presser Foot Lever
Gently lower the presser foot lever back into its original position. This action secures the new presser foot in place.
You should hear or feel a slight click as it snaps into position.
Check for Attachment
To ensure that the new presser foot is securely in place, give it a gentle tug. It should not wobble or come loose.
If it feels unstable, recheck the alignment and make sure it’s properly seated.
Adjust Presser Foot Pressure
Depending on your sewing machine model, you may have the option to adjust the pressure exerted by the presser foot on the fabric.
This is especially useful when working with different fabric thicknesses. Consult your sewing machine manual for instructions on making any necessary adjustments.
Plug in and Power On
Once you’re confident that the new presser foot is securely attached, plug in your sewing machine and power it on.
Be sure to follow the safety precautions outlined in your machine’s manual.
Test on Scrap Fabric
Before beginning your actual project, it’s good practice to test the new presser foot on a scrap piece of fabric.
This allows you to become familiar with how it interacts with your machine and fabric.
It’s also an opportunity to make any final adjustments to settings like stitch length or tension.
FAQs
Why should I use different presser feet in sewing?
Using different presser feet enhances your sewing versatility and precision, enabling you to tackle a wide range of tasks with professional results.
What is the advantage of specialized presser feet?
Specialized presser feet are designed for specific techniques, such as buttonholing, quilting, or piping, making these tasks easier, faster, and more precise.
Can using the wrong presser foot affect my sewing project?
Yes, using the wrong presser foot can lead to fabric damage, uneven stitches, or subpar results. Choosing the appropriate foot is essential for quality sewing.
Are presser feet compatible with all sewing machines?
While many presser feet are universal, some are designed for specific machine models. Always check compatibility to ensure a proper fit.
Do presser feet require special skills to use?
Presser feet are user-friendly and typically come with instructions. With practice, you can become proficient in using various presser feet to enhance your sewing skills.
To Recap
Incorporating various presser feet into your sewing repertoire is akin to having a tailor’s toolkit at your disposal.
Each foot brings a unique capability, unlocking a world of creative and technical possibilities. From delicate embroidery to robust quilting, these specialized attachments elevate your projects to professional standards.
The right presser foot ensures precision, efficiency, and a polished finish. By understanding their functions, you empower yourself to tackle a diverse range of sewing tasks with confidence.
Embracing the versatility of presser feet not only enriches your sewing experience but also leads to impeccable results, making them an indispensable asset in any sewing enthusiast’s toolkit.
Leave a Reply