Embarking on the journey of crafting cross-stitch ornaments is a delightful venture into the world of intricate needlework and creative expression.
These miniature masterpieces add a touch of handmade charm to holiday decor or special occasions.
Whether you’re a novice or a seasoned stitcher, this guide will walk you through the steps to create your own personalized ornaments.
From selecting materials and patterns to perfecting each stitch, you’ll discover the art of transforming a blank canvas of fabric into a work of art.
With patience, practice, and a sprinkle of creativity, you’ll soon have a collection of cherished cross-stitch ornaments to adorn your surroundings.
How to Make Cross-Stitch Ornaments?
Cross-stitch ornaments are a delightful way to add a personal touch to your holiday decor or give thoughtful handmade gifts to your loved ones.
This timeless craft involves creating intricate patterns by stitching X-shaped stitches onto fabric.
Here’s a step-by-step guide on how to make cross-stitch ornaments:
Materials Needed:
- Aida Fabric.
- Embroidery Floss.
- Embroidery Hoop.
- Needles.
- Scissors.
- Pattern.
Step-by-Step Instructions:
Prepare Your Fabric
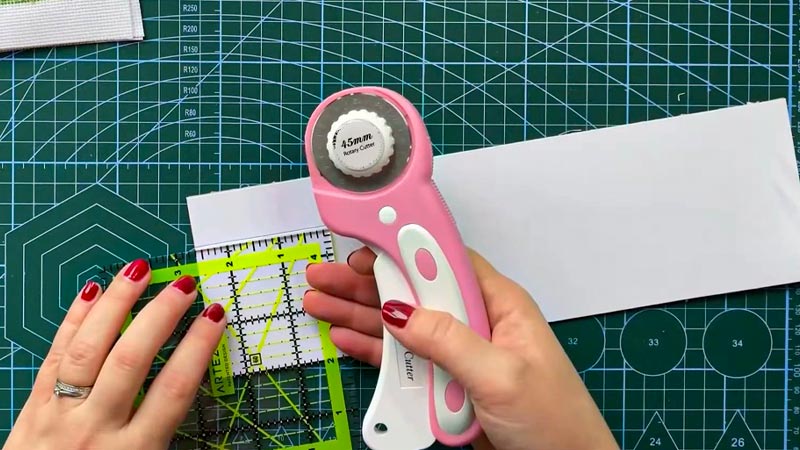
Begin by cutting your Aida fabric to the desired size for your ornament. Use fabric scissors to ensure clean, straight edges.
When you’re concerned about fraying, consider using pinking shears to give a zigzag edge or apply a fray check along the edges to prevent unraveling. Ensure your fabric is clean and free from any wrinkles before starting.
Choose Your Pattern
Select a cross-stitch pattern that fits the dimensions of your chosen fabric and aligns with the theme of your ornament. Take your time to choose a design that captures the spirit of the occasion, be it a festive motif or a personalized message.
Transfer the pattern onto your fabric using a water-soluble fabric marker or by counting the stitches carefully.
Thread Your Needle
Using your chosen embroidery floss colors, cut a thread length (about 18 inches) and separate it into two strands.
Thread your tapestry needle with the two strands and tie a secure knot at the end. Ensure the knot is large enough to prevent it from slipping through the fabric.
Stitch Your Design
Begin stitching following the pattern, starting from the center of your design and working outward. Pay close attention to the placement of each stitch to ensure your design looks symmetrical and neat.
Keep your stitches consistent in size and tension for a professional finish. Remember, practice and patience make perfect.
Secure Ends
When you’re ready to change colors or finish a thread, weave the end under several stitches on the backside of your work.
This anchors the thread securely and prevents it from coming loose over time. Trim any excess floss carefully, leaving a small tail.
Complete Your Design

Continue stitching until your entire design is complete. Take your time and enjoy the process. If you make a mistake, don’t be discouraged.
It’s all part of the learning experience. Remember, every stitch brings you closer to your finished ornament!
Finishing Touches
Once your cross-stitching is done, it’s time to give your work a polished look. Lay a pressing cloth over your work and, using a low-heat setting, gently iron to remove any wrinkles. Take care not to press too hard or use high heat, which may distort your stitches.
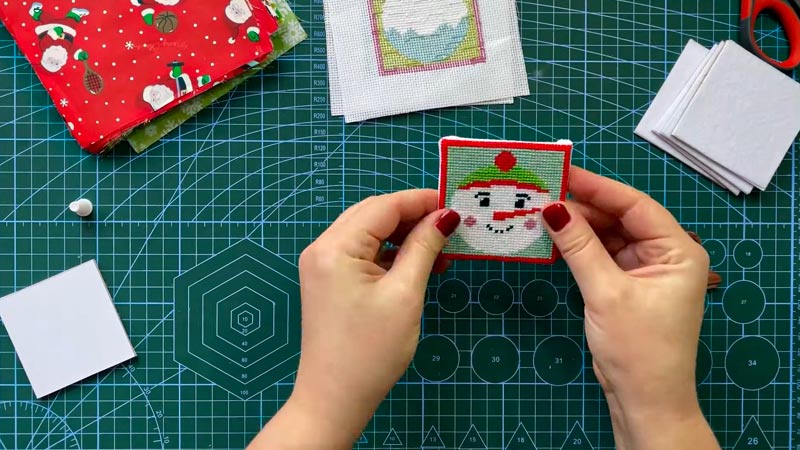
Add Backing
Cut a piece of coordinating felt or backing fabric that matches the dimensions of your ornament. Align it with the back of your cross-stitched piece and sew it in place using a running stitch along the edges. Leave an opening if you’re planning to create a 3D ornament.
Stuff and Seal
When you’re making a stuffed ornament, add polyester fiberfill through the opening between the front and backing fabric.
Take care not to overstuff, as it may distort your design. Once you’re satisfied with the stuffing, carefully sew the opening shut.
Attach a Hanger
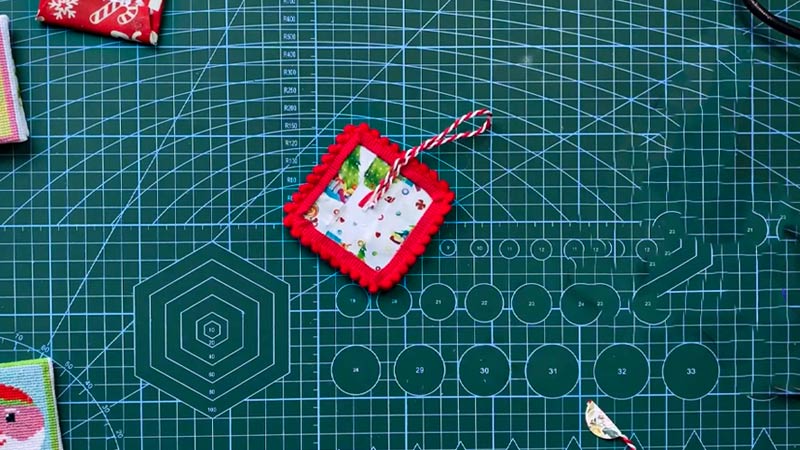
Cut a piece of ribbon or cord to your desired length for hanging. Form it into a loop and secure it to the top of your ornament using a few well-placed stitches. Ensure the loop is secure to support the weight of the ornament.
Final Trim
With sharp scissors, carefully trim any excess fabric or floss. Pay attention to detail, ensuring all edges are neat and tidy. Your cross-stitch ornament is now ready to be displayed with pride!
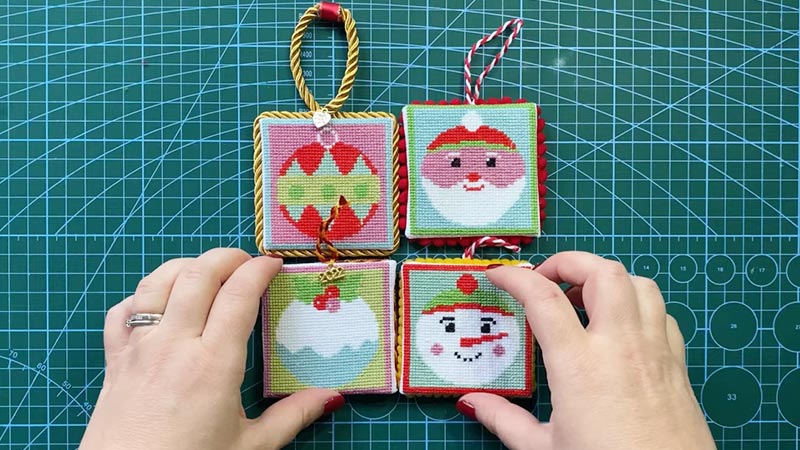
7 Beginner-Friendly Cross-Stitch Ornament Patterns
Cross-stitching is a delightful craft that allows you to create beautiful, handmade ornaments that can be cherished for years to come.
When you’re just starting out on your cross-stitching journey, here are seven beginner-friendly ornament patterns to get you started.
Classic Candy Cane
This timeless candy cane pattern is an ideal starting point for beginners. With just two colors and basic stitches, you’ll create an adorable holiday-themed ornament that will look great on any tree.
Cheerful Snowflake
Snowflakes are a staple of winter decor, and this pattern offers a simple yet elegant design. Practice your stitching with this symmetrical, easy-to-follow pattern that captures the season’s essence.
Heartfelt Lovebirds
Perfect for Valentine’s Day or as a symbol of love year-round, this pattern features a pair of sweet lovebirds perched on a branch.
The design is straightforward, making it a great choice for beginners looking to add a touch of romance to their stitching.
Starry Night Sky
Create a magical night sky with this beginner-friendly pattern. Stitch tiny stars against a dark fabric to evoke the feeling of gazing at the night sky. This design is both serene and enchanting.
Whimsical Christmas Tree
Bring the holiday spirit to life with a playful Christmas tree ornament pattern. With basic stitches and a variety of colorful floss, you’ll have a festive decoration that will brighten up any tree.
Adorable Animal Silhouettes
Choose from a range of cute animal silhouettes, such as a bunny, a kitten, or a puppy. These simple and charming designs make them a great choice for beginners who want to create personalized ornaments.
Delicate Floral Wreath
This pattern features a dainty wreath adorned with delicate flowers. It’s a lovely choice for those who want to add a touch of nature-inspired beauty to their ornaments. The pattern may look intricate, but it’s surprisingly beginner-friendly.
Care For My Cross Stitch Ornaments
Caring for your cross-stitch ornaments is essential to ensure they stay in good condition and retain their beauty for years to come. Follow these care instructions to preserve your handcrafted treasures:
Storage
Store your cross-stitch ornaments in a cool, dry place, away from direct sunlight, excessive moisture, and extreme temperatures.
Consider placing your ornaments in a clear plastic box or airtight container to prevent dust and dirt from accumulating.
Cleaning
Avoid washing or submerging your cross-stitch ornaments in water, as this can cause the colors to bleed or the fabric to become distorted.
Instead, gently remove dust with a soft, dry brush or a lint-free cloth. A small, clean makeup brush or a soft paintbrush works well for this purpose.
When your ornament becomes soiled, spot-clean it by lightly dabbing the stained area with a damp cloth. Use a mild, color-safe detergent if necessary, and be sure to test it on an inconspicuous area first.
Protection
Avoid displaying your ornaments in direct sunlight for extended periods to prevent fading.
When you plan to use your ornaments on a tree, make sure the tree lights are LED lights, as traditional incandescent lights can generate heat that may damage the fabric and threads.
Handling
Always handle your cross-stitch ornaments with clean hands. Oils and dirt from your skin can transfer to the fabric and cause discoloration over time.
Be gentle when handling and hanging ornaments to avoid pulling or stretching the fabric or threads.
Repairs
When you notice loose stitches or threads, address them promptly. Use a small, sharp needle to carefully re-stitch any loose areas. Ensure your repairs blend seamlessly with the original stitching.
Storage for the Off-Season
When the holiday season or occasion has passed, store your cross-stitch ornaments in acid-free tissue paper or acid-free archival boxes to prevent yellowing or damage.
Label your storage containers to easily identify the contents, especially if you have a collection of ornaments.
Framing
When creating cross-stitch ornaments you want to preserve as art pieces, consider framing them under UV-protective glass. This will provide an extra layer of protection against dust, dirt, and light exposure.
FAQS
What is cross-stitching?
Cross-stitching is a form of embroidery where X-shaped stitches are used to create a design on fabric.
What materials do I need to make cross-stitch ornaments?
You’ll need Aida fabric, embroidery floss, an embroidery hoop, a tapestry needle, scissors, backing fabric, stuffing, and ribbon or cord for hanging.
How do I choose the right pattern for my ornament?
Consider the size of your fabric, your skill level, and the occasion. Many websites offer free patterns, and you can also design your own using cross-stitch software.
Can I wash my cross-stitch ornaments?
It’s best to avoid washing them as it may cause the colors to bleed or distort the fabric. Instead, spot clean with a damp cloth if necessary.
How can I display and store my cross-stitch ornaments?
Display them in a cool, dry place, away from direct sunlight. To store, use acid-free tissue paper or archival boxes and label containers for easy identification. Avoid folding or creasing the ornaments.
To Recap
Crafting cross-stitch ornaments is a rewarding and timeless pursuit allowing you to infuse creativity and passion into every stitch.
These handcrafted treasures, whether adorning your own home or given as thoughtful gifts, hold a unique place in the hearts of both the creator and the recipient.
Through the careful selection of materials, the precision of stitching, and the infusion of personal meaning, you’ve embarked on a journey of artistic expression that transcends time.
As your collection of cross-stitch ornaments grows, so too will your skills and the joy they bring, making each holiday season and special occasion all the more memorable and cherished.
Leave a Reply