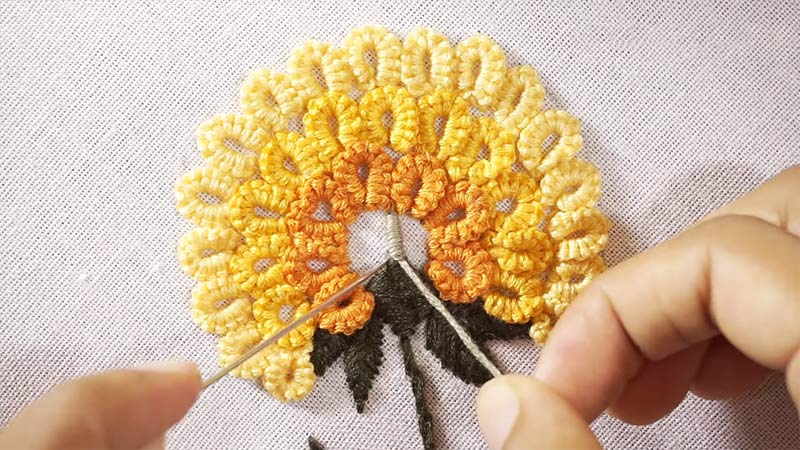
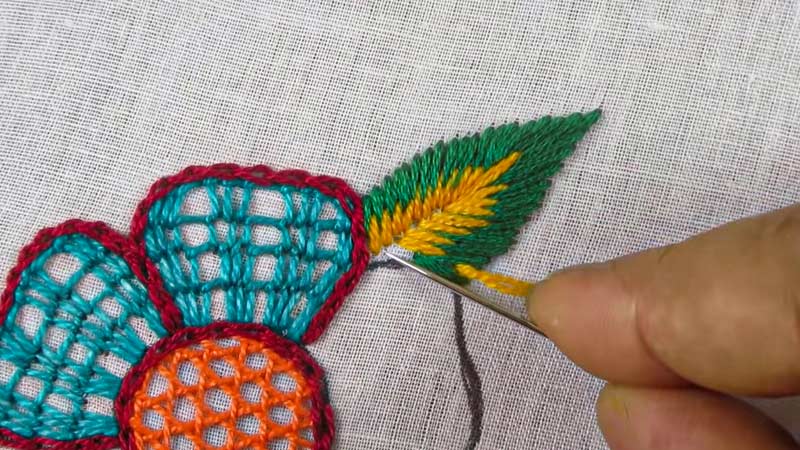
Embroidery, a captivating art form that weaves threads into intricate designs, often requires specific tools for optimal results. Among these tools, the needle plays a crucial role.
Many beginners ponder whether a regular needle from their sewing kit can suffice for embroidery projects. Should you use a regular needle or purchase some specialized tools?
In this exploration, we delve into needles and embroidery, addressing the question: Can you use a regular needle for embroidery?
We’ll unravel the characteristics that make an embroidery needle unique, exploring the impact of needle choice on the final masterpiece.
Whether you’re a novice crafter or an experienced hand at stitching, understanding the nuances of needle selection can elevate your embroidery journey.
Join us as we untangle the threads of curiosity and discern if your trusty regular needle can weave the magic of embroidery.
Can You Use A Regular Needle For Embroidery?
Central to the success of any embroidery project is the choice of needle. So, we’ll delve into the world of needles and address the question: Can you embroider with a sewing needle?
Understanding the Basics
Before determining whether a regular needle suffices for embroidery, let’s understand the essential distinctions between regular and embroidery needles.
A regular needle, designed for general sewing tasks, is typically straight and has a sharp point suitable for piercing fabric straightforwardly.
On the other hand, an embroidery needle is characterized by a longer and thicker eye, facilitating the use of multiple strands of embroidery floss or specialty threads.
The Impact of Needle Choice on Stitching
Embroidery is all about precision and detail. The choice of needle can significantly impact the outcome of your stitches. Using a regular needle may lead to frustration, especially when working with delicate fabrics or attempting intricate designs.
The giant eye of an embroidery needle allows for smoother thread passage, reducing the risk of fraying or tangling. Moreover, the pointed tip aids in creating clean, precise stitches.
Considerations for Using a Regular Needle: Embroidery Needle Vs Sewing Needle
While using a regular needle for embroidery is technically possible, specific considerations should be considered. A regular needle may suffice if you’re working on a small, simple project with basic stitches.
However, opting for an embroidery needle becomes essential when tackling more complex designs or using specialty threads. The risk of frustration and compromised results is higher when deviating from the recommended tools for the craft.
The Anatomy of an Embroidery Needle
Embroidery needles come in various sizes, each tailored to different fabrics and thread thicknesses. They have a giant eye to accommodate embroidery floss or specialty threads and a sharp point for easier piercing fabric.
The body of an embroidery needle is often slightly thicker than a regular needle, preventing breakage when used with thicker threads. These design features collectively contribute to the precision required for intricate embroidery work.
Thread Compatibility
Embroidery often uses various threads, from standard embroidery floss to metallic or specialty threads.
The giant eye of an embroidery needle accommodates these thicker threads, allowing for smooth stitching without causing unnecessary wear on the thread.
Regular needles may struggle to accommodate such threads, leading to uneven stitches and potential breakage.
Breaking Down the Myth
Using a regular needle for embroidery might stem from the idea that needles are interchangeable. While sewing and embroidery share similarities, they diverge in intricacy and detail.
Embroidery demands a higher level of precision, and the specialized features of an embroidery needle are tailored to meet these requirements.
Attempting intricate embroidery with a regular needle for embroidery is akin to painting a masterpiece with a broad brush – possible but lacking the finesse achievable with the right tools.
Investing in Your Craft
Embroidery is an investment of time and creativity. Investing in the appropriate tools, including quality embroidery needles, is worthwhile to enjoy the process and produce professional-looking results fully.
These needles are designed to enhance your stitching experience, allowing you to focus on the artistry of embroidery rather than grappling with unsuitable tools.
Expert Opinions on Normal Needle Embroidery
Seasoned embroiderers and crafting experts unanimously emphasize the importance of using the right needle. While creativity knows no bounds, ensuring that your tools align with the demands of your project is a fundamental principle in any artistic pursuit.
Experienced embroiderers often share stories of initial frustrations when using regular needles, highlighting the pivotal role of a purpose-made embroidery needle in achieving satisfying results.
Tips for Choosing Embroidery Needles
Choosing the right embroidery needle is crucial for achieving clean and precise stitches. Here are some tips to guide you in selecting the perfect needle for your embroidery project:
Understand Needle Sizes
Needles come in various sizes, denoted by numbers. Lower numbers indicate larger needles. Choose a needle size based on the fabric and thread thickness you plan to use. Thicker fabrics require larger needles.
Consider Fabric Type
Different fabrics demand different needle types. Use a sharp needle for tightly woven fabrics like cotton and linen and a ballpoint needle for knits to avoid snags.
Eye Size Matters
Embroidery needles have more prominent eyes compared to regular needles. Ensure the needle’s eye is wide enough to accommodate your chosen thread, especially with specialty threads or multiple strands.
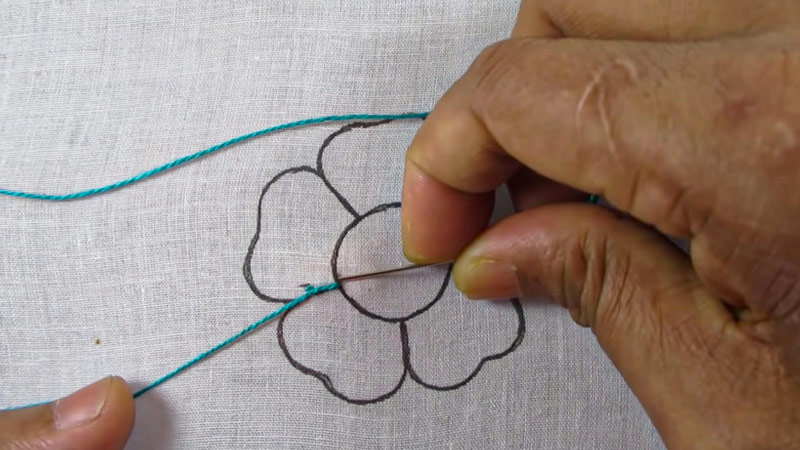
How to Thread an Embroidery Needle?

Threading an embroidery needle is a fundamental skill that sets the stage for a successful stitching experience. Whether you’re a novice embroiderer or looking for a refresher, here’s a step-by-step guide on how to thread a needle for embroidery:
Gather Your Supplies
Before you start, ensure you have the necessary supplies. You’ll need an embroidery needle, floss or thread, regular or DIY embroidery hoop, and a well-lit work area.
Choose an embroidery needle with a large enough eye to accommodate your thread. The eye should be comprehensive but not too big to prevent unnecessary friction.
Cut the Thread
Trim the end of your embroidery floss or thread cleanly using sharp scissors. A clean cut reduces fraying and makes threading easier.
Embroidery floss often comes in strands. Depending on your project, you might need to separate the strands. Pull apart the desired number of strands, holding the remaining ones together.
Straighten the thread
Hold the cut end of the thread between your fingers and run it through your fingers to straighten and align the fibers. This step minimizes tangles during threading.
Optionally, moisten the tip of the thread slightly using your lips or a damp cloth. This can help in threading by binding the fibers together.
Thread the Needle
Pinch the end of the thread between your thumb and forefinger, creating a flattened section. Hold the needle in your other hand. Position the flattened end of the thread near the eye of the needle.
With your dominant hand, guide the eye of the needle onto the flattened section of the thread. Apply gentle pressure to push the thread through the eye.
Use a Needle Threader (if needed)
Consider using a needle threader if you find threading the needle challenging, especially with fine threads. Insert the wire loop of the threader through the eye of the needle, then pass the thread through the loop and pull it back through the needle.
Check the Thread Placement
Once threaded, ensure that the thread is pulled through the eye evenly. A balanced thread prevents uneven tension while stitching.
Leave a small tail of thread (about 2-3 inches) hanging from the eye of the needle. This tail prevents the thread from slipping out while stitching.
Secure the Thread
Tie a small knot at the end of the thread opposite the needle, creating a secure anchor point. This prevents the thread from accidentally pulling through the fabric.
With the needle threaded and secured, you’re ready to start your embroidery project. Practice basic stitches on a scrap piece of fabric to familiarize yourself with the threaded needle.
Tips for Success
Ensure your workspace is well-lit. Proper lighting makes it easier to see the needle’s eye and thread, reducing eyestrain.
Choose a thread color that contrasts with your fabric. This makes seeing the needle’s eye easier and ensures a clean thread pass.
FAQs
How do I choose the right size embroidery needle?
Select the needle size based on your fabric and thread thickness. Smaller needles work well for intricate designs, while larger needles suit thicker fabrics. Experiment with different sizes to find the perfect match for your project.
Why does my thread keep breaking during embroidery?
Thread breakage can result from using the wrong needle. Ensure you’re using an embroidery needle designed for your thread type. Additionally, check the needle’s condition, as a worn or damaged needle can cause thread breakage.
Can I use embroidery needles with all types of fabric?
While embroidery needles are versatile, matching the needle type with your fabric is essential. Use a sharp needle for tightly woven fabrics and a ballpoint needle for knits to avoid snags. Adjust based on your specific project needs.
Do I need to separate embroidery floss strands before threading?
It depends on your project. For finer details, separate the strands and use only what is necessary. Keep the remaining strands together to maintain thread integrity. Experiment with different strand combinations to achieve the desired effect.
How do I prevent knots when threading an embroidery needle?
To avoid knots, straighten and align the thread fibers by running them through your fingers before threading. Moisten the thread slightly, if needed. Additionally, leave a small tail and tie a knot at the opposite end for a secure anchor point, reducing the chances of the thread slipping out while stitching.
Conclusion
While the idea of using a regular needle for embroidery might seem plausible, the nuances of this intricate craft necessitate a more specialized tool.
Embroidery needles are crafted with features designed to glide seamlessly through the fabric, ensuring precision in every stitch.
Attempting embroidery with a regular needle may compromise the intricacy and finesse achievable with the right tool. Investing in purpose-made embroidery needles proves essential for those seeking to unlock the full potential of their stitching endeavors.
As with any artistic pursuit, the choice of tools significantly influences the outcome. So, as you embark on your embroidery journey, consider the needle as a silent artist’s brush, poised to bring your visions to life with the delicacy and detail they deserve.
Choose wisely, stitch thoughtfully, and let your creativity thread into the rich tapestry of embroidered beauty.
Leave a Reply