Iron-on patches are a versatile and trendy way to add a personal touch to your clothing, turning ordinary garments into unique fashion statements.
However, achieving the perfect bond between the patch and fabric requires careful attention to detail, starting with the right temperature setting on your iron.
This guide will delve into the crucial question: What temperature do you iron iron-on patches? Understanding the ideal heat level is the key to ensuring a secure attachment without damaging the patch or the fabric.
Join us as we unravel the iron-on patch application mysteries, providing valuable insights on temperature selection, fabric compatibility, and essential tips for a flawless finish.
Whether you’re a DIY enthusiast or just looking to revive your wardrobe creatively, mastering the art of ironing on patches is a skill worth acquiring. Let’s dive in!
What Temperature Do You Iron Iron-on Patches?
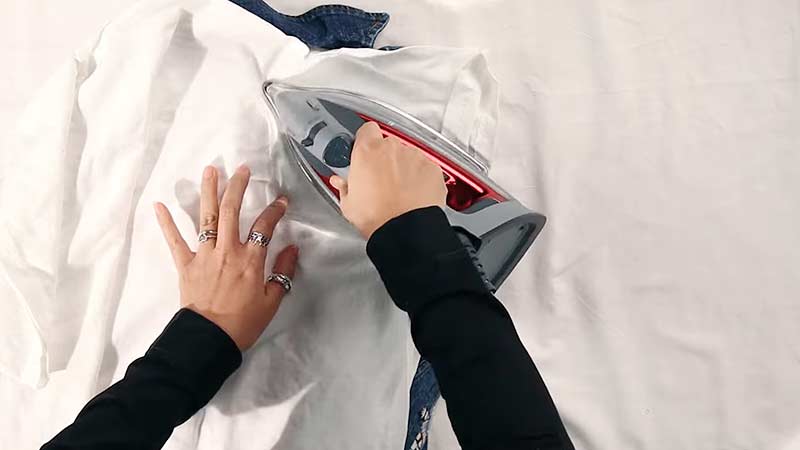
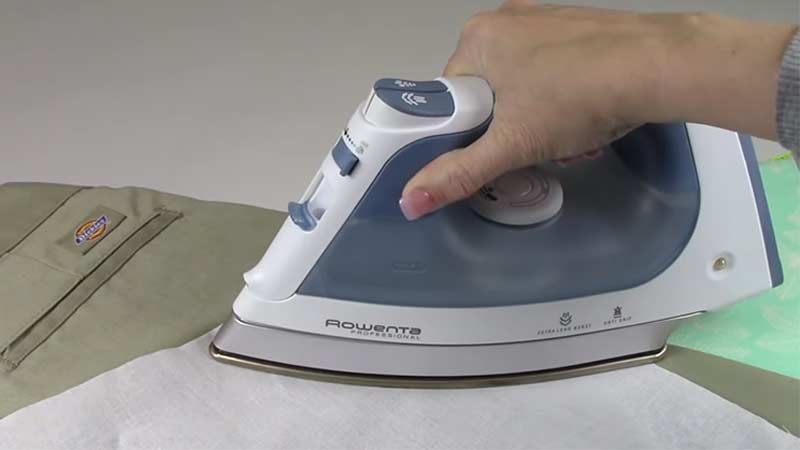
Iron-on patches are typically applied with a heat setting between 260°C and 177°C (500°F to 350°F) or a medium to high heat setting on your iron.
It’s important to follow the specific instructions provided with your patch, as temperatures can vary based on the patch’s fabric and adhesive type.
Let’s explore the nuances of ironing on patches, covering everything from temperature settings to fabric compatibility.
Understanding Iron-on Patches
Iron-on patches are decorative pieces with a heat-activated adhesive backing that adheres to the fabric when heat is applied.
These patches come in various designs, adding a creative and personalized touch to jackets, jeans, bags, and more. The process involves using an iron to melt the adhesive, creating a secure bond between the patch and the fabric.
The Importance of Iron Patch Temperature
Temperature plays a critical role in the success of ironing-on patches. Using the wrong temperature can lead to insufficient adhesion, causing patches to peel off or excessive heat that can damage the patch and the fabric.
To achieve the perfect bond, knowing the appropriate temperature for the specific patch and fabric combination is crucial.
Determining the Right Iron on Patch Temperature
Consider the following factors while determining the perfect temp for iron on the patch:
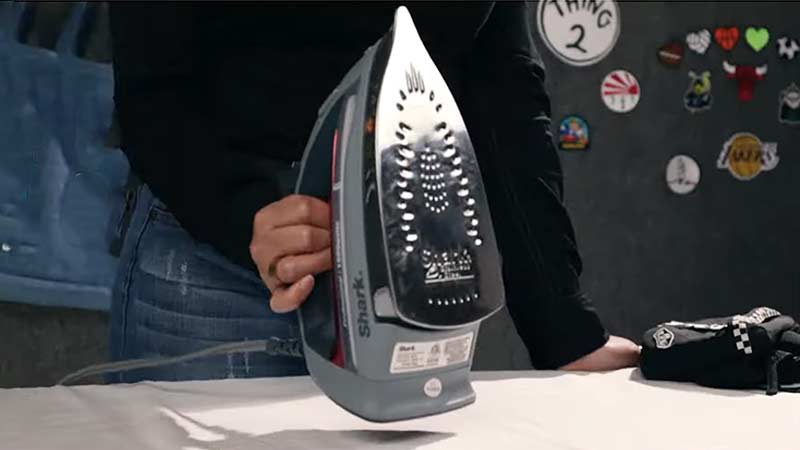
Check Manufacturer Instructions
Always refer to the manufacturer’s instructions on the patch packaging. Manufacturers provide the recommended temperature for iron on patches based on the materials used in the patch. Following these guidelines ensures optimal results.
Fabric Considerations
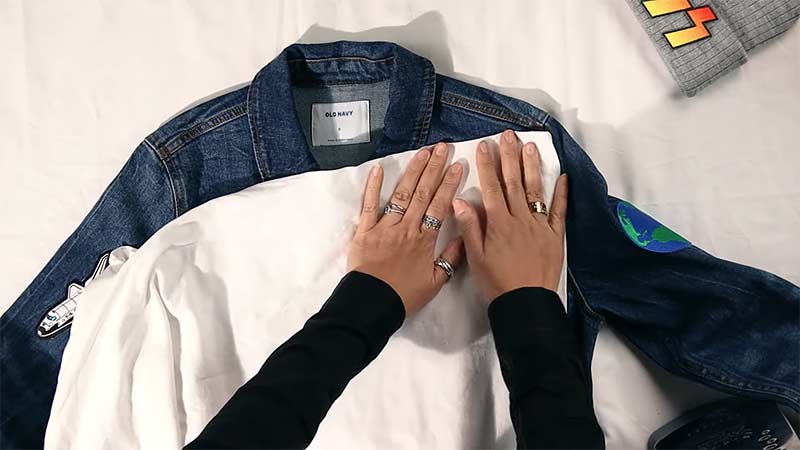
Different fabrics require different heat settings. Delicate fabrics like silk or synthetic materials may be more heat-sensitive, while denim or cotton can withstand higher temperatures. Consider the fabric composition before selecting the iron-on-patch heat setting.
Perform a Test Patch
Before applying heat to the entire patch, test a small, inconspicuous area of the fabric. This helps determine the fabric’s reaction to heat and ensures that the chosen temperature is suitable.
How to Iron on Patch with Hot Pan? Follow These Steps
While using a hot pan to apply an iron-on patch is not the conventional method, it can be done cautiously and carefully.
This alternative technique may be helpful when the iron is unavailable and you need a quick solution. Follow these steps to iron on a patch using a hot pan successfully:
Step 1: Preheat the Pan
Start by preheating the pan on a low to medium setting. It’s crucial to have precise control over the temperature to avoid scorching the patch or the fabric. Let the pan heat up thoroughly before proceeding to the next step.
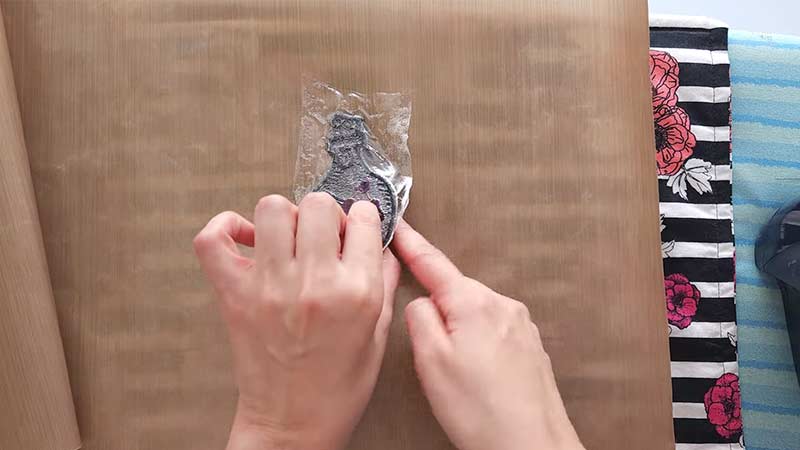
Step 2: Position the Patch
Place the patch on the desired area of the fabric with the adhesive side facing down. Ensure the patch is centred and aligned as desired. Exercise caution and test on a small, inconspicuous area before applying heat to the entire patch.
Step 3: Protect with Parchment Paper
To prevent direct contact between the hot pan and the patch, place a piece of parchment paper or a thin fabric over the patch. This additional layer acts as a barrier, protecting the patch and the fabric from direct heat.
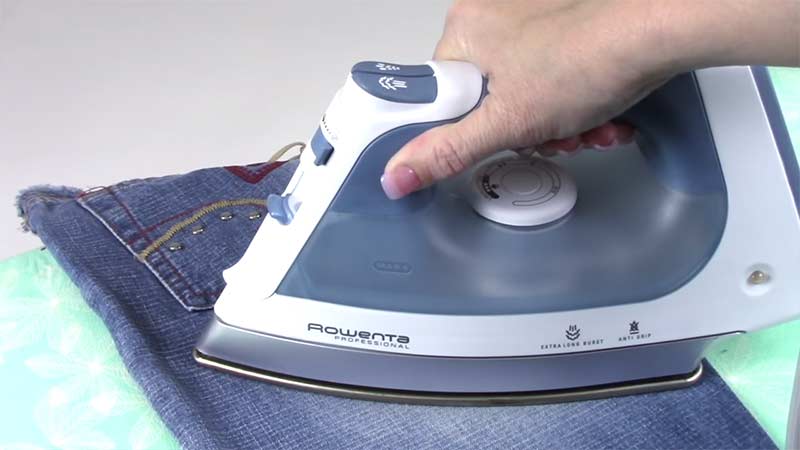
Step 4: Apply Heat
Using heat-resistant gloves or tongs, carefully place the hot pan on top of the parchment paper covering the patch. Apply gentle pressure to ensure the patch adheres to the fabric. Hold the pan in place for about 10-15 seconds, maintaining a constant and even pressure.
Step 5: Check Adhesion
After applying heat, carefully lift a corner of the patch to check if it has securely attached to the fabric. If not, reapply heat in short intervals until the desired adhesion is achieved. Be cautious not to overheat, as it can lead to scorching or damage.
Step 6: Allow to Cool
Once the patch is securely attached, allow the patched area to cool completely before handling the garment. This cooling period is crucial for the adhesive to set correctly.
Tips for Success
Keep a close eye on the pan’s temperature. Adjust the heat as needed to prevent scorching or burning. Low to medium heat is recommended for this method.
Use heat-resistant gloves or tongs to handle the hot pan and protect your hands from burns. Safety should always be a priority when using alternative methods.
Ensure even pressure is applied when using the hot pan. This helps distribute heat evenly across the patch, promoting a secure bond.
Common Uses and Applications of Iron-On Patches
Iron-on patches are versatile and popular decorative items that serve various purposes. These patches offer a convenient and creative way to personalize clothing, accessories, and other fabric items.
Here are some common uses and applications of iron-on patches:
Fashion and Style
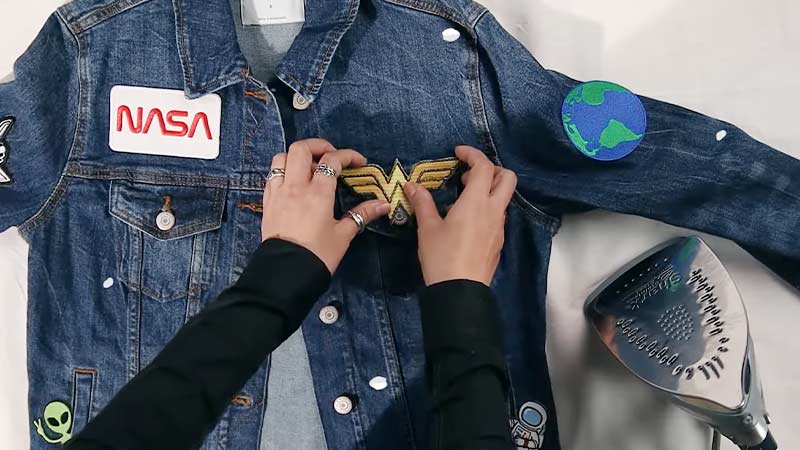
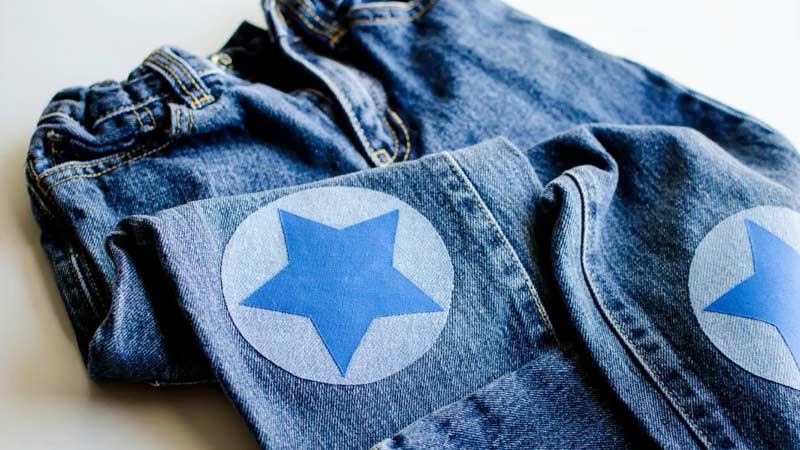
Iron-on patches are widely used to enhance and customize clothing items.
They allow individuals to express their unique style and personality by adding a pop of colour, intricate designs, or quirky symbols to jackets, jeans, hats, backpacks, and more. Fashion enthusiasts can create one-of-a-kind pieces that reflect their individuality.
Mending and Repair
Iron-on patches are an excellent solution for repairing or covering up damaged areas on clothing. Whether it’s a tear, hole, or worn-out spot, these patches can be strategically applied to breathe new life into garments, extending their lifespan and saving them from being discarded.
Brand Representation
Businesses and organizations often use iron-on patches to showcase their logos, slogans, or brand identity on uniforms, workwear, and promotional items. These patches are a cost-effective and durable branding method, allowing for easy customization of various fabrics.
Team Spirit and Sports
Sports teams, clubs, and organizations use iron-on patches to create a sense of unity and identity among their members.
These patches can be applied to jerseys, jackets, and gear, displaying team logos or emblems. It fosters a sense of camaraderie and pride among team members and supporters.
DIY Crafts and Projects
Iron-on patches are a staple in do-it-yourself (DIY) projects and crafts. Whether creating unique home décor items, personalized gifts, or customizing accessories, these patches provide a simple and effective way to add flair and creativity to various DIY endeavours.
FAQs
How to select the right temperature ironing-on patches on cotton?
For optimal results, refer to the patch manufacturer’s instructions for the recommended temperature. If unavailable, a cotton setting is generally safe for various fabrics. Always perform a small test patch before applying heat to the entire area.
Can I iron-on patches to any fabric?
Most patches are versatile and can adhere to a wide range of fabrics. However, it’s essential to consider the fabric’s sensitivity to heat. Delicate fabrics may require lower temperatures, while sturdier fabrics like denim can withstand higher heat settings.
Can I use steam when ironing on patches?
Avoid using steam during the ironing-on process, as it can interfere with the adhesive and affect the patch’s adhesion. Turn off the steam function on your iron to ensure a secure bond between the patch and fabric.
How long should I apply heat when ironing on patches?
Typically, iron-on patches require 10-15 seconds of heat application. Ensure you evenly distribute the heat by moving the iron in a circular motion.
Lift a corner of the patch to check adhesion, and if needed, reapply heat in short intervals until the patch securely attaches.
Can I sew over iron-on patches for extra security?
Yes, sewing around the patch’s edges can provide additional reinforcement and enhance longevity. While sewing is optional, it adds extra security and ensures the patch stays securely attached, especially after multiple washes.
Conclusion
Achieving the perfect iron-on patch application involves a delicate balance of heat, patience, and attention to detail.
By understanding the optimal temperature for your specific fabric and patch type, you can transform your clothing into personalized works of art.
Always follow the manufacturer’s instructions for the iron-on patch and the fabric you’re working with. Take the time to test a small, inconspicuous area before applying heat to the entire patch, ensuring you achieve the desired bond without causing any damage.
As you embark on your journey of creative expression through iron-on patches, embrace the opportunity to experiment and infuse your wardrobe with a unique flair.
With the right temperature and technique, you can confidently breathe new life into old garments or add a touch of personality to new ones. So, go ahead and press on with confidence.
Leave a Reply