Transforming a long-sleeve garment into a chic short-sleeve is a creative and budget-friendly DIY project that breathes new life into your wardrobe.
Whether you desire a casual or polished look, this step-by-step guide empowers you to customize your attire with minimal effort.
Armed with just a few basic materials such as scissors, fabric chalk, and optional sewing tools, this process allows you to express your style by adjusting sleeve length to your liking.
Join the world of personalized fashion as you repurpose and refresh your wardrobe, turning long sleeves into trendy short sleeves in a few easy steps.
How To Make a Long Sleeve Into a Short Sleeve? Step-By-Step Guide
Transforming a long sleeve into a short sleeve is a simple and creative DIY project that allows you to customize your wardrobe.
Here’s a step-by-step guide to help you make this stylish modification:
Materials Needed
- Long-sleeve shirt
- Scissors
- Ruler or measuring tape
- Fabric marker or chalk
- Pins
- Sewing machine or needle and thread
Step-by-Step Instructions:
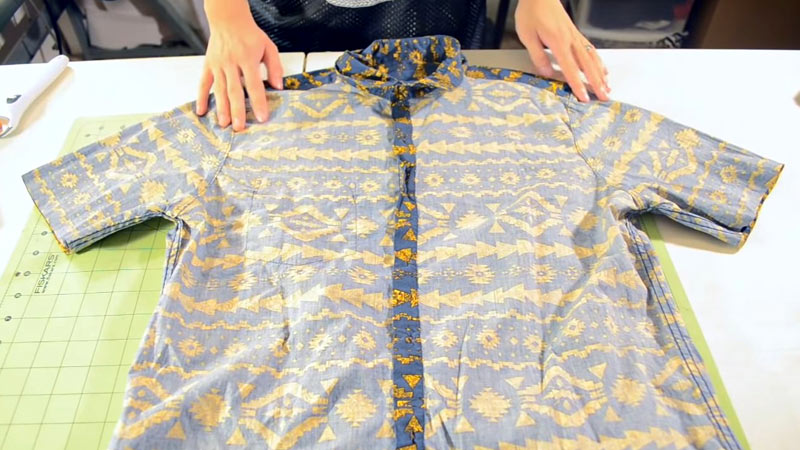
Step 1: Prepare Your Workspace
Lay the long-sleeve shirt on a flat surface, ensuring it is free of wrinkles. This provides a smooth canvas for your project.
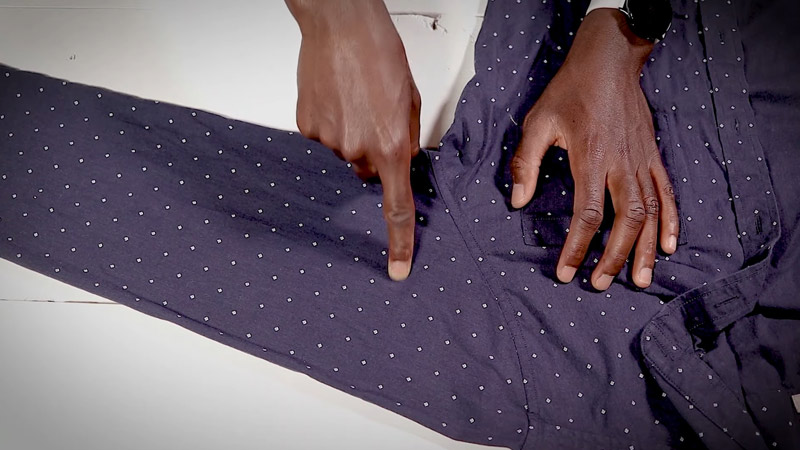
Step 2: Determine Sleeve Length
Decide on the desired sleeve length. You can measure the length of your arm from the shoulder to your preferred sleeve length or eyeball it for a more casual look.
Step 3: Marking and Cutting
Use a fabric marker or chalk to mark cutting lines on both sleeves. If you prefer a straight cut, a ruler can help guide you. For a more casual look, freehand the cut for a slightly rounded edge.
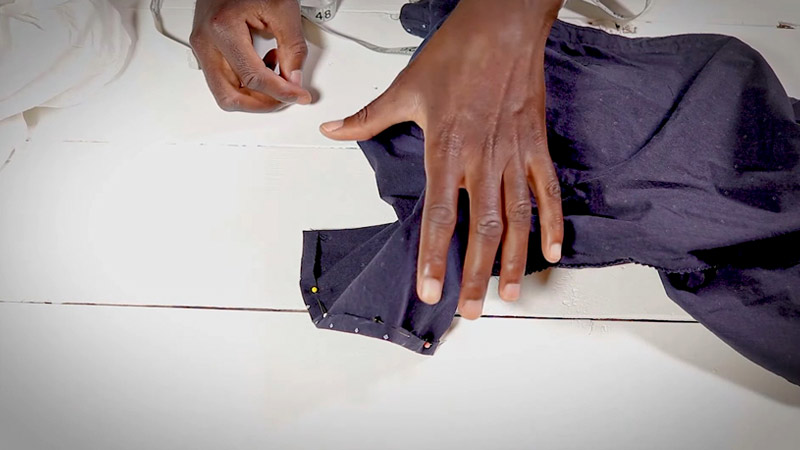
Step 4: Hemming the Edges
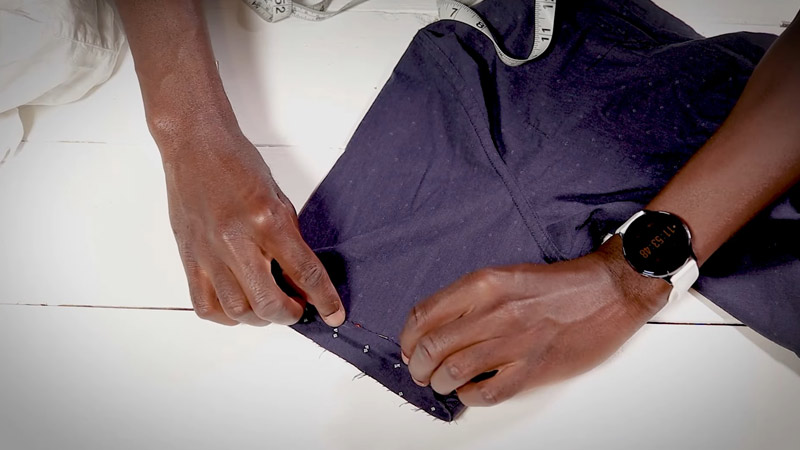
Fold the raw edge of each sleeve inward by about half an inch. Secure the folded edge in place with pins. This step not only adds a polished finish but also prevents fraying.
Step 5: Sewing the Hem
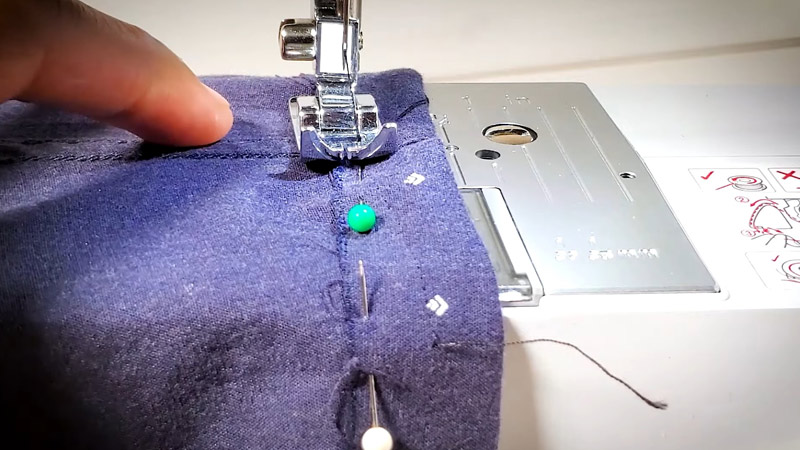
Use a sewing machine or needle and thread to sew along the folded edge. Choose a suitable stitch, such as a straight stitch, zigzag stitch, or stretch stitch, based on the fabric type. This will ensure a neat and durable finish.
Step 6: Trimming Excess Threads
After sewing, remove the pins and trim any excess threads for a clean and professional appearance.
Step 7: Repeat for the Other Sleeve
Ensure uniformity by repeating the cutting and hemming process for the other sleeve.
Step 8: Trying on the Shirt
Before considering the project complete, try on the shirt to ensure the sleeves are the desired length and that the fit is comfortable.
Step 9: Add Personal Touches (Optional)
Get creative and personalize your short-sleeve shirt. Add buttons, patches, or embroidery for a unique and customized look.
Step 10: Press the Sleeves
Iron the sleeves to smooth out any wrinkles and set the hem in place. This adds a final touch to your transformed shirt.
How To Turn Long Sleeve Into Short Sleeve Without Sewing?
Turning a long sleeve into a short sleeve without sewing is a straightforward process that involves measuring, marking, and cutting.
This method is ideal for those who want a quick and temporary alteration to their garment. Here’s a step-by-step guide:
Materials Needed
- Long-sleeved garment
- Measuring tape or ruler
- Fabric chalk or washable marker
- Scissors
Procedure:
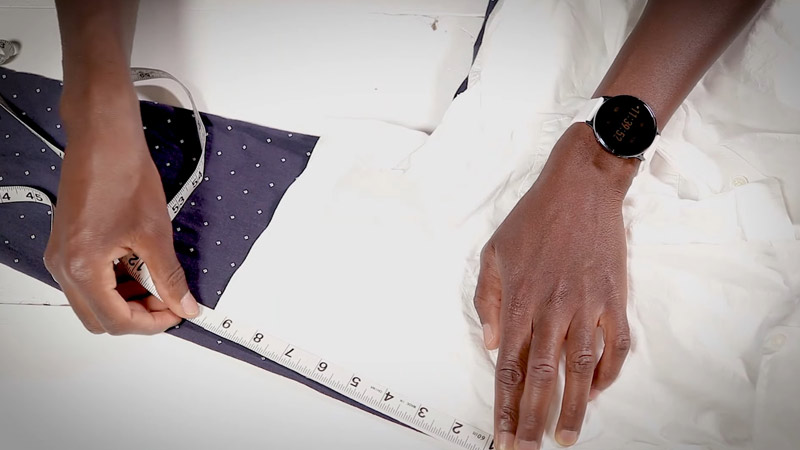
Select the Sleeve Length
Decide on the desired length for the short sleeves. Measure from the shoulder seam down to the preferred short sleeve length and mark it with fabric chalk.
Mark the Sleeve Length
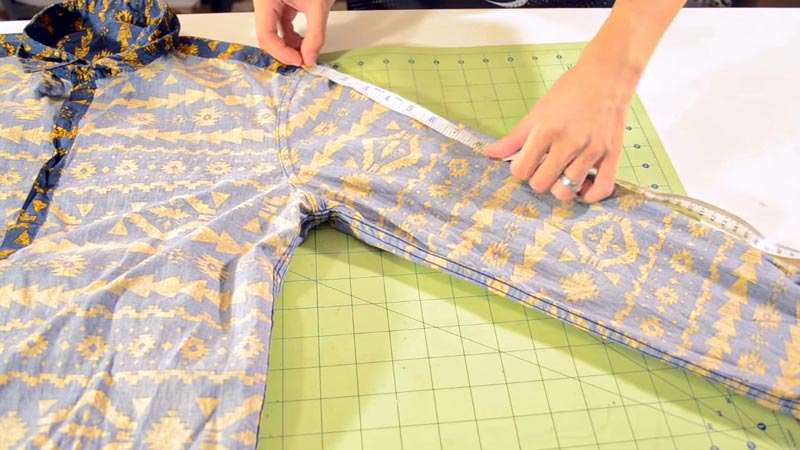
Measure the current sleeve length from the shoulder seam to the wrist. Mark the desired short sleeve length on the sleeve using fabric chalk or a washable marker.
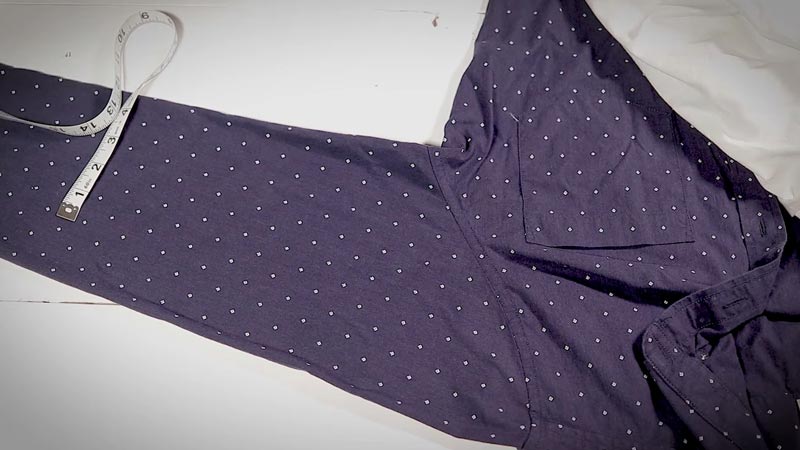
Create a Straight Line
Use a ruler or straight edge to draw a straight line connecting the marked points on both sides of the sleeve. This line will be your cutting guide.
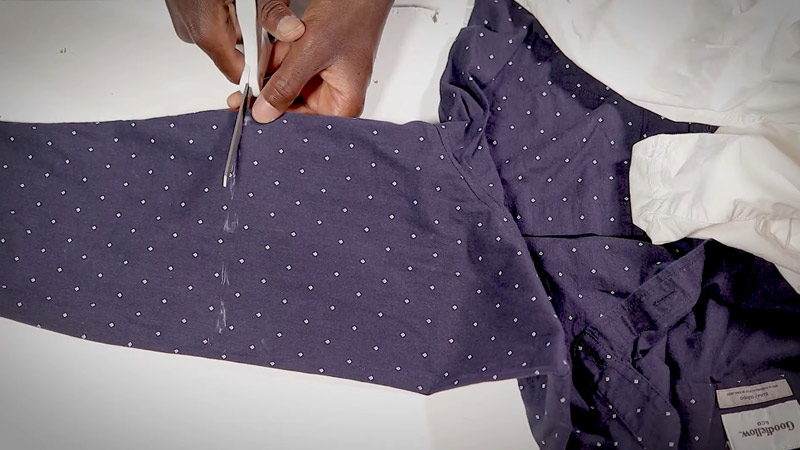
Cut Along the Line
Carefully cut along the drawn line, ensuring a straight and even cut. Take your time to prevent jagged edges. If you’re unsure, it’s better to cut a bit longer initially, as you can always trim more later.
Optional: Add a Rolled Hem (No Sewing Required)
To give the short sleeves a finished look without sewing, consider adding a rolled hem. Fold the cut edge of the sleeve about 1/4 to 1/2 inch towards the inside, and then roll it once more.
Press the folded edge firmly to secure it. This no-sew hemming technique works well for fabrics that don’t fray easily.
Repeat for the Other Sleeve
Repeat the same process for the other sleeve to ensure both sleeves are of equal length.
Check and Adjust
Wear the garment and check the length of the short sleeves. Make any necessary adjustments if you prefer a slightly different length.
Styling Options
Get creative with styling! You can cuff the short sleeves for a casual look or leave them as is.
Secure with Accessories
If desired, use accessories like cufflinks, fabric glue, or decorative pins to secure the folded edge or add a personalized touch to the short sleeves.
Enjoy Your Transformed Garment
Your long-sleeved garment is now transformed into a short-sleeved one without the need for sewing. Enjoy your refreshed wardrobe piece!
Tips for Making a Long Sleeve Into a Short Sleeve Without Damaging the Fabric
Making a long sleeve into a short sleeve can be a rewarding DIY project, and taking care to avoid damaging the fabric is crucial for achieving a professional finish.
Here are some tips to guide you through the process without compromising the fabric:
Choose the Right Fabric
Consider the fabric type before starting the transformation. Natural fibers like cotton and linen are usually easier to work with, while delicate fabrics like silk or chiffon may require more precision.
Test on Scrap Fabric
If possible, test the cutting and hemming process on a scrap piece of fabric with similar properties. This allows you to practice your technique and ensure it won’t damage the actual garment.
Use Fabric Markers or Chalk
Before cutting, mark the desired sleeve length with fabric markers or chalk. This helps create guidelines for cutting without the risk of making mistakes.
Measure Twice, Cut Once
Double-check your measurements and cutting lines before making any cuts. It’s easier to prevent mistakes than to fix them.
Invest in Quality Scissors
Use sharp and high-quality scissors to make clean cuts. Dull scissors can cause fabric snagging or fraying, especially with delicate materials.
Consider Pinking Shears
If you don’t have access to a sewing machine, consider using pinking shears for cutting. They create a zigzag edge that helps minimize fraying.
Fold and Pin Before Cutting
Fold the fabric along the cutting line and secure it with pins before making any cuts. This helps maintain the fabric’s stability and reduces the likelihood of uneven edges.
Hem Carefully
When hemming the edges, fold the fabric neatly and use the appropriate stitch for the fabric type. A straight or zigzag stitch may work well, or use a stretch stitch for fabrics with some elasticity.
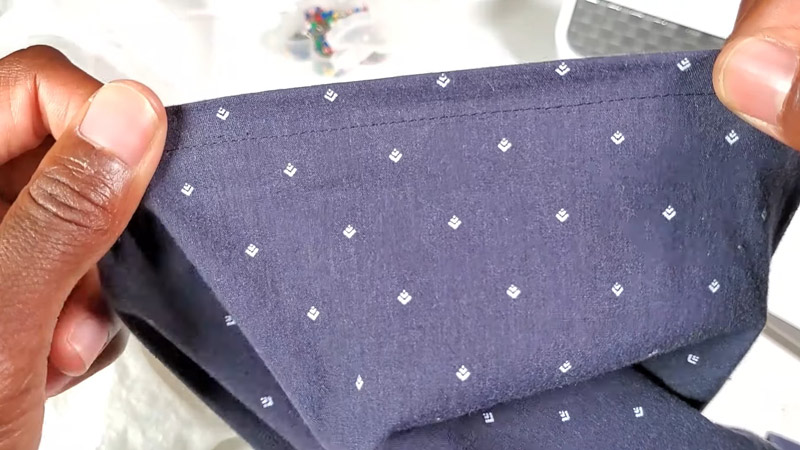
Iron the Hem
After sewing, iron the hem to set it in place and give your short sleeves a polished look. Be sure to use the appropriate heat setting for the fabric to avoid damage.
Go Slow with a Sewing Machine
If using a sewing machine, sew slowly and steadily to maintain control. Rushing can lead to uneven stitches or unintended damage.
Trim Excess Threads
After sewing, trim any excess threads carefully. This attention to detail contributes to a neat and professional-looking finish.
Check the Tension
If using a sewing machine, check the tension settings to ensure they are appropriate for the fabric. Incorrect tension can result in uneven stitches and potential fabric damage.
Consider Adding Embellishments After Cutting
If you plan to add embellishments like buttons or patches, consider doing so after cutting and hemming. This allows you to work on a stable fabric surface.
FAQs
Can I transform a long sleeve into a short sleeve without sewing?
Yes, you can. The no-sew method involves measuring, marking, and cutting, providing a quick and temporary alteration. You can also add a rolled hem for a finished look without sewing.
Can I make a short-sleeve shirt from a long-sleeve one if they have different fabrics?
While it’s possible, it’s essential to consider fabric types. Natural fibers like cotton are generally easier to work with, while delicate fabrics may require more precision. Test on a scrap piece first to gauge compatibility.
How do I adjust the short sleeve length if I make a mistake in cutting?
Start with a slightly longer cut than desired, and try on the shirt before finalizing the length. You can always trim more if needed. Measure twice, and cut once to avoid irreversible mistakes.
Can I use fabric glue instead of sewing to secure the folded edge?
Yes, fabric glue is an alternative to sewing. Apply it along the folded edge and press firmly to secure. Ensure the glue is appropriate for the fabric type and allows flexibility.
Can I add a decorative element like lace to the short sleeves?
Absolutely! Adding lace or other embellishments is a creative way to personalize your transformed short-sleeve shirt. Attach them using fabric glue or by sewing for a secure finish.
To Recap
The art of transforming long sleeves into short sleeves unveils a realm of creativity and personalization. This accessible DIY project not only breathes new life into your wardrobe but empowers you to tailor your attire to reflect your unique style preferences.
Whether you opt for a sleek finish with sewing or embrace a no-sew approach, the result is a refreshed and stylish garment ready for any occasion.
As you revel in the satisfaction of a successfully transformed piece, remember that fashion is not just about what you wear but how you make it your own. Enjoy your newly customized short-sleeve creation, a testament to your craft and individuality.
Leave a Reply