Embroidering shirts transforms them into personalized works of art, but achieving impeccable results requires mastering the art of alignment.
The process of aligning embroidery on shirts is a meticulous endeavor that goes beyond aesthetics it embodies precision and craftsmanship.
This guide delves into the intricacies of achieving perfect alignment, unraveling the steps and considerations essential for a professional finish.
Whether you’re a hobbyist seeking to enhance your embroidery skills or a business aiming for consistently high-quality products, understanding how to align embroidery on shirts is paramount.
Join us as we unravel the secrets to turning a simple shirt into a canvas for perfectly placed, visually stunning designs.
How Do You Align Embroidery Shirts?
Aligning embroidery on shirts is a crucial aspect of the embroidery process, ensuring that the design is centered and well-balanced for a polished and professional appearance.
Here’s a comprehensive guide on how to align embroidery on shirts:
Tools and Materials
- Embroidery machine
- Embroidery hoop
- Ruler or measuring tape
- Water-soluble marker or chalk pencil
- Scissors
- Iron and ironing board
- Stabilizer (optional, depending on the fabric)
Step 1: Prepare the Shirt
First, ensure your shirt is clean and wrinkle-free by washing and ironing it according to care instructions. A smooth surface provides an ideal canvas for embroidery.
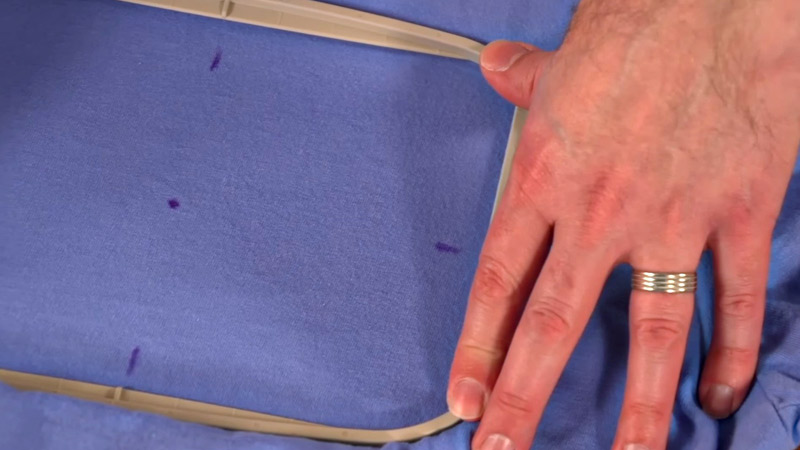
Step 2: Mark the Center
Fold the shirt vertically and lightly iron to create a center crease. Unfold the shirt and lay it flat. Use a ruler or measuring tape to locate the center of the crease, marking it with a water-soluble marker or chalk pencil.
Step 3: Prepare the Hoop
Place the inner ring of the embroidery hoop beneath the marked point on the shirt. Center the design area with the hoop’s inner ring, readying it for alignment.
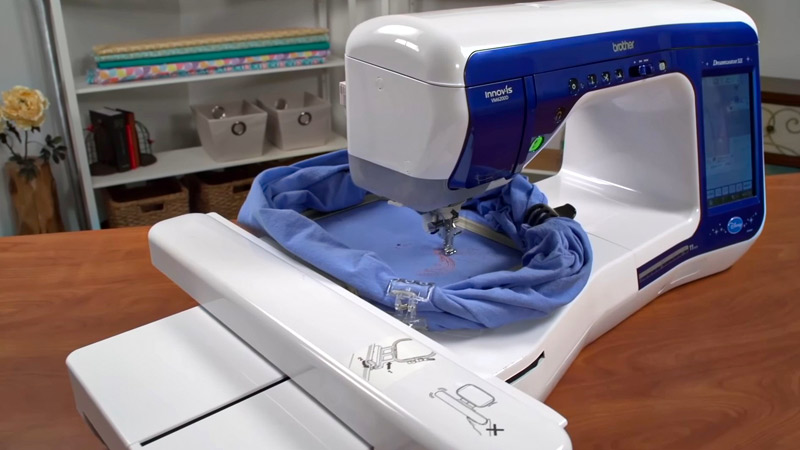
Step 4: Hoop the Shirt
Layer the outer ring over the inner, securing the shirt between them. Tighten the screw on the embroidery hoop, ensuring the fabric is taut but not stretched excessively.
Step 5: Load and Adjust the Design
Transfer your embroidery design to the machine and load it on the screen. Adjust settings like size, color, and stitch density. These adjustments will influence the final appearance of the embroidered design.
Step 6: Position the Design
Utilize the alignment tools on your embroidery machine to precisely position the design within the hoop. Center the design over the marked point to guarantee accurate placement.
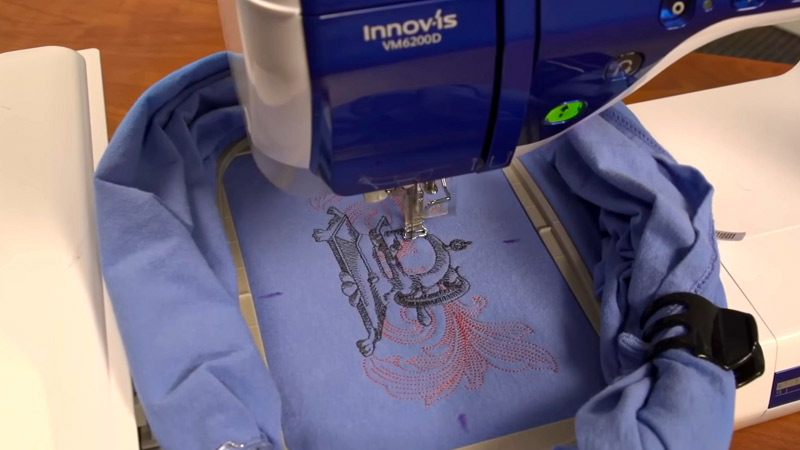
Step 7: Embroider
Commence the embroidery machine, closely monitoring the process to ensure the design is stitched accurately. Promptly change thread colors as required during the embroidery process.
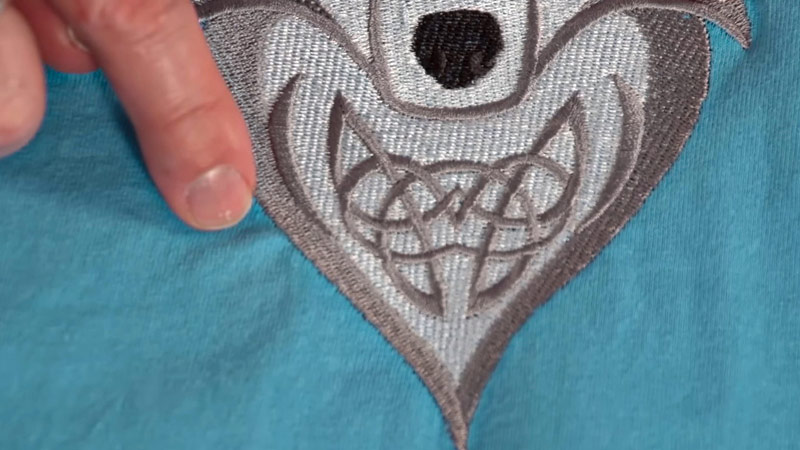
Step 8: Finish Embroidery
Once the machine completes the embroidery, carefully remove the hoop from the shirt. Trim any excess threads for a neat finish.
Step 9: Remove Markings
Eliminate any water-soluble marks using a damp cloth or spray bottle. Allow the shirt to dry completely before proceeding to the final step.
Step 10: Press the Shirt
Iron the shirt again to eliminate any remaining wrinkles and firmly set the stitches. This step contributes to the overall professional appearance of the embroidered design.
Why Is Aligning Embroidery on Shirts Important?
Aligning embroidery on shirts is important for several reasons, contributing to the overall quality and professional appearance of the finished garment:
Professional Appearance
Proper alignment contributes to a polished and professional look. A well-centered and straight embroidery design enhances the overall aesthetic appeal of the shirt.
Visual Balance
Alignment ensures visual balance, preventing the design from looking skewed or off-center. A balanced placement of the embroidery enhances the symmetry of the garment.
Brand Image
For businesses and brands, maintaining consistent and aligned embroidery reinforces a strong and professional brand image. Logos and designs that are consistently placed create a cohesive and recognizable brand identity.
Quality Perception
Aligned embroidery reflects attention to detail and precision in craftsmanship. Customers often associate proper alignment with high-quality work, positively influencing their perception of the garment or product.
Avoiding Distortion
Correct alignment helps prevent distortion during the embroidery process. Ensuring the fabric is properly stabilized and the design is accurately placed reduces the risk of puckering or stretching, preserving the integrity of the shirt.
Customer Satisfaction
Well-aligned embroidery contributes to customer satisfaction. A shirt with a professionally embroidered design is more likely to meet or exceed customer expectations, leading to higher satisfaction levels.
Consistency Across Products
For businesses producing multiple shirts with the same design, proper alignment ensures consistency across the product line. This consistency is essential for maintaining brand standards and meeting customer expectations.
Professional Craftsmanship
Aligning embroidery demonstrates the skill and professionalism of the embroiderer. It reflects a commitment to delivering high-quality, well-crafted products, which is particularly important in the competitive apparel market.
Enhanced Wearability
Correctly aligned embroidery considers the shirt’s design and style, making the garment more comfortable to wear. Poorly aligned designs may affect the fit and comfort of the shirt.
Ease of Customization
For personalized or customized shirts, proper alignment is crucial to ensuring that individualized elements, such as names or monograms, are placed accurately according to customer preferences.
Tips for Aligning Embroidery Designs on Shirts
Achieving precise alignment when embroidering shirt designs is crucial for a professional and polished outcome.
Here are some valuable tips to help you align embroidery designs on shirts effectively:
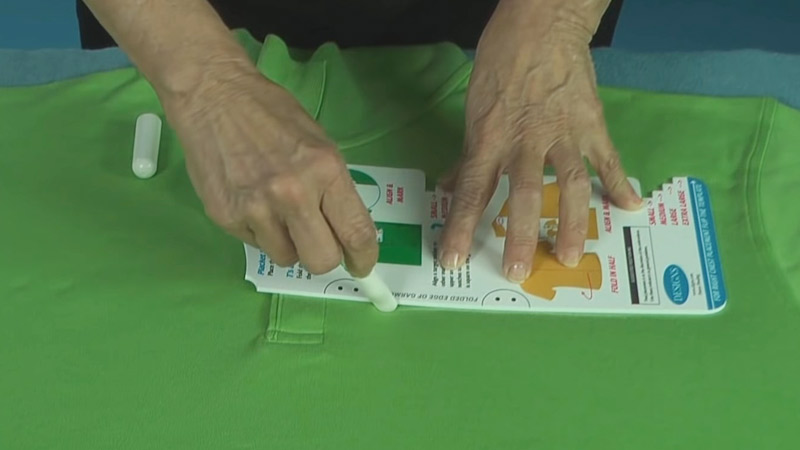
Mark the Center
Begin by marking the center of the shirt using a water-soluble marker or chalk pencil. This serves as a reference point for aligning the embroidery design.
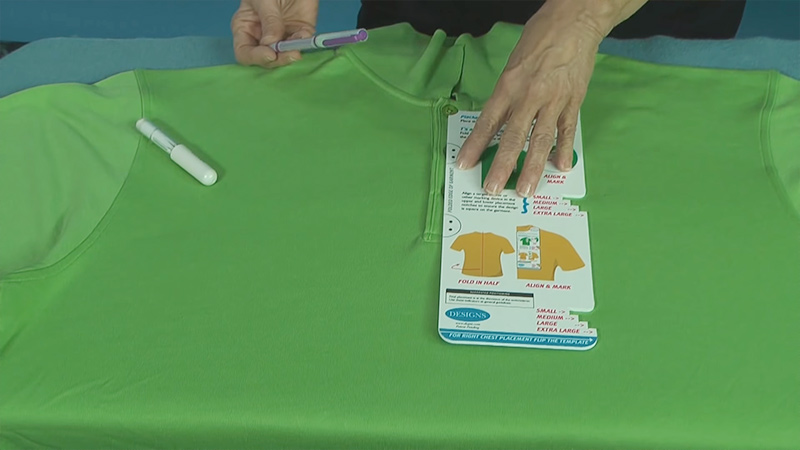
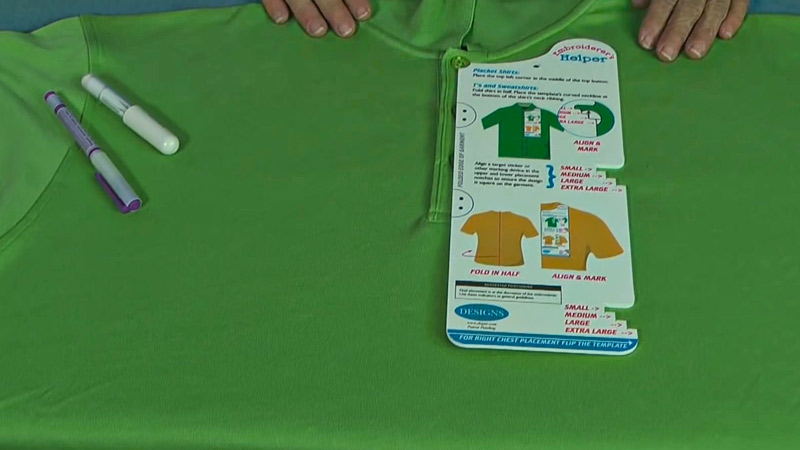
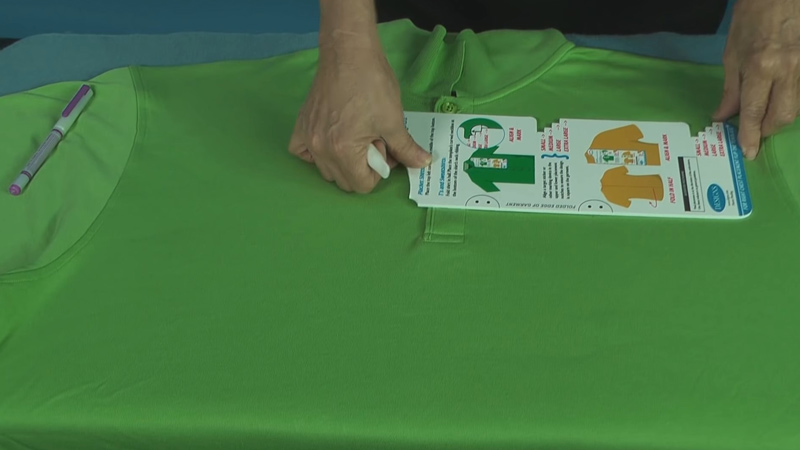
Use Templates
Create a paper or digital template of your embroidery design. This allows you to visually assess how the design will look on the shirt and make adjustments before starting the embroidery.
Employ an Embroidery Hoop
Use an embroidery hoop to secure the fabric in place. Ensure the hoop is appropriately sized for the design and the shirt. Center the hoop’s placement on the marked center of the shirt.
Utilize Alignment Tools
Many embroidery machines come with alignment tools or grid features. Take advantage of these to ensure accurate positioning. Align the design within the hoop, using the guidelines provided by your machine.
Check Hoop Tension
Ensure that the fabric is taut within the embroidery hoop. Excessive tension may distort the design, while insufficient tension can lead to shifting during embroidery.
Test on Scrap Fabric
Before embroidering directly onto the shirt, perform a test run on a scrap piece of fabric. This allows you to make any necessary adjustments to the design or alignment without affecting the final garment.
Consider Stabilizers
Depending on the fabric type, use appropriate stabilizers. Stabilizers help prevent distortion and puckering during embroidery, contributing to better alignment.
Use Needle Positioning Features
If available, leverage needle positioning features on your embroidery machine. Features like the needle-down function can help you stop the machine with the needle in the fabric, allowing for precise adjustments.
Secure with Basting Stitches
Prior to the full embroidery, run a basting stitch around the perimeter of the design. This temporary stitch helps anchor the design to the fabric, minimizing the risk of shifting during the embroidery process.
Regularly Check Alignment
Periodically stop the machine and check the alignment, especially during color changes or complex designs. This ensures that the embroidery stays on track.
FAQs
Can I align embroidery on different fabric types in the same way?
While the general principles of alignment apply, varying fabric types may require different stabilizers and adjustments. Experiment and conduct test stitches to ensure optimal results.
How does the hoop tension affect alignment during embroidery?
Hoop tension is critical. Ensure the shirt is securely hooped to prevent any movement during embroidery, maintaining consistent alignment throughout the stitching process.
Is alignment more challenging for specific embroidery machine types?
The alignment process is similar for various embroidery machines. However, differences in hoop sizes and machine capabilities may require machine-specific adjustments. Refer to your machine’s manual for guidance.
Can I fix alignment issues post-embroidery?
Careful removal from the hoop allows for final adjustments, but prevention is key. Consistent monitoring during the embroidery process minimizes the need for post-stitching corrections.
Should I align embroidery differently for knitted garments?
Yes, knitted fabrics may require additional care. Use appropriate stabilizers and consider hooping the fabric with a stabilizing backing to prevent distortion.
To Recap
Mastering the alignment of embroidery on shirts elevates the craft from mere stitching to an art form. Carefully considering centering, symmetry, and balance ensures a professional finish that speaks volumes about craftsmanship.
Precision in alignment is not just about visual appeal; it is a testament to dedication and attention to detail. As you embark on your embroidery journey, remember that each stitch contributes to the overall narrative of a well-crafted garment.
Whether personalizing your wardrobe or creating a brand identity, the art of aligning embroidery on shirts is a skill that transforms a simple piece of fabric into a canvas for creativity, leaving an indelible mark of excellence.
Leave a Reply