Sewing with Velcro can be a frustrating experience when your thread keeps snapping unexpectedly.
As you embark on projects that involve attaching Velcro to fabrics, the constant interruption of broken threads can hinder your progress and test your patience. It leads you to ask why my thread keeps breaking when I sew Velcro.
In this guide, we’ll delve into the perplexing issue of thread breakage when sewing Velcro and explore the possible reasons behind this common problem.
Whether you’re a seasoned seamstress or a novice in the sewing world, understanding Velcro’s dynamics and its impact on your sewing machine is crucial.
From the type of thread you use to the adjustments needed on your sewing machine, we’ll uncover practical tips and troubleshooting strategies to help you overcome the challenges.
Say goodbye to the frustration of repeated thread breaks, and let’s unravel the mystery together.
Why Does My Thread Keep Breaking When I Sew Velcro?
Before delving into troubleshooting tips, it’s essential to understand how Velcro operates and why it can pose challenges during the sewing process.
Velcro consists of two components: the hook side and the loop side. When pressed together, these components create a strong bond that can withstand repeated opening and closing.
However, this strength also means that sewing through Velcro requires extra care and consideration.
Type of Thread Matters
One of the primary reasons for thread breakage when sewing Velcro is the use of inappropriate thread. Velcro’s abrasive nature can quickly wear down weak or low-quality threads, leading to breakage.
Opt for a strong and durable thread, such as polyester or nylon, that can withstand the friction and tension associated with sewing through Velcro.
Machine Settings and Thread Tension for Sewing Velcro
Incorrect machine settings and tension can contribute significantly to thread breaks. Velcro is thicker and denser than regular fabric, requiring adjustments to your machine’s settings.
Experiment with the tension settings, and ensure that your machine can handle the added resistance when sewing through Velcro.
Needle Selection
The needle you use can make a significant difference in preventing thread breaks. Choose a heavy-duty or denim needle designed to handle thick and challenging fabrics.
A needle with a larger size (90/14 or 100/16) can better navigate Velcro’s layers without compromising the thread’s integrity.
Presser Foot Friction
The standard presser foot on your sewing machine may create excess friction when sewing Velcro, leading to uneven stitches or difficulty in feeding the fabric.
Use a walking foot or a Teflon-coated foot designed to reduce friction. These specialty feet allow the fabric to glide more smoothly under the presser foot, minimizing resistance and preventing issues like skipped stitches or thread breaks.
Machine Speed Too Fast
Sewing Velcro requires a more measured approach, and stitching at high speeds can overwhelm the machine, leading to thread breaks and other issues.
Slow down the sewing machine speed when working with Velcro. A slower pace allows the machine to handle the thickness of Velcro more effectively, reducing strain on the thread and preventing breakage.
Practical Tips for Preventing Thread Breaks
Now that we’ve identified the key factors contributing to thread breakage when sewing Velcro let’s explore practical tips to help you overcome this challenge:
Quality Thread is Key
Invest in high-quality thread that is specifically designed for heavy-duty sewing. Threads labeled as polyester or nylon are excellent choices, as they offer strength and durability. A thicker thread, within the appropriate weight range for your project, can also enhance resilience.
Adjust Tension Settings
Velcro’s thickness requires adjustments to your machine’s tension settings. Experiment with slightly loosening the tension to allow the thread to flow more smoothly while sewing on Velcro.
However, be cautious not to make it too loose, as this could result in loose stitches and other sewing issues.
Choose the Right Needle
Select a needle designed for heavy fabrics or denim. Needles with a larger size, such as 90/14 or 100/16, can better penetrate the Velcro without breaking. Consider changing the needle after every few projects or when you notice a decline in performance.
Slow and Steady Sewing
Sewing through Velcro requires a more deliberate and measured approach. Slow down your sewing speed to allow the machine to handle the density of the Velcro more effectively.
This reduces the strain on the thread and provides greater control over the stitching process.
Walking Foot or Teflon-Coated Foot
Enhance your machine’s ability to glide through Velcro by using a walking or Teflon-coated foot. These accessories reduce friction between the Velcro and the presser foot, minimizing resistance and reducing the likelihood of thread breaks.
Clear Machine and Velcro of Debris
Velcro tends to accumulate lint and debris, which can affect the smooth operation of your sewing machine. Regularly clean both the Velcro strips and your machine to prevent any buildup that could lead to thread breaks.
Use a Supporting Fabric Layer
To mitigate the impact of Velcro on your thread, consider adding a supporting fabric layer. This layer, placed between the Velcro and the main fabric, acts as a buffer, reducing friction and minimizing wear on the thread.
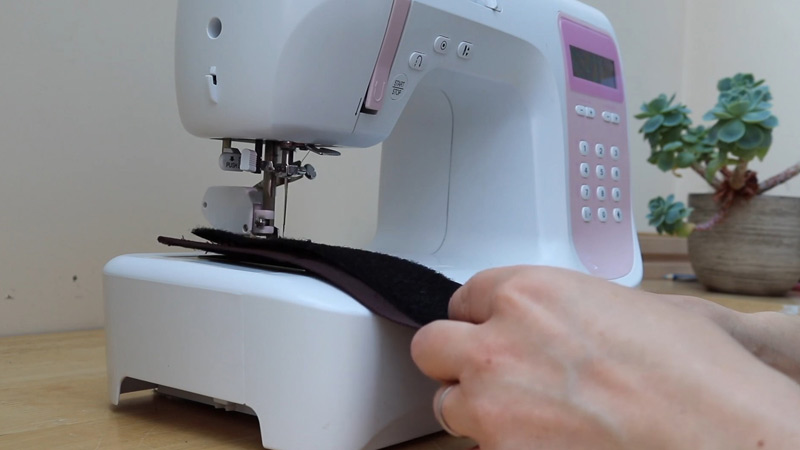
How to Sew Velcro with a Sewing Machine?
Sewing Velcro with a sewing machine can be straightforward if you follow the right steps and employ some essential techniques. Here’s a step-by-step guide to help you sew Velcro seamlessly with your sewing machine:
Prepare Your Fabric
First, select the fabric for your project to learn how to stitch Velcro to the fabric. Ensure it complements the weight and purpose of the Velcro, considering factors like durability and flexibility.
Begin by preparing the fabric pieces where you’ll attach the Velcro. If you’re working with two fabric pieces that need to be joined, ensure they are cut and positioned correctly.
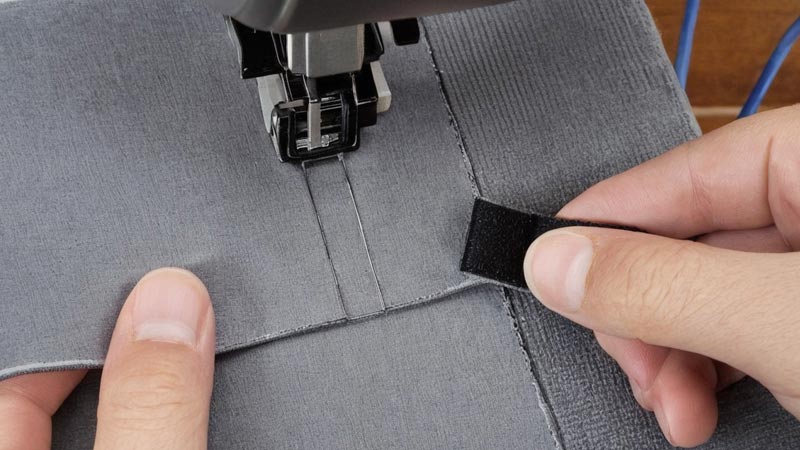
Position the Velcro
Decide where you want to place the Velcro on your fabric. Lay the Velcro pieces on the fabric, aligning them precisely. Keep in mind the orientation of the hook and loop sides to ensure proper closure.
Secure the Velcro in place by pinning it to the fabric. This step ensures that the Velcro stays aligned during the sewing process. Use enough pins to prevent any shifting as you sew.
Select the Right Stitch
Choose a suitable stitch for sewing Velcro. A straight stitch or a zigzag stitch works well. If your sewing machine has a special stitch for heavy fabrics, consider using that for added durability.
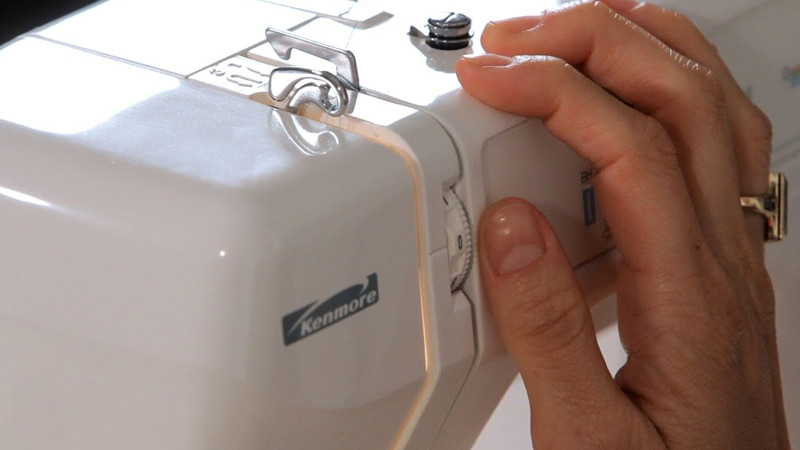
Adjust Machine Settings
Velcro is thicker than regular fabric, so you may need to adjust your machine settings. Experiment with the tension settings, and if possible, slightly loosen the tension to accommodate the thickness of the Velcro. Test on a scrap piece of fabric before sewing on your project.
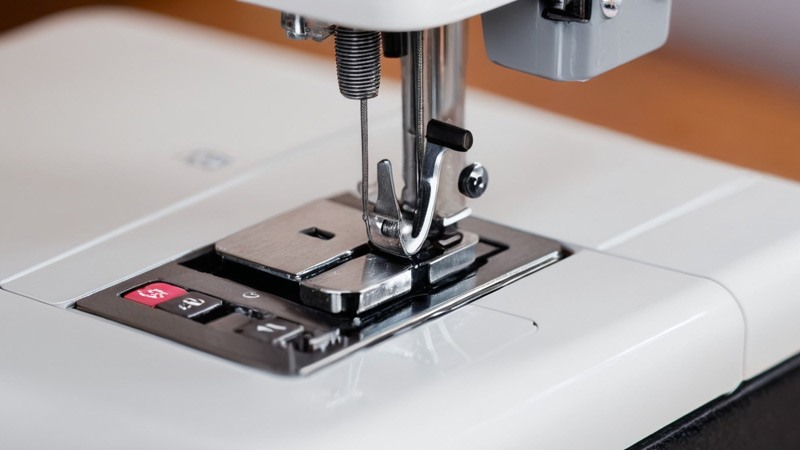
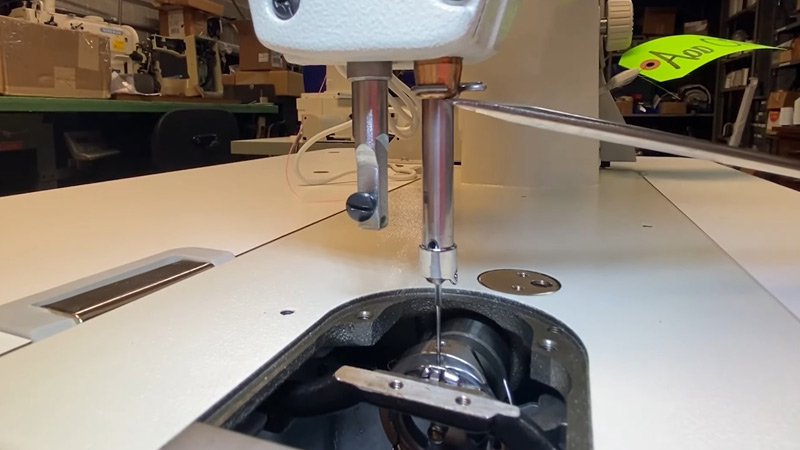
Install the Correct Needle
Ensure you have a heavy-duty or denim needle installed in your sewing machine. The right needle will penetrate the Velcro more effectively, reducing the risk of thread breaks.
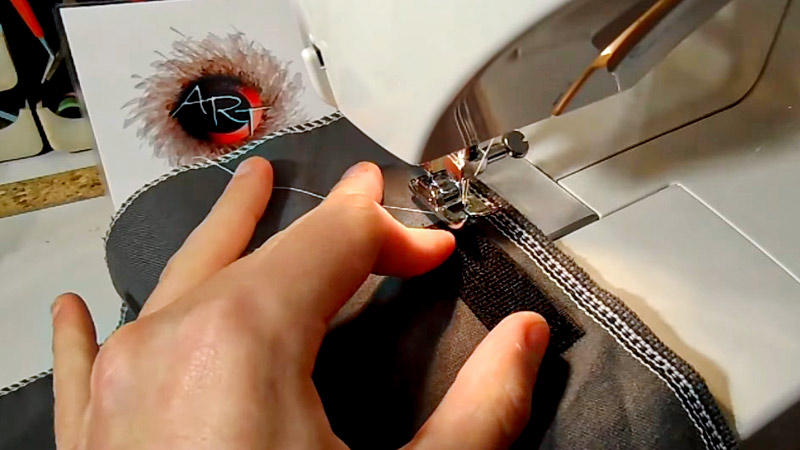
Begin sewing along the edges of the Velcro. Backstitch at the beginning and end of your stitching to secure the threads. Take your time and guide the fabric through the machine steadily.
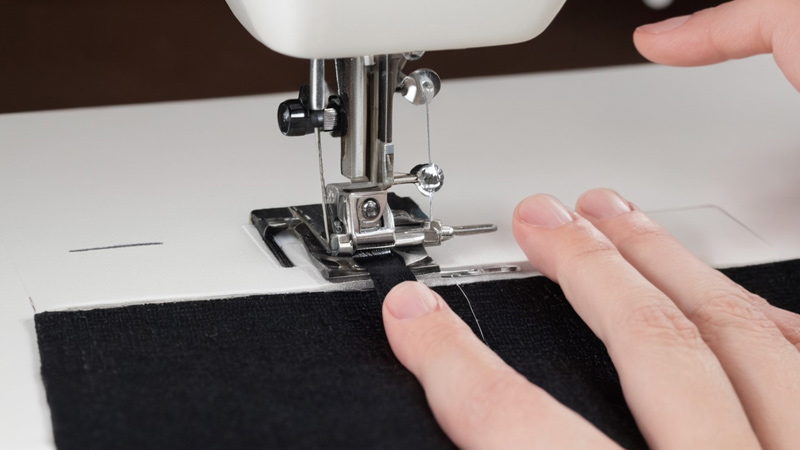
Use a Walking Foot or Teflon-Coated Foot
If available, use a walking or Teflon-coated foot to reduce friction between the Velcro and the presser foot. This helps the fabric glide smoothly, preventing uneven stitching and potential thread breaks.
Trim Excess Threads
Trim any excess threads once you’ve completed sewing the Velcro in place. Ensure the Velcro is securely attached and that the stitching is neat and even.
If your project requires Velcro on both sides, repeat the process for the opposing pieces, ensuring alignment and symmetry. Now you know how to sew Velcro on fabric.
Tips on How to Sew Velcro with a Sewing Machine
Before sewing Velcro onto your actual project, practice on scrap fabric to familiarize yourself with the machine settings and stitch quality.
Adjust the stitch length to suit the thickness of the Velcro and the fabric. A shorter stitch length provides added durability.
Sewing Velcro requires a more deliberate approach. Slow down your sewing machine speed to ensure accurate stitching and minimize the risk of thread breaking.
FAQs
Why does my thread keep breaking when sewing Velcro?
Thread breakage while sewing Velcro can occur due to the abrasive nature of Velcro, causing increased friction and tension on the thread. Using a weak or low-quality thread, incorrect machine settings, and a mismatched needle size are common culprits.
Can I use regular sewing thread for Velcro projects?
While it’s possible to use regular sewing thread, opting for a strong and durable thread, such as polyester or nylon, is highly recommended. Choosing a thread specifically designed for heavy-duty sewing enhances the longevity and resilience of your projects.
Are there specific needle requirements for sewing Velcro?
Yes, using the right needle is crucial when sewing Velcro. Opt for a heavy-duty or denim needle that handles thick and challenging fabrics. Needles with larger sizes, such as 90/14 or 100/16, are more suitable for penetrating Velcro without breaking.
How can I prevent thread breaks when sewing Velcro on delicate fabrics?
Consider adding a supporting layer between the Velcro and the main fabric when working with delicate fabrics. This additional layer acts as a buffer, reducing friction and minimizing wear on the thread.
Will adjusting the sewing machine speed helps prevent thread breaks with Velcro?
Yes, slowing down your sewing machine speed is a practical strategy to prevent thread breaks when sewing Velcro. Velcro’s thickness and density require a more measured approach. Slowing down allows the machine to handle the material more effectively.
Conclusion
Overcoming thread breakage while sewing Velcro requires a combination of careful considerations and practical adjustments.
By selecting the right type of thread, making appropriate machine settings, and using proper techniques, you can significantly minimize the frustration associated with this common issue.
Remember to use a strong and durable thread matched to the weight and nature of the fabric and Velcro you are working with.
Adjust the tension on your sewing machine, and consider using a walking foot or Teflon-coated foot to glide through the Velcro without resistance.
Additionally, taking it slow and steady while sewing can make a significant difference in preventing thread breaks.
As you implement these insights, you’ll be more adept at handling Velcro in your sewing projects, resulting in smoother outcomes.
Don’t let thread breakage dampen your enthusiasm for creating with Velcro – armed with the right knowledge; you can now sew confidently.
Leave a Reply