The meticulous craft of embroidery often prompts the question, “Do you glue the back of embroidery?” As artisans venture into the world of needlework, understanding the role of adhesive in securing delicate stitches becomes essential.
Gluing the back of embroidery serves not only as a practical measure to reinforce the stitches but also as a method to enhance the longevity and presentation of the finished piece.
This inquiry unveils a nuanced aspect of embroidery, where the choice of adhesive and technique can contribute to the handcrafted creation’s overall durability and aesthetic appeal.
Exploring the reasons behind gluing the back of embroidery unveils a layer of artistry that extends beyond the visible stitches, revealing the meticulous considerations that transform embroidery into a lasting work of art.
Do You Glue The Back Of Embroidery?
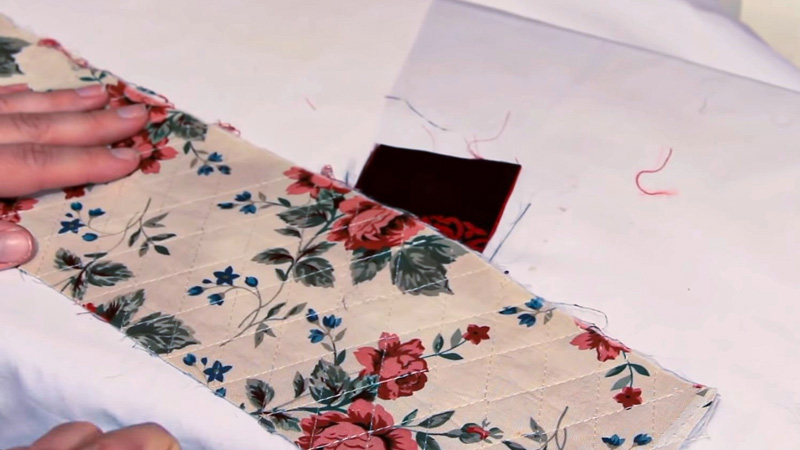
When it comes to finishing an embroidery project, embroidery glue can be a valuable tool for securing the back of the work.
After meticulously creating a design with needle and thread, applying a thin layer of glue for embroidery on the backside helps reinforce the stitches and prevents unraveling.
The use of embroidery glue back not only adds stability but also ensures the piece’s longevity. This adhesive method is particularly useful for projects that will be displayed without a backing fabric or those intended for framing.
However, it’s crucial to use a minimal amount of embroidery glue to avoid altering the texture of the fabric or causing discoloration, allowing the intricate details of the embroidery to shine.
How To Use Fabric Glue For Embroidery?
Embarking on the journey of using fabric glue for embroidery introduces a range of techniques to enhance the durability and presentation of your needlework.
The application of glue on the back of embroidery pieces not only secures the stitches but also contributes to a polished finish.
Here are seven simple methods to guide you through the process of effectively using fabric glue for the glue back of embroidery.
Selecting the Right Glue
Choosing a fabric glue specifically designed for embroidery is essential. Opt for a clear, washable glue that dries transparently to avoid altering the appearance of your meticulously crafted embroidery.
Applying a Thin Layer
Ensure precision by applying a thin, even layer of fabric glue on the back of the embroidery. Use a fine-tip applicator or a small brush to control the amount, preventing excess glue from seeping through the fabric.
Focusing on Edges and Corners
Pay special attention to the edges and corners of your embroidery piece. Apply a bit more fabric glue in these areas to reinforce the stitches and prevent fraying, ensuring long-lasting durability.
Allowing Adequate Drying Time
Give the fabric glue ample time to dry completely. Follow the manufacturer’s instructions for drying time, and consider placing a flat, heavy object on the glued embroidery to ensure a smooth and even bond.
Testing on Scrap Fabric
Before applying fabric glue to your completed embroidery project, practice on a scrap piece to gauge the amount of glue needed and familiarize yourself with the application process.
Avoiding Over-Gluing
Exercise caution to prevent over-gluing, as excessive adhesive can seep through the fabric and impact the overall texture. A light touch ensures that the embroidery glue enhances stability without compromising the visual appeal.
Trimming Excess Fabric
After the glue has dried, carefully trim any excess fabric from the edges of your embroidery. This step contributes to a clean and professional finish, highlighting the intricate details of your stitched design.
Using fabric glue for the glue back of the embroidery is a versatile and effective method, adding a layer of stability to your needlework while maintaining the integrity of your carefully crafted stitches.
How To Seal The Back Of Embroidery?

Sealing the back of your embroidery ensures a polished and professional finish, safeguarding your intricate stitches. Discover seven simple methods to secure and preserve your work effectively.
From using specialized cross-stitch glue to attaching embroidery to fabric, these techniques will elevate your finished pieces, providing durability and aesthetic appeal.
Selecting Quality Cross Stitch Glue
Begin by choosing a high-quality cross-stitch glue designed specifically for fabric. Opt for a clear and washable adhesive that dries transparently, ensuring it won’t compromise the appearance of your stitches.
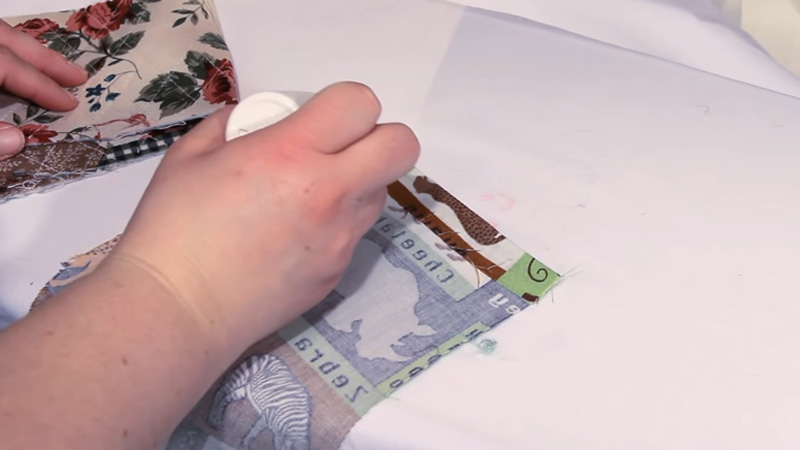
Applying a Thin, Even Layer
To attach embroidery to fabric securely, apply a thin, even layer of cross-stitch glue on the back of your work. This ensures a strong bond without adding unnecessary bulk to the fabric.
Using Fusible Interfacing
For added stability, consider using fusible interfacing. Cut the interfacing to match the size of your embroidery, place it on the back, and apply heat using an iron. This method not only seals the back but also provides additional support.
Whip Stitching Edges
Create a neat and secure edge by whip stitching around the perimeter of your embroidery. Use a thread color that matches your fabric, and ensure that the stitches are evenly spaced to prevent fraying.
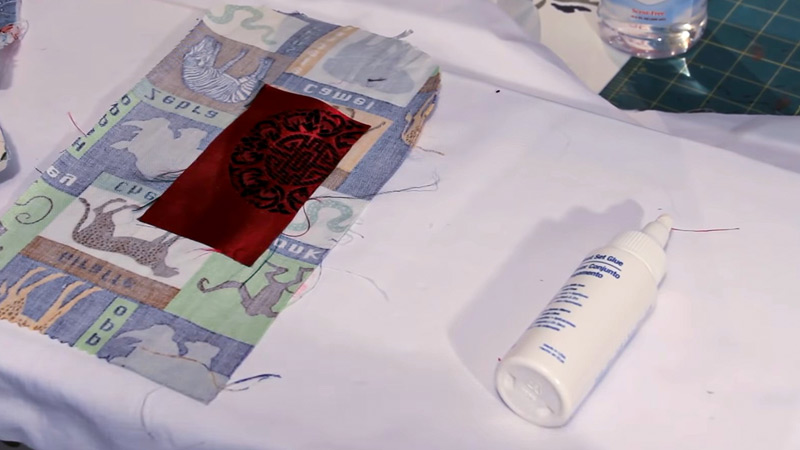
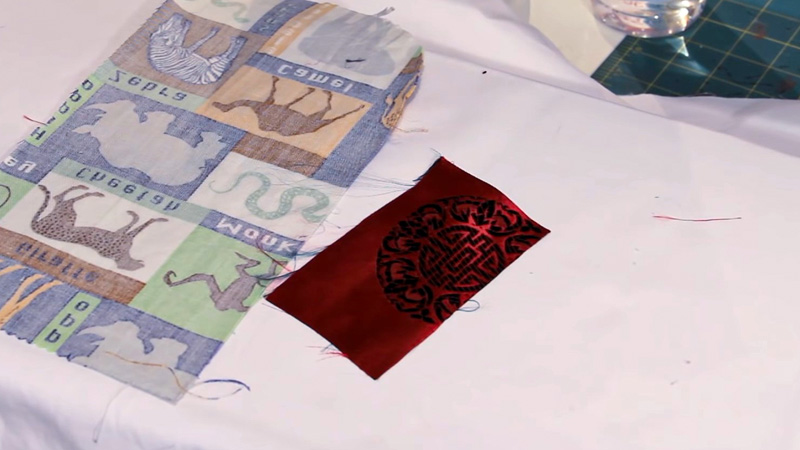
Attaching Fabric Backing
Choose a coordinating fabric for the backing and attach it to the back of your embroidery. Secure it in place using a discreet whip stitch or running stitch, concealing the edges for a clean and polished look.
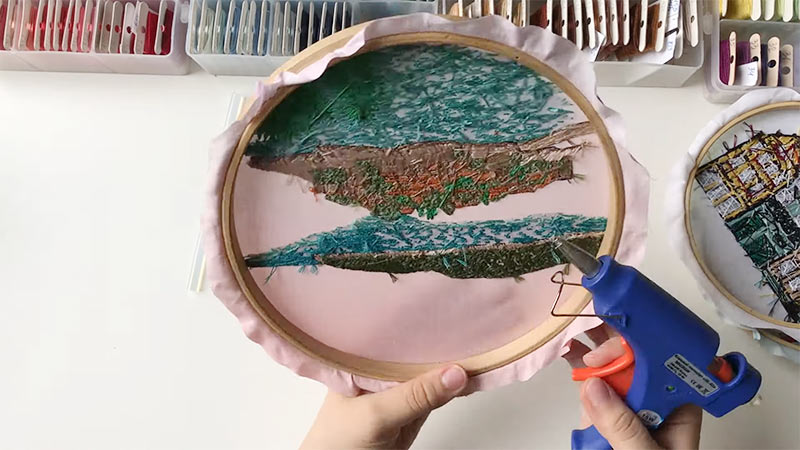
Finishing Embroidery Hoop with Glue
If your embroidery is displayed in a hoop, seal the back by applying a small amount of cross-stitch glue along the inner edge of the hoop. Press the fabric against the glue, creating a tidy finish and preventing any fraying.
Using Fray Check or Fabric Glue for Edges
To further prevent fraying, apply minimal fray check or fabric glue along the edges of your embroidery. This step ensures that even the most delicate details remain intact over time.
Implementing these methods for attaching embroidery to fabric and finishing with cross-stitch glue provides a range of options for securing the back of your work.
Whether framing, displaying in a hoop, or creating a fabric backing, these techniques contribute to the longevity and professional presentation of your embroidered masterpieces.
FAQs
What type of glue is suitable for the back of embroidery?
Choosing a fabric glue specifically designed for embroidery is crucial. Opt for a clear, washable glue that dries transparently to ensure it doesn’t alter the appearance of your meticulously crafted stitches.
Can I use regular glue for the back of the embroidery?
It’s recommended to use glue specifically designed for fabric and embroidery. Regular glue may not provide the flexibility and washability needed for fabric-based projects.
How do I apply glue to the back of the embroidery?
Apply a thin, even layer of glue using a fine-tip applicator or a small brush. Be mindful of the amount to avoid excess seeping through the fabric. Allow the glue to dry completely according to the manufacturer’s instructions.
Are there alternatives to gluing the back of embroidery?
Alternatives include using fusible interfacing, whip stitching the edges, attaching a fabric backing, or finishing the embroidery hoop with glue. Each method offers a different approach to securing the stitches and achieving a polished finish.
Should I glue the back of the embroidery displayed in a hoop?
If displaying embroidery in a hoop, applying a small amount of glue along the inner edge can create a tidy finish, preventing fraying. It’s crucial to use a minimal amount and ensure the glue does not impact the appearance of the front of the embroidery.
Conclusion
In embroidery, the decision to glue the back is a crucial step in the final stages of the creative process. As the needlework enthusiast contemplates whether to employ adhesive, the answer lies in the delicate balance between practicality and aesthetics.
Gluing the back of embroidery is not merely a matter of securing stitches; it’s a methodical approach to fortify the craftsmanship and showcase the intricate details.
Whether opting for specific embroidery glues, fabric adhesives, or traditional stitching techniques, the back of embroidery holds the key to a polished and enduring masterpiece.
As the final touch is applied, the question of gluing the back echoes the commitment to preserving the artistry of each meticulously stitched creation.
Leave a Reply