The art of sewing has transcended time, offering a canvas for creativity and craftsmanship. Among the myriad techniques in a seamstress’s repertoire, the fell stitch stands as a fundamental and versatile method.
This hand-sewing technique, known for its strength and ability to create clean, nearly invisible seams, is a skill that every sewing enthusiast should master.
In this guide, we delve into fell stitch- how to sew, offering simple methods to help you sew with finesse and precision.
Whether you are a novice seamstress or an experienced tailor, these step-by-step instructions will empower you to create professional-looking seams that withstand the test of time.
From preparing your materials to securing the final stitch, we’ll explore each aspect of the fell stitch, providing clarity and confidence as you embark on your sewing journey.
Fell Stitch- How to sew
Fell stitch is a versatile and commonly used hand-sewing technique in sewing and tailoring.
It’s often employed to create flat, secure seams that are both durable and neat.
Below, you’ll find some simple methods to guide you through the process of sewing with the fell stitch:
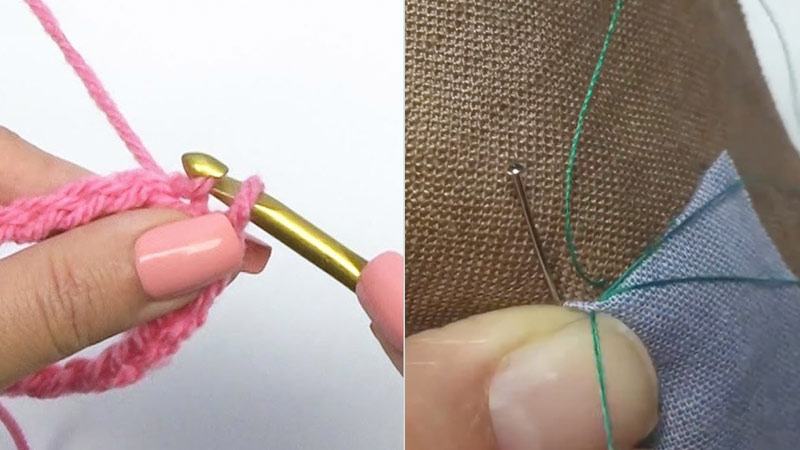
Prepare Your Materials
Before you start, gather your materials, including the fabric pieces you intend to join, pins, a needle, and thread. Choose a thread colour that matches your fabric for a seamless finish.
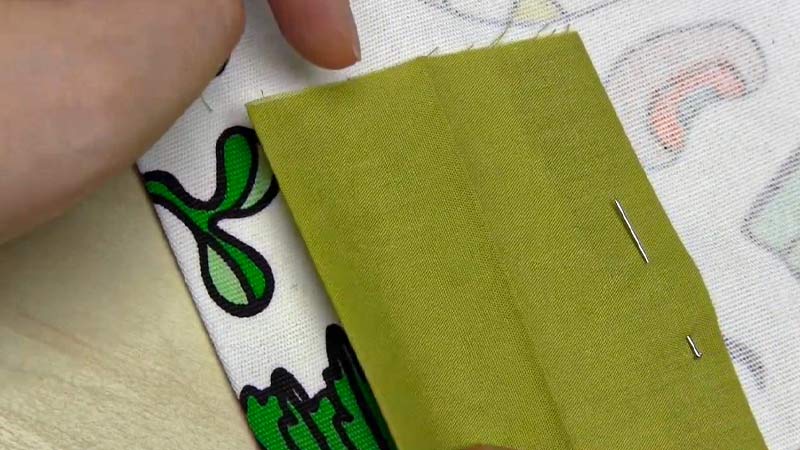
Align Your Fabric
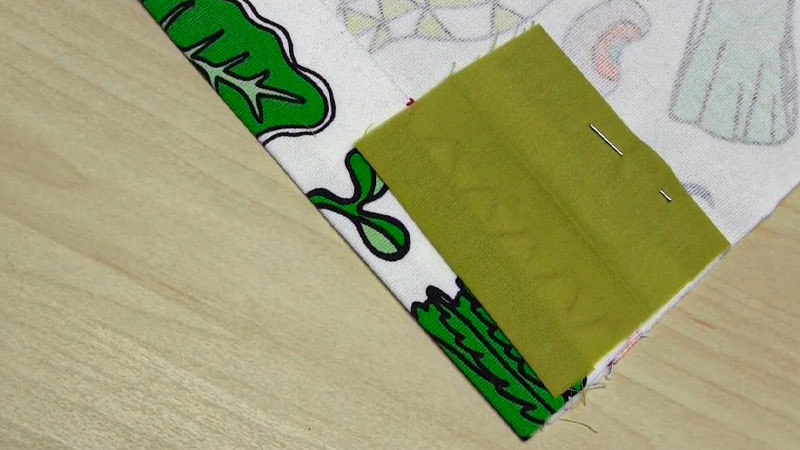
Position the fabric pieces you want to sew together, with the right sides facing each other. Align the edges you intend to join and secure them in place with straight pins to prevent shifting.
Thread Your Needle
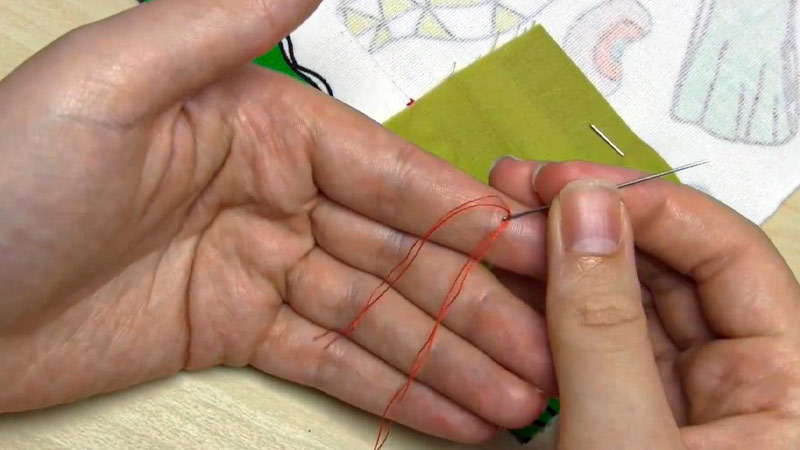
Thread a hand-sewing needle with a length of thread (typically around 18-24 inches) and knot the end securely.Ensure that the thread colour matches your fabric for a discreet look.
Start with a Hidden Knot
Insert your needle from the wrong side of the fabric, pulling it through to the right side where you want your stitching to begin. Leave a short tail of thread on the wrong side, securing it with a knot.
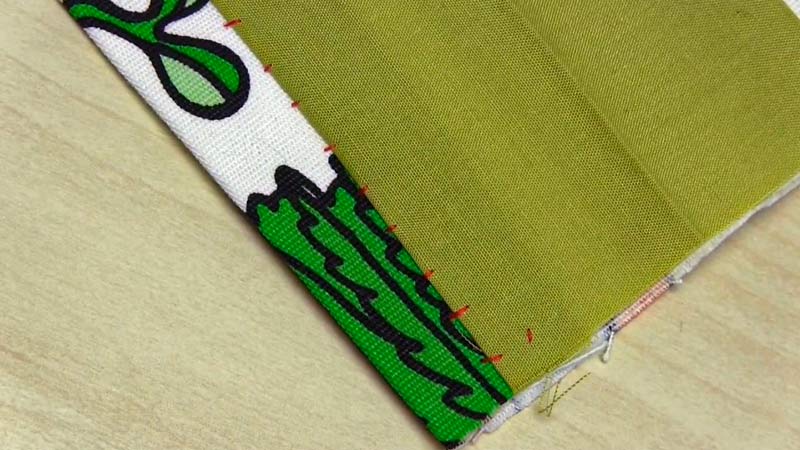
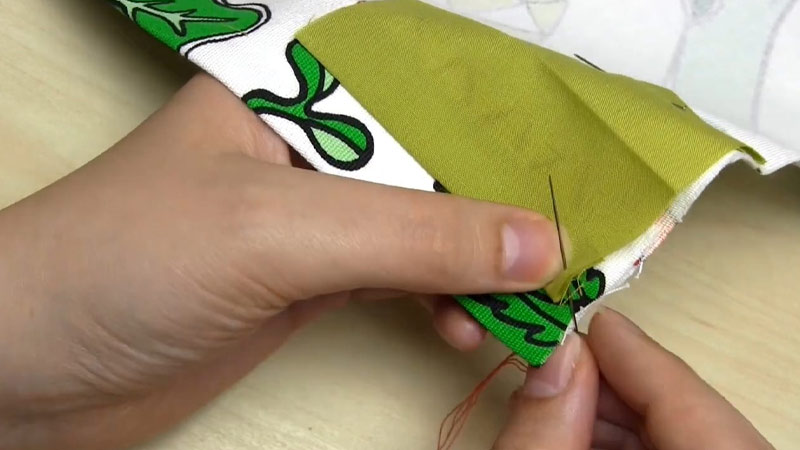
Make the First Stitch

Insert your needle from right to left into the folded edge of one fabric piece, about 1/8 inch from the folded edge and 1/8 inch from the seam allowance. Pull the needle through to the right side.
Repeat the Stitch
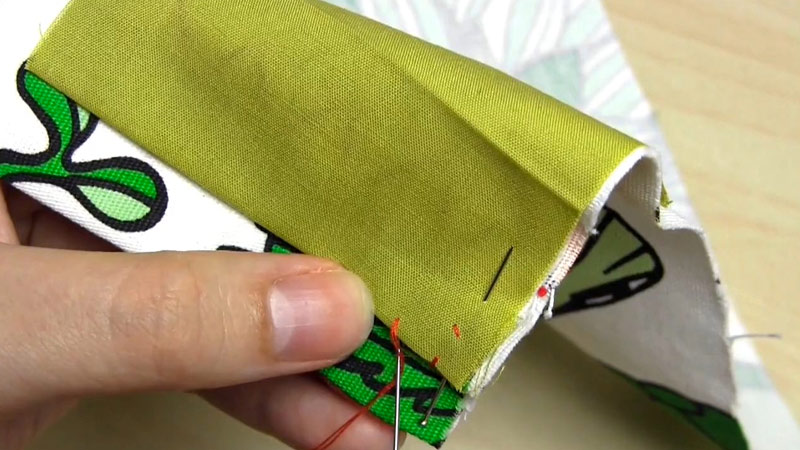
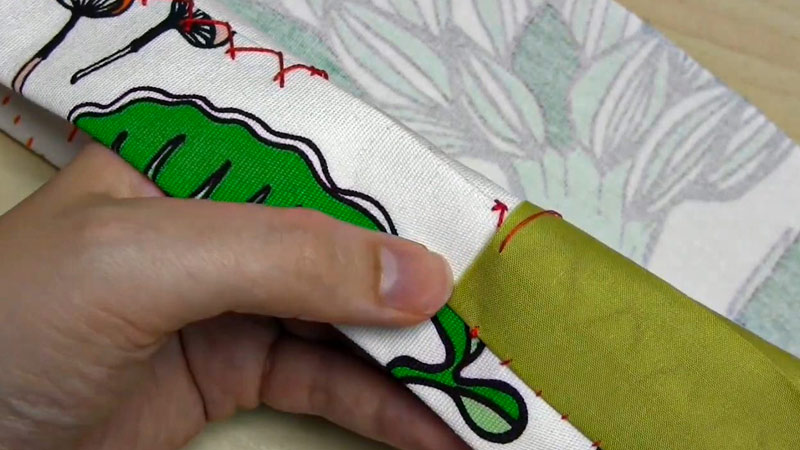
Continue making evenly spaced, diagonal stitches, ensuring each stitch is about the same length. Pass the needle through the folded edge of one fabric piece and then the other, alternating between them as you sew.
Finishing Off
When you reach the end of your seam, secure your stitching by making a small knot on the wrong side of the fabric.
Pass the needle through the seam allowance and trim any excess thread. Press the seam open if necessary for a crisp finish.
The fell stitch is an excellent choice for finishing hems, attaching linings, and joining fabrics with minimal visible stitching.
With practice, you’ll achieve clean, sturdy seams that add a professional touch to your sewing projects.
What Is A Felling Stitch Used For?
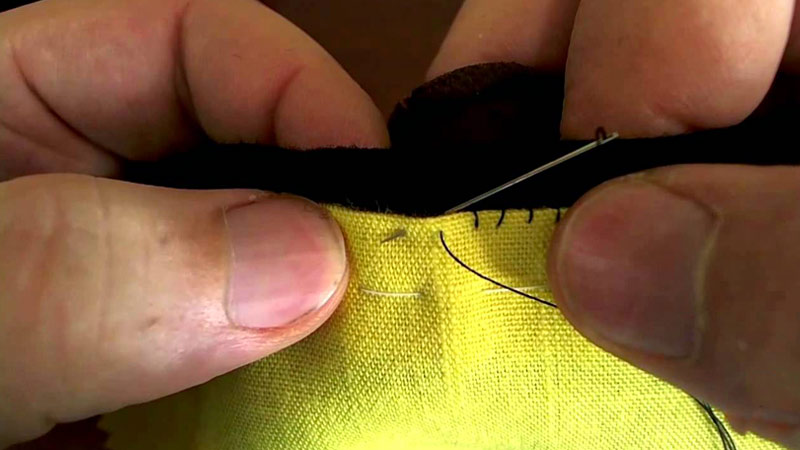
A feeling stitch is a type of hand-sewing stitch that is used to attach one fabric to another, such as lining a garment or appliqué to a project.
It is a strong and neat stitch that creates small vertical stitches on the right side and long diagonal stitches on the wrong side.
Here are the usages of felling stitch:
Sewing Linings
A felling stitch is ideal for sewing linings to garments such as coats and jackets because it is flexible and allows the lining to move like a hinge against the main fabric.
It also hides the stitch on the outside of the garment, as it does not go through all the layers of fabric.
Sewing Appliqués
Felling stitch can also be used to sew appliqués to projects, such as waistbands, ribbons, lace, or patches. It creates a smooth and secure attachment that can be decorative or functional.
Sewing Lace
Felling stitch can also be used to sew lace, either as appliqués or as seams. It creates a delicate and elegant effect that can be used for lingerie, bridal wear, or embellishments.
Sewing Millinery
Felling stitch can also be used for millinery work, such as hats, fascinators, or headpieces. It can be used to attach fabric, felt, straw, or other materials to a base or a frame. It can also be used to create shapes or curves by manipulating the fabric with the stitch.
Sewing Leather
Felling stitch can also be used to sew leather, either as a lining or as an appliqué. It creates a strong and durable bond that can withstand wear and tear. It can also be used to create decorative patterns or designs on the leather surface.
Sewing Quilts
Felling stitch can also be used to sew quilts, either as a binding or as an appliqué. It creates a neat and tidy finish that can be seen on both sides of the quilt.
It can also be used to add texture or dimension to the quilt by varying the length and angle of the stitches.
Sewing Curtains
Felling stitch can also be used to sew curtains, either as a hem or as an appliqué. It creates a professional and clean look that can be customized with different fabrics, colours, or patterns.
It can also be used to create pleats or folds by adjusting the tension of the stitch.
What Is The Difference Between Slip Stitch And Fell Stitch?
Slip stitch and fell stitch are two types of hand-sewing stitches that are used to attach one fabric to another, usually with a folded edge.
They are both invisible or nearly invisible on the right side of the fabric, but they have some differences in appearance, function, and technique.
Here are the differences between slip stitch and fell stitch:
Appearance On The Wrong Side
Slip stitch creates small vertical stitches on the wrong side of the fabric, while fell stitch creates long diagonal stitches on the wrong side of the fabric. This makes slip stitch more discreet and fell stitch more noticeable on the wrong side.
Strength And Flexibility
Slip stitch is a weaker and less flexible stitch than fell stitch, as it only picks up a few threads of the fabric on each stitch.
Fell stitch is a stronger and more flexible stitch, as it picks up more fabric on each stitch and allows some movement between the layers.
This makes slip stitch more suitable for delicate fabrics and fell stitch more suitable for sturdy fabrics.
Direction Of Stitching
Slip stitch is worked from right to left, while fell stitch is worked from left to right. This means that slip stitch is easier for right-handed sewers, and fell stitch is easier for left-handed sewers.
Position Of Needle
Slip stitch is worked with the needle parallel to the fabric, while fell stitch is worked with the needle perpendicular to the fabric. This affects the angle and direction of the stitches on the wrong side of the fabric.
Travelling Of Needle:
The slip stitch travels through the fold of the fabric, while the fell stitch travels behind the base fabric.
This means that the slip stitch hides most of the thread inside the fold, while the fell stitch exposes more of the thread on the wrong side of the fabric.
Uses
Slip stitch is mainly used for hems, rolled edges, bias bindings, and other situations where an invisible seam is desired.
Fell stitch is mainly used for linings, collars, waistbands, sleeves, appliqués, lace, leather, quilts, and other situations where a strong and neat attachment is desired.
Alternatives
Slip stitch can be replaced by blind hem stitch or catch stitch for hems or edges. On the other hand, Fell stitch can be replaced by whipstitch or ladder stitch for linings or appliqués.
FAQ
What is a fell stitch in sewing?
A fell stitch is a hand-sewing technique used to create secure, flat seams in fabrics. It’s especially valuable for joining two folded fabric edges while concealing the stitching on one side for a neat finish.
When should I use a fell stitch?
You can use a fell stitch for hemming, attaching linings, or joining fabrics where you want a discreet and strong seam.
What type of thread should I use for a fell stitch?
Opt for a thread colour that matches your fabric to make the stitching less visible. Use a durable thread like cotton or polyester for longevity.
Is a fell stitch suitable for both lightweight and heavy fabrics?
Yes, the fell stitch is versatile and works well on a variety of fabrics, from lightweight silks to heavy denim. Adjust the size of your stitches to suit the fabric’s weight.
How do I ensure my fell stitch is secure and even?
To ensure a secure and even fell stitch, maintain consistent stitch length and tension. Take your time and practice on scrap fabric to improve your technique before working on your project.
Conclusion
The fell stitch is more than just a sewing technique; it’s a bridge between function and beauty in the world of fabric creation.
As we conclude our journey through the seven simple methods of sewing with the fell stitch, you’ve acquired a valuable skill that can elevate your sewing projects to new heights.
With your newfound knowledge of the fell stitch, you can confidently tackle a wide range of sewing tasks.
Whether you’re hemming a garment, attaching linings, or joining fabrics with precision, this technique will serve as a trusted ally.
As you practice and refine your skills, you’ll discover the magic of creating durable, nearly invisible seams that reflect the craftsmanship and dedication that go into each of your creations.
So, pick up your needle and thread, and let the fell stitch be your guide as you embark on sewing endeavors that blend practicality and aesthetics, turning your fabric into artistry with every carefully placed stitch.
Leave a Reply