Hand appliqué, an intricate sewing technique, allows for the delicate artistry of attaching small fabric pieces to a base material.
When working with very small pieces, this craft demands exceptional precision and finesse. Whether you’re embellishing quilts, clothing, or crafting decorative designs, the process remains a labor of love.
The challenge lies in the minuscule scale, as every stitch must be perfectly placed to create intricate patterns and shapes.
The steps involve meticulous cutting, precise positioning, and a series of tiny, nearly invisible stitches.
In this guide, we’ll explore the specialized skills and techniques needed to master hand appliqué of very small pieces, elevating your textile creations to new levels of detail and artistry.
What Is Applique in Sewing?
Appliqué in sewing is a decorative and versatile technique where pieces of fabric are attached to a larger base fabric to create intricate designs, patterns, or images.
This craft offers a myriad of creative possibilities and can be found in various sewing projects, from quilting and clothing design to home decor.
The term “appliqué” is derived from the French word “applique,” which means “to apply” or “to put on.”
To execute appliqué, fabric pieces are meticulously cut into desired shapes and then stitched onto the background fabric using various methods.
These can include hand stitching, machine sewing, or even adhesive techniques. Appliqué can be done with contrasting or matching fabrics, resulting in unique, eye-catching designs.
It allows for the incorporation of various textures, colors, and prints, making it a popular choice for adding flair, personalization, and artistic expression to a wide range of sewing projects.
Whether you’re adding small embellishments to a garment or creating a complex quilt block, appliqué is a versatile skill that opens up a world of creative opportunities for sewing enthusiasts.
How Do You Hand Applique Very Small Pieces?
Hand appliqué with very small pieces can be a challenging but rewarding technique, allowing you to create intricate and finely detailed designs.
The process for hand appliqué of very small pieces is similar to standard hand appliqué but requires more precision and patience.
Here’s how to hand appliqué very small pieces effectively:
Materials and Tools:
- Fabric
- Needles
- Thread
- Scissors
- Pins
- Thimble
Steps for Hand Appliqué of Very Small Pieces:
Prepare Your Fabric
Cut out your small appliqué pieces, ensuring that they have a seam allowance of around 1/8 inch or less. Using small, sharp scissors, make precise cuts for the best results.
Position and Secure
Pin the tiny appliqué piece in place on your base fabric. For very small pieces, it might be helpful to use a light adhesive or temporary fabric glue to secure them in position. This will prevent them from shifting while you stitch.
Thread Your Needle
Thread your needle with a fine thread and knot one end.
Starting Stitch
Begin with a hidden stitch by inserting the needle from the back of the base fabric, bringing it up through the edge of the small appliqué piece.
Stitching Small Pieces
Take tiny, even stitches around the edge of the small piece. The stitches should be close together and barely visible. For very small pieces, you might need to use even smaller stitches than with larger appliqué.
Corners and Curves
When you encounter corners or curves, take extra care to maintain the shape of the piece. You can make tiny tucks or folds in the fabric as needed to navigate these areas.
Finishing Stitches
Secure your thread by making a small knot on the backside of the fabric. Ensure that the knot is tiny and discreet.
Repeat for Multiple Pieces
If you’re working with multiple small appliqué pieces, repeat the process for each one, allowing a small gap between them. Take your time and be patient to maintain precision.
Press and Finish
Once all the small pieces are securely attached, press your work with a warm iron to set the stitches and smooth out any wrinkles. Use a pressing cloth to protect the fabric.
How to Applique Small Pieces by Hand?
Appliqué is a charming and creative sewing technique that involves attaching small pieces of fabric onto a larger base fabric to form decorative designs.
Hand appliqué is a meticulous and artful method that allows for precision and intricate work.
Here’s how to appliqué small pieces by hand:
Materials and Tools:
- Fabric
- Needles
- Thread
- Scissors
- Pins
- Thimble
Steps for Hand Appliqué:
Prepare Your Fabric
To start, cut out the shape you wish to appliqué from your small piece of fabric. Leave a small seam allowance of about 1/8 to 1/4 inch around the edges.
Position the appliqué piece on the base fabric where you want it to be. Carefully pin it in place to secure it.
This process involves ensuring the edges of the appliqué piece align with your intended design.
Thread Your Needle
Thread a fine needle with a length of thread, typically around 18-24 inches. Knot one end of the thread securely, ensuring it won’t come undone as you work.
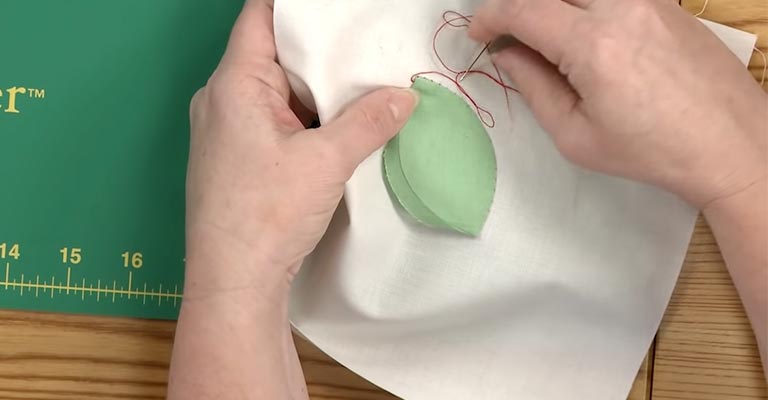
Starting Stitch
To initiate your stitching, insert the needle from the backside of the base fabric, bringing it up through the edge of the appliqué piece.
This initial stitch is often referred to as a “hidden stitch” or “blind stitch.” The goal is to create a secure attachment without visible stitches on the front.
Stitch Along the Edge
With your needle now on the edge of the appliqué piece, take small and even stitches. Start by sewing into the edge of the appliqué piece, then make a small stitch into the base fabric.
Continue this process, moving around the shape. Maintain the stitches small and consistent for a tidy and nearly invisible finish. The key is to catch just a few threads of the appliqué piece and the base fabric with each stitch.
Handling Corners
When you approach a corner, fold the fabric at a 45-degree angle, creating a mitered edge. Secure the mitered fold in place with a few stitches. This ensures that your corners are neatly finished without puckering.
Secure and Finish
After you’ve completed stitching around the entire shape, secure your thread by creating a small knot or two on the backside of the fabric. Trim any excess thread, keeping it neat and unobtrusive.
Repeat for Additional Shapes
If you’re working with multiple appliqué pieces, repeat the entire process for each shape. Remember to maintain a small gap between them to avoid overcrowding the design. This space allows the individual pieces to stand out and ensures the design’s clarity.
Final Touches
After all your appliqué pieces are securely attached, use a warm iron to press your work. This sets the stitches and smoothes out any wrinkles.
Always use a pressing cloth to safeguard delicate fabrics from direct heat. This final step helps your appliqué project look polished and well-finished, bringing out the details in your design.
How to Machine Applique Small Pieces?

Machine appliqué is a versatile and creative technique that allows you to add intricate and small fabric pieces to your sewing projects.
Whether you’re embellishing a quilt, making personalized clothing, or crafting decorative items, machine appliqué can add a unique and professional touch to your work.
Here are the steps on how to machine appliqué small pieces:
Materials and Tools:
- Fabric
- Fusible Web
- Backing Fabric
- Thread
- Sewing Machine
- Needle
- Scissors
- Pattern
Steps for Machine Appliqué with Small Pieces:
Prepare Your Design
Sketch or trace your design onto the paper side of the fusible web. Make sure to reverse the design if it’s asymmetrical, especially if using letters or numbers. Cut out the design roughly, leaving some margin around it.
Fuse the Web
Follow the manufacturer’s instructions on the fusible web package to iron the web onto the wrong side of your appliqué fabric. This will adhere the web to the fabric, allowing you to cut out the design more precisely.
Cut Out Your Design
Carefully cut out the design along the lines. Take your time and use small, sharp scissors to get clean edges.
Peel Off the Backing
Once your design is cut out, peel off the paper backing of the fusible web, revealing the adhesive side.
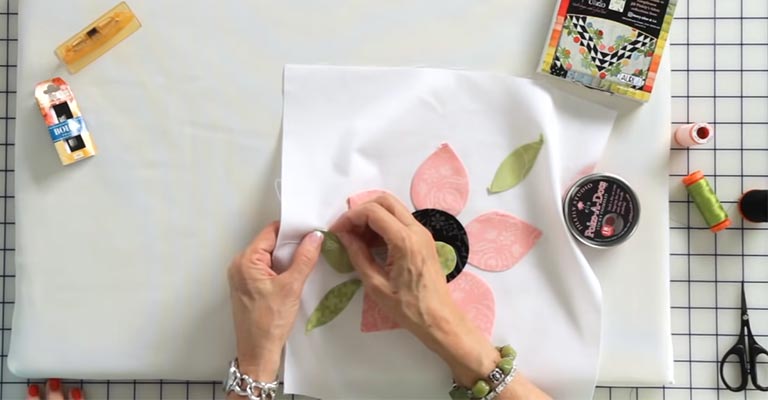
Position Your Appliqué Pieces
Place your appliqué pieces on the background fabric where you want them. Use a hot iron to fuse the appliqué pieces to the background fabric.
Be careful not to touch the iron directly to the exposed fusible web, as it can melt and create a mess.
Set Up Your Sewing Machine
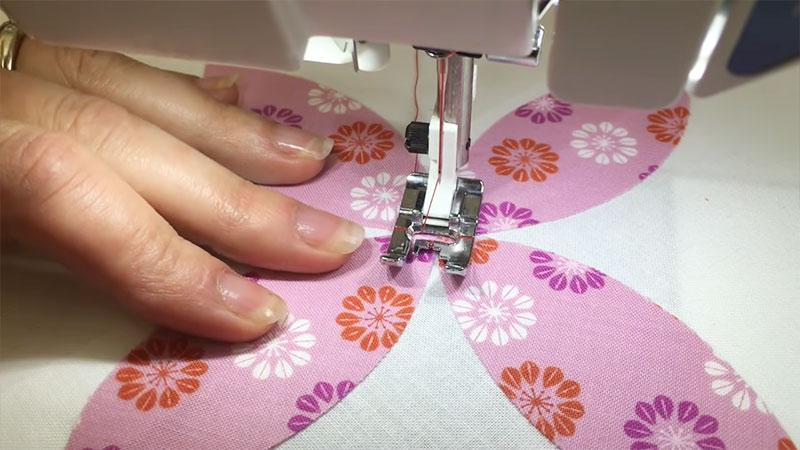
Set your sewing machine to a zigzag or satin stitch. Adjust the stitch width and length to your liking. For small pieces, a narrow zigzag stitch works well.
Sew Around the Appliqué Pieces
Stitch around the edge of your appliqué pieces, ensuring that the zigzag stitch catches both the appliqué piece and the background fabric.
Start and finish your stitching a short distance away from the corners to allow for easy pivoting.
Pivot at Corners
When you come to a corner, stop with the needle down in the fabric, lift the presser foot, and pivot the fabric to continue sewing in the new direction.
Secure the Thread Ends
At the beginning and end of your stitching, backstitch a few stitches to secure the thread. Trim the threads close to the fabric.
Add Any Additional Details
If your design has more than one layer of appliqué pieces, repeat the process for each layer, starting with the bottom layer and working your way up.
Finish Your Project
Once all your appliqué pieces are securely stitched, you can complete your sewing project, whether it’s a quilt, clothing, or any other item.
FAQS
What’s the best type of needle for hand appliqué with tiny pieces?
For hand appliqué with very small pieces, it’s recommended to use a fine and sharp needle, such as a size 10 or 11 appliqué or embroidery needle.
How can I secure tiny appliqué pieces without fusing or adhesive?
If you prefer not to use fusible web or adhesive, you can baste the edges of your small appliqué pieces with a few tiny stitches beforehand appliqué.
What’s the best thread for hand appliqué with fine details?
When working with very small appliqué pieces, choose a fine and strong thread. Cotton thread or silk thread is often preferred due to its durability and ability to blend well with the fabric.
Are there any special techniques for turning small curves and corners in hand appliqué?
When navigating tight curves and corners with small appliqué pieces, use small, closely spaced stitches to ensure smooth, even curves.
How can I prevent fraying when working with extremely small appliqué pieces?
To prevent fraying, consider using pinking shears to trim the edges of your small fabric pieces before appliqué.
To Recap
In hand appliqué with very small pieces, attention to detail and patience are paramount. Working with precision requires selecting the right tools—fine needles, strong threads, and sharp scissors.
Careful basting or adhesive alternatives can secure delicate pieces. Thread selection, matching or contrasting, enhances the final look.
Navigating curves and corners demands a gentle touch and small, closely spaced stitches. Preventing fraying, through methods like pinking or fray-check, ensures longevity.
While hand appliqué with tiny pieces presents challenges, the end result is a labor of love that showcases meticulous craftsmanship, adding a touch of artistry to fabric creations, from quilts to garments and beyond.
Leave a Reply