Embroidery is an art form that thrives on meticulous planning and execution. Crafting a stunning embroidery piece begins with a well-thought-out outline, serving as the foundation for your creative endeavor.
So, how do you make an outline for embroidery? In this guide, we will explore the step-by-step process of constructing an embroidery outline that enhances the visual appeal of your project and simplifies the stitching journey.
From selecting the right materials to understanding design proportions, we’ll delve into the essential aspects of outlining for embroidery.
Whether you’re a seasoned embroiderer or a beginner seeking to master the basics, this tutorial aims to be your comprehensive resource for honing the skill of creating outlines that bring your artistic vision to life.
Prepare to infuse your needlework with precision and artistry as we unravel the secrets of effective embroidery outlining.
How Do You Make An Outline For Embroidery?
Creating an outline for embroidery is crucial in ensuring a polished and well-executed final piece. Whether you’re a novice or an experienced embroiderer, the following detailed guide will walk you through the step-by-step process of making an outline for embroidery.
Choose Your Design
Begin by selecting the design you want to embroider. This could be a pre-existing pattern, a personal sketch, or a digital image. Ensure that the design is clear and detailed, as it will serve as the foundation for your embroidery project.
Select Your Fabric
The fabric you choose plays a significant role in the outcome of your embroidery. Consider the fabric’s type, color, and texture based on your design.
Lighter fabrics may require a stabilizer to prevent puckering, while heavier fabrics may need a more robust needle.
Gather Your Materials
Prepare your embroidery materials, including embroidery floss in the desired colors, an embroidery hoop, needles, and scissors. Having all your materials organized and ready will streamline the outlining process.
Transfer the Design
Transfer your chosen design onto the fabric. There are various methods to do this, such as using a water-soluble pen, carbon paper, or tracing with a light source. Make sure the transfer is accurate, capturing all the details of your design.
Choose Your Outline Stitch
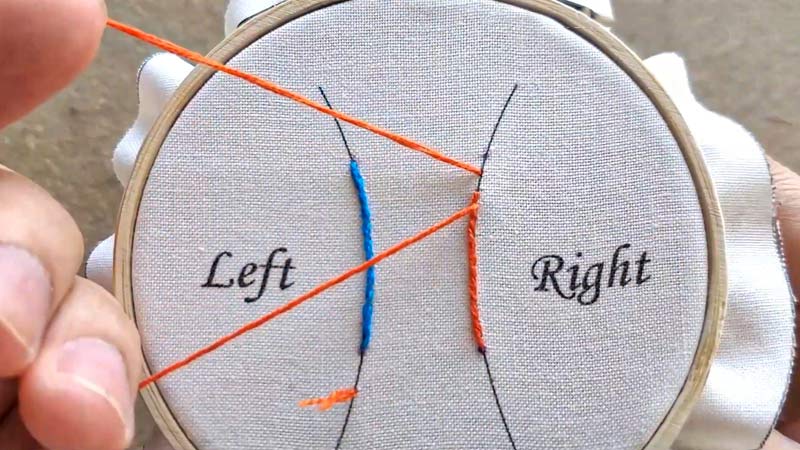
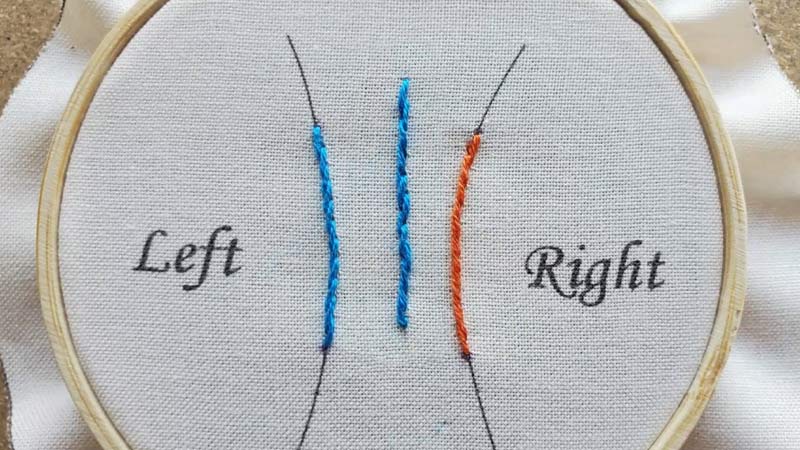
The choice of embroidery outline stitch depends on the style and complexity of your design. Common outline stitches include backstitch, stem stitch, and split stitch. Experiment with different stitches to find the one that complements your design best.
Start with an Anchor Stitch
Begin your outline stitch embroidery with an anchor stitch. This can be a small, secure stitch at the starting point of your design. It prevents the thread from pulling through the fabric and helps maintain the stability of your outline.
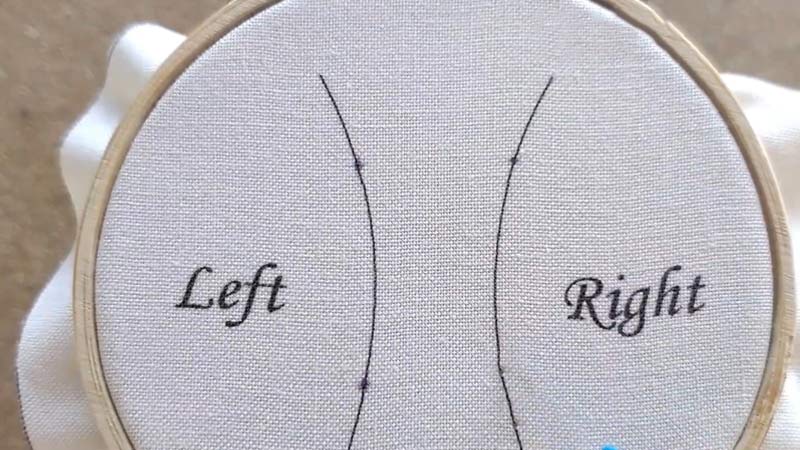
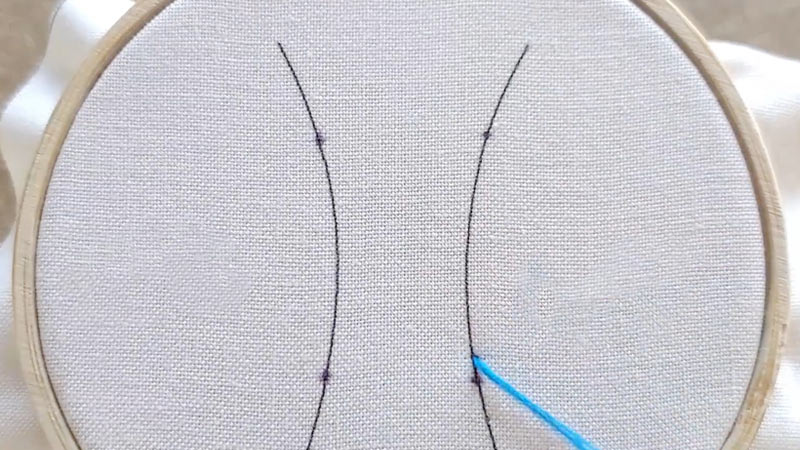
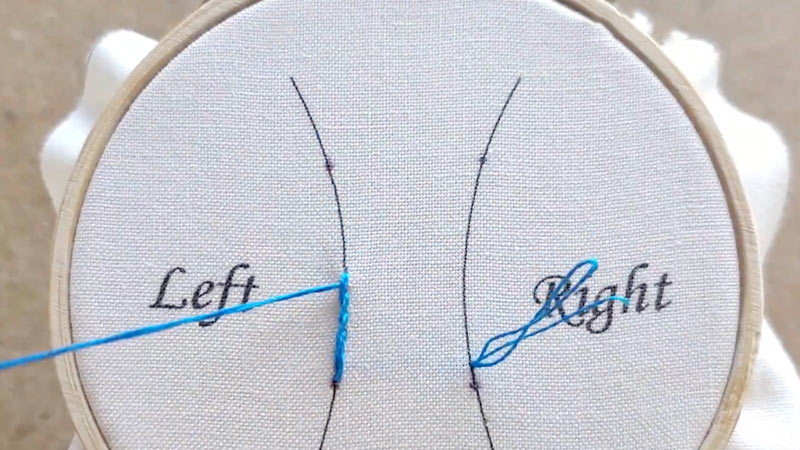
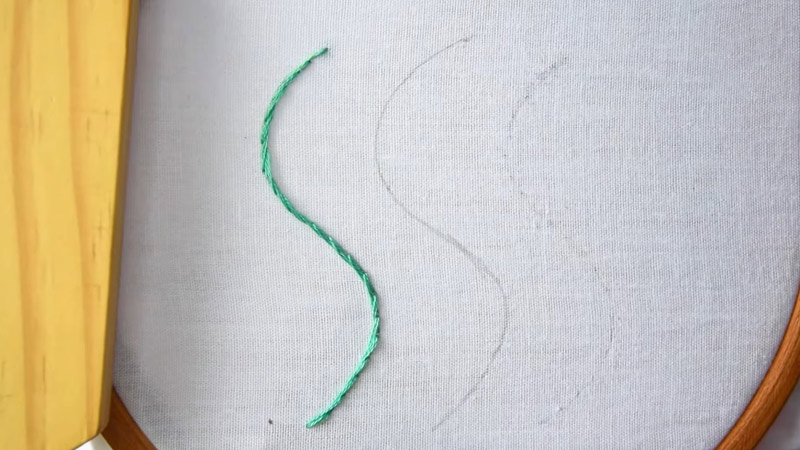
Follow the Design Lines
Work systematically, following the lines of your design with precision. Keep your embroidery outline stitches even and consistent for a professional look. Take your time, especially around curves and intricate details, to ensure the accuracy of your outline.
Use Embroidery Hoop for Stability
Place your fabric in an embroidery hoop to maintain tension and stability. This ensures that your stitches lie flat and prevents distortion of the fabric. Adjust the hoop as needed while working on different sections of your outline.
Knots and Ends
Conceal knots and thread ends neatly to maintain a clean finish. When starting a new thread, secure it with a small knot or weave it into the existing stitches.
At the end of each thread, secure it with a small knot and trim the excess thread close to the fabric.
Incorporate Color Changes
If your design involves different colors, plan your outline accordingly. Change thread colors strategically, securing the ends neatly to avoid a messy appearance. This attention to detail enhances the overall aesthetic of your embroidery.
Address Mistakes Promptly
Mistakes are inevitable, but addressing them promptly is key. If you make an error in your outline, carefully remove the stitches with a seam ripper and rework that section. Patience and precision go hand in hand in the world of embroidery.
Add Embellishments if Desired
Once your outline is complete, consider adding embellishments such as French knots or satin stitches to enhance specific elements of your design. These touches can bring depth and texture to your outline embroidery stitch.
Final Inspection
Step back and inspect your completed outline. Ensure that all lines are smooth, consistent, and accurately represent your chosen design. This final check allows you to make any necessary adjustments before moving on to the next phase of your embroidery project.
What Are Some Popular Embroidery Outline Stitches?
Embroidery outline stitches are fundamental for creating defined, precise lines in your needlework. The choice of outline stitch can significantly impact your embroidery project’s overall look and feel.
Let’s explore some popular embroidery outline stitches, each with their unique characteristics and applications.
Backstitch
Backstitch is a simple and versatile outline stitch where each stitch overlaps the previous one, creating a continuous line.
It’s known for its clean and strong appearance. Ideal for creating bold, solid outlines. It’s commonly used in lettering and for outlining detailed shapes.
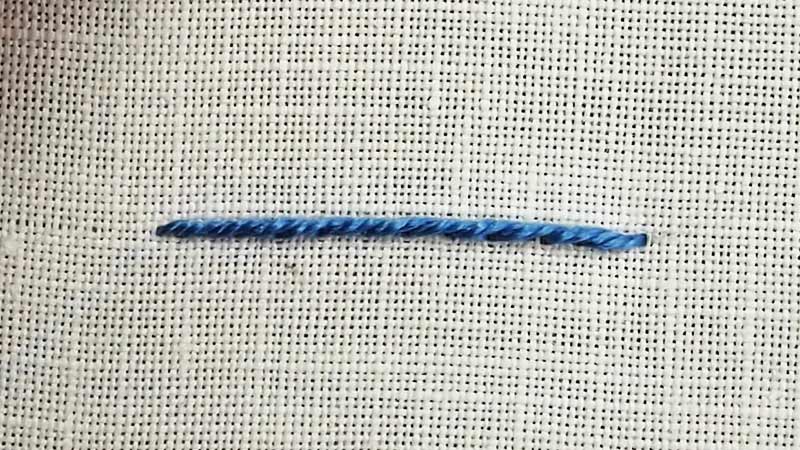
Stem Stitch
Stem stitch creates a rope-like effect with a slightly twisted appearance. It has a fluid and graceful quality, making it popular for curved lines and organic shapes. Excellent for floral designs, vines, and any element requiring a smooth, flowing outline.
Split Stitch
The needle splits the preceding stitch in a split stitch, creating a chain-like effect. This stitch provides a textured and detailed outline.
It is well-suited for intricate designs, offering a delicate appearance. Often used for fine lines in portraiture and detailed patterns.
Chain Stitch
Chain stitch forms a series of loops, creating a linked appearance. It’s a versatile stitch with variations like twisted chain and detached chain.
Adds a decorative touch to outlines, suitable for both straight and curved lines. Frequently used in floral and abstract designs.
Running Stitch
A running stitch is a basic stitch where the needle passes through the fabric in a straight line. Multiple stitches create a dashed line effect.
Effective for creating simple outlines, especially for quick projects, or for adding subtle detail to a larger embroidery piece.
Whip Stitch
Whipstitch involves wrapping a thread around the completed backstitch or running stitch, creating a raised and textured outline. Adds dimension to basic stitches, suitable for creating borders or emphasizing specific elements within a design.
Satin Stitch
Satin stitch fills an outlined area with closely spaced parallel stitches, creating a smooth and shiny surface. It is ideal for filling larger shapes and creating bold, colorful outlines. It is commonly used for lettering, flowers, and geometric designs.
Couching
Couching involves securing a thicker thread or yarn onto the fabric using small stitches, creating a decorative and textured outline. Excellent for outlining shapes with a contrasting or textured thread. Adds a tactile element to your embroidery.
Fishbone Stitch
The fishbone stitch creates a V-shaped pattern resembling fishbones. It’s used for creating textured and realistic-looking leaves or feathers. Perfect for botanical designs and adding intricate details to elements like leaves, petals, or wings.
Outline Stitch
As the name suggests, outline stitch is specifically designed for outlining. It creates a thin, neat line with a slightly raised appearance. It outlines simple shapes and creates a clean, polished look. It is often used in combination with other stitches for added detail.
Fly Stitch
The fly stitch consists of a single stitch with a detached tail, resembling an inverted ‘V.’ It can be stitched in a row or scattered for a playful effect. Adds a whimsical touch to outlines, commonly used for creating flower petals, insect wings, or other free-form designs.
Blanket Stitch
Blanket stitch has a distinctive edge with a loop at the top. It’s commonly associated with securing the edges of fabric but can also be used for outlining. Adds a decorative border to outlines, often used in embroidery projects with a rustic or folk art aesthetic.
FAQs
What type of fabric is best for embroidery outlining?
Choosing the right fabric is crucial for successful embroidery outlining. Medium-weight cotton or linen fabrics are popular choices as they provide stability without being too thick. Ensure the fabric is smooth and doesn’t stretch excessively to maintain the integrity of your outlines.
Can I use regular sewing thread for embroidery outlines?
While regular sewing thread can be used, it’s often finer than embroidery floss, which may affect the visibility and impact of your outlines. Embroidery floss, specifically designed for embroidery, comes in various colors and thicknesses, providing more versatility.
How do I prevent my fabric from puckering during embroidery outlining?
To prevent puckering, consider using a stabilizer beneath your fabric. Stabilizers help maintain tension and support the stitches. Additionally, ensure your fabric is taut in the embroidery hoop, avoiding excessive pulling or stretching.
Should I outline before or after filling in the embroidered design?
The order of outlining and filling depends on personal preference and the complexity of your design. Some embroiderers prefer outlining first to establish the structure, while others may choose to fill in the design and then outline to add definition.
How do I handle mistakes in my embroidery outline?
Mistakes happen, but they can often be corrected. If you notice an error in your outline, carefully use a seam ripper to remove the stitches in that area. Re-outline the section with precision. For minor mistakes, incorporate them into your design creatively or cover them with additional stitches.
Conclusion
Mastering the art of creating outlines for embroidery is a gateway to unlocking your creative potential in this timeless craft.
We’ve explored the crucial elements, from material selection to design proportions, guiding you toward precision and artistic expression.
As you embark on your embroidery journey, remember that the outline is not just a blueprint; it’s the roadmap to transforming a blank canvas into a work of art.
Experiment with various stitches, play with colors and let your imagination flourish within your meticulously crafted framework. You breathe life into your design with each stitch, turning a simple outline into a masterpiece.
So, pick up your needle, thread, and fabric, and embark on the enchanting embroidery voyage, armed with the knowledge to craft outlines that elevate your creations from mere fabric to expressions of your unique style and skill. Let’s get started!
Leave a Reply