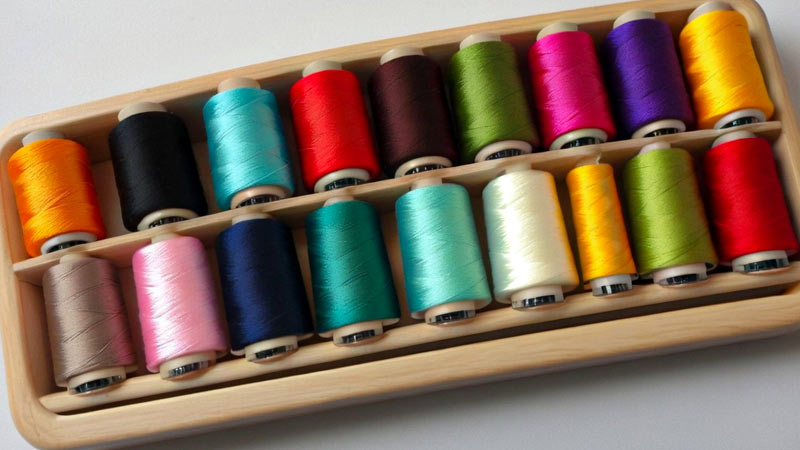
Embroidery enthusiasts understand the importance of an organized thread collection for seamless and enjoyable stitching experiences.
A pivotal step in achieving this organization is mastering the art of putting embroidery thread on a holder.
Whether using bobbins or specialized thread holders, this process ensures tidy storage, easy accessibility, and prevention of thread entanglement.
This guide will explore the step-by-step procedure, offering insights into choosing the right tools and techniques.
Join us as we delve into the world of neatly wound bobbins and holders, simplifying the process and enhancing your embroidery journey.
How Do You Put Embroidery Thread on a Holder?
Putting embroidery thread on a holder is crucial in keeping your thread organized and easily accessible for your embroidery projects. The process is straightforward whether you are using bobbins or a specialized thread holder. Here’s a detailed guide:
Materials Needed
- Embroidery thread skein
- Bobbins or thread holder
- Scissors
Steps:
Prepare the Thread
Select the color of embroidery thread you want to wind onto the holder. Cut a manageable length from the skein, typically around 15-18 inches.
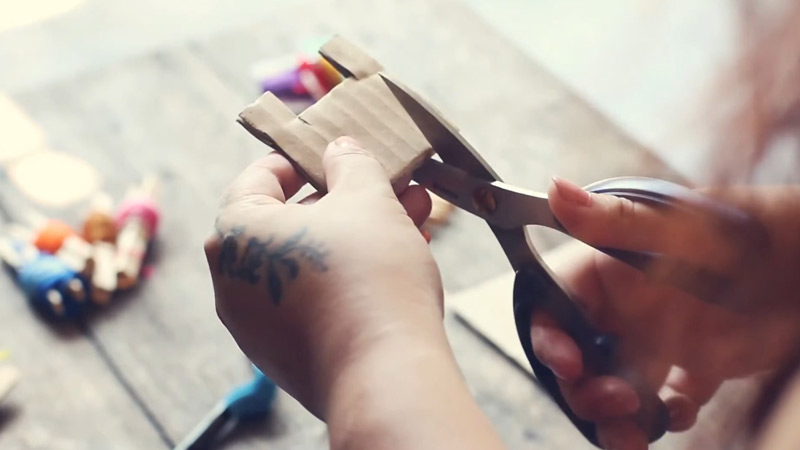
Prepare the Holder
If using bobbins, ensure they are open and ready for winding. Using a thread holder, ensure it is set up and positioned for easy winding.
Anchor the Thread
Hold one end of the thread against the bobbin or thread holder, leaving a small tail protruding. This helps secure the thread during winding.
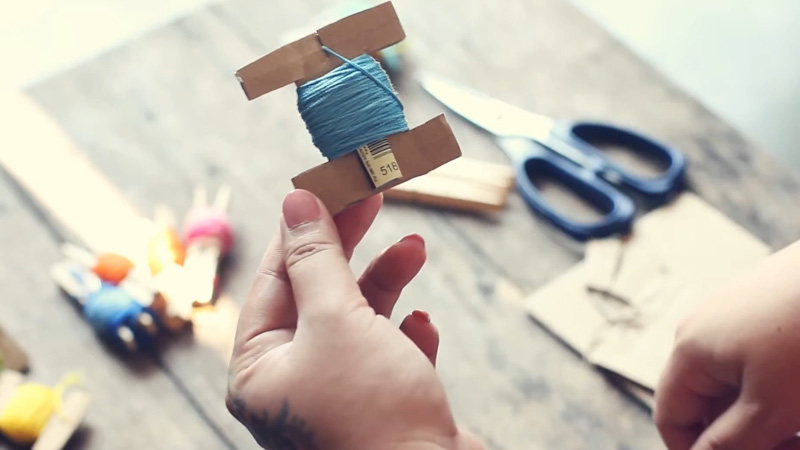
Wind the Thread
Start winding the thread around the bobbin or onto the thread holder. If you’re using bobbins, wind around the central spool-like structure. For a thread holder, wrap it around the designated area.
Maintain Tension
Keep a light and even tension as you wind the thread. This prevents tangling and ensures the thread is neatly wound onto the holder.
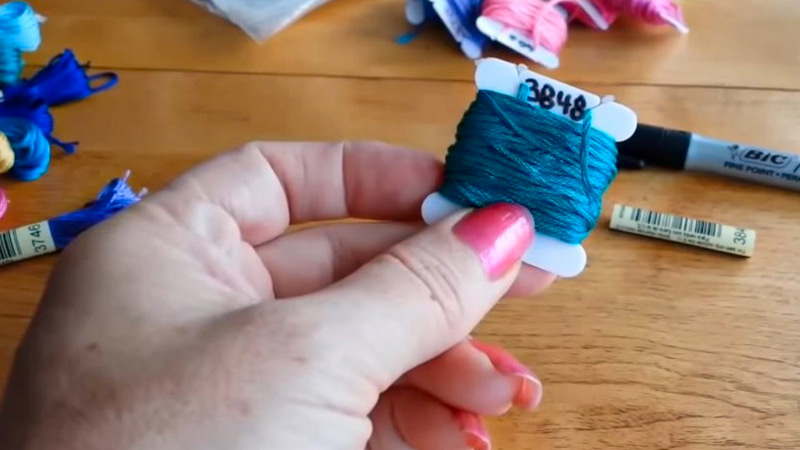
Complete Winding
Continue winding until the bobbin or thread holder is covered with the desired amount of thread. Be mindful not to overfill, as this can lead to tangling.
Secure the End
For bobbins, tuck the loose end into a notch or slot on the bobbin to secure it. Use a clip or notch designed for securing the thread if you’re using a thread holder.
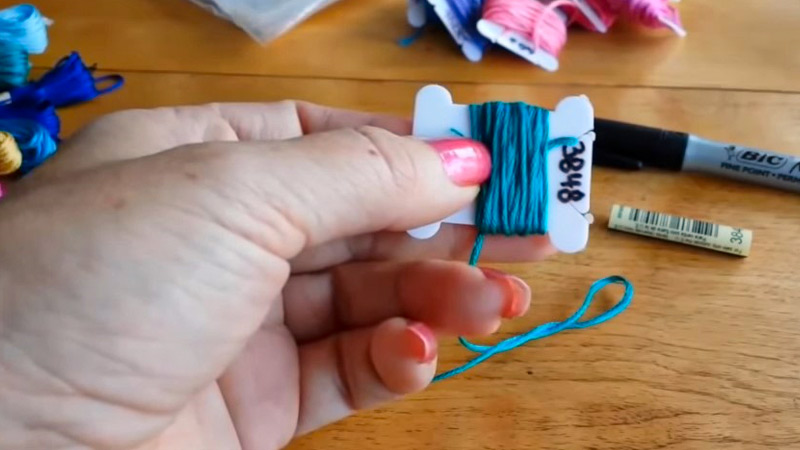
Label the Holder (Optional)
If you want to keep track of the color or type of thread, label the bobbin or thread holder. Use a pen, marker, or pre-printed stickers with color codes.
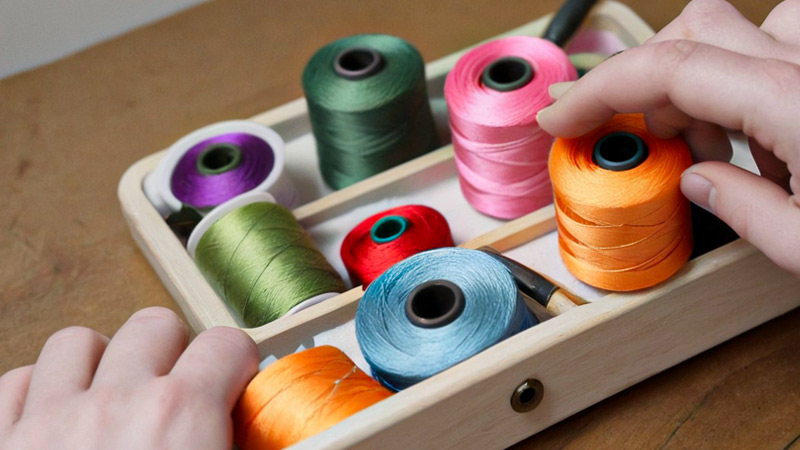
Store and Organize
Place the wound bobbins or thread holders in a storage container, spool holder stand, or sewing box. Organize them by color or any system that suits your preferences, making it easy to find specific threads when needed.
Why Is It Important to Use a Thread Holder for Embroidery Thread?
Using a thread holder for embroidery thread offers several benefits that contribute to the overall convenience and efficiency of your embroidery projects.
Here are some reasons why it’s essential to use a thread holder:
Organization
Thread holders help you organize your embroidery thread by color or project. This makes locating and using the specific colors you need more accessible, especially if you have many threads.
Prevention of Tangling
Embroidery thread tends to tangle easily, leading to frustration and wasted time untangling threads. Thread holders, such as bobbins or cards, prevent tangling by providing a structured and controlled way to store the thread.
Visibility
When threads are neatly wound on holders, it’s easier to see the colors and distinguish between them. This visual clarity can be crucial when working on intricate embroidery patterns that require precise color matching.
Preservation of Thread Quality
Proper storage on thread holders helps preserve the quality of the embroidery thread. It prevents threads from fading, getting dusty, or becoming brittle over time, ensuring they remain vibrant and easy to work with.
Ease of Access
Thread holders allow for easy access to your embroidery threads. You can quickly grab the color you need without rummaging through a tangled mess, saving time and preventing frustration during your stitching projects.
Efficient Storage
Thread holders, especially those designed for specific storage solutions like boxes or organizers, offer efficient storage. They often come with compartments or pockets that allow you to categorize and store threads in a way that suits your preferences.
Prevention of Waste
With organized thread holders, you are less likely to waste thread. You can keep track of your threads and avoid purchasing duplicates, saving money and reducing unnecessary waste.
Portability
Many thread holders, such as rings or small boxes, are portable. This allows you to take your embroidery projects on the go, bringing along the necessary threads without worrying about them becoming tangled or damaged.
Project Planning
When threads are organized on holders, planning and preparing for embroidery projects is more accessible. You can assess your available colors, identify gaps in your collection, and make informed decisions about thread choices for specific designs.
Tips for Putting Embroidery Thread on Holders With Ease
Putting embroidery thread on holders can be simple and efficient with the proper techniques. Here are some tips to help you do it with ease:
Cutting Length
Cut a manageable length of thread, typically around 15-18 inches. This length is easy to handle and reduces the chances of tangling during the winding process.
Prepare the Holder
Ensure that your bobbin or thread holder is clean and ready for use. Remove any old thread remnants to prevent mixing or tangling.
Secure the End
Hold one end of the thread against the bobbin or thread holder, leaving a small tail protruding. This helps anchor the thread during winding.
Consistent Tension
Maintain a light and consistent tension as you wind the thread. Avoid pulling too tightly, as this can distort the thread and make it more prone to tangling.
Smooth Winding
Wind the thread evenly around the bobbin or onto the thread holder. A smooth winding process contributes to a neat and organized appearance.
Avoid Overfilling
Be mindful not to overfill the bobbin or thread holder. Overfilling can lead to tangling, making it challenging to store the holder neatly.
Use a Winding Tool
Consider using a winding tool or a bobbin winder for more efficient and faster winding, especially if you have many bobbins to fill.
Label as You Go
If you’re winding multiple bobbins, consider labeling them as you go. This can save time later and help you quickly identify the colors.
Mindful Storage
Store your holders in an easily accessible and organized manner. This ensures that your wound bobbins or holders are ready for your next embroidery project.
Utilize Bobbin Winders
Invest in a bobbin winder if you have a lot of thread to wind. This tool can make the winding process faster and more efficient.
Group Similar Colors
When organizing your bobbins or holders, group similar colors together. This makes finding the shade you need for a specific project easier.
Check Tension Periodically
While winding, periodically check the tension of the thread. Adjust as needed to ensure the winding is consistent and the thread is secure.
Establish a Routine
Make putting embroidery thread on holders a part of your routine. This way, you can keep your thread collection organized and ready for your next creative endeavor.
FAQs
Why is it essential to secure loose ends when placing embroidery thread on holders?
Securing loose ends ensures that the thread remains neatly wound and prevents unraveling. This practice contributes to maintaining an organized thread storage system.
Can I use holders to store different embroidery threads, such as metallic or specialty threads?
Absolutely! Holders are versatile and can accommodate various types of embroidery threads. Consider using separate holders for specialty threads to prevent cross-contamination.
How do I choose the right size of a box or organizer for storing embroidery thread holders?
Select a box or organizer with ample compartments to fit your chosen holders comfortably. Ensure that each compartment allows for easy access to the stored threads.
Should I unwind the old thread from a bobbin before putting it on a new thread?
Yes, clearing any old or leftover thread from the bobbin is good practice before winding the new embroidery thread to avoid mixing colors.
Can I mix different types of embroidery thread on the same bobbin?
It’s generally recommended to avoid mixing different types of thread on the same bobbin to maintain the integrity of each thread type.
To Recap
Mastering the technique of putting embroidery thread on a holder is an invaluable skill for any needlework enthusiast.
This meticulous process ensures the organization of your thread collection and contributes to a smoother and more enjoyable embroidery experience.
As you neatly wind each bobbin or utilize specialized thread holders, the benefits become apparent – easy access, prevention of tangling, and a visually organized workspace.
By incorporating these steps into your embroidery routine, you maintain the integrity of your threads and streamline your creative process.
Embrace the art of thread management, and let your neatly wound bobbins become the foundation of your next masterpiece.
Leave a Reply