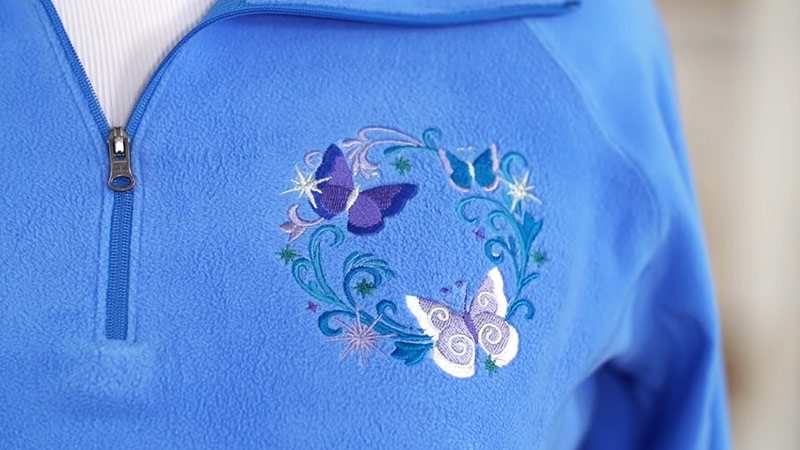
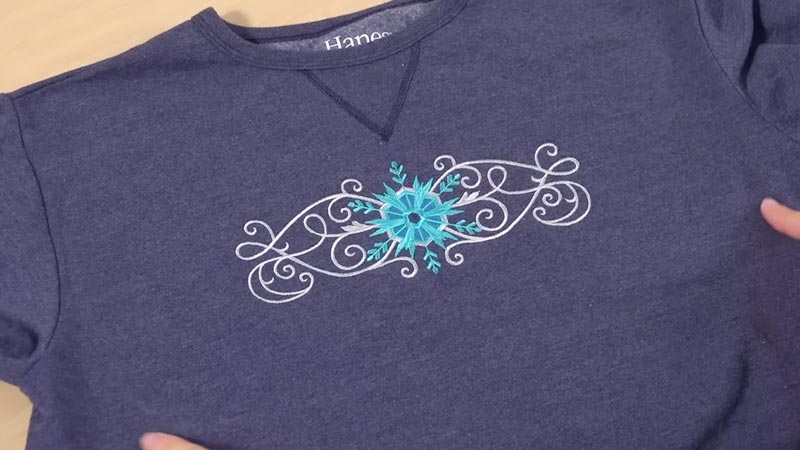
Stabilizing fleece for embroidery is crucial for anyone seeking to create pristine and professional designs on this soft and stretchy fabric.
Fleece’s unique characteristics, such as its plush texture and stretchability, make it a challenging canvas for embroidery.
This guide outlines the essential steps to ensure your embroidery remains distortion-free and impeccable on fleece.
From selecting the suitable stabilizers to choosing the appropriate needles and threads, every aspect is covered to help you achieve top-quality results.
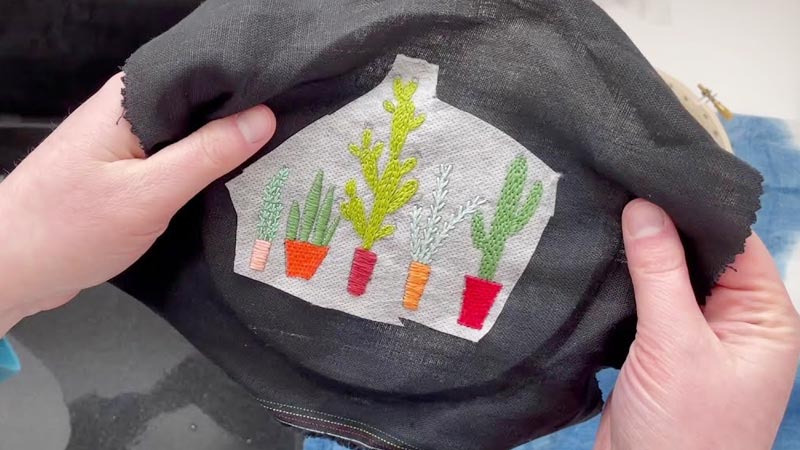
Whether you’re embroidering clothing, blankets, or accessories, mastering the art of stabilizing fleece will elevate your embroidery projects to a new level of excellence.
What Is Fleece Stabilization in Embroidery?
Fleece stabilization in embroidery prepares fleece fabric to ensure that embroidered designs appear clean, distortion-free, and professional.
This involves strategically using stabilizers, which are supporting materials, to counteract fleece’s stretchiness and plush texture.
Proper fleece stabilization helps prevent issues like fabric distortion, puckering, and thread breakage, resulting in high-quality and durable embroidery on this unique, soft, and often stretchy material.
It is an essential technique for achieving precision and clarity in embroidered designs on fleece.
How Do You Stabilize Fleece For Embroidery?
Stabilizing fleece for embroidery is crucial to ensure your designs look clean and professional on this soft, stretchy fabric.
Here’s a concise guide on how to stabilize fleece for embroidery:
Choose the Right Stabilizer
Selecting an appropriate stabilizer is the first step. For fleece, opt for a cut-away stabilizer. These stabilizers provide robust and lasting support and prevent distortion or puckering.
Choosing between medium-weight and heavy-weight cut-away stabilizers depends on your project’s complexity and the fleece’s thickness.
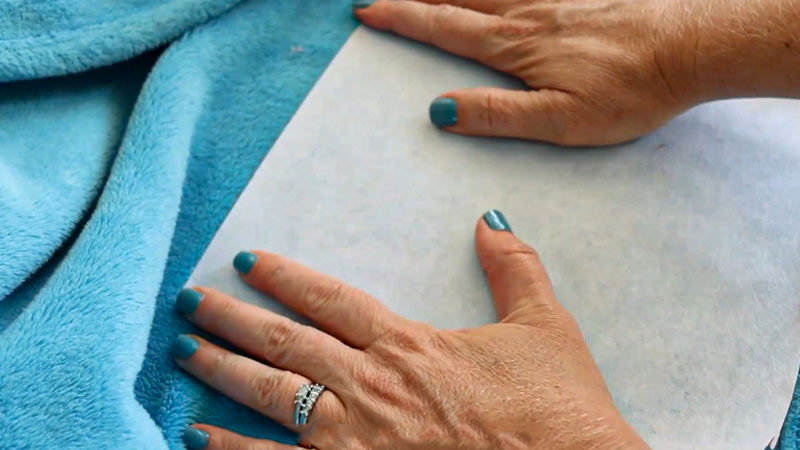
Hoop the Fabric and Stabilizer Together
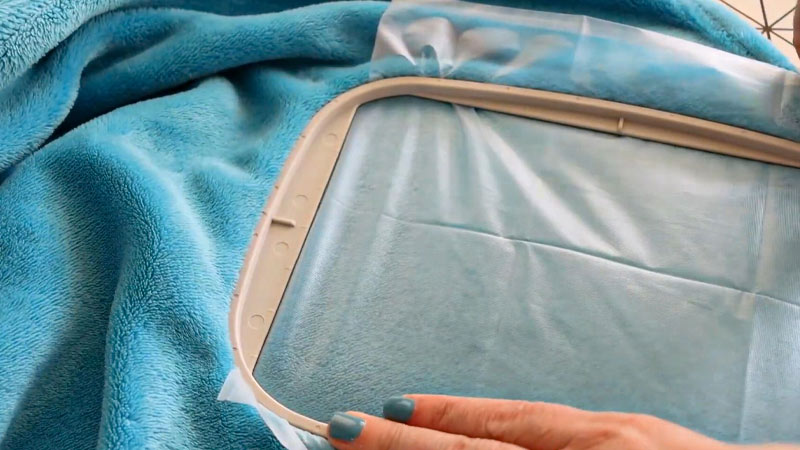
To keep your fleece and stabilizer in place during embroidery, hoop them together. Ensure the fleece is flat and stretched evenly within the hoop without overstretching, which could lead to further distortion.
This step ensures your fabric remains secure during the embroidery process.
Use Fusible Stabilizer (Optional)
For added stability, consider using a fusible cut-away stabilizer. This stabilizer can be ironed onto the fleece before hooping, preventing shifting or movement during embroidery. It’s beneficial for intricate or delicate designs.
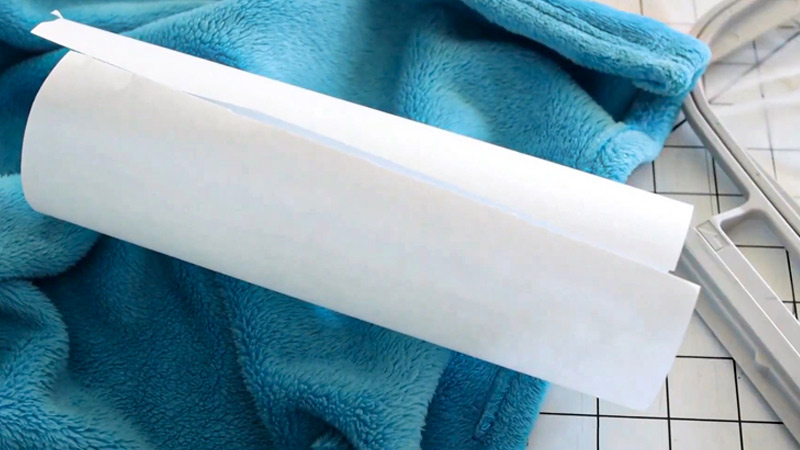
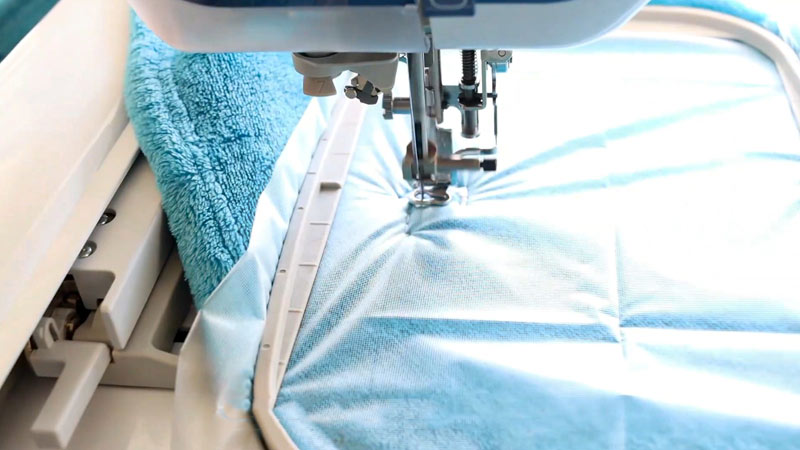
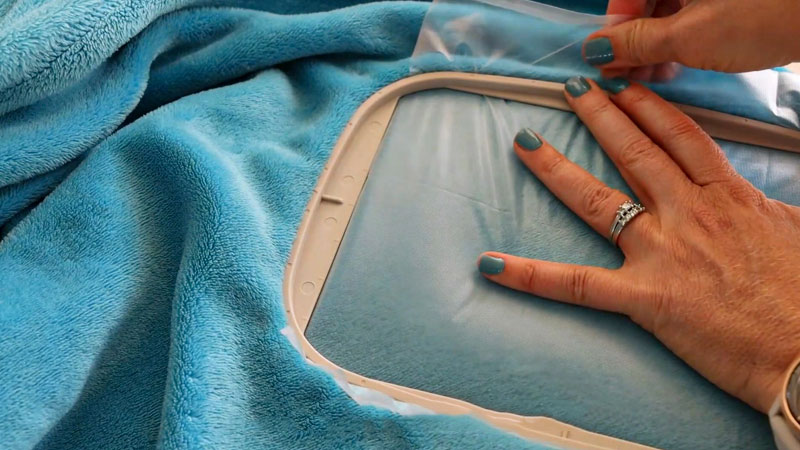
Apply a Water-Soluble Topping
Fleece’s raised fibers can obscure your embroidery stitches. To maintain stitch visibility, apply a water-soluble topping on the fleece’s surface.
This transparent film dissolves in water after embroidery. Secure it with spray adhesive or pins to ensure your stitches remain crisp and prominent.
Choose the Right Needle and Thread

Select a ball-point needle with a rounded tip, such as a size 11 or 75/11 embroidery needle. This needle type prevents fabric damage.
Pair it with polyester embroidery thread known for its strength, durability, and resistance to fading and shrinking. Proper needle and thread selection is essential for quality results.
Adjust Machine Settings

Configure your embroidery machine with the correct settings for working with fleece. Consider factors like thread tension, stitch speed, and needle penetration.
These settings should be adjusted based on the thickness and stretchiness of the fleece. Fine-tuning these settings ensures your design is executed flawlessly.
Test Your Design
Before embroidering your final project, always test your design on a scrap of fleece. This practice run allows you to fine-tune machine settings and ensure your design meets your expectations. Adjust as needed to achieve the desired results.
Post-Embroidery Cleanup
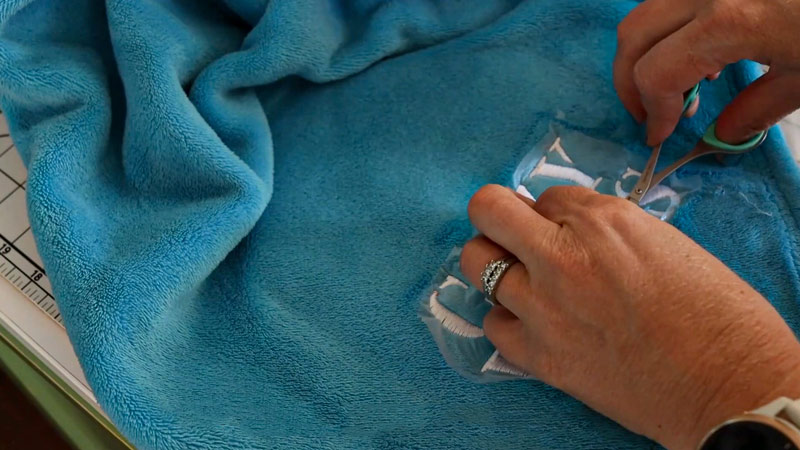
After completing the embroidery, it’s crucial to tidy up the project. Trim any excess cut-away stabilizer from the back of the embroidery, leaving about a quarter-inch margin around the design. Use applique scissors or duckbill scissors for precise trimming.
Additionally, gently remove the water-soluble topping from the front of the design by dampening it with water or a damp cloth, taking care not to rub or wring the fabric.
Why Is Stabilizing Fleece Important for Embroidery?
Stabilizing fleece for embroidery is a fundamental and indispensable step in textile embellishment. This process is of paramount importance for several compelling reasons:
Preventing Distortion
Fleece, known for its stretchy and pliable nature, is highly susceptible to distortion during embroidery. Without proper stabilization, the fabric can warp, stretch, or wrinkle, resulting in the embroidery design’s distorted and unprofessional appearance.
Minimizing Puckering
The thick and plush texture of fleece can easily lead to puckering, causing the fabric to wrinkle or fold around the embroidered area. This compromises the aesthetics and the overall quality of the embroidery.
Enhancing Design Clarity
Fleece’s raised fibers can obscure the embroidery stitches, making them less visible and affecting the design’s clarity. Stabilizers, especially water-soluble toppings, help keep the stitches on the surface, ensuring a crisp and detailed design.
Protection for Threads and Needles
Inadequate stabilization may lead to the embroidery needle’s excessive perforation of the fleece, causing thread breaks and damage to the fabric. Properly chosen stabilizers protect the integrity of the thread and the machine’s needles.
Ensuring Longevity
Stabilization is vital for the longevity of embroidery. It ensures that the stitches remain intact and doesn’t unravel over time. It is a particularly crucial consideration for embroidered items subjected to regular wear and laundering, such as clothing and linens.
Professional Appearance
Stabilizing fleece results in a polished and professional appearance for the embroidered work. This is essential for commercial and personal embroidery projects, where quality is a top priority.
Versatility
The knowledge and skills acquired in stabilizing fleece are highly transferable. This proficiency can be applied to embroidering a wide range of fabrics with similar properties, enabling embroiderers to confidently explore diverse textile projects.
What Are the Common Challenges When Embroidering on Fleece?
Embroidering on fleece can be a rewarding but challenging endeavor, as this soft and stretchy fabric has unique obstacles.
Here are some common challenges that embroiderers often face when working with fleece:
Stretchiness
Fleece is inherently stretchy, which can lead to difficulty keeping the fabric taut and stable during embroidery. The stretching can cause distortion and misalignment of the design.
Puckering
The plush, thick fleece texture can make it prone to puckering during embroidery. Puckering occurs when the fabric wrinkles around the stitched area, leading to a less polished look.
Obstructed Stitches
The raised fibers on fleece can sometimes obscure the embroidery stitches, making them less visible and affecting the overall clarity of the design.
Needle Damage
Using the wrong type or size of the needle can result in fabric damage, such as pulls, tears, or holes in the fleece. This can be particularly challenging when selecting the appropriate needle.
Thread Breaks
Fleece’s thickness and texture can cause increased friction, leading to tension issues and thread breaks during embroidery.
Machine Settings
Configuring the embroidery machine with incorrect settings, such as tension, stitch speed, and needle penetration depth, can lead to inconsistent and imperfect embroidery on fleece.
Design Alignment
Achieving proper alignment and placement of the embroidery design on the stretchy fleece fabric can be a challenge. Ensuring the design stays centered and straight is essential for a professional finish.
Stabilization
Fleece requires strong and durable stabilization to prevent the issues above. Inadequate stabilization can result in unsatisfactory results, including distortion and puckering.
Color and Texture Matching
Fleece comes in various colors and textures, making it essential to carefully choose thread colors and embroidery designs that complement the fabric. Ensuring a harmonious blend between the embroidery and the fleece is a common challenge.
Durability
Fleece is often used in garments and accessories that undergo regular wear and washing. Ensuring the embroidery remains durable and does not unravel over time is a critical challenge.
FAQs
What stabilizer should be used when embroidering on fleece?
For fleece embroidery, it’s best to use cut-away stabilizers. They provide robust, lasting support to prevent distortion and maintain the integrity of the design.
Can I use the same stabilizer for all types of fleece?
While cut-away stabilizers are generally suitable for most fleece types, the thickness and texture of fleece may vary. Choosing a stabilizer weight is advisable based on the specific fleece you’re working with.
Can I embroider on both sides of the fleece fabric?
Embroidering on both sides of fleece fabric can be challenging due to the nature of the material. It’s often best to focus on one side for the embroidery, ensuring better stability and a cleaner finish.
Is it possible to remove the stabilizer altogether after embroidery?
Cut-away stabilizers are typically designed to remain behind the embroidery for added support. Tear-away stabilizers are designed to be removed, but they may not provide adequate support for fleece. Water-soluble toppings should dissolve after embroidery, leaving only the embroidery stitches.
Can fleece embroidery be done by hand, or is a machine necessary?
While hand embroidery on fleece is possible, it may be time-consuming and challenging due to the fabric’s thickness. Machine embroidery is generally more efficient and yields consistent results.
To Recap
Mastering stabilizing fleece for embroidery is vital to achieving professional and flawless results. Fleece’s softness and stretch can pose significant challenges, but with the proper knowledge and tools, these challenges can be overcome.
You can create high-quality, long-lasting embroidery on fleece by carefully selecting the appropriate stabilizers, needles, and threads and fine-tuning your machine settings.
Proper stabilization ensures your designs remain crisp and distortion-free while enhancing their durability.
Whether crafting embroidered clothing, cozy blankets, or stylish accessories, the skills acquired in stabilizing fleece will elevate your embroidery projects to a standard of excellence that will be appreciated by all who admire your handiwork.
Leave a Reply