Let’s be honest: pockets are a necessity, not a luxury. A dress or skirt without pockets is like a day without sunshine – it’s just not right!
But fear not, fellow fashionistas, because adding pockets to your garments is easier than you think. This comprehensive guide will equip you with the knowledge and skills to transform your pocketless woes into wearable wins.
Understanding the Power of Pockets
Pockets empower us with functionality and freedom. They provide a safe haven for our essentials, freeing our hands and minds to conquer the world (or at least navigate the grocery store without juggling our belongings).
Gathering Your Sewing Arsenal
Before we embark on our pocket-adding adventure, let’s gather the necessary tools:
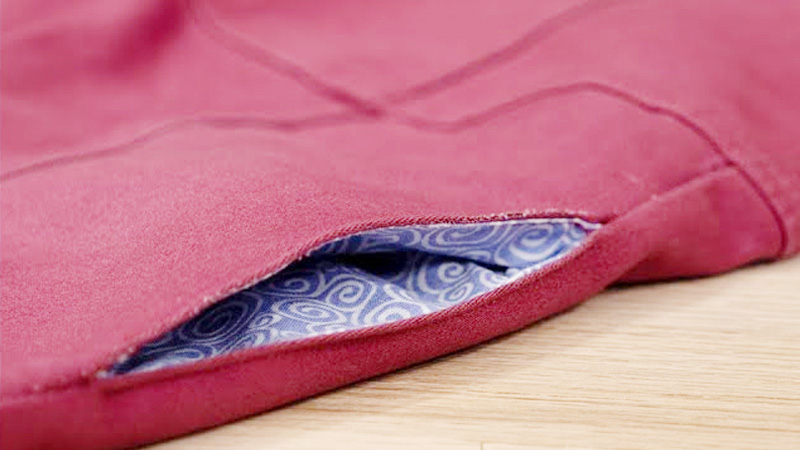
- A dress or skirt with side seams: Aim for a garment with at least a 1/2-3/4″ seam allowance for a smooth pocket insertion.
- Pocket pattern: Choose a pre-made pattern or trace a pocket from another garment, remembering to add a 1/2″ seam allowance.
- Fabric: Select a 1/4 yard of fabric that complements your dress or skirt in weight and texture.
- Sewing Essentials: Assemble your sewing machine (a BERNINA 480 will do the trick!), straight pins, scissors, a ruler or measuring tape, a seam ripper, and an iron.
Step-by-Step Pocket Perfection
Follow these simple steps to add pockets like a pro:
- Pocket Placement is Key: Try on your garment and pinpoint the ideal pocket location, typically around your hip bone. Mark this spot with a pin.
- Pocket Preparation: Cut out four pocket pieces if using a pre-made pattern or trace and cut your pattern with the added seam allowance.
- Measure Twice, Cut Once: Measure the length of your pocket pattern. This measurement determines how much of the dress side seam you’ll need to open.
- Open Sesame: Using the pin from step one as a guide, measure down the length of the pocket and carefully open the side seam between the pins using a seam ripper.
- Pocket Integration: With right sides together, pin your pocket pieces along the seam of the dress opening, resulting in four pinned sections.
- Stitch with Precision: Sew along the seam using your sewing machine.
- Pocket Closure: Pin and sew around the pocket to create a secure enclosure.
- Press for Perfection: Press the seam allowance towards the pocket for a crisp, professional finish.
- Topstitch for Durability: Topstitch along the pocket opening to add strength and visual appeal.
Pocket Variations and Considerations
- Zippered Pockets: For added security, consider adding zippers to your pockets, ensuring the fabric can handle the weight.
- Patch Pockets: Experiment with patch pockets for a different look. Using stretch fabric can eliminate the need for flaps and closures.
- Flowy Dresses: Adding pockets to dresses without side seams can be more complex, requiring the creation of a new seam.
Embrace the Pocket Revolution
Congratulations! You’ve mastered the art of adding pockets, breathing new life into your dresses and skirts. Join the pocket revolution and enjoy the convenience, confidence, and style that comes with having a place for everything.
Leave a Reply