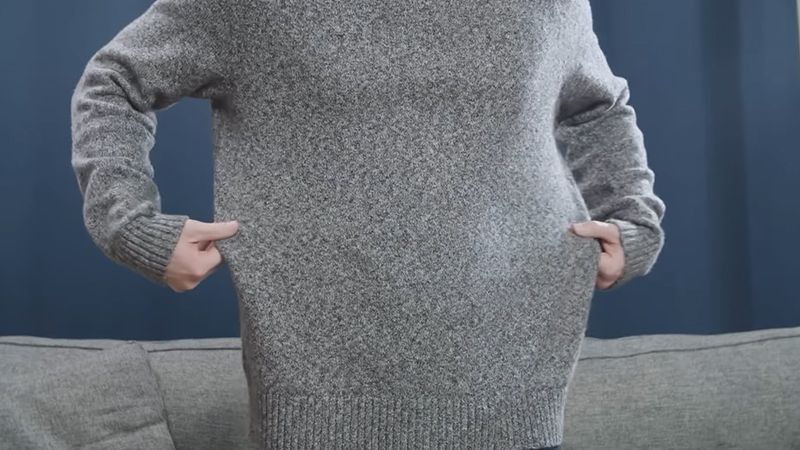
Transforming an ill-fitting sweater into a wardrobe staple that hugs you in all the right places is gratifying.
Whether you’re dealing with a sweater that’s too long or one that’s too small, this guide will walk you through the steps of sweater alteration.
These techniques empower you to breathe new life into your clothing collection and achieve a customized fit that enhances comfort and revitalizes your style.
From shortening an excessively lengthy sweater to expanding the confines of a too-tight one, we’ll provide you with detailed instructions and handy tips to ensure your sweater alterations result in a perfect, personalized fit.
So, let’s dive in and transform those once-awkward sweaters into your new fashion favorites.
How to Alter a Sweater That is Too Long? 10 Steps
Do you have a cherished sweater that’s just a bit too long for your liking? Instead of letting it gather dust in your closet, you can easily transform it into a well-fitting piece you’ll love wearing.
Here’s a step-by-step guide on how to shorten a sweater that is too long:
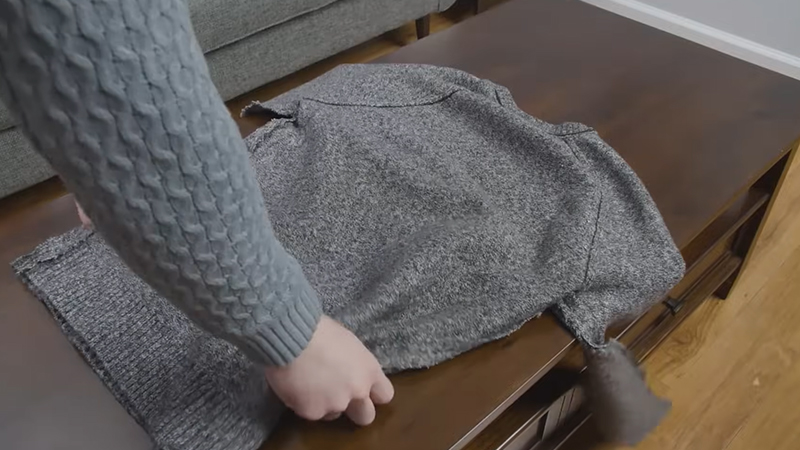
Step 1: Prepare Your Sweater

Begin by ensuring that your sweater is clean and completely dry. Lay it out flat on a clean, stable surface like a table or ironing board. This ensures that your alterations will be carried out on a clean canvas.
Step 2: Turn the Sweater Inside Out
Turn your sweater inside out to work on the inside seams and achieve a clean finish. This step is crucial to ensure your alterations are less visible from the outside, giving your sweater a polished look.
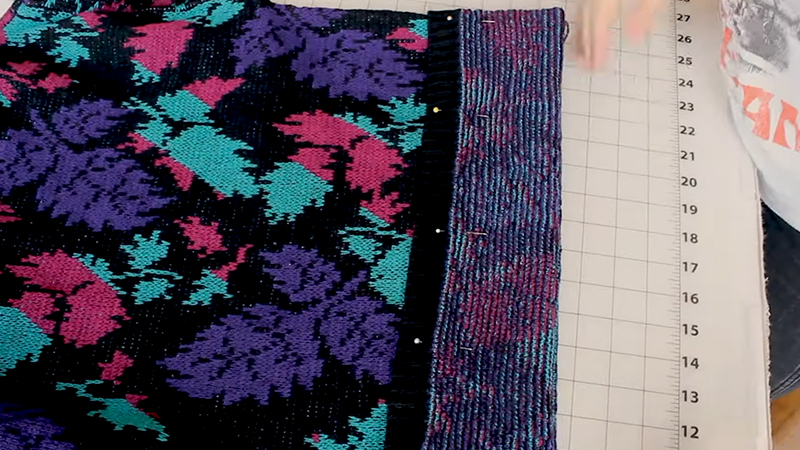
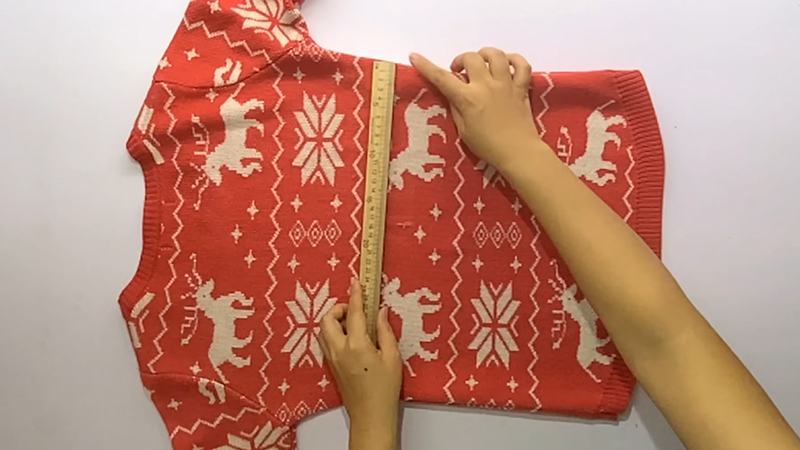
Step 3: Measure and Mark
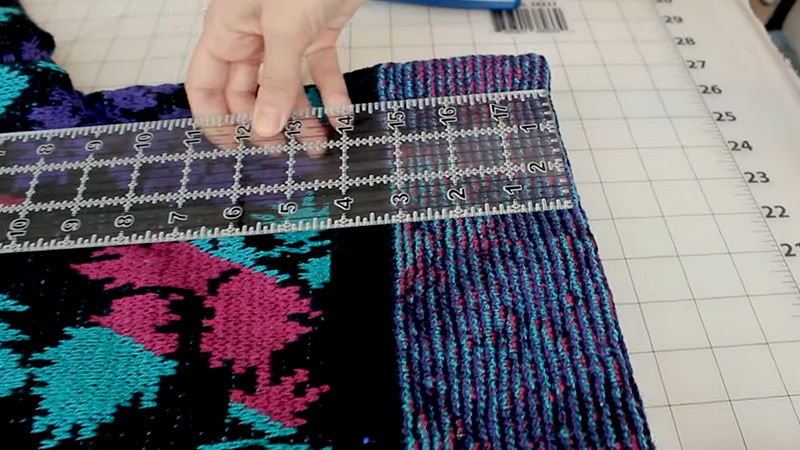
Wear the sweater or use a dress form if available to determine the ideal length you desire. Mark the desired length with pins, chalk, or a fabric marker, ensuring the line is straight and even.
Leave about an inch (2.5 cm) of extra fabric below the marked line to create a neat hem.
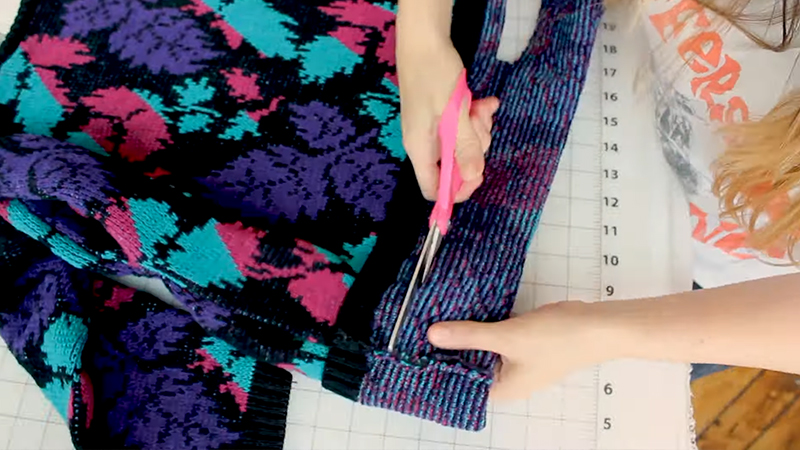
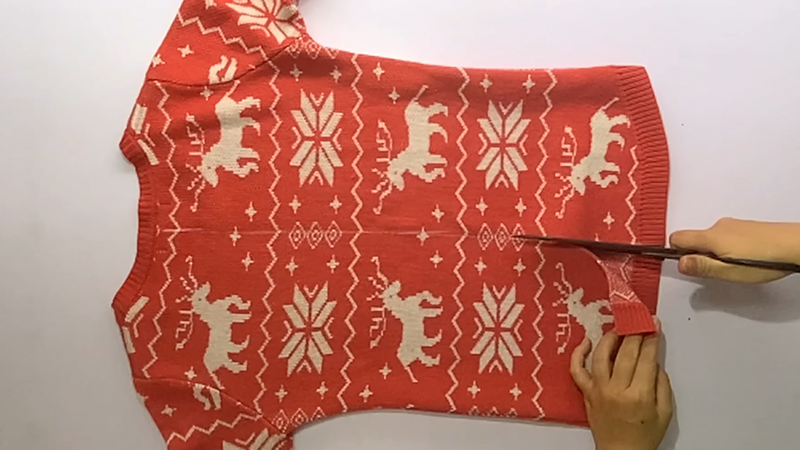
Step 4: Cut the Excess Fabric
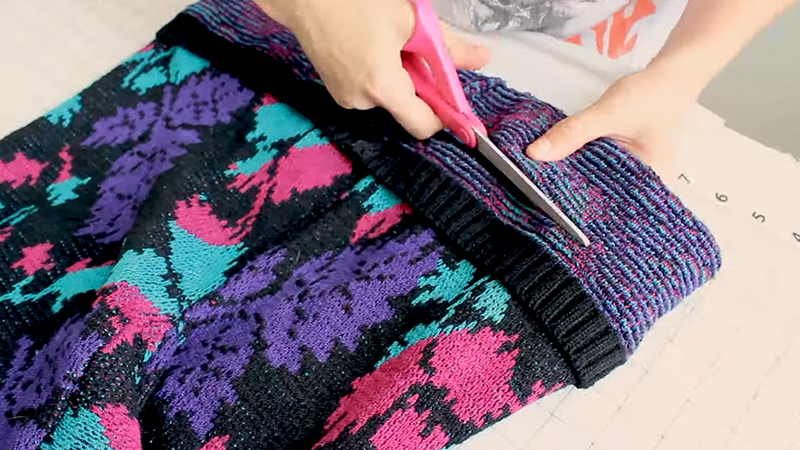
Carefully cut along the marked line, removing the excess fabric. Take your time to ensure that your cut is straight and uniform across the sweater. Precision in this step is key to achieving a polished result.
Step 5: Hem the Bottom
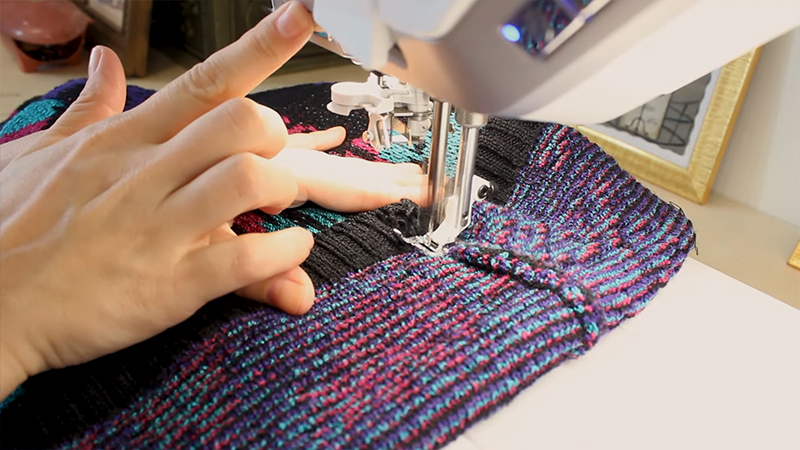
Fold the raw edge of the fabric under about half an inch (1.25 cm) to create a clean, folded edge. Use pins to secure the folded edge in place.
With a sewing machine or needle and thread, sew along the folded edge, opting for either a zigzag or straight stitch.
Be sure to remove the pins as you go. This stitch prevents fraying and provides a professional finish to your sweater.
Step 6: Press the Hem
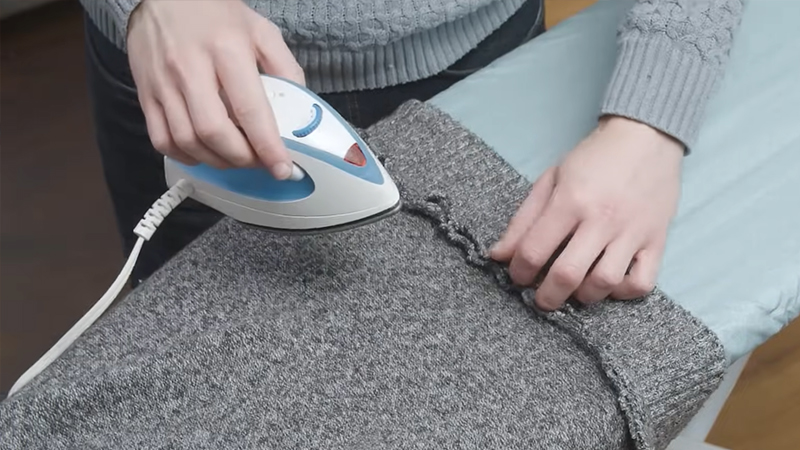
Heat up your iron and press the hem flat. This step sets the stitches and gives your altered sweater a refined appearance, making it look as good as new.
Step 7: Trim Excess Threads
With a keen eye, carefully trim any loose threads from the hem. This final touch ensures your sweater maintains a tidy and clean appearance.
Step 8: Turn the Sweater Right Side Out
Your sweater is now successfully shortened and ready to be worn. You’ve given new life to your beloved sweater, transforming it into a well-fitting garment you’ll cherish.
Step 9: Try It on
Before finalizing the alterations, try on the sweater to ensure the length is just right for you. Make any necessary adjustments if needed to achieve the perfect fit.
Step 10: Final Check
Examine the hem closely to confirm that it’s even and well-sewn. If required, reinforce the stitches or make additional adjustments to ensure your sweater is both stylish and comfortable.
How to Alter a Sweater That is Too Small? 9 Steps
Altering a small sweater to make it fit comfortably is a satisfying and budget-friendly way to update your wardrobe.
Here’s a step-by-step guide to help you achieve the perfect fit:
Step 1: Preparation
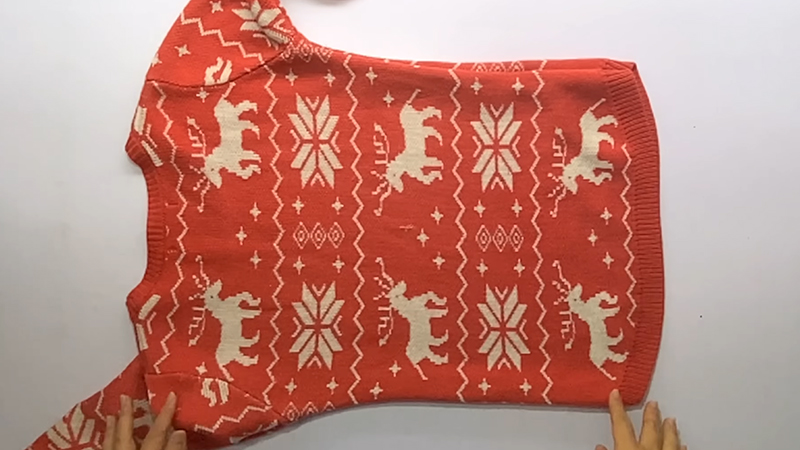
Begin by ensuring your sweater is clean and thoroughly dry. Lay it flat on a stable surface, like a table or ironing board, to create a smooth workspace.
Step 2: Turn the Sweater Inside Out
Turn your sweater inside out to work on the inside seams and create a polished finish. This step will ensure that your alterations are less visible from the outside.
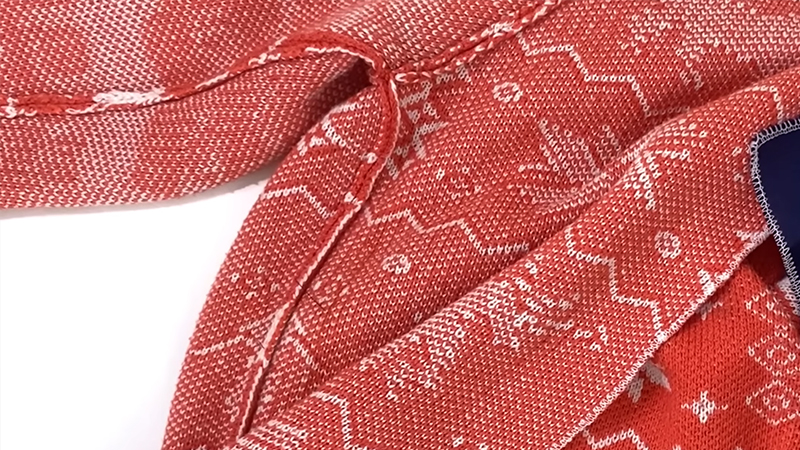
Step 3: Undo Seams
Using a seam ripper, carefully undo the side seams and, if necessary, the sleeve seams of the sweater. Be gentle while doing this to avoid damaging the fabric.
Step 4: Measure and Cut Fabric Strips
Measure the length of the side seams you’ve just undone. Then, cut two matching or contrasting fabric strips that are the same length and about an inch wide (2.5 cm).
These strips will be used to extend the sweater.
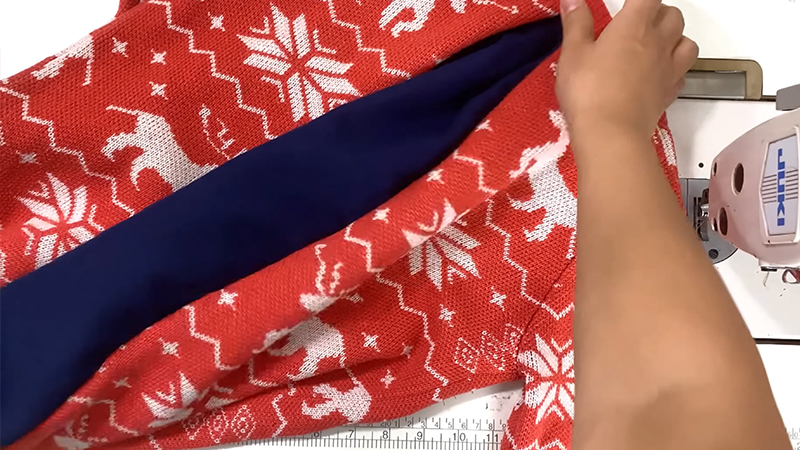
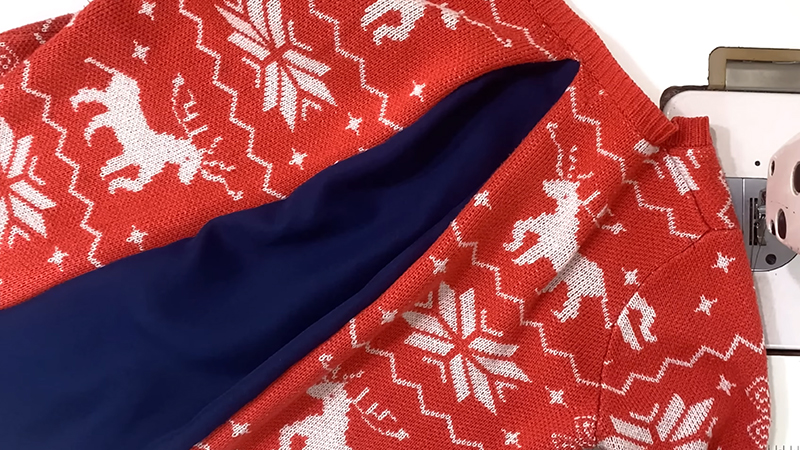
Step 5: Pin and Sew Fabric Strips
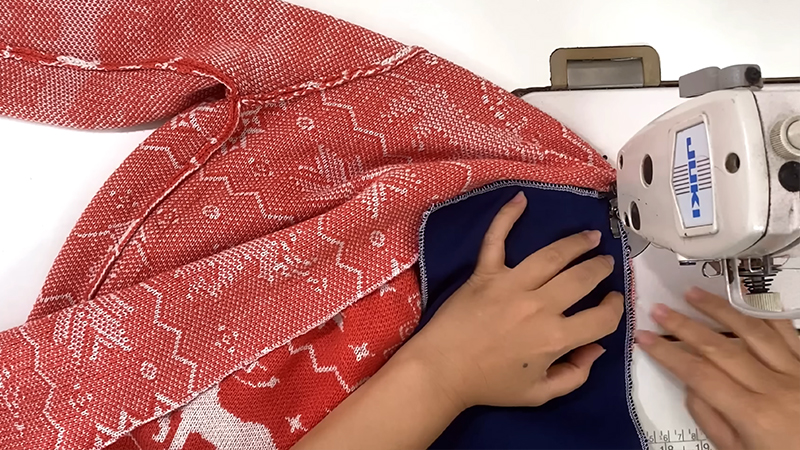
Pin one fabric strip to each side of the sweater, right sides together, aligning the edges. Secure them in place with pins. Next, use a sewing machine or needle and thread to sew along the pinned edges with either a zigzag or straight stitch.
Remove the pins as you go. This process enlarges the sweater’s width.
Step 6: Repeat for Sleeves
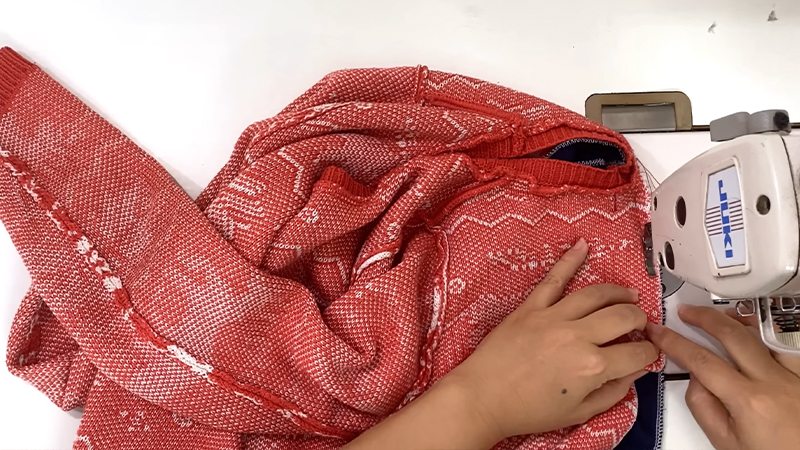
If the sleeves are also too small, repeat the process. Measure the sleeve seams, cut two fabric strips of the same length, and pin them to the sleeve edges.
Sew the fabric strips in place with the same stitching method.
Step 7: Turn the Sweater Right Side Out
After enlarging both the sides and sleeves, turn your sweater right side out to appreciate the transformation.
Step 8: Try It on
Before finalizing the alterations, try on the sweater to ensure it now fits comfortably. Make any necessary adjustments if needed to achieve your desired fit.
Step 9: Final Check
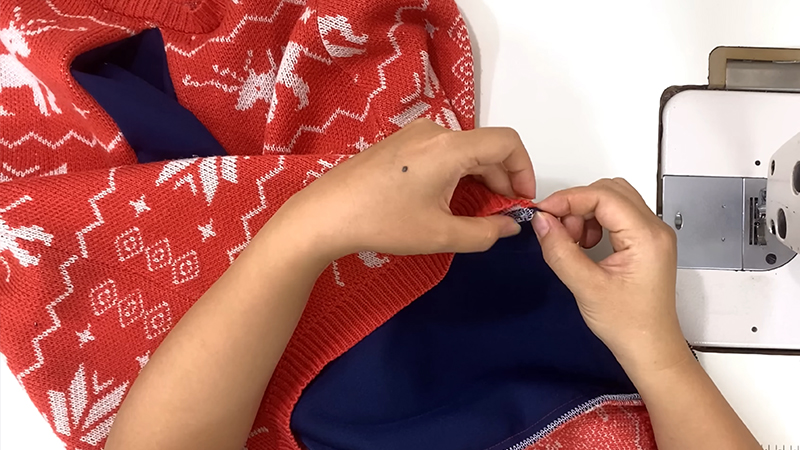
Examine the newly sewn seams closely to ensure they are securely stitched and blend seamlessly with the original fabric. Trim any loose threads for a clean and polished finish.
Tips for Altering a Sweater That is Too Long or Small
Altering a sweater that is either too long or too small can breathe new life into a beloved garment, allowing you to achieve a perfect fit. Whether you’re a seasoned DIY enthusiast or just starting your alteration journey, these tips will help you navigate the process effectively:
Accurate Measurements Are Key
Before you begin any alterations, take precise measurements of your body and the sweater. Knowing the exact dimensions you need will prevent errors and ensure a well-fitting result.
Practice on Scrap Fabric
If you’re new to sewing or alterations, consider practicing your techniques on scrap fabric first. This practice will help you build confidence and refine your skills before working on your sweater.
Choose the Right Thread
Select a thread that matches the color of your sweater. Matching thread ensures that your alterations blend seamlessly with the original fabric, creating a more polished appearance.
Don’t Underestimate the Power of Ironing
Iron your sweater and seams before and after alterations. This simple step sets the stitches and gives your garment a professional look.
Invest in Sharp Scissors
Sharp scissors are essential for clean cuts, reducing the risk of fraying or uneven edges. High-quality fabric scissors are a worthwhile investment for precision.
Pin and Test Fit
Use pins to secure the fabric in place as you proceed with your alterations. Periodically try on the sweater to check the fit and make necessary adjustments before permanent stitching.
Start With Small Adjustments
If you’re unsure about the extent of alterations needed, begin with minor adjustments. You can always make further changes if required, but starting conservatively minimizes the risk of over-altering.
Consider Contrasting Fabric for Enlargement
When enlarging a small sweater, the use of contrasting fabric for extensions can add a unique and stylish touch. Ensure that the chosen fabric complements the sweater’s style and color scheme.
Check Seam Strength
Ensure that your stitches are secure, especially in areas prone to stress, like underarms and shoulders. Reinforce seams if needed to enhance durability and longevity.
Seek Professional Help When Necessary
If you’re dealing with a valuable or delicate sweater or uncertain about the alterations, consider consulting a professional tailor or seamstress for guidance.
Their expertise can be invaluable.
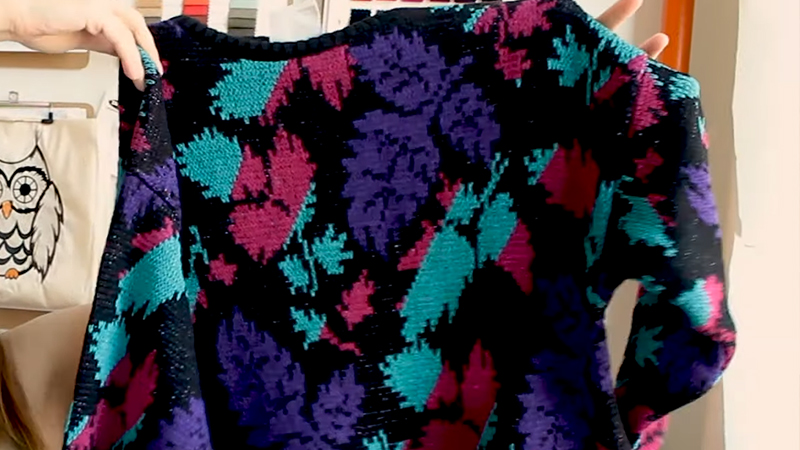
Maintain Original Design Elements
Preserve any distinctive design elements of your sweater when making alterations. Adjust around these details to ensure the overall style and character of the sweater are retained.
Document the Process
If you plan to undertake similar alterations in the future, keep notes or take photographs of the steps you’ve followed. This documentation can serve as a helpful reference for future projects.
Practice Patience
Alterations, particularly for beginners, require patience and attention to detail. Take your time with each step to ensure you’ll be proud of clean, professional results.
FAQs
Can I alter a sweater without a sewing machine?
You can alter a sweater by hand sewing, but it may require more time and patience. A sewing machine typically provides faster and more professional results.
Is it possible to alter a sweater that’s too long without sewing skills?
While sewing skills are helpful, beginners can often do basic alterations like shortening a sweater. Start with simple projects to build confidence.
What if I don’t have matching fabric for enlarging a sweater that’s too small?
Contrasting fabric can create a unique and stylish look when enlarging a sweater. Just ensure it complements the sweater’s color and style.
Is it possible to alter a sweater’s neckline or other design elements?
More advanced alterations can modify necklines, sleeves, or other design elements. However, these alterations may require more experience and skill.
Can I undo alterations if I make a mistake?
It’s challenging to reverse alterations once they’re completed. It’s best to take your time, measure accurately, and practice on scrap fabric if you’re uncertain.
To Recap
In the world of fashion, personalization is the ultimate luxury. Altering a sweater that is either too long or too small allows you to turn an everyday item into a unique expression of your style and comfort.
As we conclude this guide on sweater alteration, remember that the key to success lies in precision, patience, and a willingness to experiment.
Whether you’ve skillfully shortened an overly long sweater or expertly expanded a too-snug one, you’ve saved money and contributed to a more sustainable and personalized wardrobe.
With each stitch, you’ve breathed new life into your garments, turning them into cherished pieces that fit you like a glove. So, embrace the art of sweater alteration and enjoy your newfound fashion prowess.
Leave a Reply