Don’t you want to explore your creative mind with a bit more personalized touch to your garments? After you’ve mastered the basics of stitching, the next level skill you need to learn is how to iron on patches.
No! We are not talking about ironing the patches. It’s a trick to add custom patches to your garment and it’s highly trending nowadays!
Why should you fall behind? You should definitely learn to iron on patches and secure the extra seat you deserve to reach the top of crafting and sewing! We are with you on this journey.
Let’s learn today how you can iron on patches with your fresh sewing skills and deliver jaw-dropping sewing projects.
What Is Iron On Patches?
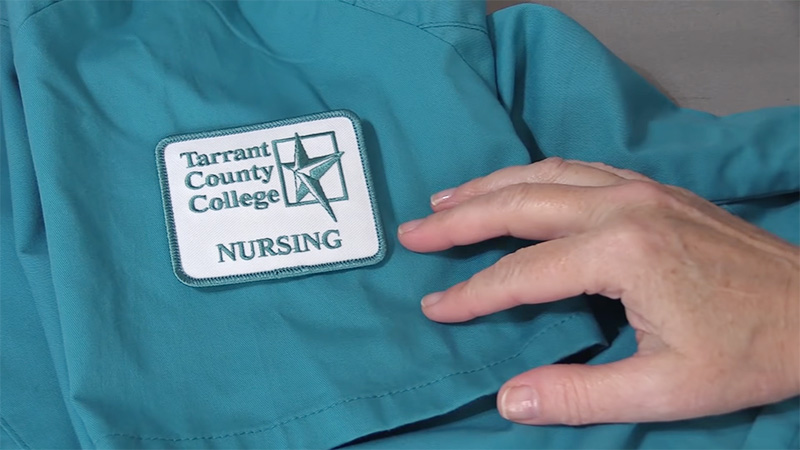
Iron-on patches are decorative patches, that you can attach to clothing, bags, and other fabrics.
No, it doesn’t involve the traditional sewing method, and that makes them more special. Instead, it’s triggered by heat and pressure.
The patches are available in different shapes, designs, and sizes and are usually made of fabric or synthetic materials with a layer of glue (adhesive) on the back. Heat activates the glue on the back and holds the fibers together as it cools down.
That’s why, we also call it heat-transfer patches. Not a trendy term in fashion, but it’s also used in redesigning old apparel or, repairing holes in your clothes.
Key Picks
- Iron-on patches have a heat-activated glue on the back.
- It’s a simple DIY project and you won’t need sewing to complete the patchwork.
- Use an iron to melt the glue. It will easily secure the patch to the fabric.
- Iron-on patches are available in logos, symbols, flags, characters, and more.
- You can also use iron patches to repair small holes, tears, or frayed edges in fabric items.
- You can also use the patches on versatile fabrics including cotton, denim, polyester, and more.
- Either temporary or permanent, it’s easy to select. Some patches are removable. You can change/ move the patch after a certain time to add a new one for more versatility.
Now, here are the basics of iron-on patches. In the next part, we will learn how to iron on patches. Let’s find out how!
How to Iron on Patches?
Before we do, take note if you have the materials from the list:
- Iron-on Patches
- Your Garment
- An Iron
- A Heat Resistant Surface/ An Iron Board
- A Pressing Cloth (you can use a thin cotton fabric or a pillowcase)
- A Clean and Dry Towel
- Pins/ Clips (Optional)
- A Ruler (you can also use a measuring tape)
Now follow the steps with us to attach the iron-on patches to your garment.
Step 1: Prepare Your Garment
Start by washing and thoroughly drying the garment you want to patch. You also have to ensure whether your garment can be ironed or not. Check the tag behind your apparel. There should be an iron symbol.
However, if you notice any dirt or residue that can interfere with the iron or glue, you need to remove it. Be careful not to create any wrinkles while you do so.
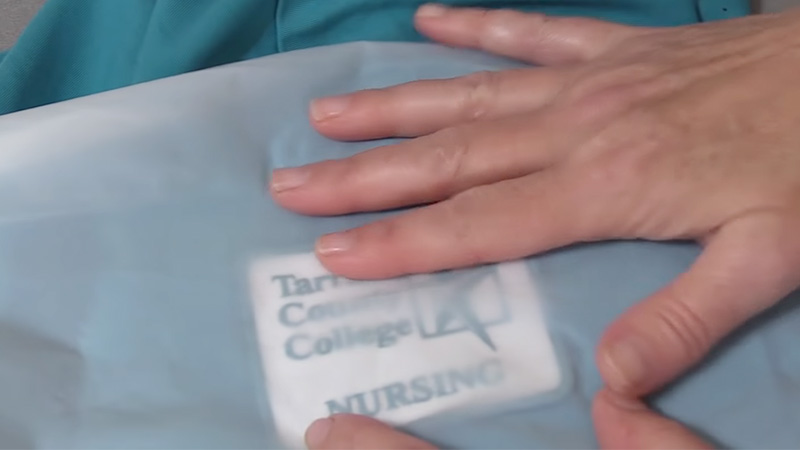
Step 2: Place the Patch
Have you marked the place yet? Decide where you want to place the patch on your garment. Use a ruler or measuring tape to mark the center of the patch at a specific height. You can also use pins or clips to temporarily secure the patch in place.
Step 3: Heat The Iron
Go to Step 1 and find out whether your garment is iron-proof. If yes, plug in your iron and set it to the right temperature for the fabric of your garment. There is a care label on your garment, you can also follow it for proper guidance.
Generally, you have to use low to medium heat for delicate fabrics like silk or synthetic. Cotton or denim fabrics are okay under higher heat settings.
Step 4: Secure the Patch
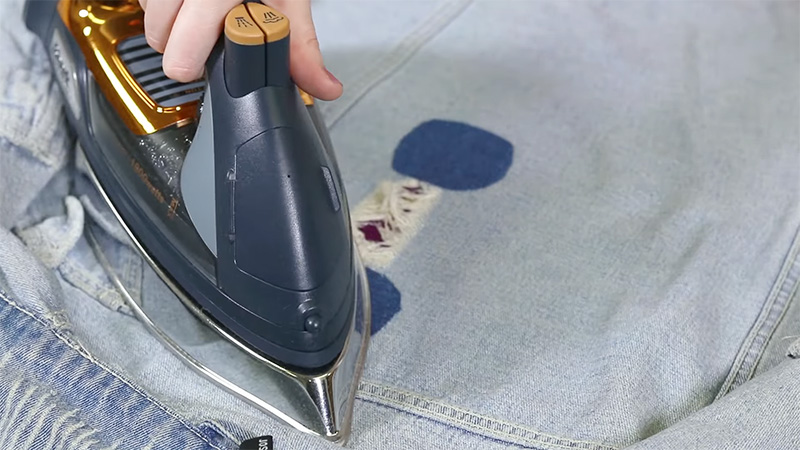
You need to protect the patch from the direct heat of the iron. Here, you have to place a pressing cloth over the patch to protect it from direct contact with the iron. This will keep the patch safe and prevent it from melting.
Step 5: Apply Heat and Pressure
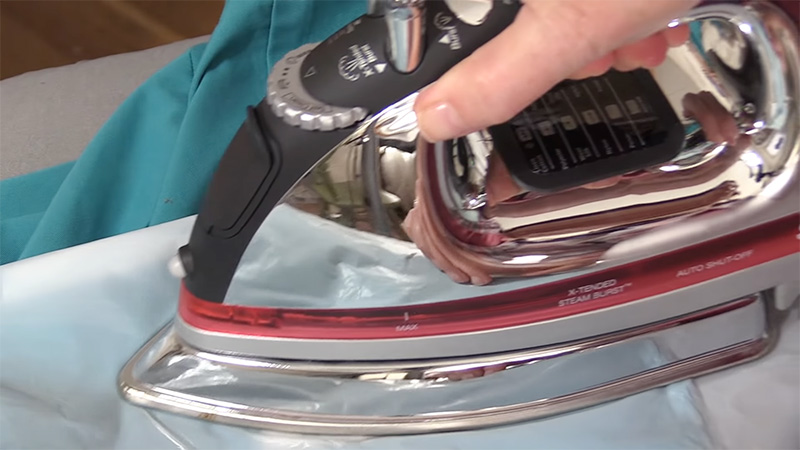
Carefully press the hot iron onto the pressing cloth directly over the patch. Apply firm, even pressure for about 15-20 seconds. Be sure to cover the entire patch, and don’t forget the edges too.
Step 6: Let It Settle
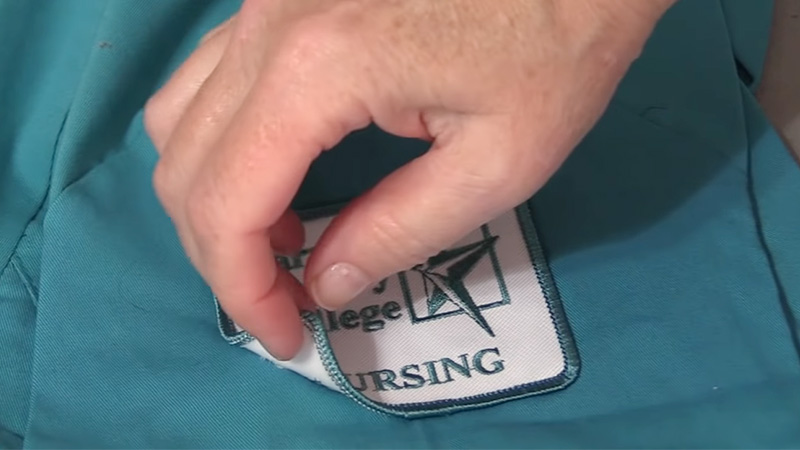
After applying heat, remove the iron. Next, slowly remove the pressing cloth as well. Leave the patch and the garment for a few minutes to cool down. Remember! this cooling process is essential for the glue to sit properly.
After some time, gently lift a corner of the patch to check whether it has securely attached or not. In case it lifts, you have to reapply the iron and pressing cloth. This time, you may need to apply pressure for a bit longer.
Step 7: Secure the Edges (Optional)
Sometimes, the edge of the patches may not sit properly with the fabric. In this case, you have to iron the backside of the garment for an extra 10-15 seconds. It will bind the glue even more effectively.
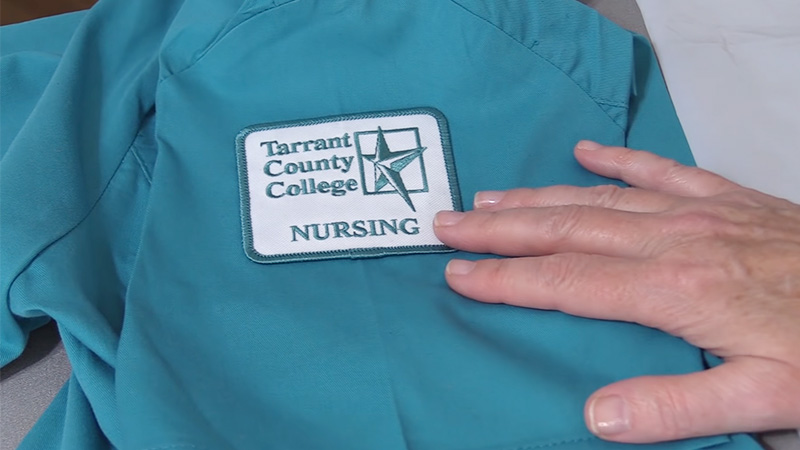
Step 8: Finish the Work

Finally, reexamine in case you have any loose edges or bubbles. If the patch still doesn’t add, pause a while before ironing again! Using iron too often may diversely affect your garment.
When you are all done, allow your garment or accessory to cool completely before wearing or washing it. This will confirm the durability of your patchwork.
Here! As said earlier, iron-on patching can be a simple and fun DIY project. You should try it often to add more versatility to your garment and can commercially impress a wide sector of customers.
Pro Tip: After the patches are smoothly set on the fabric, you can wash your garment in the washing machine. But to do this, you have to turn your garment upside down and use cold water with a gentle wash cycle.
Last Words
Who doesn’t want to wear unique clothes? Might not seem the best but iron-on patches can significantly add more versatility to traditional garments. Plus, it’s not so hard to perform too!
Follow our article to properly adjust the patch on your fabric. It will be a fun project. Let us know in the comment section where you are with the steps. Also, don’t forget to share our article with your friends who want to be a bit more creative with their garments.
Stay tuned, we will come back soon with another useful guide on sewing and crafting!
Leave a Reply