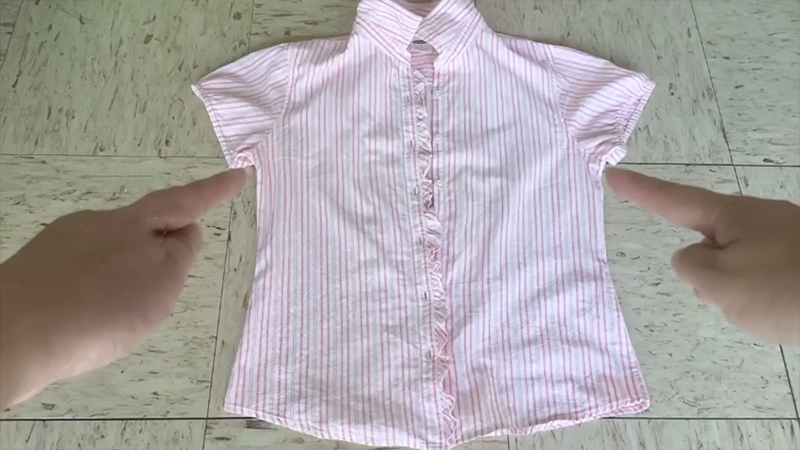
Ensuring your wardrobe’s versatility often means finding creative solutions to make ill-fitting clothes wearable again. One common challenge is dealing with a button-up shirt that has become too tight or snug.
Whether you’ve outgrown it or discovered a vintage gem, learning how to make a button-up shirt bigger can save you the frustration of parting with a beloved garment.
In this guide, we’ll walk you through a step-by-step process to resize your button-up shirt, allowing it to fit more comfortably.
From assessing the fit to adding extra fabric and reattaching buttons, these techniques will help you breathe new life into your wardrobe while preserving the style and charm of your favorite shirts.
How to Make a Button-Up Shirt Bigger? 8 Steps
Making a button-up shirt bigger can be valuable, especially when faced with a tight or ill-fitting favorite garment.
Whether you’ve recently acquired a shirt that’s just a tad too snug or you’ve outgrown one, learning how to make it bigger can save you from the disappointment of not being able to wear it comfortably.
Here’s a step-by-step guide on how to make a button-up shirt bigger:
Materials You’ll Need
- Button-up shirt that needs resizing
- Seam ripper
- Extra fabric that matches the color and pattern of the shirt (optional)
- Sewing machine or needle and thread
- Iron and ironing board
- Scissors
- Measuring tape
- Pins
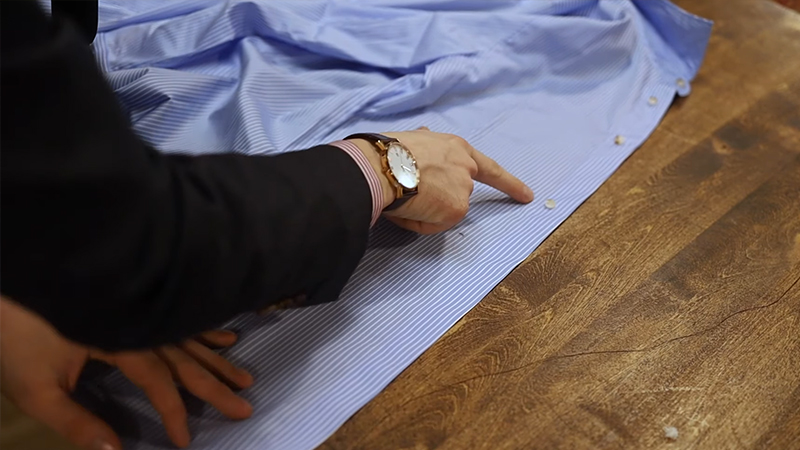
Step 1: Assess Your Shirt
Start by trying on the button-up shirt you want to resize. Pay close attention to which areas feel too tight or snug. Is it the chest, waist, back, or sleeves? Understanding which parts need adjustment will guide your resizing process effectively.
Step 2: Remove the Buttons
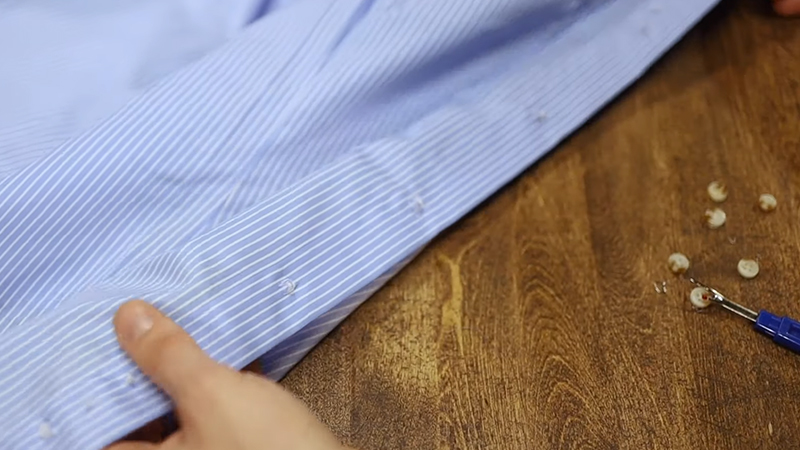
Carefully remove all the buttons from the shirt using a seam ripper. Take your time to ensure you don’t damage the fabric; you’ll need to reattach the buttons later.
Keep the buttons in a safe place so you don’t lose them.
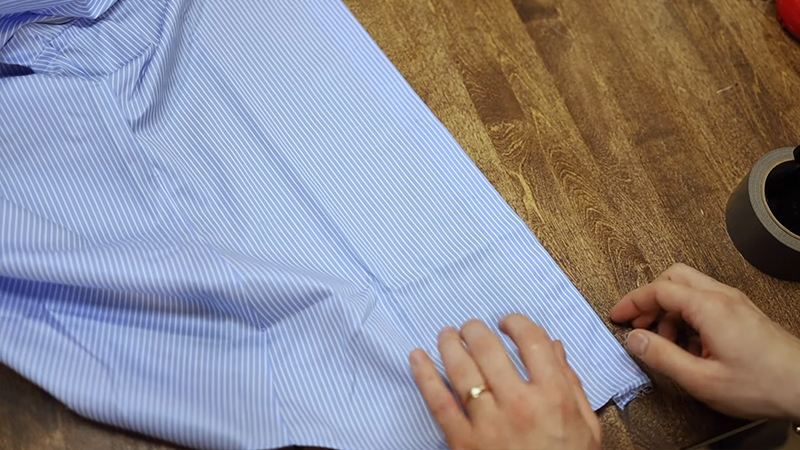
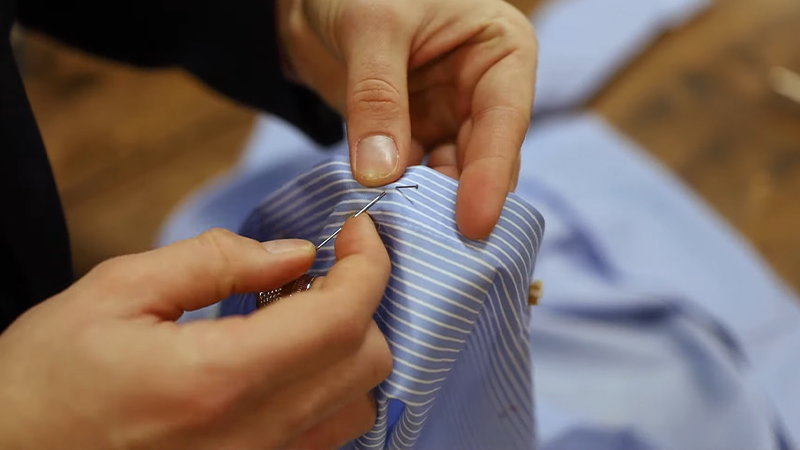
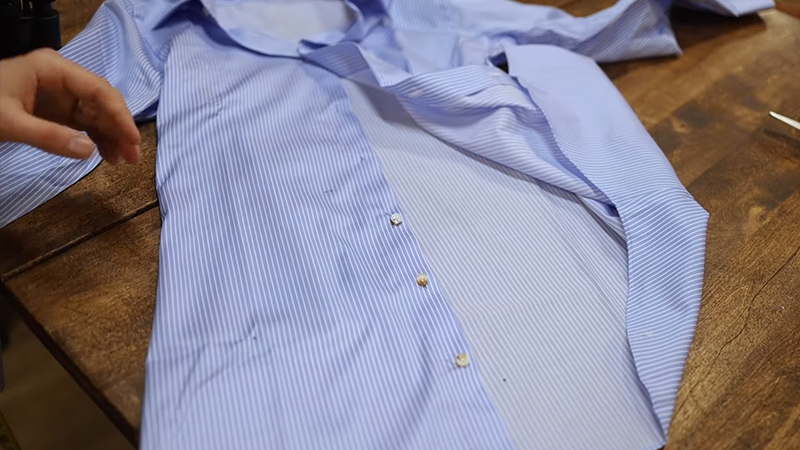
Step 3: Add Extra Fabric (Optional)
If the adjustments required are minor, you may be able to make the shirt bigger by moving the buttons or using the existing fabric creatively. For instance:
- Moving Buttons: You can sew the buttons closer to the edge of the placket, allowing more space between the buttons and buttonholes. Make sure they are evenly spaced for a neat appearance.
- Sewing in Extra Fabric: You can add an insert panel for larger adjustments, such as widening the shirt in the chest or back.
Measure the width required for the adjustment, cut a piece of fabric to match the shirt’s color and pattern, and sew it into its center back. Ensure that you reinforce the stitching for durability.
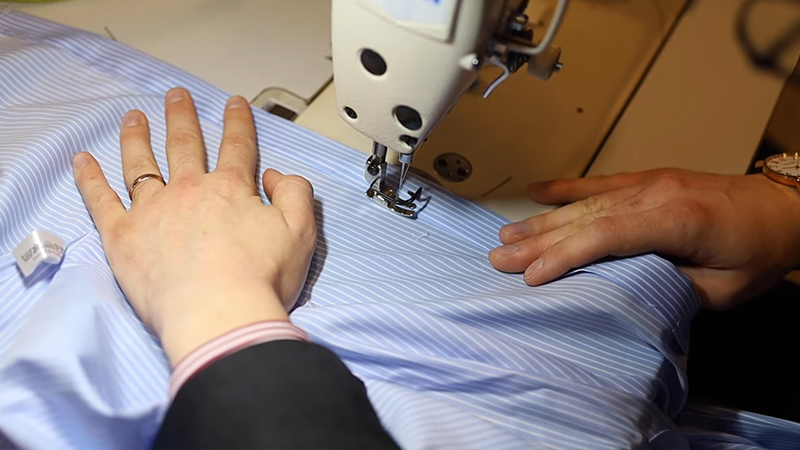
Step 4: Reattach Buttons
Once you’ve completed the necessary adjustments to the shirt, it’s time to reattach the buttons. Ensure they align perfectly with the buttonholes, maintaining the shirt’s original appearance.
Step 5: Finish Seams (Optional)
To prevent fraying, trim any excess fabric and finish the seams on the insert panel, sleeves, or any other areas you modified. Properly finished seams will contribute to the overall durability of your resized shirt.
Step 6: Press and Iron
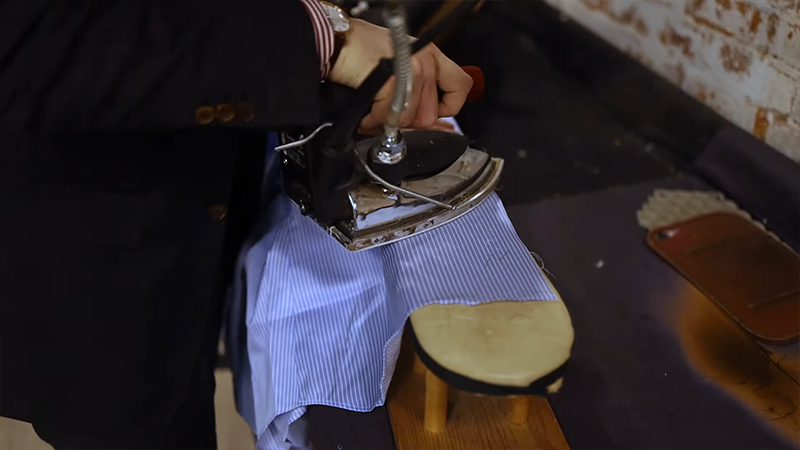
Iron the shirt thoroughly to achieve a polished and crisp look, focusing on the seams and any areas where you made adjustments. This step helps flatten seams and gives your shirt a neat finish.
Step 7: Try on and Adjust
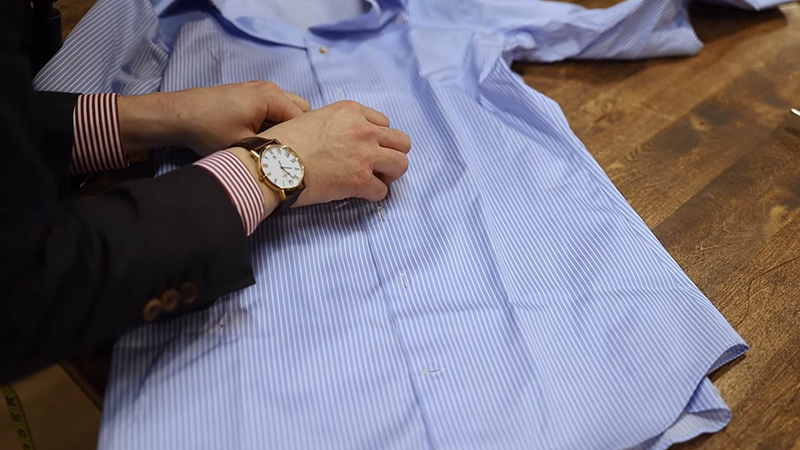
After resizing, try the shirt on to ensure the fit is now comfortable and the adjustments have been executed accurately. Make any final tweaks if needed for the perfect fit.
Step 8: Clean Up
Trim any loose threads, and your resized button-up shirt is now ready to wear confidently. The shirt should now offer a more comfortable and flattering fit, allowing you to enjoy it once again.
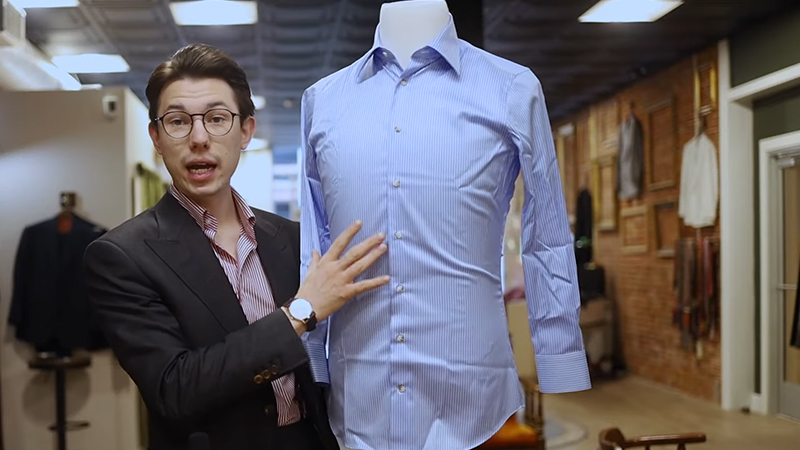
How Should a Button-up Shirt Fit? Understanding the Ideal Sizing
A button-up shirt is a timeless wardrobe essential that can enhance your appearance when it fits well. Achieving the right fit is crucial for comfort and style.
Here’s a detailed guide on how a button-up shirt should fit:
Collar
The collar of a button-up shirt should sit comfortably around your neck, allowing you to button the top button without feeling restricted. It should neither choke you nor leave a noticeable gap.
The ideal fit allows you to insert one or two fingers comfortably between your neck and the collar when it’s fastened.
Shoulder Seams
The shoulder seams of the shirt should align perfectly with the outer edge of your shoulders. They should neither extend beyond your shoulder nor fall short.
Proper alignment ensures a clean and natural look without any wrinkles or puckering at the shoulder seams.
Sleeve Length
The sleeves should reach the base of your wrist bone when your arms hang naturally at your sides. This length ensures that a small portion of your cuff shows beneath a suit jacket or blazer, adding a touch of sophistication to your outfit.
Sleeve Width
The sleeves should offer enough room for comfortable arm movement without feeling excessively tight or billowy. The fabric should lightly hug your arms, allowing freedom of movement without constriction.
Cuff Fit
The cuffs should fasten snugly around your wrist without being overly tight. They should remain in place when you move your arms and not slide up your forearm.
A proper cuff fit adds to the shirt’s polished appearance.
Chest
The chest area of the shirt should provide enough room for natural movement without the fabric pulling or stretching. It should lightly contour your chest without appearing too tight or baggy, creating a flattering silhouette.
Waist and Torso
When tucked into your pants, the shirt should taper slightly at the waist, creating a defined silhouette without excessive fabric bunching. It should be close-fitting but not uncomfortably tight.
A well-fitted torso allows for ease of breathing and movement.
Length
The shirttail should be long enough to stay tucked into your trousers without popping out when you move, sit, or raise your arms. It should cover your beltline without being excessively long, which can lead to bunching.
Back Fit
The back of the shirt should lie smoothly across your upper back and shoulders, free from wrinkles or pulling. The fabric should conform to the natural contours of your body, creating a clean and tidy appearance.
Fabric Drape
The fabric should drape smoothly over your body without excess wrinkling or billowing. It should follow your body’s shape without creating unsightly bulges, ensuring a polished and put-together look.
Wrinkles and Creases
When you move your arms or change your posture, the shirt should maintain a relatively wrinkle-free appearance. Excessive wrinkles or creases can indicate an ill-fitting shirt.
No-Sew Solutions: How to Make a Button-up Shirt Bigger Without Sewing?
Resizing a button-up shirt without sewing can be handy when you need a quick, temporary fix for a snug-fitting garment.
While these methods won’t provide as precise or long-lasting results as sewing-based alterations, they can make your shirt more comfortable without needing a needle and thread.
Here’s a step-by-step guide on how to make a button-up shirt bigger without sewing:
Wet Stretching
Wet stretching is an effective method to temporarily increase your shirt’s size. Start by dampening the shirt with water, either through spraying or soaking it in a basin.
Gently stretch the damp shirt in the areas that feel too tight, such as the chest, waist, or sleeves. Be cautious not to pull too hard, as you don’t want to damage the fabric.
While stretching, use your hands to smooth and shape the fabric in the desired direction. Leave the shirt to air dry while still stretched, using hangers or other objects to maintain the stretched shape.
Fabric Softener
Another trick to relax the fibers of your shirt and make it feel less constricting is to use fabric softener. Dilute the fabric softener with water according to the product instructions.
Spray or soak the shirt in the diluted fabric softener solution. Afterward, gently stretch the shirt in the areas that are too tight. Allow the shirt to air dry, and you should notice a slight improvement in comfort.
Layering
Adding layers can sometimes create the illusion of a larger fit. For example, wearing a camisole or tank top underneath the shirt can add extra room around the chest.
Alternatively, layering the shirt with a lightweight sweater or cardigan can hide the snug fit while providing extra space. Leaving the cardigan unbuttoned can help achieve a more comfortable and stylish look.
Button Extenders
Button extenders are simple accessories that can provide additional room around the waist. These extenders usually have buttons on one end and buttonholes on the other.
To use them, attach the button extender to the existing buttons and buttonholes of the shirt, instantly creating more space for a comfortable fit.
What to Do With a Button-Up Shirt That Is Too Small?
When faced with a button-up shirt that’s too small, you have several options. Consider donating it to a thrift store or charity if it’s in good condition.
Repurpose it by transforming it into a different clothing item like a crop top or sleeveless blouse. Use it as a layering piece over a tank top or T-shirt.
Alternatively, keep it as a fitness goal motivator or sell it online if it’s a desirable brand. If it holds sentimental value, store it as a memento.
For a perfect fit, consult a professional tailor or seamstress for alterations.
FAQs
Can I resize a button-up shirt without sewing?
Yes, methods like wet stretching, fabric softeners, and button extenders can make a shirt temporarily bigger without sewing.
Are these methods as effective as sewing-based alterations?
No, sewing provides more precise and long-lasting results, but these methods can offer a temporary fix.
Can I undo the changes made with these methods?
Yes, changes made with methods like wet stretching or fabric softener are reversible, as they are not permanent alterations.
Can I use heat to resize a shirt?
While heat can relax fabric fibers, it’s not recommended for resizing because it can also damage or shrink the fabric. Stick to safer methods like wet stretching or fabric softeners.
How can I store a resized shirt to maintain its shape?
Hang the shirt on a padded hanger or fold it neatly to prevent wrinkles and maintain the adjustments you’ve made.
To Recap
Mastering the art of resizing a button-up shirt can be a valuable skill, enabling you to salvage and enjoy your favorite garments that have become too snug.
With patience, attention to detail, and the right techniques, you can transform an ill-fitting shirt into one that fits comfortably and stylishly.
Whether you opt for minor adjustments or more extensive modifications, the satisfaction of giving new life to your wardrobe is immeasurable.
By assessing, altering, and reassembling your shirt, you expand your fashion options and gain a deeper appreciation for the craftsmanship and creativity that goes into tailoring.
So, don’t let a tight shirt cramp your style; let your resizing skills shine and revive your wardrobe confidently.
Leave a Reply