Have you heard of the lanyard? If sewing is an ever-lasting passion for you, try the lanyard. It’s an easy escape with scarps of fabrics, and you can easily be creative with them!
Be it nylon, polyester, or cotton, you can prepare the lanyards with almost any fabric. You only need to know how to make a lanyard. So, how? Let us help you with that.
Our article will guide you today through the entire method of how to make a lanyard. We will learn together and by the end of our article, you can make our lanyard too. Let’s begin.
- It started back in the 15th century. Sailors used lanyards to secure items aboard ships.
- The term lanyard likely comes from the French word lanière. It means strap or thong.
- They are generally used in sports, such as whistles on lanyards for referees and coaches.
- Most modern lanyards include a safety breakaway feature. It prevents choking or accidents when pulled forcefully.
- You can personalize lanyards with logos, slogans, or designs, ideal for promotional events and branding.
- Beyond badges, lanyards are also popular with keys, USB drives, eyeglasses, and even phone cases.
- Some jurisdictions have regulated lanyard safety, especially for child safety and school use.
- Eco-friendly consumers can opt for lanyards made from green materials like bamboo or organic cotton.
About Lanyard,
We believe you are here because you already know about lanyards. Let’s revise a bit,
A lanyard is not like our regular garments. Instead, it’s a type of Cord or strap generally around the neck or wrist. People have used it to carry identification badges, keys, or small objects.
You don’t wear it like clothes, instead use it to carry essential items while keeping your hands free. Carry more things to have more convenience.
The trend has been around since the 15th century (as mentioned earlier), and now it has evolved to many distinct forms in usage.
How to Make A Lanyard?
It’s time to learn how to make a lanyard. Here are the few supplies you will need. Please gather them around before starting to stitch!
Lanyard Fabrics: You can purchase many options at craft shops near you or online. Also, adjust the length of the fabric. However, it should start with 3 inches.
Batting: It is generally the stuffing or padding material inside the lanyard. Lanyards are slightly cushioned or soft inside. Batting does the job!
You will have to adjust the length of the batting following the length of the lanyards. Remember to keep it ½ inch shorter than the length of the lanyard.
Lanyard Cord: You will need to adjust the Cord of the Lanyard. Nylon and polyester cords are popular and work well.
Clasp: You’ll need a clasp to attach your lanyard to keys or ID badges. Alternatively, you can use hardware. However, make sure the D ring is at least ¾ inches wide. Lobster clasps or swivel clasps are good to go.
Scissors: You will need a pair of sharp scissors.
Ruler or Measuring Tape: Always have a ruler or measuring tape beside you.
Sewing Machine: If you have a sewing machine, that’s good to improve speed. But hand sewing is not a bad option either.
How to Make a Lanyard?
Follow the few steps with us to complete your first lanyard.
1) Batting & Strips:
It starts with the batting. Cut the batting to your desired length. Take a batting slightly shorter (½ inches) than the length of the original lanyard. It is up to you to determine the thickness of the lanyard. Select wisely.
Next, cut fabric strips wide enough to cover the batting. Remember, the fabric strips have to wrap the batting thus, and thushis, it needs a more comprehensive alongerong oneer. You can additionally select the colors and patterns you desire.
2) Stitch Fabric to Batting:
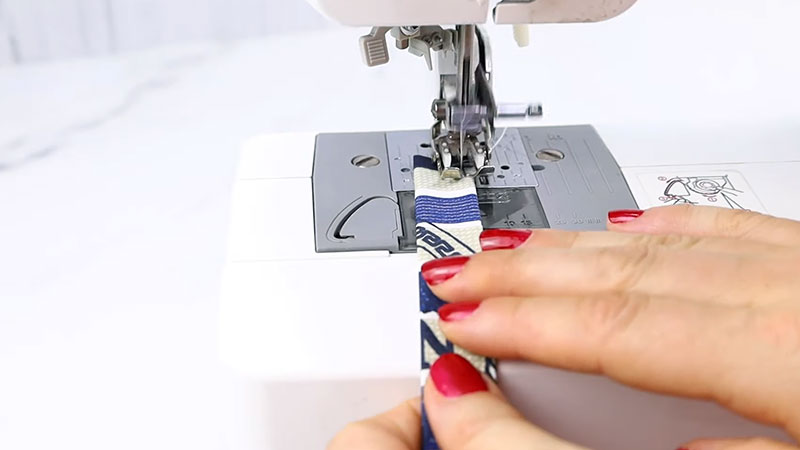
Keep the batting on the fabric strip. You should leave a little extra fabric on each end.
Fold the fabric over the batting and secure it with pins. If you have a sewing machine, you can sew the fabric edges together to lock the batting securely. Otherwise, you can hand-sew the fabric with a simple running stitch.
3) Get to the Cord:

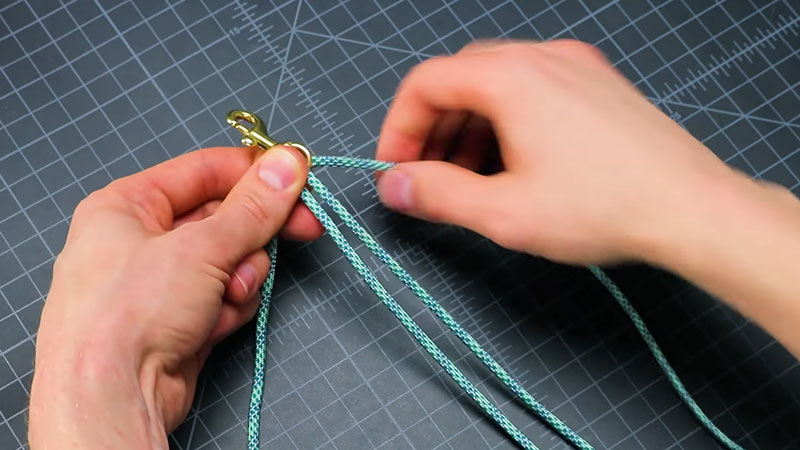
The Cord should be the same length as your lanyard. Don’t forget the final output would be half the length of the Cord. Fold the Cord in half and align the end. The folded part is where you would attach the clasp.
The Clasp:
Take the folded end of the Cord through the loop of the clasp. Next, pull the loose ends of the Cord into the folded end. It should be tight and won’t come undone.
Take the batted fabric on the folded Cord. It should align the looped end of the Cord with the top of the batting. Stitch them together with a sewing machine. You can also hand sew with a needle and thread or use a powerful adhesive.
4) Final Touch:
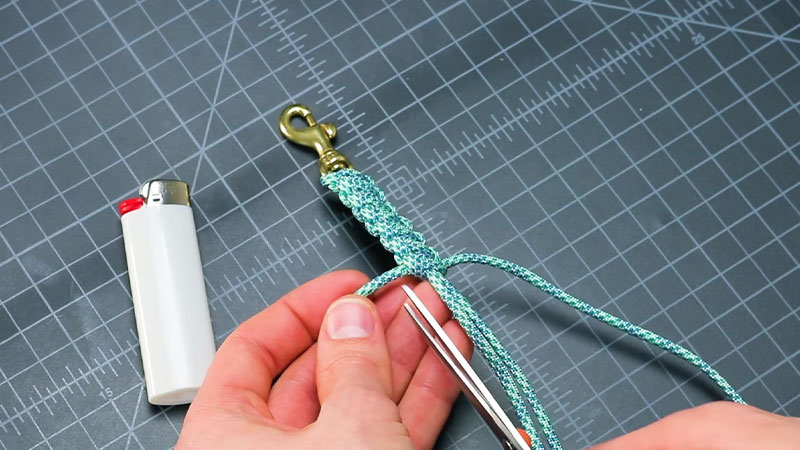
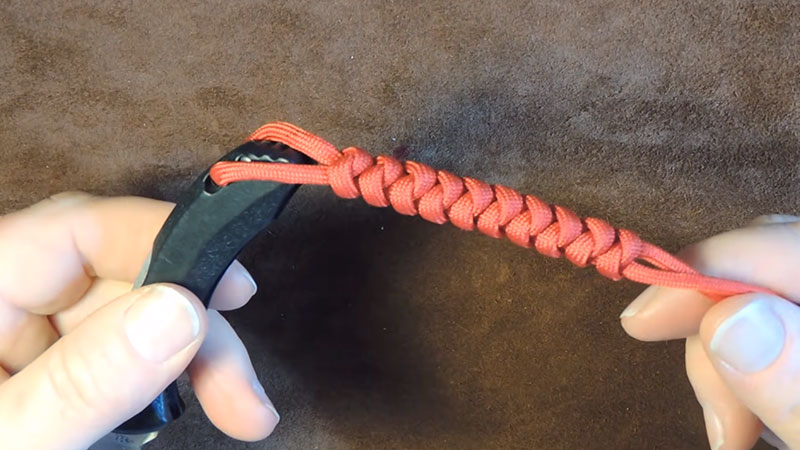
Once you have settled the padded fabric with the clasp together, it’s time to finish the lanyard. Make more knots in the box stitch pattern to secure the locks.
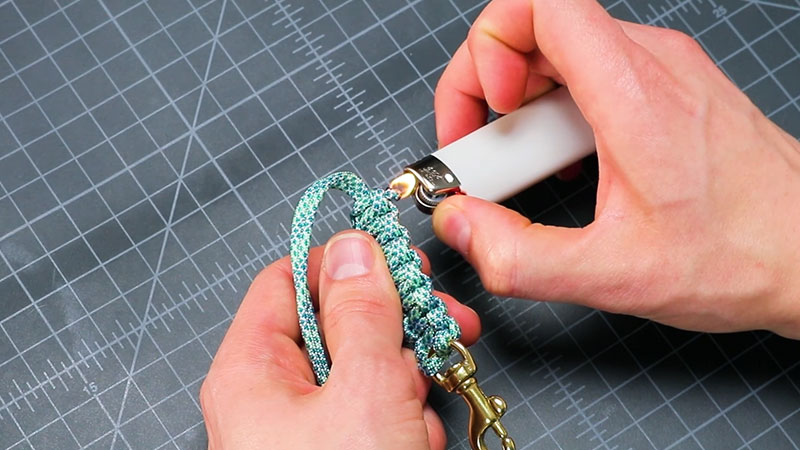
If you have any extra cord (more than 2.5 cm), trim it carefully. You can also use a lighter to melt the ends of the Cord. It will prevent fraying.
You will need to give it a final look by the time you reach this point. Ensure you have adequately sealed the ends and there are no loose ends.
After a final check, your homemade lanyard is now ready to use!
In Summary,
Learning anything new is unique and could be fun with a proper guide. We hope our article on making a lanyard has helped you prepare your very first lanyard successfully! In the comment section, let us know about your progress with the first lanyard.
Keep an eye on our blog section. We provide exclusive tips on sewing and crafting! Also, don’t forget to share our article with your friends and others who are really into lanyards!
Happy sewing!
Leave a Reply