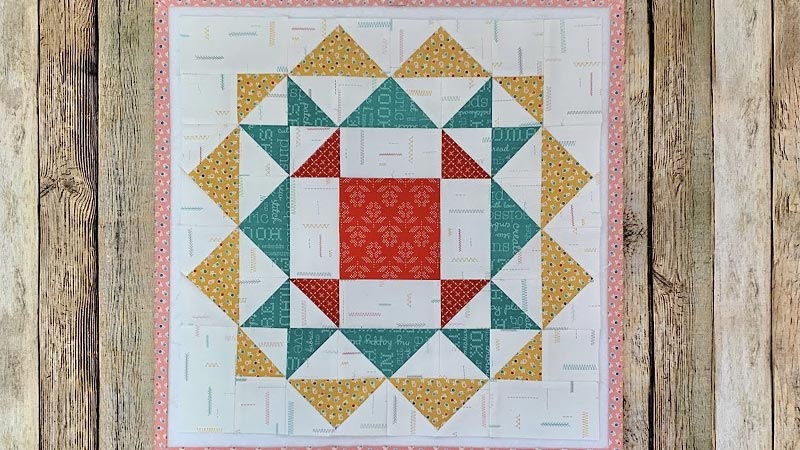
Creating a quilt using cross-stitch blocks marries the time-honored crafts of cross-stitching and quilting, resulting in a unique textile masterpiece.
This meticulous process involves translating intricate cross-stitch patterns onto fabric, which are then incorporated into a quilt design.
The fusion of these two art forms adds depth and texture to the quilt and imbues it with a rich, handmade charm.
This guide will walk you through the steps, from selecting patterns and preparing fabric to assembling the quilt top and adding finishing touches. With patience and creativity, you’ll embark on a journey to craft a quilt that blends tradition with personal artistry.
How to Make a Quilt Using Cross-Stitch Blocks?
Making a quilt using cross-stitch blocks is a wonderful way to combine two timeless crafts into a stunning and functional piece of art. This project requires patience, attention to detail, and a love for both quilting and cross-stitching.
This guide will take you through the steps to create a quilt using cross-stitch blocks, providing you with the skills and knowledge to embark on this rewarding endeavor.
Materials Needed:
- Fabric.
- Cross Stitch Patterns.
- Embroidery Floss and Needles.
- Quilt Batting.
- Quilting Thread.
- Scissors, Ruler, and Cutting Mat.
- Embroidery Hoop.
- Sewing Machine.
Steps to Make a Quilt Using Cross-Stitch Blocks:
Step 1: Select and Prepare Patterns
- Choose Cross-Stitch Patterns: Begin by selecting cross-stitch patterns that resonate with your aesthetic and fit the size of your intended quilt blocks. Ensure the patterns are clear and easy to follow.
- Mark the Center: To align your pattern properly, locate the center point of your chosen fabric. You can do this by folding the fabric in half horizontally and vertically and lightly marking the intersection.
- Secure in an Embroidery Hoop: Place the marked fabric in an embroidery hoop, ensuring it’s taut but not overly stretched. This hoop will keep the fabric stable as you cross-stitch.
Step 2: Cross-Stitch the Blocks
- Start Stitching: Thread your embroidery needle with the appropriate floss color and begin cross-stitching according to the pattern’s instructions. Pay close attention to the stitch count and ensure each stitch is uniform.
- Stitching Technique: Use the “x” method to create your stitches for neat and tidy results. Make sure your stitches lay flat and don’t pull the fabric too tightly, which could distort the design.
- Completing the Design: Continue cross-stitching until you’ve completed the entire design. Be patient and meticulous, as the quality of your stitches greatly impacts the final appearance.
- Finishing the Block: After completing your cross-stitch design, carefully remove the fabric from the hoop, not disturbing the stitches. Gently press the stitched block to remove any wrinkles or creases.
Step 3: Prepare Quilt Blocks
- Cutting the Blocks: Trim your cross-stitched fabric into square blocks using a ruler and rotary cutter on a cutting mat. Leave a consistent 1/4 inch seam allowance around the design to allow for later piecing.
- Cut Backing Fabric and Batting: Cut equal squares from your chosen quilt backing fabric and quilt batting. These should match the dimensions of your cross-stitch blocks.
Step 4: Arrange and Assemble the Quilt Top
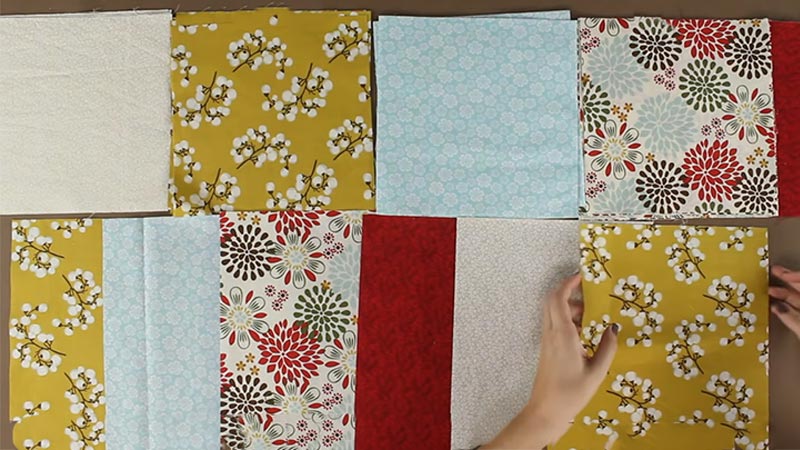
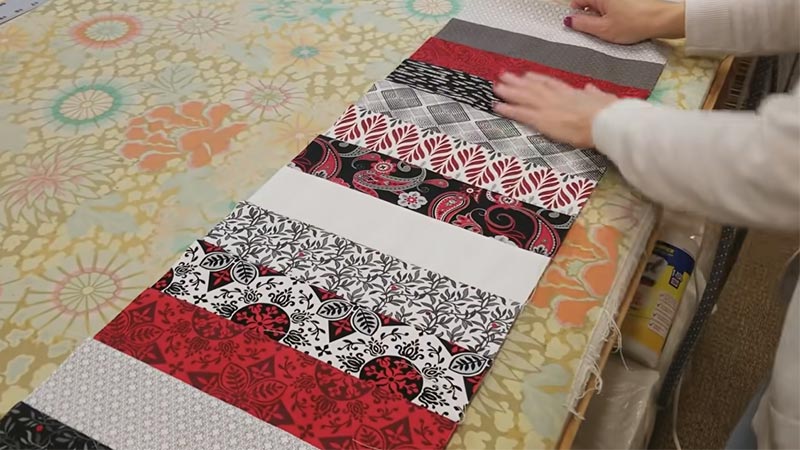
- Design Layout: Lay out your cross-stitched blocks in a pleasing pattern on a flat surface. Experiment with different arrangements to achieve the desired look, considering color balance and block orientation.
- Stitching Blocks Together: Begin sewing the cross-stitched blocks together, starting with rows and then joining the rows to form the quilt top. Use a 1/4 inch seam allowance, and take your time to align the seams accurately.
- Pressing Seams: After stitching, press the seams open using an iron. This helps reduce bulk and ensures the quilt top lies flat.
Step 5: Add Borders
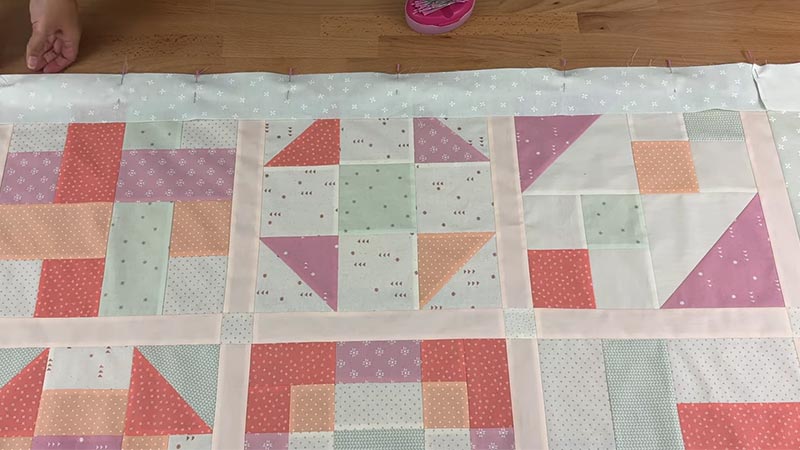
- Measure and Cut Borders: Measure the sides of your quilt top to determine the required length for border strips. Cut strips of fabric to match these measurements, adding 1/4 inch seam allowances.
- Attach Borders: Sew the border strips to the quilt top, matching the corners neatly. Miter the corners by folding the border fabric diagonally to create clean, 45-degree angles at the corners.
Step 6: Layer and Quilt
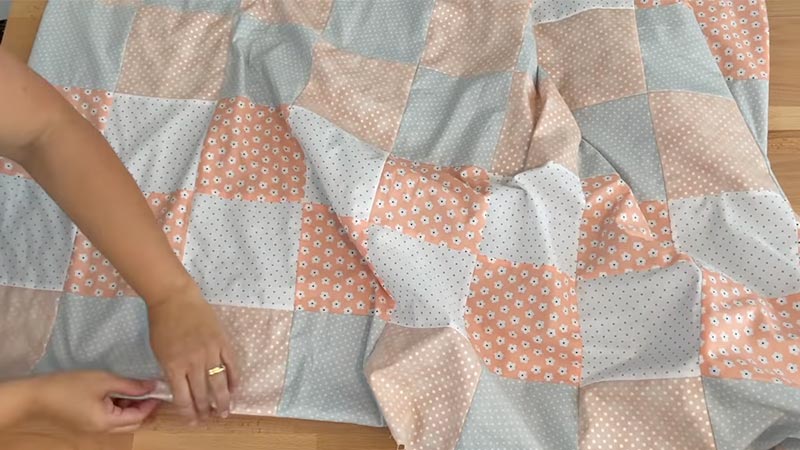
- Create a Quilt Sandwich: Lay the quilt backing fabric right side down, place the quilt batting on top, and then position the quilt top right side up. This creates a quilt sandwich.
- Basting: To secure the layers together, use basting pins or adhesive spray to prevent shifting during quilting.
Step 7: Quilt the Layers
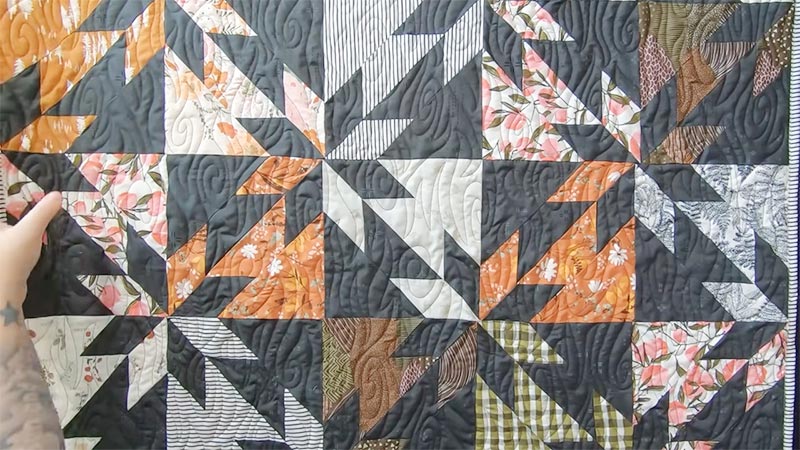
- Quilting Design: Choose a quilting design or pattern. You can quilt along the seams of the cross-stitched blocks, create custom designs, or follow a template.
- Quilting Process: Use your sewing machine or hand quilting techniques to stitch through all layers along the chosen design. Take your time and maintain even stitch lengths.
Step 8: Bind the Quilt
- Prepare Binding Strips: Cut fabric strips for binding the quilt. These should be long enough to go around the entire quilt with some overlap. Join strips as needed to create a continuous length.
- Attach Binding: Sew the binding to the edges of the quilt, starting on one side. Fold the binding strip in half lengthwise and align the raw edges with the quilt’s raw edge. Stitch along the quilt’s edge, leaving a few inches of excess binding at the beginning.
- Miter the Corners: When you reach a corner, fold the binding strip at a 45-degree angle, then fold it back down in line with the next side. Continue stitching, and repeat this process at each corner.
- Finish the Binding: When you return to your starting point, overlap the binding strips, trim any excess, and finish sewing the binding in place.
Step 9: Finishing Touches
- Trim Excess Threads: Carefully trim any loose threads from the quilt top and binding for a clean look.
- Final Press: Give the entire quilt a final press with an iron to smooth out any wrinkles and ensure it lies flat.
Creative Ideas for Adding Embellishments to the Quilt Top
Adding embellishments to your quilt top can elevate it from functional to a truly artistic and personalized piece.
Here are some creative ideas for embellishing your quilt top:
Embroidery
With embroidery, you can add intricate details, floral motifs, or personalized messages to specific areas of your quilt top.
Consider using different stitch techniques like satin stitch, chain stitch, or French knots for texture and depth.
Appliqué
Appliqué involves attaching fabric shapes onto the quilt top to create images or patterns. For a unique and personalized touch, you can use fusible webbing or hand-stitch the appliqué pieces.
Beadwork
Beads come in various sizes, shapes, and colors, allowing you to create subtle or bold accents on your quilt.
Consider using seed beads for delicate details or larger beads for more pronounced embellishments. Secure them with small, discreet stitches to ensure they stay in place.
Fabric Painting or Dyeing
Fabric paints and dyes offer endless possibilities for customization. You can create freehand designs and stencils or use techniques like tie-dyeing to add vibrant colors and unique patterns to your quilt top.
Ribbon and Trim
Ribbons and trims can be sewn along the edges, borders, or seams of your quilt top to add a touch of elegance or whimsy. Experiment with different widths, textures, and colors to achieve the desired effect.
Fabric Collage
Create a collage effect by layering and stitching various fabric pieces onto your quilt top. This can be a playful way to incorporate different colors, patterns, and textures into your design.
Yo-Yos or Fabric Rosettes
Yo-yos and fabric rosettes are three-dimensional fabric embellishments that add texture and visual interest. Attach them strategically to create focal points or use them to form a decorative border.
Patches or Pockets
Incorporating fabric patches with unique designs or functional pockets can add a playful and practical element to your quilt top. Consider using contrasting fabrics for a dynamic look.
Button Embellishments
Buttons come in a wide variety of shapes, sizes, and materials. Sew them onto your quilt top to add a vintage, whimsical, or even a sophisticated touch. Experiment with different arrangements and patterns.
Solutions to Common Challenges Faced During the Process
When creating a quilt, it’s not uncommon to encounter a few challenges along the way.
Here are some solutions to common hurdles that may arise during the quilting process:
Fabric Selection and Coordination
Selecting the right fabrics for your quilt can be a daunting task. If you’re struggling with coordinating colors or patterns, consider these solutions:
- Create a Fabric Palette: Gather swatches of your chosen fabrics and arrange them together to ensure they complement each other. This visual aid can help you visualize the final product.
- Use a Color Wheel: Refer to a color wheel to identify complementary, analogous, or monochromatic color schemes. This can guide you in selecting fabrics that harmonize well together.
Achieving Accurate Seam Allowances
Achieving consistent seam allowances is crucial for precise piecing. If you’re struggling with this, consider these solutions:
- Invest in a Quarter-Inch Foot: A quarter-inch foot for your sewing machine provides a guide for accurate seam allowances. It’s an essential tool for quilters.
- Mark Your Machine: Use masking tape or a removable marker to mark a quarter-inch guide on your sewing machine’s bed. This visual aid can help you maintain consistent seam allowances.
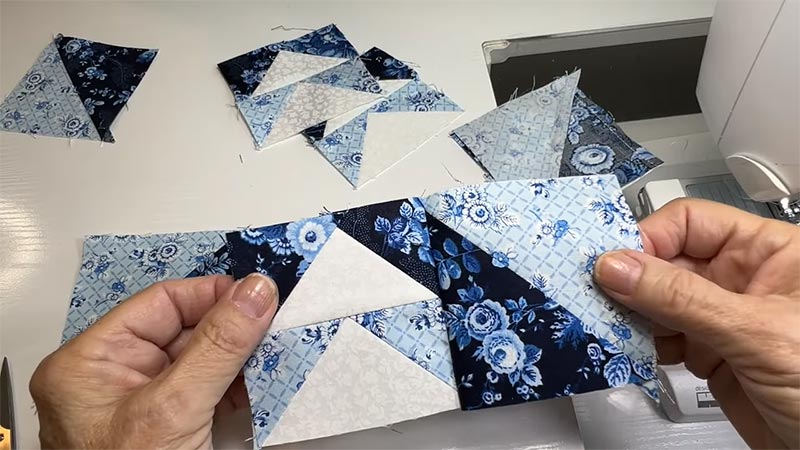
Matching Points and Corners
Aligning seams and matching points can be challenging, especially in intricate quilt patterns. Here are some solutions:
- Pin Strategically: Use pins to secure seams and points before sewing. Pinning at critical junctures ensures that fabric layers stay aligned during stitching.
- Nesting Seams: When joining blocks or rows, nest seams together. This involves pressing seam allowances in opposite directions so they interlock, creating a precise match.
Dealing with Bulk and Thickness
As you add layers to your quilt, managing the bulk and thickness can become challenging. Here’s how to address it:
- Utilize a Walking Foot: A walking foot helps feed multiple layers of fabric evenly through your sewing machine, reducing the risk of shifting or puckering.
- Thinning Seams: For areas where many seams converge, consider pressing seams open to distribute the bulk more evenly.
Quilting Large Projects on a Domestic Machine
Quilting a large quilt on a standard sewing machine can be tricky due to limited space. These solutions can help:
- Roll and Baste Sections: Divide your quilt into manageable sections, quilt them separately, and then join them together. This method makes it easier to handle and quilt large projects.
- Use Quilting Aids: Invest in quilting gloves, extension tables, or quilting rulers to help maneuver your quilt through the machine more smoothly.
Achieving Even Tension with Hand Quilting
Maintaining consistent tension while hand quilting is essential for a professional finish. If you’re struggling with this, consider these solutions:
- Practice and Patience: Hand quilting takes practice. Take your time, and focus on achieving even, controlled stitches.
- Use a Quilting Hoop or Frame: A hoop or frame helps hold the quilt taut, making it easier to achieve even tension while hand quilting.
Care and Maintenance
Caring for your quilt is essential to preserve its beauty and longevity.
Here are some tips for proper care and maintenance:
Regular Cleaning
Gently vacuum your quilt using a low-suction vacuum cleaner or use a lint roller to remove surface dust and lint. Avoid using a high-powered vacuum, as it can cause damage.
Avoid Direct Sunlight
Keep your quilt away from direct sunlight to prevent color fading. If displaying, consider using UV-protective glass or rotating your quilt periodically.
Storage
Store your quilt in a cool, dry place away from dampness, extreme temperatures, and pests. Avoid attics, basements, or places prone to humidity.
Air Circulation
Allow your quilt to breathe by airing it out periodically. Gently shake it and let it hang in a well-ventilated area.
Use a Quilt Sleeve or Cover
Consider using a fabric cover or sleeve to protect your quilt when it’s not in use. This prevents dust and light exposure.
Avoid Folding
Avoid folding your quilt for extended periods, as it can cause stress on the fabric and lead to creasing. Instead, roll it loosely and store it in a breathable fabric bag.
Avoid Stacking
When you need to stack quilts, place a clean cotton sheet or acid-free tissue paper between each quilt to prevent color transfer and friction.
Handle with Clean Hands
Always handle your quilt with clean hands to avoid transferring dirt, oils, or other contaminants to the fabric.
Wash Carefully
Only wash your quilt if absolutely necessary, and always follow the care instructions provided by the maker or manufacturer. Use a gentle, non-abrasive detergent, and avoid harsh chemicals or bleach.
FAQs
What is the difference between cross stitch and quilting?
Cross stitch involves creating intricate designs on fabric using X-shaped stitches, while quilting is the process of sewing layers of fabric together to create a padded textile.
Can I use any cross-stitch pattern for a quilt?
While most cross-stitch patterns can be adapted for quilting, it’s best to choose designs with clear, defined lines that can be easily translated onto fabric.
Do I need to hand-sew the cross-stitch blocks onto the quilt top?
While hand-sewing provides a traditional touch, you can also use a sewing machine with a fine needle to attach the cross-stitch blocks securely.
How should I choose colors for the cross-stitch blocks?
Consider the color palette of your overall quilt design. Harmonious or complementary colors work well, but personal preference and the intended look can also guide your choices.
What type of fabric is best for cross-stitching blocks in a quilt?
Choose a sturdy, even-weave fabric with a high thread count. Cotton or linen fabrics work well, providing a stable base for your cross-stitch work.
Wrap Up
Creating a quilt using cross-stitch blocks is a labor of love that combines the precision of cross-stitching with the warmth of quilting.
Each step, from choosing patterns to assembling the quilt top, demands dedication and creativity. The result is a timeless textile masterpiece, a testament to the artistry and craftsmanship poured into its creation.
As you wrap yourself in the final quilt, you’ll experience its physical warmth and the warmth of the hours spent stitching, the memories woven into each block.
Embrace this journey, for in the end, you’ll have crafted not just a quilt but a cherished heirloom.
Leave a Reply