Sewing elastic is a fundamental skill that opens the door to a world of creative possibilities in sewing.
Elastic is a versatile material used in various projects, from waistbands on clothing to gathering fabric for a decorative effect. Knowing how to sew elastic is essential for achieving a comfortable and flexible fit in garments and crafting functional items.
In this guide, we will explore the techniques for sewing elastic, including attaching it to fabric, creating casings, and using different stitches and methods.
Whether you’re a beginner or an experienced seamstress, understanding how to sew elastic will empower you to take on a wide range of sewing projects and add comfort and functionality to your creations.
So, let’s dive into how to sew elastic and discover the tips and tricks to make your sewing projects a success.
How to Sew Elastic?
Elastic is a stretchy material that can add some flexibility and comfort to your garments, such as waistbands, cuffs, or necklines.
Here are some simple steps to follow:
Gather Your Materials
You will need a sewing machine, scissors, pins, thread, measuring tape, an iron, and a seam ripper.
You will also need some elastic that matches your project, such as width, color, and type. You can choose from different types of elastic, such as braided, knitted, woven, or clear.
Measure And Cut Your Elastic
You will need to measure your elasticity according to your project and your body measurements. You can use a measuring tape to measure the length and width of the elastic that you need.
You can also wrap the elastic around the part of your body that you want to fit, such as your waist or wrist, and stretch it slightly to get the right tension.
You should cut your elastic with scissors, leaving some extra length for seam allowance and overlap.
Mark And Pin Your Elastic
You will need to mark and pin your elastic to your fabric before sewing. You can use a pencil, a tailor’s chalk, or a washable marker to make the marks on the elastic and the fabric.
You should mark the center and the quarter points of both the elastic and the fabric, matching them up.
You should also pin the ends of the elastic to the ends of the fabric, overlapping them by about 1/2 inch.
Sew Your Elastic
You will need to sew your elastic to your fabric using a zigzag stitch and a 1/4-inch seam allowance.
You should start from one end and work your way around, stretching the elastic slightly as you sew to match the fabric length. You should also backstitch at the beginning and the end of the seam to secure it.
Trim And Press Your Seam
You will need to trim and press your seam after sewing to make it neater and flatter.
You can use scissors or a seam ripper to trim any excess fabric or threads from the seam allowance.
You can also use an iron to press the seam open or towards the fabric, depending on your preference.
Fold And Hem Your Fabric
You will need to fold and hem your fabric over the elastic to create a casing for it. You can use a straight stitch or a twin needle stitch to sew the hem along the edge of the fabric.
You should leave a small gap at one end for turning the elastic right side out later.
Turn Your Elastic Right Side Out
You will need to turn your elastic right side out through the gap that you left in the previous step.
You can use a safety pin or a bodkin to pull the elastic through the casing. You should also adjust the elastic to make sure it is not twisted or bunched up inside the casing.
Close The Gap
You will need to close the gap that you left in the previous step. You can use a slip stitch or a top stitch to sew the gap closed using a needle and thread or a sewing machine.
You should also backstitch at the beginning and the end of the seam to secure it.
Test Your Elastic
You will need to test your elastic to make sure it fits well and functions properly. You can try on your garment and check if the elastic is comfortable, flexible, and secure.
You can also stretch and release the elastic and see if it returns to its original shape and size.
You can make any adjustments if needed by re-sewing, re-trimming, or re-stretching your elastic.
Which Kind Of Needle Should You Use To Sew With Elastic?

Needles are important tools that can affect the quality and appearance of your sewing projects, especially when working with stretchy materials such as elastic.
Here are some kinds of needles that you can use to sew with elastic:
Ballpoint Needles
Ballpoint needles are needles that have rounded tips that can slide between the fibers of the fabric without piercing or damaging them.
Ballpoint needles are ideal for sewing with elastic because they can prevent skipped stitches, puckering, or runs on the fabric.
Ballpoint needles come in different sizes, ranging from 70/10 to 100/16, depending on the weight and thickness of the fabric and elastic.
Stretch Needles
Stretch needles are needles that have a medium ballpoint tip and a special eye and scarf design that can reduce the friction and heat between the needle and the fabric.
Stretch needles are also ideal for sewing with elastic because they can prevent skipped stitches, puckering, or runs on the fabric. Stretch needles come in different sizes, ranging from 75/11 to 90/14, depending on the weight and thickness of the fabric and elastic.
Jersey Needles
Jersey needles are needles that have a light ballpoint tip and a tapered shaft that can penetrate the fabric smoothly and easily. Jersey needles are suitable for sewing with elastic because they can prevent skipped stitches, puckering, or runs on the fabric.
Jersey needles come in different sizes, ranging from 70/10 to 100/16, depending on the weight and thickness of the fabric and elastic.
Universal Needles
Universal needles are needles that have a slightly rounded tip and a standard eye and scarf design that can work with most types of fabrics and threads.
Universal needles are acceptable for sewing with elastic because they can handle moderate stretch and tension on the fabric.
Universal needles come in different sizes, ranging from 60/8 to 120/19, depending on the weight and thickness of the fabric and elastic.
Twin Needles
Twin needles are needles that have two parallel shafts and tips that are attached to a single shank.
Twin needles are useful for sewing with elastic because they can create two rows of stitches at once, creating a professional and decorative look on the fabric.
Twin needles come in different types, such as ballpoint, stretch, or universal, and different widths, ranging from 1.6 mm to 6 mm, depending on the effect and style that you want to achieve.
FAQ
Sewing elastic into fabric adds stretch and gathers, providing comfort and flexibility. It’s commonly used in waistbands, cuffs, and hems to create a snug yet comfortable fit.
Yes, you can. Most sewing machines can handle sewing elastic. Use a zigzag stitch or a stretch stitch for best results.
Measure the area where you plan to sew the elastic and subtract a small amount (about 1 inch or 2.5 cm) for a snug fit. Elastic stretches during sewing, so a slightly shorter length is ideal.
Sewing exposed elastic means it’s visible on the outside of the fabric, often used for decorative purposes.
Enclosed elastic is hidden within a fabric casing or seam, commonly found in waistbands or cuffs for a clean finish and comfort.
Elastic should be sewn with a stretch stitch, zigzag stitch, or a special elastic stitch to allow for stretch and prevent thread breakage.
Sewing in a straight line without accommodating the stretch may result in a rigid seam that restricts movement.
Conclusion
Mastering the skill of sewing elastic is a valuable asset in the world of sewing and crafting.
It opens up a world of design possibilities, from creating comfortable and well-fitted clothing to adding functional details to a wide range of projects.
Whether you’re working with stretchy or non-stretchy fabrics, understanding how to sew elastic ensures that your creations are not only aesthetically pleasing but also practical and comfortable to wear or use.
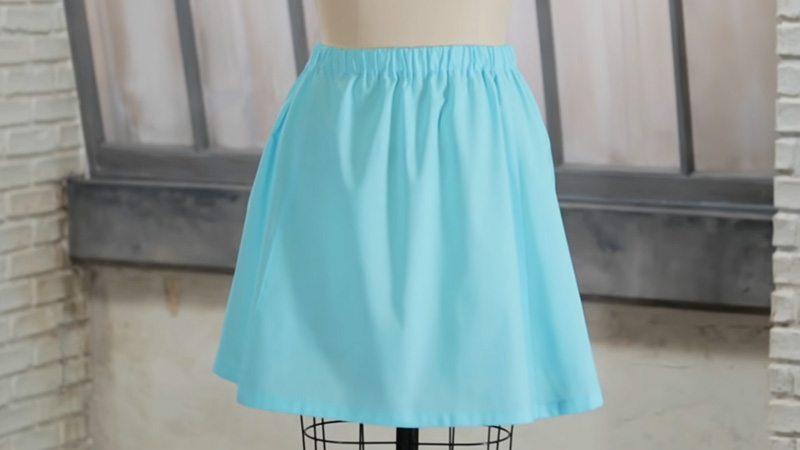
With the knowledge gained from this guide, you can confidently tackle sewing projects that require elastic, whether it’s adding an elastic waistband to a skirt or securing a fitted sheet to a mattress.
So, embrace the versatility of sewing elastic, and watch as your sewing skills and project repertoire expand, making your creations both fashionable and functional.
Leave a Reply