Sewing facings on a neckline is a fundamental skill that elevates your garment-making projects to a professional level. Facings serve both functional and aesthetic purposes, providing a clean and polished finish to the raw edges of necklines while stabilizing the garment’s structure.
By concealing seam allowances and maintaining the shape of the neckline, facings contribute to the overall quality and longevity of your creations. This step-by-step guide will walk you through the process, from selecting the right materials to stitching, trimming, and finishing the facings.
Whether you’re a novice or an experienced sewist, mastering this technique is essential for achieving a refined and tailored look in your clothing designs.
What Are Facings in Sewing?
Facings in sewing are fabric pieces used to finish and reinforce the edges of openings in garments, such as necklines, armholes, or cuffs. They provide a polished and clean appearance, hide raw edges, add stability, and help maintain the shape of the garment, contributing to a professional finish.
Why Use Facings on Necklines?
Facings are a fundamental and versatile component in sewing, and their use on necklines serves several important purposes.
Here’s why they are a crucial element in garment construction:
Clean and Polished Finish
One of the primary functions of facings on necklines is to provide a clean and polished finish. They neatly encase the raw edges of the fabric, preventing fraying and creating a seamless transition between the garment’s exterior and interior.
This polished finish adds a touch of professionalism to your sewing projects.
Structural Support
Facings add essential stability to the neckline. They help maintain the intended shape of the garment and prevent the neckline from stretching or distorting over time.
This is particularly important in garments with open or low necklines, as it ensures the neckline retains its shape even with regular wear.
Professional Aesthetics
A well-sewn face contributes significantly to the overall professional look of a garment. When executed correctly, facings hide seam allowances and create a clean and tidy interior.
This attention to detail is particularly important for formalwear, tailored garments, and any piece where aesthetics matter.
Concealing Interfacing
In many cases, facings are used to conceal interfacing, and an additional layer of material is used to add structure to specific areas like collars, cuffs, or button plackets.
By hiding interfacing within the facing, it remains invisible from the garment’s exterior, maintaining a clean and polished appearance.
Versatile Design Element
Facings can also serve as a design element. Choosing a contrasting fabric for your facings can add a unique touch to your garment, making it stand out and adding visual interest, especially when the facings are intentionally visible, as seen in some jacket lapels or reversible garments.
How to Sew Facings on a Neckline? 8 Steps
Sewing facings on a neckline is a valuable skill in garment construction, and it can make your projects look neat and professional.
Here’s a step-by-step guide on how to sew facings on a neckline:
Step 1: Gather Your Materials
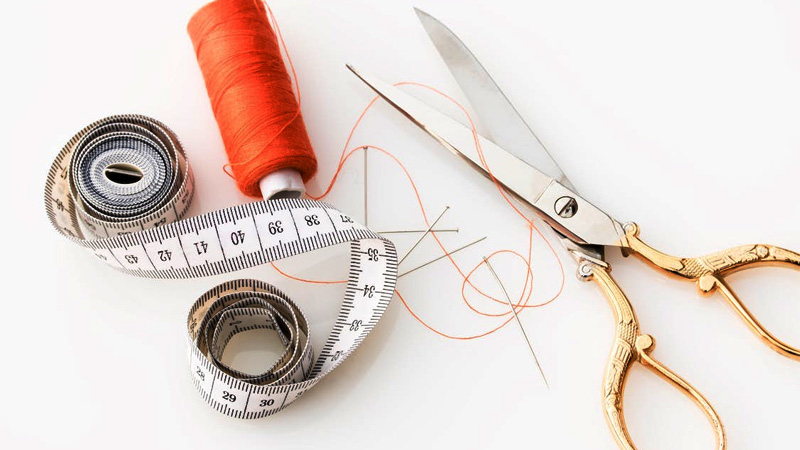
Begin by collecting all the necessary materials for your project. You will need your main garment fabric, the matching or contrasting facing fabric, a sewing machine, thread that matches your fabric, pins or clips, a pair of scissors, and an iron with an ironing board.
Ensuring you have everything on hand will make the process smoother.
Step 2: Cut the Facing Pieces
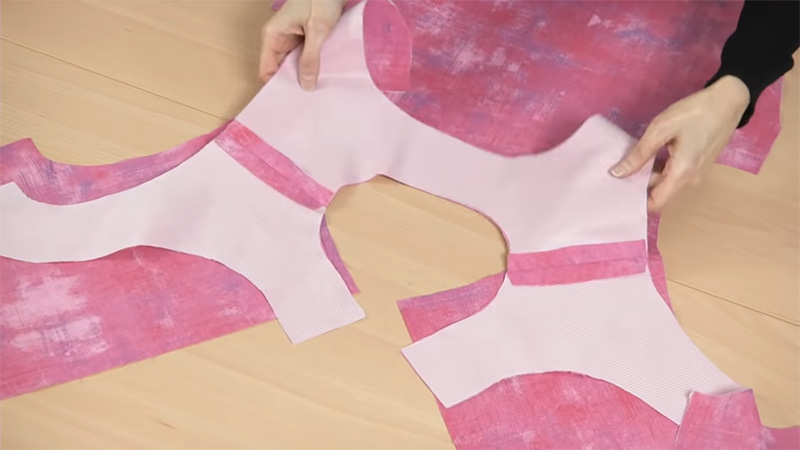
Cut out two facing pieces—one for the front neckline and one for the back neckline. These facing pieces should mirror the shape of your neckline but be slightly smaller, typically around 1/4 inch smaller on each side.
This size reduction ensures that the facings remain hidden when your garment is worn. You can choose to use the same fabric as your garment for a seamless look or opt for a contrasting fabric for a decorative touch.
Step 3: Sew the Facing Seams
With the facing fabric, place the two pieces right sides together. Next, stitch the shoulder seams together. These seams should align with the shoulder seams of your main garment.
To achieve a polished finish, press the seam allowances open or to one side, reducing bulk and ensuring a clean appearance.
Step 4: Pin the Facing to the Neckline
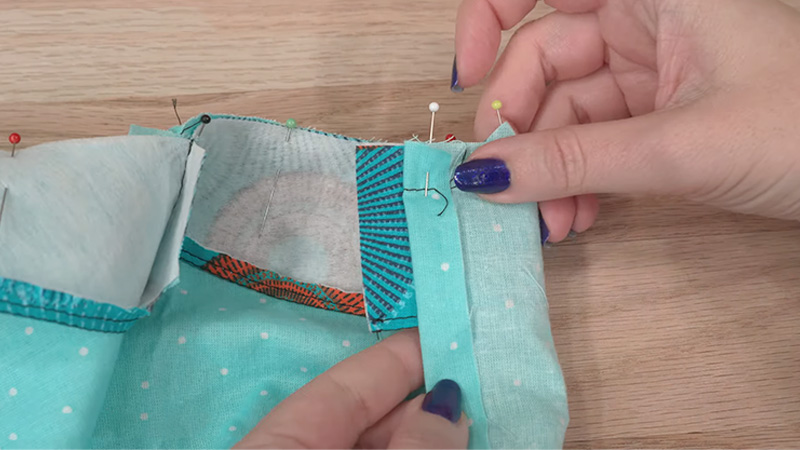
Lay your main garment piece right side up on your work surface. Position the facing pieces on top, carefully matching the shoulder seams of the facing with those of the garment.
Pin or clip the facing in place along the neckline edge, ensuring that the edges align precisely. This step is crucial for achieving a neat and symmetrical finish.
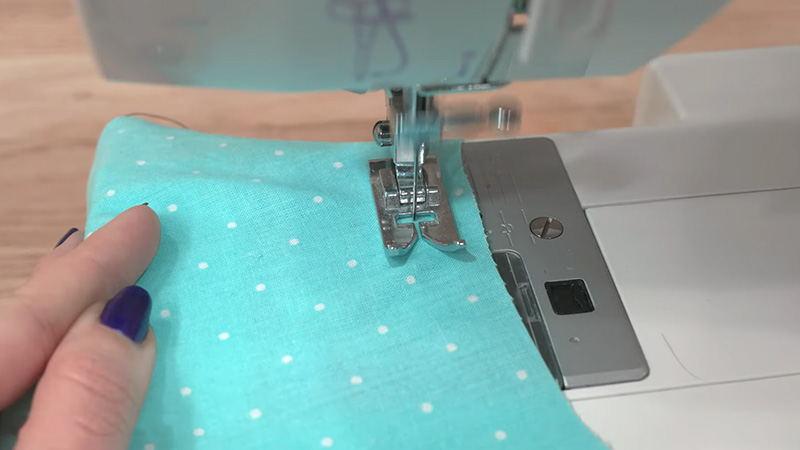
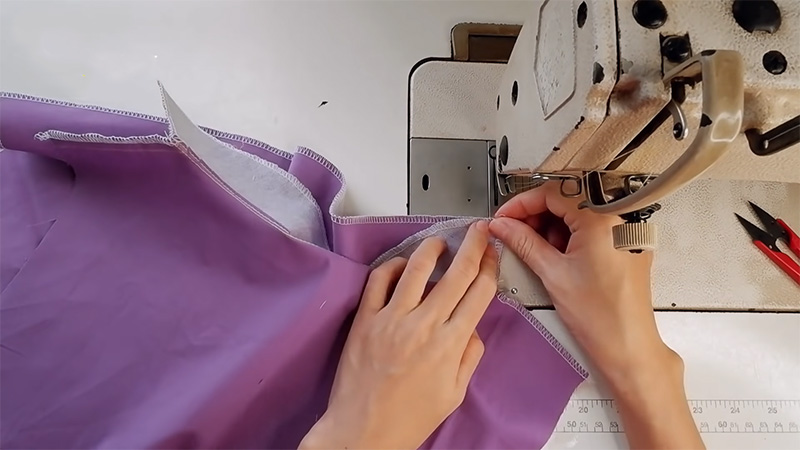
Step 5: Stitch the Facing to the Neckline

Using your sewing machine, stitch along the neckline edge, securing the facing to the garment. Maintain a consistent seam allowance, typically around 1/4 inch or the width of your presser foot.
When sewing around curved areas, sew slowly and pivot the fabric as needed to maintain accuracy. This stitching joins the facing to the neckline, making it an integral part of the garment.
Step 6: Trim and Clip Seam Allowances
After sewing, trim the seam allowance close to the stitching line, reducing bulk and ensuring a smoother finish along the neckline. In curved areas, make small triangular notches or snips into the seam allowance (avoiding the stitching) to allow the fabric to curve gracefully without puckering or bunching.
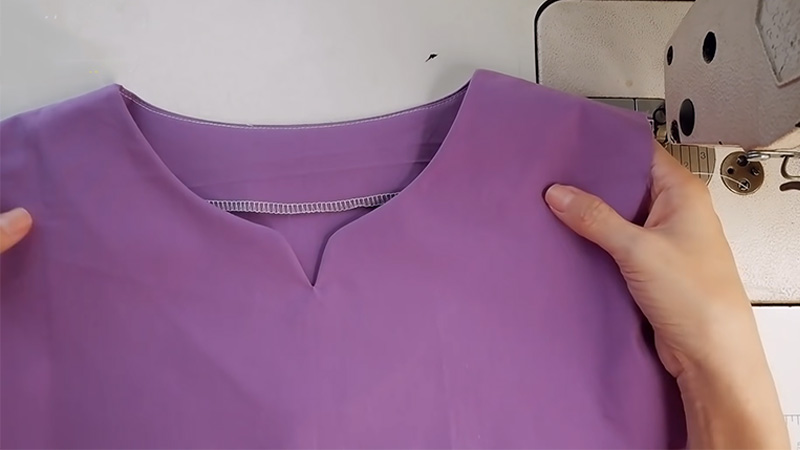
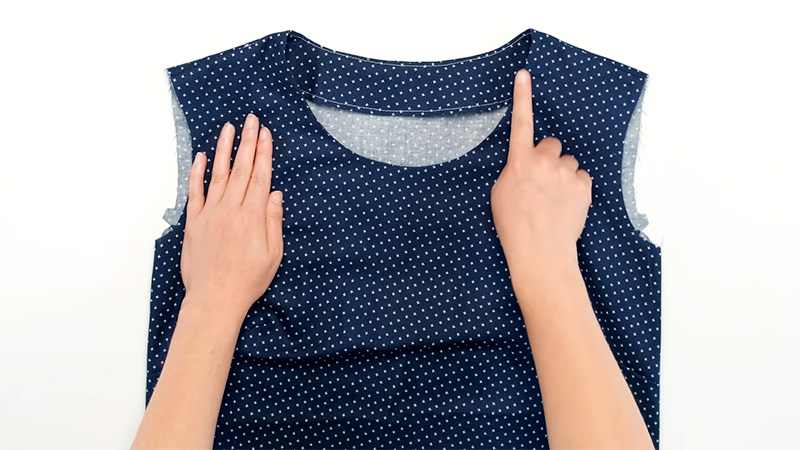
Step 7: Turn and Press the Facing
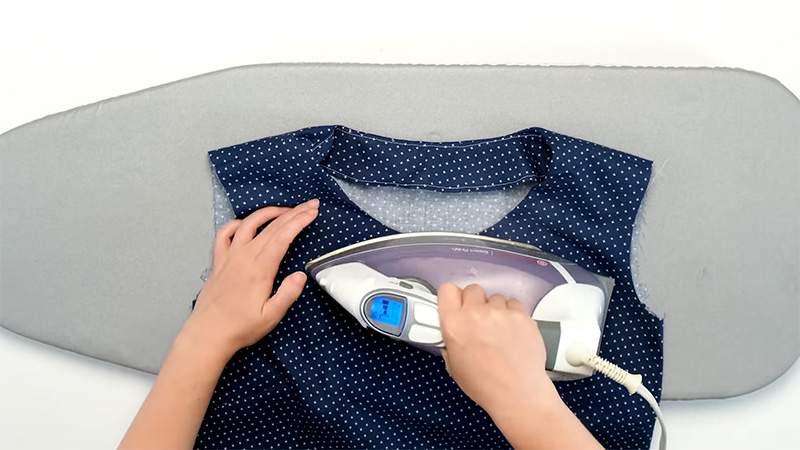
Carefully turn the facing to the inside of the garment, fully concealing it from the garment’s right side. Use your iron to press the facing flat against the garment, paying particular attention to any curved sections.
Proper pressing is essential to achieve a crisp and professional look.
Step 8: Secure the Facing
To prevent the facing from shifting or becoming visible during wear, choose one of the following methods:
- Understitching: Stitch close to the seamline on the facing side, securing it invisibly and keeping it hidden.
- Topstitching: Sew a decorative topstitch close to the edge of the neckline for both a polished finish and added stability.
- Hand or machine stitching: Secure the facing at the shoulder or side seams with a few stitches to ensure it remains in place throughout wear.
What Types of Fabrics Are Used for Facings on a Neckline?
The choice of fabric for facings on a neckline, or any other facing in garment construction, is crucial to achieving the desired look and function.
Here are some common types of fabrics used for facings:
Main Fabric
Using the same fabric as the main body of your garment for facings creates a seamless and cohesive look. This is a common choice, especially when you want the facing to blend in seamlessly with the rest of the garment.
Contrasting Fabric
Opting for a contrasting fabric can add an interesting design element to your garment. It can create visual interest and make the facing stand out as a decorative feature, especially when the facing is visible, such as on a jacket’s lapel.
Lining Fabric
Lightweight lining fabrics like silk, satin, or Bemberg rayon are often used for facings, particularly in more formal garments. They provide a smooth and comfortable finish against the skin and work well for garments with slippery or delicate main fabrics.
Interfacing Material
In some cases, especially when additional stability is needed, interfacing fabric may be used as a facing. Interfacing comes in various weights and can be used to add structure to the facing and prevent it from stretching or sagging.
Cotton or Cotton Blends
Lightweight cotton or cotton-blend fabrics are suitable for facings in a wide range of garments. They are easy to work with, readily available, and provide a clean finish.
Cotton batiste is a popular choice for facings.
Jersey or Knit Fabric
When working with knit garments, using a lightweight jersey or knit fabric as a facing can help maintain the stretch and flexibility of the neckline while providing a clean edge.
Make sure the knit fabric has some stability to prevent stretching.
Organza or Tulle
Sheer fabrics like organza or tulle can be used for facings when you want an invisible and lightweight finish, particularly in garments with sheer or lace overlays.
Self-fabric Bias Tape
In some cases, especially for casual or bohemian-style garments, self-fabric bias tape can be used as a facing. This creates a unique look and can be a design choice for a more relaxed finish.
What is the Key to Successful Sewing of Facings on a Neckline?
The key to successful sewing of facings on a neckline lies in attention to detail and precise execution.
Here are some essential tips to ensure your facings are sewn neatly and professionally:
Accurate Cutting
Begin by cutting your facing pieces accurately. They should match the shape of the neckline but be slightly smaller to remain hidden when the garment is worn.
Stitching Accuracy
Maintain a consistent seam allowance while sewing the facing to the neckline. Typically, a 1/4-inch seam allowance or the width of your presser foot is appropriate.
Stitch slowly around curved areas to ensure accuracy.
Secure Pinning
Pin or clip the facing to the neckline carefully, ensuring that the edges align precisely. Proper pinning prevents shifting and ensures a symmetrical finish.
Trim and Notch Seam Allowances
After sewing, trim the seam allowance close to the stitching line to reduce bulk. In curved areas, make small triangular notches or snips into the seam allowance (avoiding the stitching) to allow the fabric to curve smoothly without puckering.
Pressing
Proper pressing is essential. Use an iron to press the facing flat against the garment, paying special attention to curved sections. Pressing helps create a crisp and polished look.
Understitching
Consider understitching, which involves stitching close to the seamline on the facing side. This technique helps keep the facing in place and hidden on the inside of the garment.
Topstitching
For added stability and a decorative finish, you can opt for topstitching. Sew a line of stitching close to the edge of the neckline.
Secure the Facing
To prevent the facing from shifting or becoming visible during wear, secure it at the shoulder or side seams with a few stitches. This ensures that the facing remains in place and maintains its clean appearance.
Attention to Fabric Choice
Choose the appropriate fabric for your facings. It can be the same as your main garment fabric for a seamless look or a contrasting fabric for a decorative element.
Practice and Patience
Sewing facings on necklines requires practice. Don’t be discouraged if your first attempts aren’t perfect. With practice and patience, you’ll improve your skills and achieve more professional results.
FAQs
Can I sew facings on a neckline by hand, or is a sewing machine necessary?
While you can sew facings by hand, using a sewing machine provides a faster and more secure finish.
Can I use the same fabric as my garment for facings?
Yes, using the same fabric creates a seamless look. However, you can also opt for contrasting fabric to add a decorative element.
What is the purpose of trimming and notching seam allowances when sewing facings on a neckline?
Trimming reduces bulk, while notching allows the fabric to curve smoothly in curved areas without puckering or bunching when sewing facings on a neckline.
How do I prevent facings from flipping out of the neckline?
Prevent facings from flipping out by understitching, topstitching, securing with stitching, proper pressing, trimming seam allowances, notching curves, using stay tape, and selecting stable fabric.
What is the importance of understitching when sewing facings on a neckline?
Understitching is crucial as it helps keep the facing in place and hidden on the inside of the garment, preventing it from rolling out or becoming visible when worn.
To Recap
Sewing facings on a neckline is a valuable skill that enhances the craftsmanship of your garments. By following the steps outlined in this guide, you can achieve a clean, professional finish that not only conceals raw edges but also maintains the shape and structure of the neckline.
The choice of fabric for your facings, whether it matches the main garment or provides a contrasting design element, allows for creative customization.
Proper pressing and securing techniques ensure that the facings stay in place and remain invisible from the outside, adding to the overall quality and durability of your creations.
Whether you’re crafting casual wear or formal attire, mastering the art of sewing facings on a neckline is a key step towards achieving polished and elegant results in your sewing projects.
Leave a Reply