Embarking on an embroidery project is an exciting journey filled with creative possibilities. Still, one common question often perplexes beginners and seasoned stitchers: Should I outline or fill embroidery first?
This age-old debate in the world of needlecraft sparks a lively discussion among artisans who swear by their preferred techniques.
The decision between outlining and filling can significantly impact the final aesthetic and overall ease of the embroidery process.
In this exploration, we’ll delve into the contrasting approaches, weighing the pros and cons of each. Whether crafting a delicate floral pattern or a bold design, understanding the merits of outlining versus filling first is crucial for achieving a polished and professional result.
Join us as we navigate the intricacies of embroidery, helping you make an informed decision for your next stitching endeavor. Get your tools and start now!
Should I Outline Or Fill the Embroidery First?
Understanding the dynamics of outlining and filling in embroidery can significantly impact the outcome of your masterpiece. Here, we’ll guide you through the decision-making process, exploring the benefits and considerations of both approaches.
Outlining First to Build a Framework
Embroidery outline stitch, often considered the traditional approach, involves creating the framework of your design before adding intricate details.
This method provides a structural foundation, defining the boundaries of your embroidery and serving as a roadmap for subsequent stitches. Here are some compelling reasons why you might choose to outline first:
Structural Clarity
Embroidery outline stitches establish a clear structure for your design. By defining the edges and contours, you create a visual guide that helps maintain proportion and alignment throughout the embroidery process. This is particularly beneficial when working on intricate or detailed patterns.
Guiding the Filling Process
Starting with an outline sets the stage for subsequent filling stitches. The outlined structure acts as a guide, making navigating the space within your design more accessible.
This can be especially useful when incorporating multiple colors or intricate patterns, ensuring a cohesive and well-balanced result.
Enhanced Control
Embroidery outline allows for meticulous control over your embroidery’s initial shape and form. This precision is valuable when working on specific elements that require attention to detail, such as lettering or intricate motifs.
It allows you to lay a foundation with accuracy before moving on to more complex stitching.
Filling First for Layering Texture and Depth
Filling first is an alternative technique where you begin by adding texture and depth to the interior of your design before outlining its edges.
This approach provides different advantages, offering a unique creative process. Here’s why you might opt for filling first:
Building Texture Gradually
Starting with filling allows you to build texture and dimension within your design gradually. This method is ideal for creating intricate details or incorporating shading effects.
You can achieve a nuanced and visually compelling result by layering stitches and experimenting with different thread densities.
Flexibility in Design Evolution
Filling first provides flexibility in adapting your design as you go. Since predefined outlines do not confine you, you can experiment with shapes, colors, and patterns, allowing your embroidery to evolve organically.
Efficient Use of Thread
When filling is the primary focus, you may use thread more efficiently. This is particularly relevant when working on larger designs, as you can cover significant areas without interruptions for outlining.
Considerations for Your Unique Project
Whether you should do an embroidery outline or fill first depends on the following factors:
Complexity of Design
The complexity of your design plays a pivotal role in determining whether to outline or fill first. For intricate patterns with fine details, starting with outline embroidery stitches can provide a well-defined structure.
Conversely, filling first might be a more suitable approach if your design involves shading, gradients, or organic shapes.
Color Palette
Consider the color palette of your embroidery project. If your design incorporates multiple colors and requires precise color placement, outlining first can help establish the boundaries for each hue.
On the other hand, if you’re working with a limited color scheme or seeking a more fluid blending of colors, filling first may be a better fit.
Personal Preference
Ultimately, choosing between outlining and filling first boils down to personal preference. Some embroiderers swear by one method, while others enjoy experimenting with both approaches.
Consider your artistic style, the mood you want to convey, and the overall effect you envision for your embroidery.
How to Outline Embroidery?
Outline stitch embroidery is a fundamental technique that adds definition and structure to your designs. Here, we’ll walk you through the step-by-step process of outlining in embroidery.
Select Your Design
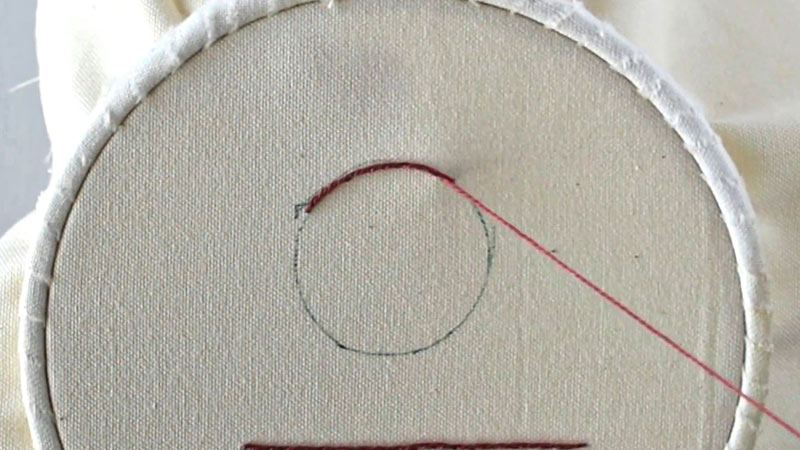
Before you start outlining, choose or transfer your design onto the fabric. This can be done using a washable fabric marker or pencil or a transfer method.
Place your fabric in the embroidery hoop, ensuring it’s taut. This helps maintain even tension, making creating precise and uniform outlines easier.
Thread Your Needle
Separate the desired length of embroidery thread (usually about 18 inches) and thread it through the eye of the needle. Knot one end securely.
Various stitches can be used for outlining, but the backstitch is commonly employed for its simplicity and ability to create a continuous line.
Backstitch and Maintain Consistent Stitch Length
Bring the needle up through the fabric at the starting point to backstitch. Insert the needle back down into the fabric a short distance away. Bring the needle back up, aligning it with the initial point. Continue this process, creating a solid line of stitches.
Consistency in stitch length is crucial for a neat outline. Whether using the backstitch or another outlining technique, aim for even spacing between each stitch.
Corners and Curves
For corners, pivot the needle at the corner point and continue stitching. To navigate curves, make smaller stitches along the outer edge and larger stitches along the inner edge to maintain a smooth outline.
Knotting Off
When you reach the end of your outline, secure the thread by making a small knot on the fabric’s back. Trim any excess thread, leaving a neat finish.
Depending on your design, you can experiment with the thickness of your outline by using more strands of embroidery floss. Thicker outlines can add boldness and impact to your embroidery.
Tips for Successful Outlining
If you’re new to outlining, practice on a scrap piece of fabric first. This allows you to refine your technique and gain confidence before working on your main project.
If you find threading the needle challenging, consider using a needle threader for smoother and quicker preparation.
Adequate lighting is crucial for precision in outlining. Ensure you have ample natural or artificial light to see your stitches clearly and maintain accuracy.
How to Fill Embroidery?
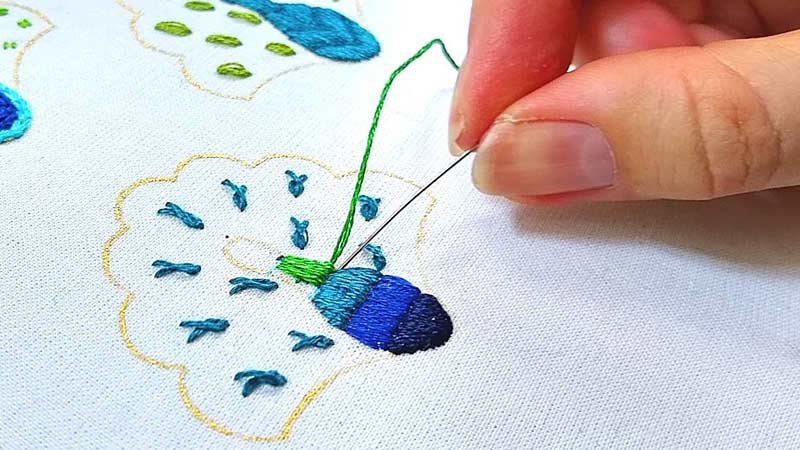
Filling embroidery, also known as satin stitch or fill stitch, is a technique that brings texture and dimension to designs, making them visually appealing. Let’s delve into a comprehensive guide on how to fill embroidery with precision and creativity.
Select the Stitch
First, you need to select your preferred stitch. Here are some options:
Satin Stitch
The satin stitch is the most common technique for filling embroidery. It involves stitching parallel rows of closely spaced stitches to cover the desired area.
Adjust the stitch length based on the size of the area you’re filling, keeping it shorter for smaller spaces and longer for larger surfaces.
Parallel Fill Stitch
Like the satin stitch, the parallel fill stitch involves stitching parallel lines within the design, leaving no gaps between the stitches. This technique works well for creating a sleek and polished look.
Random Fill Stitch
For a textured and artistic effect, consider the random fill stitch. This technique involves stitching irregular and non-uniform lines to fill the designated area. It adds a touch of creativity and uniqueness to your embroidery.
Cross-Hatch Fill Stitch
Create an exciting pattern by using the cross-hatch fill stitch. This involves stitching lines in one direction and then crossing them with perpendicular lines.
The intersecting lines create a woven effect, making it an excellent choice for adding dimension to your designs.
Design Placement
Begin by determining the placement of the filled area within your design. Mark the boundaries clearly to guide your embroidery machine.
Hoop the fabric tightly with the stabilizer, ensuring it’s secure and free from wrinkles. The stability provided by the hoop and stabilizer is crucial for achieving a clean and professional-looking fill.
Thread Selection
Choose an embroidery thread that complements your design. Ensure the thread is compatible with your machine and suitable for the fabric you’re working on.
Adjust your embroidery machine settings based on the chosen fill technique. Set the stitch length, density, and other relevant parameters to match the desired outcome.
Testing on Scrap Fabric
Before filling the actual design, conduct a test on a scrap piece of the same fabric. This allows you to fine-tune settings and ensure the chosen fill technique works well with your specific combination of fabric and thread.
Ensure your embroidery machine is calibrated accurately. Check the tension settings and run a few test stitches to verify that the machine operates smoothly.
Begin Filling
Start the embroidery machine, guiding it carefully along the marked boundaries of the filled area. Monitor the stitching to ensure even coverage and adjust settings as needed.
Consider layering fill stitches in different directions or using varying stitch lengths for added depth and dimension. This technique is particularly effective for larger designs.
Color Transitions
If your design involves multiple colors, plan the transitions strategically. Ensure smooth color changes and secure thread ends neatly to maintain a professional finish.
After completing the fill, secure the thread ends appropriately. This step is crucial for preventing unraveling and maintaining the integrity of your embroidery.
FAQs
Is it necessary to outline before filling in the embroidery?
While it’s not a strict necessity, outlining before filling provides a structured foundation for your embroidery. It helps define the boundaries, maintain proportion, and guide subsequent filling stitches.
Can I mix outlining and filling techniques in the same embroidery project?
Absolutely! Many embroiderers blend both techniques in a single project for dynamic and varied effects. You can clarify some aspects and fill in other areas to add texture and depth.
Which technique is better for beginners: outlining or filling first?
For beginners, starting with outlining can provide a clear roadmap and help develop foundational stitching skills. It offers a structured approach to understanding the basics of embroidery. However, some beginners may find the freeform nature of filling first to be liberating.
Does the choice between outlining and filling first affect the durability of the embroidery?
The durability of embroidery depends more on the quality of materials and stitching technique than on whether you outline or fill first. Ensuring proper tension, using suitable fabric, and securing stitches will increase longevity.
How do I decide whether to outline or fill first in a specific design?
Consider the nature of your design and your creative goals. If your design is intricate and requires a precise definition, outlining first might be preferable. If you’re aiming for a more textured and organic look, starting with filling could be the way to go.
Conclusion
The choice between outlining or filling first in embroidery is a matter of personal preference and the specific demands of your design. Both methods have their merits and can yield stunning results when executed with skill and intention.
Outlining first provides a structural foundation, defining the boundaries of your design and guiding subsequent filling stitches.
On the other hand, starting with filling can bring a sense of depth and texture to your embroidery, allowing you to build intricate details layer by layer.
Ultimately, the key is to experiment and find what works best for your style and the intricacies of your chosen pattern. Don’t be afraid to mix and match techniques or even invent your own.
The beauty of embroidery lies in its versatility and the opportunity it affords for creative expression. So, let your needle dance on the fabric, whether you choose to outline or fill first.
Leave a Reply