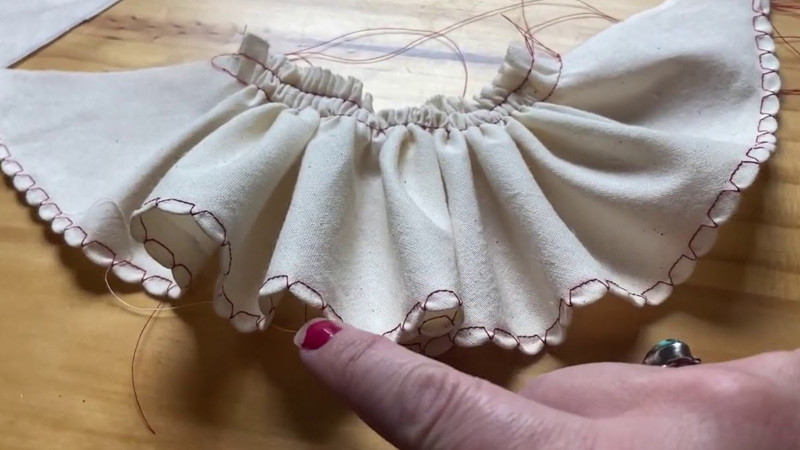
Sewing enthusiasts often encounter the frustrating phenomenon of ruffles or puckers appearing when stitching along the grain of their fabric.
This unexpected distortion can mar the beauty and precision of their carefully planned sewing projects.
Understanding the causes behind these unwanted bulges is crucial for any seamstress or tailor seeking to create flawless, professional-grade garments and crafts.
This article delves into the various factors that contribute to this issue, such as tension problems, needle choices, fabric quality, and handling techniques.
By uncovering the root causes and learning effective solutions, you can elevate your sewing skills and ensure that your fabric flows smoothly and elegantly along the intended grain.

What Caused Ruffles to Bulge When Sewing the Grain?
When sewing fabric, especially when working with natural fibers like cotton, linen, or wool, it’s essential to pay attention to the grain of the fabric.
The grain refers to the direction in which the threads are woven together to create the fabric. Fabrics have two main grain directions: the lengthwise grain (warp) and the crosswise grain (weft).
Sewing along the grain is crucial because it ensures that your finished project maintains its shape, drapes well, and doesn’t distort over time.
However, if you notice that your fabric is bulging or puckering when sewing along the grain, several factors might be causing this issue:
1. Tension Issues
Incorrect tension on your sewing machine can cause the fabric to pucker. If the upper thread tension is too tight, it can pull the fabric, making it gather or pucker. Conversely, if the tension is too loose, the fabric may not feed properly, leading to irregular stitching.
2. Needle Choice
The type and size of the needle you use can affect how your fabric behaves. Using a needle that is too small for the fabric can cause it to bunch up. A dull or damaged needle can also lead to puckering.
3. Fabric Quality
Sometimes, the quality of the fabric itself can be a factor. Lower-quality fabrics may have irregularities in the weave, making them more prone to puckering. Always choose high-quality fabric for your sewing projects.
4. Uneven Fabric Feed
If your sewing machine’s feed dogs are not working properly or are set incorrectly, the fabric may not feed through evenly, leading to puckering along the grain.
5. Presser Foot Pressure
The bulge-forming press exerted by the presser foot on the fabric can be adjusted on some sewing machines. If the pressure is too high, it can compress the fabric, causing it to pucker. Adjusting the presser foot pressure may help alleviate this issue.
6. Stitch Length
Using the wrong stitch length can also contribute to bulging or puckering. If your stitch length is too short, the fabric can become overly compressed and bunch up. Try adjusting the stitch length to see if it improves the result.
7. Handling While Sewing
Sometimes, the way you handle the fabric as you sew can lead to bulging. Be gentle and avoid pulling or stretching the fabric as it moves through the machine.
8. Grain Distortion
If the fabric was not cut on the grain correctly or was stretched during the cutting process, it can lead to issues when sewing. Ensure that your fabric is cut accurately along the grain sewing machines before starting your project.
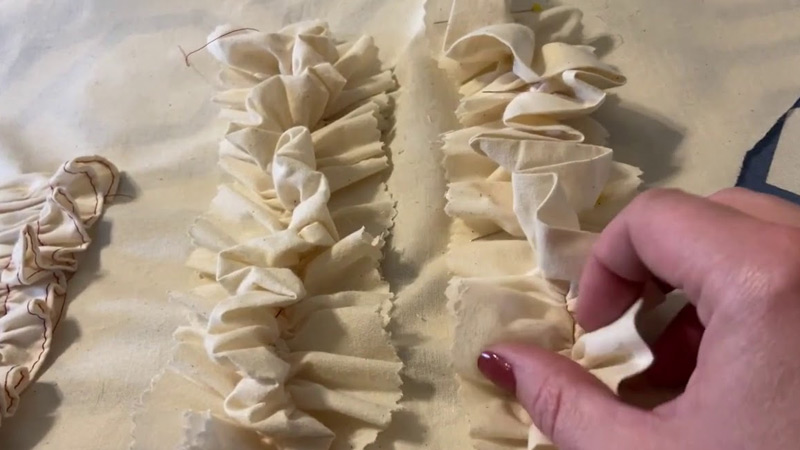
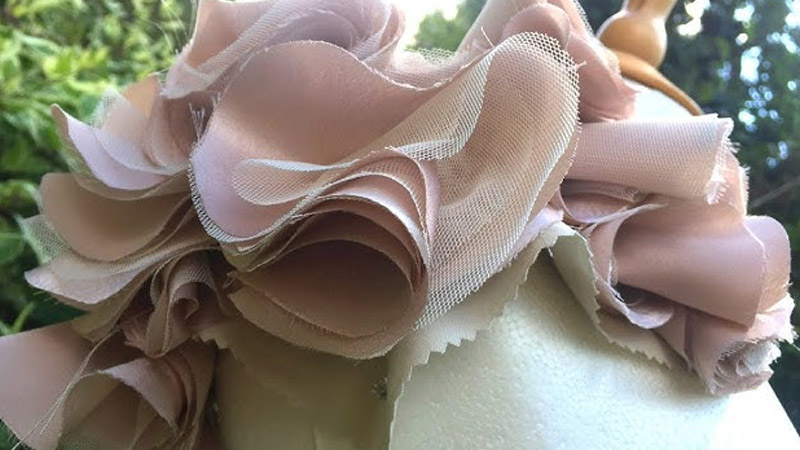
Types of Ruffles
Ruffles come in various styles and can add a touch of elegance, playfulness, or drama to clothing, accessories, and home decor.
Here are some common types of ruffles:
Single Ruffle
This is a simple, single-layer ruffle that is often used as an edging or trim on garments, pillowcases, or curtains. It can be narrow or wide, depending on the desired effect.
Double Ruffle
A double ruffle consists of two layers of fabric gathered together. This style creates a more voluminous and textured look, making it ideal for adding a dramatic flair to clothing, such as dresses or blouses.
Gathered Ruffle
Gathered ruffles are created by evenly spacing and gathering a strip of fabric. They can be used as edging on sleeves, collars, hems, or along the front of a blouse for a feminine touch.
Pleated Ruffle
Pleated ruffles are formed by folding the fabric at regular intervals to create pleats. This style of ruffle is often seen on vintage-inspired garments and can add sophistication and structure to a design.
Circular Ruffle
Circular ruffles are cut in a circular shape and gathered along the outer edge. They are commonly used to create a flouncy, layered effect on skirts or dresses, giving a whimsical and romantic appearance.
Flounce Ruffle
Flounce ruffles are characterized by their wide, flowing shape and are often used to add movement and elegance to garments. They can be attached to the hem of a skirt or the edge of a sleeve for a dramatic effect.
Frilled Ruffle
Frilled ruffles are typically narrow and tightly gathered, creating a frilly, ornate appearance. They are commonly used in historical or Victorian-inspired clothing and can be seen on cuffs, collars, or bodices.
Cascading Ruffle
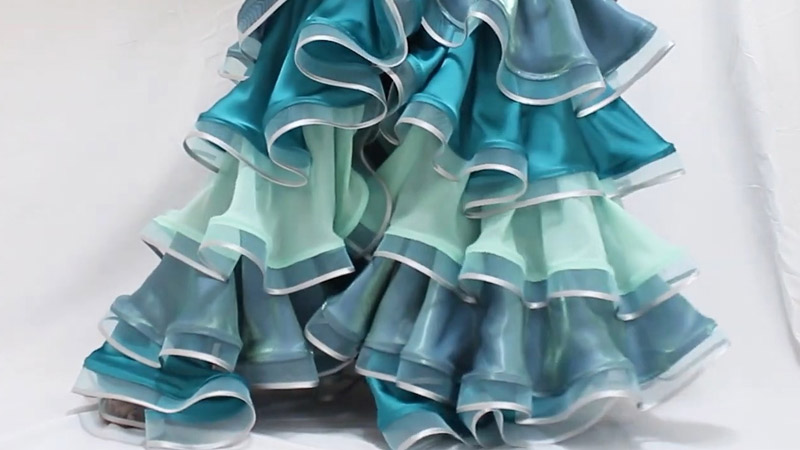
Cascading ruffles are arranged in a cascading or waterfall-like manner, creating a layered and visually dynamic effect. They are frequently used on wedding gowns, evening dresses, and romantic blouses.
Box-Pleated Ruffle
Box-pleated ruffles feature evenly spaced pleats that run parallel to the edge of the ruffle. They provide a structured and tailored appearance and are often used in formalwear and uniforms.
Shirred Ruffle
Shirred ruffles are created by sewing rows of elastic thread parallel to each other and then gathering the fabric. This style is elastic and can be used on the bodice or waist of a dress for a comfortable, stretchy fit.
Ribbon Ruffle
Ribbon ruffles involve attaching ribbons or strips of fabric in a gathered or pleated manner to create decorative accents. These are often used on children’s clothing, lingerie, and craft projects.
Layered Ruffle
Layered ruffles involve stacking multiple ruffle layers on top of each other, creating a visually striking effect with varying levels of fullness. This style is often used in ballroom gowns and costumes.
How to Make Ruffles Without a Sewing Machine?
Making ruffles without a sewing machine is entirely possible, although it may require a bit more time and effort compared to using a machine. Ruffles add a lovely decorative touch to clothing, accessories, and home decor projects.
Here’s a step-by-step guide on how to make ruffles by hand:
Materials You’ll Need:
- Fabric strip
- Needle
- Thread
- Pins
Steps to Make Ruffles Without a Sewing Machine:
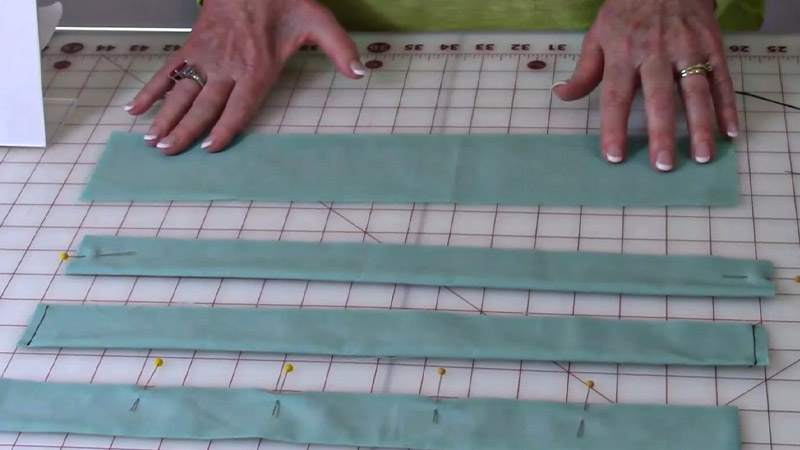
1. Prepare Your Fabric
Begin by selecting your fabric and cutting a strip to your desired length and width. To prevent fraying, fold and press the edges of the fabric strip, creating a neat hem on both sides.
2. Thread Your Needle
Choose a hand-sewing needle with a sufficiently large eye that can comfortably accommodate your chosen thread or embroidery floss. Thread the needle, leaving a tail, and secure it with a knot at the end.
3. Start a Running Stitch
Along one edge of your fabric strip, initiate a running stitch. Begin stitching from one end, and create evenly spaced stitches parallel to the edge.
Aim for a stitch length approximately equal to the width of your thumb. Ensure that your stitches are uniform and securely anchored in the fabric.
4. Gather the Fabric
Once you’ve stitched along the entire length of the fabric, gently and gradually pull the thread. As you do so, the fabric will gather along the stitched line. Carefully distribute the gathers evenly by pushing the fabric along the thread.
Continue gathering until the fabric reaches your desired level of ruffle fullness. Take your time to achieve a consistent appearance.
5. Secure the Ruffle
To prevent the gathered fabric from unraveling, tie a secure knot at the end of your gathered strip. Ensure that the knot is tight but not overly tight, as you’ll want the gathers to remain in place.
6. Attach the Ruffle
Pin the gathered ruffle onto your desired project. Ensure that the gathers are evenly distributed and create the desired decorative effect.
Use either a simple whipstitch or a slipstitch to sew the ruffle onto your project. When stitching, go through the gathers as well to secure them beneath the ruffle. Keep your stitches neat and hidden underneath the ruffle for a clean finish.
7. Finish and Trim
Once the ruffle is securely attached, knot your thread again to prevent any unraveling. Trim any excess thread. If necessary, trim the fabric strip to your preferred length, ensuring it aligns with your project’s design.
8. Press and Final Touches
After attaching the ruffle, give it a polished appearance by pressing it gently with an iron. This step sets the gathers and ensures the ruffle maintains its intended shape. Be cautious when ironing, and use a pressing cloth if needed to protect delicate fabrics.
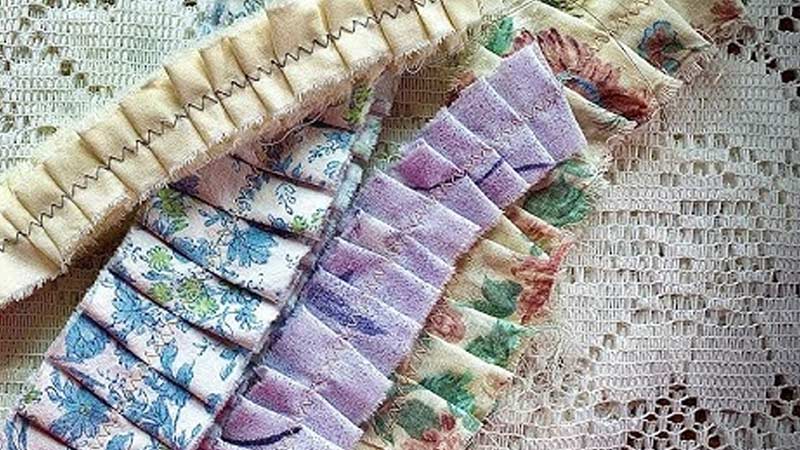
Why Does My Zig Zag Stitch Pucker? Causes & Solutions
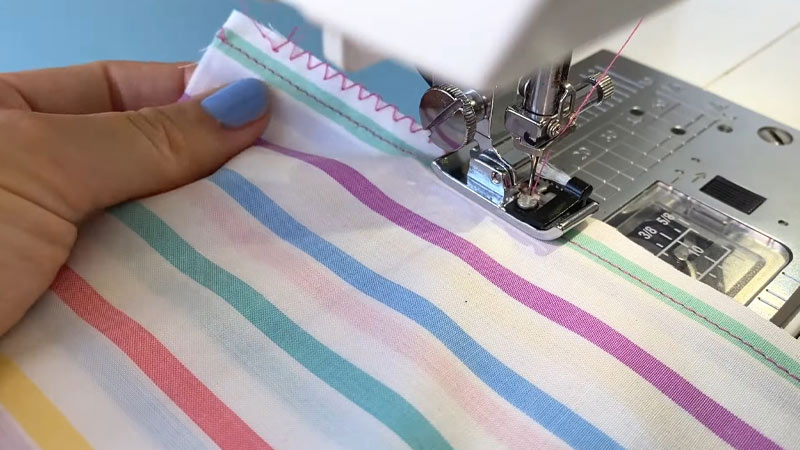
If your zigzag stitch is puckering, it can be frustrating, but there are several common reasons for this issue, and most can be resolved with adjustments to your sewing machine and technique.
Here are some possible causes and solutions for puckering in zigzag stitches:
Tension Settings
Solution: Check your sewing machine’s tension settings. Puckering can occur if the upper thread tension is too tight. Lower the tension slightly and test your stitch on a scrap piece of fabric until it lays flat without puckering.
Thread Quality
Solution: Low-quality or old thread can contribute to puckering. Ensure that you’re using good-quality thread, and consider changing to a fresh spool.
Needle Choice
Solution: The wrong needle can cause puckering. Make sure you’re using a needle suitable for the fabric you’re sewing. For lightweight fabrics, use a smaller needle size, and for heavier fabrics, use a larger needle.
Thread Mismatch
Solution: Ensure that the needle thread and bobbin thread are of similar weight and type. A mismatch can cause tension issues and result in puckering.
Stitch Length
Solution: Adjust the stitch length. Puckering can occur if the zigzag stitch length is too short. Try lengthening the stitch slightly to see if it improves the result.
Presser Foot Pressure
Solution: Some sewing machines allow you to adjust the presser foot pressure. If it’s set too high, it can compress the fabric and cause puckering. Reduce the pressure to see if it helps.
Fabric Type
Solution: Certain fabrics are more prone to puckering due to their weave or stretchiness. Stabilize the fabric with interfacing or use a walking foot to help feed the fabric evenly.
Machine Maintenance
Solution: Regularly clean and maintain your sewing machine. A dirty or malfunctioning machine can contribute to stitch issues, including puckering.
Technique
Solution: Ensure that you’re guiding the fabric evenly through the machine and not pulling or stretching it as you sew. Smooth, consistent feeding can help prevent puckering.
Fabric Prep
Solution: Properly prepare your fabric before sewing. Pre-wash and press it to remove any sizing or wrinkles, which can cause puckering during stitching.
Bobbin Tension
Solution: Check the bobbin tension. If the bobbin tension is too tight, it can cause puckering. Adjust it as needed according to your sewing machine’s manual.
Thread Path
Solution: Ensure that the upper thread is correctly threaded through the machine, including the tension discs. Improper threading can lead to tension issues and puckering.
FAQS
Can the fabric type affect ruffle bulging when sewing the grain?
Yes, different fabric types can behave differently.
What role does the bobbin tension play in ruffle bulging?
Bobbin tension can impact ruffle sewing. If the bobbin tension is too tight or too loose, it can lead to irregular stitching and potential bulging. Check and adjust the bobbin tension as needed.
Is it necessary to use a special foot or attachment for sewing ruffles along the grain?
While not always necessary, using a gathering or ruffling foot can make the process easier and more precise.
Can the direction in which the fabric is cut affect ruffle bulging?
Yes, the direction in which the fabric is cut relative to the grain can impact ruffle behavior.
How can I troubleshoot and fix ruffle bulging if it occurs despite precautions?
If you encounter bulging during ruffle sewing, try adjusting the tension, needle type, or stitch length.
To Recap
In sewing, understanding the nuances of ruffle bulging when sewing along the grain is a valuable skill that elevates the quality of one’s projects.
As we’ve explored the various contributing factors, from tension issues and fabric quality to handling techniques, it becomes evident that achieving smooth, graceful ruffles requires meticulous attention to detail.
By systematically addressing these potential causes and making necessary adjustments, sewists can conquer the challenge of ruffle bulging, ensuring that their creations emerge as flawless, professional-grade works of art.
Through practice, patience, and a deeper understanding of the interplay between fabric and machine, the art of sewing ruffles along the grain becomes a skill that transforms ordinary textiles into extraordinary garments and accessories.
Leave a Reply