Embarking on a sewing project involves deciphering various symbols and instructions on a pattern, and one frequently encountered directive is “cut 2.”
Understanding what this means is pivotal for achieving precision in fabric preparation. “Cut 2” on a sewing pattern signifies the necessity of creating two identical fabric pieces to ensure symmetry in the garment construction.
This nuanced instruction influences the layout and cutting process, impacting the overall outcome of the sewing project.
In this exploration, we delve into the significance of “cut 2,” unraveling the meaning behind this directive and its crucial role in the seamless assembly of garments.
What Does Cut 2 Mean On A Sewing Pattern?
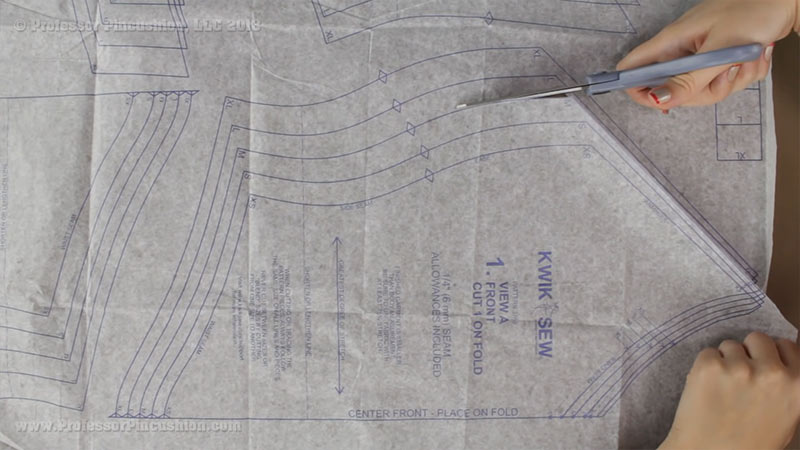
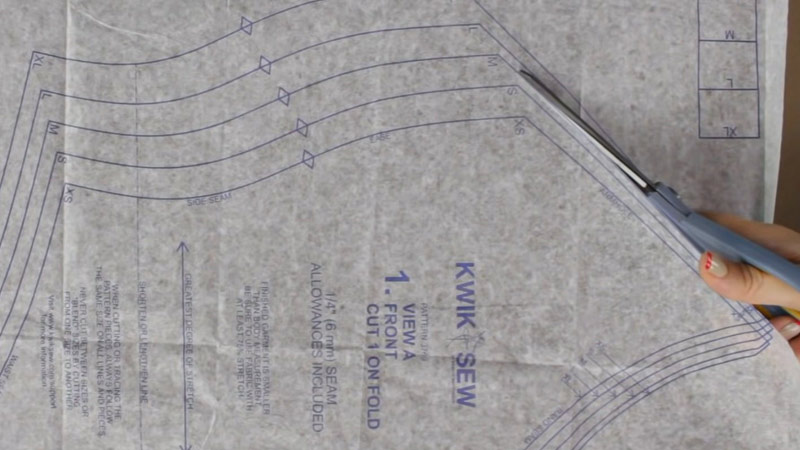
The term “cut 2 on fold” holds specific significance in sewing patterns, guiding the cutting process for fabric pieces.
When encountering this instruction, it typically indicates that the pattern piece should be placed on a folded fabric edge, and the shape must be cut twice, creating a symmetrical piece.
This technique ensures that the resulting fabric pieces mirror each other when unfolded. The phrase “cut 2 on fold” is a directive to achieve identical components for the intended garment or project.
It denotes precision in pattern layout, allowing sewers to efficiently cut mirrored pieces that seamlessly come together during the assembly process.
Understanding the meaning of “cut 2 on fold” is essential for accurate fabric preparation, ensuring that the garment or project maintains its intended symmetry and design integrity.
How To Sew Cut 2 On Fold?
Sewing “cut 2 on fold” requires careful attention to ensure symmetrical fabric pieces for your project. Here are seven simple methods to guide you through this process, ensuring precision and accuracy in your sewing endeavors.
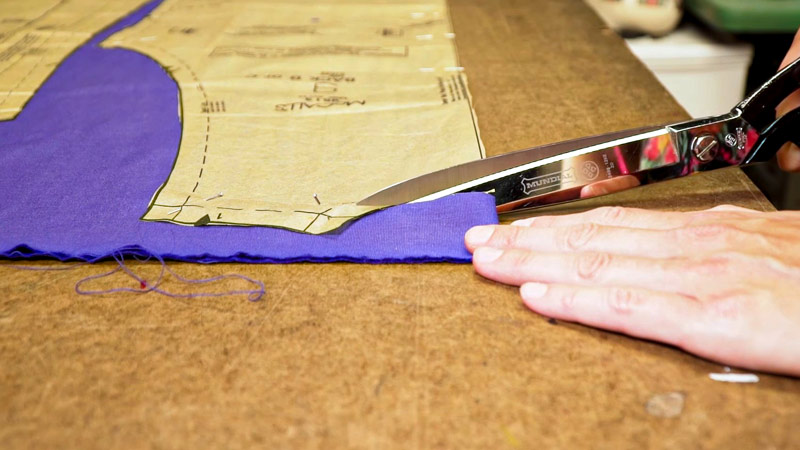
Fold and Pin Method
Begin by folding your fabric along the designated fold line. Secure the pattern piece with pins, ensuring it aligns precisely with the fold. Cut around the pattern, and when unfolded, you’ll have two identical mirrored pieces.
Trace and Flip Method
Trace the pattern onto one side of the folded fabric. Then, flip the pattern, aligning it with the traced shape. Pin in place and cut, resulting in two identical pieces when unfolded.
Double Fabric Layer Method
Cut two identical fabric pieces separately, ensuring they match precisely. Lay them on top of each other, wrong sides together, mimicking the fold. Pin along the edges and cut through both layers simultaneously.
Tissue Paper Method
Place tissue paper under the fabric fold. Pin the pattern onto the fabric, piercing through the tissue. Cut along the pattern outline, including the tissue. Remove the tissue, revealing two mirrored pieces.
Chalk Marking Method
Use the tailor’s chalk to mark the pattern onto one side of the folded fabric. Flip the pattern, aligning it with the chalk marks. Pin and cut, producing two identical pieces when unfolded.
Cutting Mat Alignment Method
Place the fabric on a cutting mat, ensuring the fold aligns with the mat grid. Position the pattern along the fold, matching it to the grid lines. Secure with weights and cut, ensuring accuracy in both pieces.
Pinking Shears Method
After cutting the fabric along the pattern, use pinking shears on one edge of the cut piece. When unfolded, the pinking sheared edge will match the original cut edge, providing a mirrored set.
Applying these simple methods ensures success when sewing “cut 2 on fold,” allowing you to create symmetrical fabric pieces with ease and accuracy.
Cut 2 Sewing Pattern
Understanding the instructions on a sewing pattern is crucial for a successful project. The term “cut 2” signifies that a particular pattern piece needs to be replicated twice to create a mirrored effect.
Let’s explore five instances where “cut 2” appears on a sewing pattern, unraveling the meaning behind this directive.
Cut 2 Bodice Front and Back
When encountering “cut 2” for the bodice front and back, it means replicating the pattern on folded fabric, creating symmetrical pieces. This ensures a harmonious fit and balance when constructing the garment.
Cut 2 Sleeve Pieces
“Cut 2” for sleeves involves folding the fabric and placing the sleeve pattern along the fold. This results in two identical sleeve pieces, crucial for maintaining the proper shape and drape of the garment.
Cut 2 Side Panels
Side panels often contribute to the overall design of a garment. Following the “cut 2” directive involves folding the fabric and cutting two identical side panels, ensuring a seamless integration into the garment’s structure.
Cut 2 Collar Pieces
For collars, “cut 2” implies creating a mirrored set to frame the neckline evenly. Folding the fabric and placing the collar pattern along the fold guarantees consistency on both sides of the collar.
Cut 2 Pockets
When the pattern instructs to “cut 2” for pockets, it signifies creating a pair for symmetry. Folding the fabric and cutting two pocket pieces ensures an even placement on the garment, enhancing both aesthetics and functionality.
Cut 2 Pant Legs
In trouser construction, “cut 2” for pant legs involves folding the fabric and cutting two identical pieces. This ensures both legs match in size and shape, contributing to the overall balance and symmetry of the garment.
Cut 2 Front Panels
Front panels are integral to many garments. “Cut 2” for front panels requires careful alignment along the fabric fold, resulting in two identical pieces that seamlessly come together, maintaining the intended design.
Cut 2 Cuff Pieces
Whether for sleeves or pant legs, cuffs often require a mirrored set. “Cut 2” for cuffs involves folding the fabric and cutting two pieces, ensuring a uniform finish and cohesive look in the final garment.
Cut 2 Waistband Sections
Waistbands play a crucial role in garment structure. When instructed to “cut 2” for waistband sections, replicating the pattern on folded fabric ensures a balanced fit around the waist, contributing to overall comfort and style.
Cut 2 Godets or Inserts
For garments with godets or inserts, “cut 2” ensures the proper replication of these design elements. Folding the fabric and cutting two pieces allows for symmetrical placement, enhancing the flow and movement of the garment.
Understanding “cut 2” in these contexts is essential for achieving a polished and professional finish in your sewing projects. It ensures that each component is meticulously crafted, contributing to the overall cohesion and balance of the garment.
FAQs
Why is it necessary to cut 2 pieces?
Cutting 2 pieces is crucial for achieving a mirrored effect in your garment construction. This ensures that both sides of the garment have identical components, contributing to a professional and polished finish.
Can I cut more than 2 pieces if needed?
Yes, you can. If the pattern specifies “cut 2,” cutting additional pieces won’t harm the project. However, always follow the pattern’s instructions for the best outcome.
Do I need to cut 2 pieces for every pattern instruction?
No, “cut 2” is specific to certain pattern pieces requiring symmetry. Not every pattern instruction will include this directive; follow each instruction carefully for accurate fabric preparation.
How should I align the fabric for the “cut 2” instructions?
For “cut 2,” fold the fabric along the specified fold line and place the pattern piece on the fold. This ensures that both pieces are mirror images of each other.
Does “cut 2” apply to all types of sewing projects?
“Cut 2” is common in various sewing projects, especially when creating garments with symmetrical components. It may not apply to every project, but when encountered, it’s vital for achieving balanced and well-fitted results.
Conclusion
In the realm of sewing patterns, the phrase “cut 2” is a fundamental instruction that holds the key to symmetry in garment construction. As we decode its meaning, we unveil a crucial step in the process, guiding sewers to replicate specific pattern pieces for a mirrored effect.
This directive ensures balance and precision in the layout and cutting stages, contributing to the overall success of the sewing project.
“Cut 2” serves as a bridge between the pattern and the fabric, urging crafters to create identical components that harmoniously come together, creating a finished garment that is not only aesthetically pleasing but also structurally sound.
Understanding this instruction is a cornerstone of successful sewing endeavors, adding a layer of craftsmanship and attention to detail to the art of garment creation.
Leave a Reply