In the realm of sewing, “mirror image” signifies the art of crafting two symmetrical fabric pieces akin to a reflection in a mirror. This technique, crucial in garment construction, ensures precise alignment of components such as sleeves and collars.
The process involves folding the fabric along its grainline, placing the pattern on the fold, and cutting to yield two identical pieces.
Much like the meticulous creation of a mirrored image, this sewing practice guarantees that corresponding elements harmonize seamlessly when stitched together.
Understanding this concept is fundamental for achieving balance and precision in crafting well-tailored and visually pleasing garments.
What Does Mirror Image Mean in Sewing?
In the realm of sewing, “mirror image” signifies the meticulous creation of two identical fabric pieces that mirror each other in a symmetrical fashion.
This technique involves folding the fabric along its grainline, placing the pattern on the fold, and cutting to yield two pieces with mirror reflections.
Essential for precision, mirror imaging ensures that corresponding garment elements, like sleeves or collars, align seamlessly when assembled.
This attention to symmetry enhances the visual balance and harmony of the finished garment and reflects a commitment to craftsmanship in the art of sewing.
Understanding mirror imaging is fundamental for achieving a polished and professionally tailored result.
Why Is Mirror Imaging Important in Sewing? 10 Reasons Explained
Mirror imaging holds significant importance in the realm of sewing for various practical and aesthetic reasons.
Here’s an exploration of why mirror imaging is crucial in the art of garment construction:
1. Symmetry and Precision

Mirror imaging ensures that the corresponding components of a garment, such as sleeves, collars, or cuffs, are symmetrical. This precision is fundamental for achieving a balanced and professional appearance in the finished product.
2. Proper Alignment
When sewing together different elements of a garment, mirror imaging assists in aligning pieces accurately. This is essential to prevent asymmetry and irregularities, ensuring a seamless fit.
3. Visual Harmony
Mirror imaging contributes to the overall visual harmony of a garment. It creates a sense of balance, making the design aesthetically pleasing and polished.
4. Reduction of Fabric Waste
Mirror imaging reduces fabric waste by folding the fabric and cutting two mirrored pieces simultaneously. This efficiency aligns with sustainable and economical sewing practices.
5. Time Efficiency
Cutting mirrored pieces concurrently saves time compared to cutting each piece individually. This is particularly beneficial for projects with multiple components, enhancing overall efficiency.
6. Consistency in Directional Prints
For fabrics with directional prints or patterns, mirror imaging ensures that the prints align correctly on both sides of the garment. This prevents inconsistencies and maintains the intended design.
7. Professional Appearance
Employing mirror imaging techniques contributes to the professional appearance of the garment. It reflects a commitment to craftsmanship and attention to detail in the sewing process.
8. Versatility in Design
Mirror imaging allows for greater versatility in design. Designers can experiment with symmetrical patterns and prints, adding creativity and visual interest to their creations.
9. Saves Pattern Tracing and Cutting Time
Instead of tracing and cutting the same pattern piece multiple times, mirror imaging allows for cutting two identical pieces simultaneously. This not only saves time but also streamlines the cutting process.
10. Enhanced Craftsmanship
Embracing mirror imaging showcases a higher level of craftsmanship in sewing. It demonstrates the sewer’s ability to work precisely, ensuring that garment components fit together seamlessly.
Cutting Mirrored Pattern Pieces? Step by Step
Cutting mirrored pattern pieces involves creating two identical fabric pieces that are mirror images of each other.
Here’s a step-by-step guide on how to achieve this:
Step 1: Gather Materials and Tools
Before you begin, ensure you have all the necessary materials, including your fabric, pattern, scissors or a rotary cutter, pins, and a cutting mat if you’re using a rotary cutter.
Step 2: Prepare Your Fabric
Ensure your fabric is properly prepared by ironing out any wrinkles. Lay it flat on a clean and smooth surface, ensuring the grain is straight and even.
Step 3: Examine the Pattern
Take a close look at your pattern and identify any pieces that need to be mirrored, ensuring you understand the specific instructions for mirroring.
Step 4: Identify the Mirroring Technique
Decide on the mirroring technique based on the pattern and fabric. Common techniques include folding the fabric, cutting two layers simultaneously, or cutting one layer at a time.
Step 5: Folding the Fabric
If your pattern indicates folding, fold the fabric along the grainline with the right sides together. Ensure the fold is straight and even.
Step 6: Place the Pattern
Lay the pattern on the fabric, ensuring that the “cut on fold” edge aligns precisely with the fold. Pin the pattern securely in place.
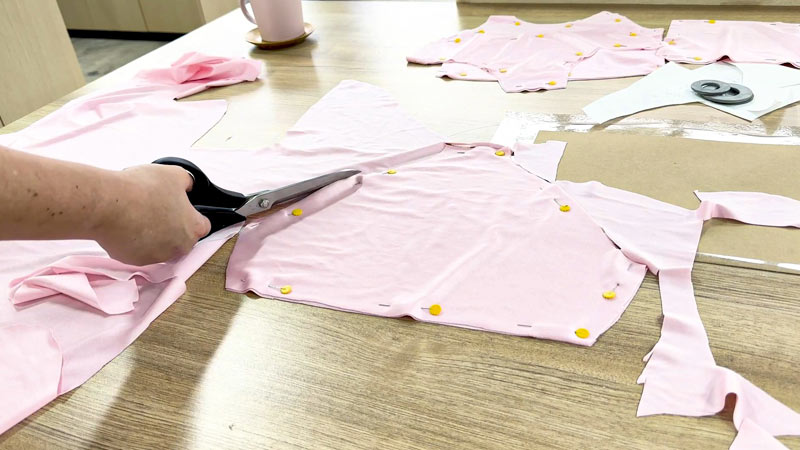
Step 7: Cut Along Edges
Use fabric scissors or a rotary cutter to cut along the edges of the pattern. Be precise to create two identical mirrored pieces. If you’re using the folding technique, you should have two mirrored pieces when you unfold the fabric.
Step 8: Cutting Two Layers
To cut two layers simultaneously, lay together two layers of fabric on the right sides. Place the pattern on the top layer, ensuring it’s aligned correctly. Pin the layers together and cut through both layers along the pattern edges.
Step 9: Cutting One Layer
If cutting one layer at a time, cut the first piece as the pattern directs. Then, flip the pattern piece over and place it on another single layer of fabric. Ensure alignment with the first piece and cut to create the mirrored piece.
Step 10: Verify Symmetry
Unfold or separate the fabric layers to reveal the mirrored pieces. Verify that they are symmetrical and match each other accurately. Check for any discrepancies in the cut edges.
How to Cut Mirror Image on Fabric? 6 Steps
Cutting mirror images on fabric involves creating symmetrical pieces that are identical but oriented in opposite directions.
Follow these steps for an effective mirror image cut:
Step 1: Prepare Your Fabric
Begin by ensuring your fabric is well-prepared for cutting. Remove wrinkles by ironing the fabric and laying it flat on a clean, smooth surface. Confirm that the fabric grain is straight and even, providing a solid foundation for the cutting process.
Step 2: Fold the Fabric
To create mirror images, fold the fabric along the grainline. Align the selvages (finished edges) and fold the fabric in half with the right sides together. This fold will serve as a central axis for cutting symmetrical pieces.
Step 3: Pattern Placement
Place your pattern on the folded fabric, paying close attention to any markings, especially those indicating the “cut on fold” area. Align this edge precisely with the fold to ensure the resulting pieces are mirror images of each other.
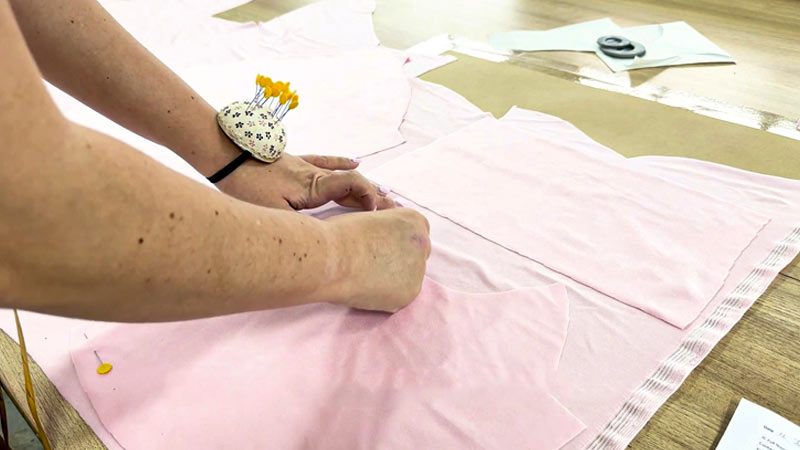
Step 4: Secure the Pattern
Stabilize the pattern on the fabric by using pins or pattern weights. This step is crucial to prevent any movement or shifting during the cutting process, ensuring the accuracy of the mirror image.
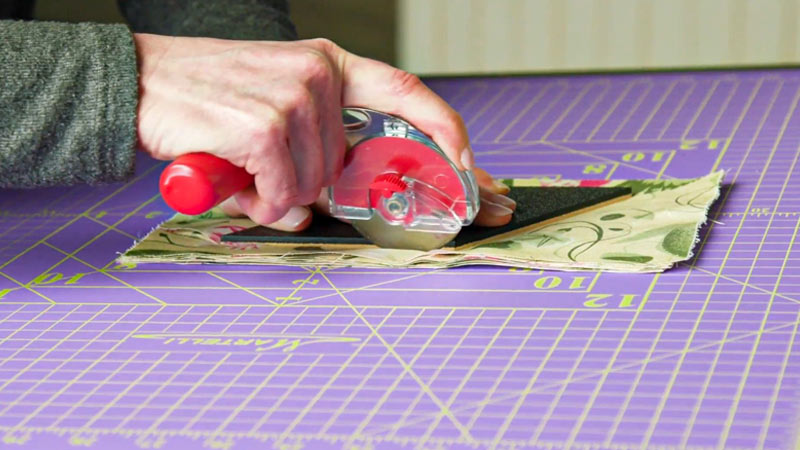
Step 5: Cut Along Edges
Using fabric scissors or a rotary cutter, cut along the edges of the pattern. Follow the lines carefully to achieve clean and symmetrical pieces. Be meticulous in your cutting to maintain precision.
Step 6: Unfold the Fabric
After cutting, unfold the fabric to reveal two identical mirror image pieces. Check for any discrepancies in the cut edges and ensure both pieces match perfectly, verifying the symmetry of the cut elements.
Cut 2 Mirror Meaning and How Do You Interpret and Execute It?
The instruction “Cut 2 Mirrored” in sewing indicates that you need to cut two identical fabric pieces but with a mirror-image orientation. This means that the pieces should be symmetrical as if you were looking at a reflection in a mirror.
The mirror image is achieved by cutting one piece with the fabric right side up and then cutting the second piece with the fabric right side down or by flipping the pattern over.
Here’s a step-by-step breakdown of how to interpret and execute the “Cut 2 Mirrored” instruction:
Understand the Pattern
Review the sewing pattern to identify the specific pieces that require mirroring. Look for markings or instructions indicating which elements should be cut this way.
Prepare Your Fabric
Ensure your fabric is laid out on a clean, flat surface. Smooth out any wrinkles or folds to create an even-cutting surface.
Place the Pattern on the Fabric
Lay the pattern piece on the fabric according to the pattern instructions. Pay attention to any markings or labels that guide the mirroring process.
Cut the First Piece
Cut the first piece as directed by the pattern. This may involve cutting with the fabric right side up. Follow the cutting lines precisely.
Flip the Pattern or Fabric
After cutting the first piece, flip the pattern piece over or flip the fabric so that the right side faces down. This reversal creates the mirror image effect.
Align for Mirror Image
Realign the fabric’s pattern, ensuring it is correctly positioned for a mirror image. Match any specific points, notches, or features that need to be symmetrical.
Cut the Second Piece
Cut the second piece with the fabric right side down or using the flipped pattern. Ensure that this piece mirrors the first one in its orientation. Follow the cutting lines precisely.
Verify Symmetry
After cutting both pieces, unfold or separate them and verify that they are indeed mirror images. Check for any discrepancies in the cut edges and make adjustments if necessary.
Key Features of Mirror Image Clothing and its Meaning
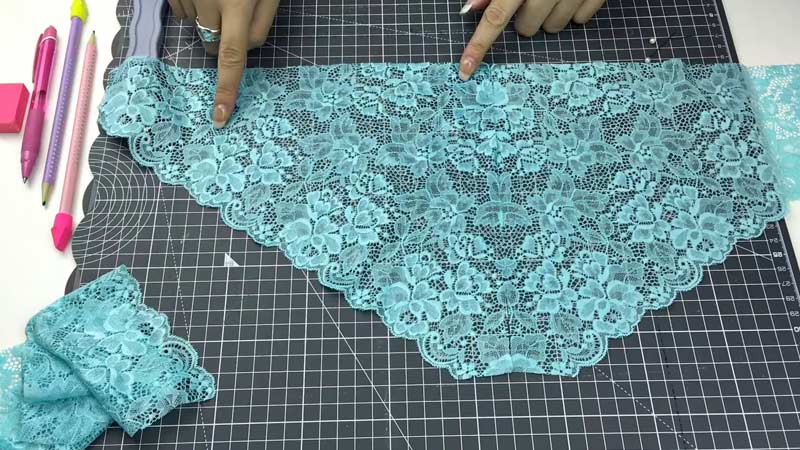
Mirror image clothing incorporates symmetrical design elements, creating a mirrored or reflective effect. In these designs, patterns, prints, or embellishments are intentionally arranged to be identical or nearly identical on both sides of the garment.
This mirroring technique aims to achieve visual balance, harmony, and a sense of symmetry in the overall appearance of the clothing.
Key features of mirror image clothing include:
Symmetrical Prints
Using prints or patterns that are mirrored along a central axis. This can include floral motifs, geometric shapes, or any design that can be duplicated to create a symmetrical effect.
Bilateral Embellishments
Incorporating identical or similar embellishments, embroidery, or decorative elements on both sides of the garment. This adds a sense of precision and visual equilibrium.
Matching Panels
Utilizing fabric panels that match each side of the garment contributes to the overall symmetrical structure of the clothing.
Balanced Color Blocking
Applying color blocking techniques to balance contrasting colors on opposite sides of the garment, creating a harmonious and mirror image effect.
Reversible Designs
Designing intentionally reversible garments allows wearers to switch between two distinct but mirrored looks. This often involves different colors, patterns, or textures on each side.
Duplication of Design Elements
Duplicating specific design features like pockets, buttons, or seams on both sides of the garment enhances the mirrored aesthetic.
FAQs
What role does mirror imaging play in garment construction?
In garment construction, mirror imaging ensures that corresponding components fit together seamlessly, resulting in a well-tailored and professionally finished garment.
Can mirror imaging be applied to various types of fabrics and patterns?
Yes, mirror imaging is a versatile technique that can be applied to various fabrics and patterns, making it adaptable to different sewing projects and garment styles.
How does mirror imaging showcase attention to detail in sewing?
The meticulous process of folding, aligning, and cutting to create mirror images showcases high attention to detail in sewing, emphasizing precision and craftsmanship.
Can mirror imaging be applied to unconventional garment designs?
Yes, mirror imaging is versatile and can be applied to various garment designs, including unconventional or avant-garde styles. It allows for creativity and symmetry in various fashion expressions.
To Recap
The “mirror image” concept in sewing unveils a meticulous approach to crafting garments, where precision and symmetry are paramount. As the fabric is deftly folded and patterns aligned, the resulting pieces accurately mirror each other.
This practice ensures components fit seamlessly and contributes to the finished garment’s overall aesthetic harmony.
Beyond its utilitarian role in construction, the art of creating mirror images underscores the craft’s attention to detail and commitment to producing garments that fit well and exhibit a refined and balanced design.
Embracing the significance of mirror imaging enhances the artistry and quality of the sewing process.
Leave a Reply