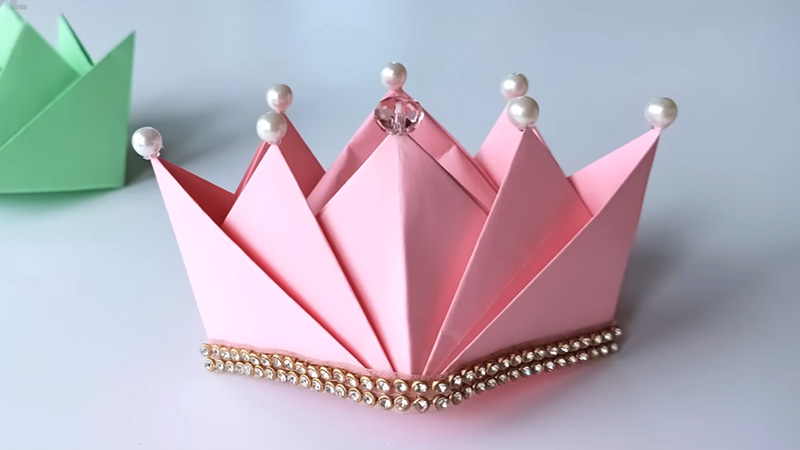
Crafting with sticks, paper, and little jewels is a delightful artistic endeavor that allows individuals to unleash their creativity and transform simple materials into intricate and charming creations.
This versatile craft involves the imaginative use of wooden sticks, often in the form of popsicle sticks, as the foundation for various projects.
With the addition of colorful paper, these sticks can be transformed into anything from photo frames to miniature houses, and the possibilities are limited only by one’s imagination.
Little jewels, beads, or sequins serve as the finishing touch, adding a touch of sparkle and elegance to these handmade masterpieces.
Crafting with these materials is not just a creative outlet; it’s a way to infuse beauty and personal expression into everyday objects.
What Is a Craft With Stick Paper and Little Jewels?
A craft with sticks, paper, and little jewels is a creative and engaging art form that combines these simple materials to produce intricate and visually appealing creations.
This versatile craft relies on the use of wooden sticks, often in the form of popsicle sticks or craft sticks, as a foundational element.
These sticks can be arranged and decorated in countless ways to construct a wide range of items, from photo frames and jewelry boxes to miniature houses and decorative ornaments.
Paper plays a crucial role in adding color, texture, and design to these projects. It can be used to cover the sticks, create intricate patterns, or form origami shapes, allowing for endless possibilities in crafting.
The combination of sticks and paper enables artisans to fashion both functional and decorative items, making it a favorite pastime for people of all ages.
Little jewels, such as beads, sequins, or rhinestones, provide the finishing touches to these handcrafted pieces.
They add a touch of elegance, sparkle, and personality to the creations, making them even more eye-catching.
These tiny embellishments can be strategically placed to highlight specific areas of the craft, enhancing its overall aesthetic appeal.
Crafting with sticks, paper, and little jewels not only fosters artistic expression but also encourages patience, precision, and attention to detail.
It’s a delightful hobby that allows individuals to bring their unique visions to life, resulting in beautiful and personalized works of art that can be cherished or gifted to others.
Whether you’re a seasoned crafter or a beginner looking for a fun and accessible creative outlet, this craft offers a world of possibilities waiting to be explored.
How Craft With Stick Paper and Little Jewels
Crafting with sticks, paper, and little jewels is a fun and creative activity that allows you to make a wide range of beautiful and personalized items.
Here’s a basic guide on how to craft with these materials:
Materials You’ll Need:
- Wooden sticks
- Colored or patterned paper
- Little jewels
- Craft glue
- Scissors
- Markers, pens, or colored pencils
- Paint and brushes
Steps to Craft:
Choose a Project
Decide on the specific item you want to create, considering your skill level and the materials available. Common choices include photo frames, coasters, keychains, or decorative boxes.
Prepare Your Sticks
Lay out your sticks and plan the dimensions of your project. Use a ruler and pencil to mark where you need to cut or break the sticks.
Gently break them along the marked lines or cut them with scissors. Sand the edges if necessary for a smoother finish.
Decorate the Sticks
This step allows for creativity. Cut your colored or patterned paper to fit the sticks’ surface. Apply a thin layer of craft glue to the back of the paper and carefully wrap it around the sticks.
Ensure the paper is smooth and adheres well. If you’re painting, apply a base coat and let it dry before adding details or patterns.
Assemble Your Project
Use craft glue to assemble the sticks into the desired shape. For a frame, attach the sticks together to form a square or rectangle.
Use clamps or rubber bands to hold them in place as the glue dries. Double-check that your project is square and symmetrical.
Add Little Jewels
Enhance your creation by gluing little jewels onto the project. You can create patterns, spell out words, or make intricate designs.
Use a toothpick or tweezers for precision. Allow the jewels to adhere firmly before proceeding.
Let It Dry
Patience is key; let your project dry completely. Depending on the glue and materials used, drying may take a few hours to overnight. Be sure to follow the glue manufacturer’s instructions.
Optional Decoration
After your project is dry, you can further personalize it with markers, colored pencils, or additional paint. This step allows you to add your unique touch and details.
Final Touches
Once your project is fully dry and decorated, you can add photos, use it as a jewelry box, or display it as a decorative item in your home.
Clean Up
Properly clean your work area by disposing of waste and storing your craft supplies neatly. This ensures a clean and organized workspace for future projects.
How to Make Jewels
Creating your own jewels, such as jewelry pieces, beads, or decorative gems, can be a rewarding and creative endeavor.
Below, is a general process for making your own jewels using polymer clay as an example:
Materials You’ll Need:
- Polymer Clay
- Sculpting Tools
- Oven
- Safety Equipments
Steps to Make Jewels:
Plan Your Design
Before diving into your project, sketch your jewel design or create a detailed plan. Decide on the colors, shapes, and sizes of the jewels you want to make. This step helps you visualize the final product.
Choose Your Clay
Select the appropriate polymer clay colors for your design. Knead the clay in your hands to make it soft and pliable. You can blend different colors together to create custom shades.
Shape the Clay
Start molding the clay into the desired shapes for your jewels. Use your hands to create basic shapes, and then refine them with sculpting tools for more intricate details. Pay close attention to symmetry and proportions.
Add Texture and Detail
To create textured or patterned jewels, use tools or stamps to impress designs onto the clay’s surface.
Experiment with different textures to achieve your desired look. You can also embed small decorative elements like rhinestones or beads into the clay.
Create Holes
If you’re making beads or pendants, use a small needle, toothpick, or a specialized hole-making tool to create holes for threading cords, wires, or chains. Ensure the holes are centered and the appropriate size.
Baking
Preheat your oven to the temperature recommended by the polymer clay manufacturer (usually around 275°F or 130°C).
Place your clay creations on a baking sheet lined with parchment paper to prevent sticking. Bake the clay for the specified duration, usually around 15-30 minutes. Be cautious not to overbake, as this can cause discoloration.
Cooling
After baking, allow your clay jewels to cool completely. They will harden as they cool, so be patient. Avoid touching or handling them until they’ve cooled down.
Finishing Touches
Once the clay jewels have cooled, you can refine them further. Sand any rough edges or imperfections using fine-grit sandpaper.
You can also use acrylic paints or varnish to add color, shine, or additional details to your creations.
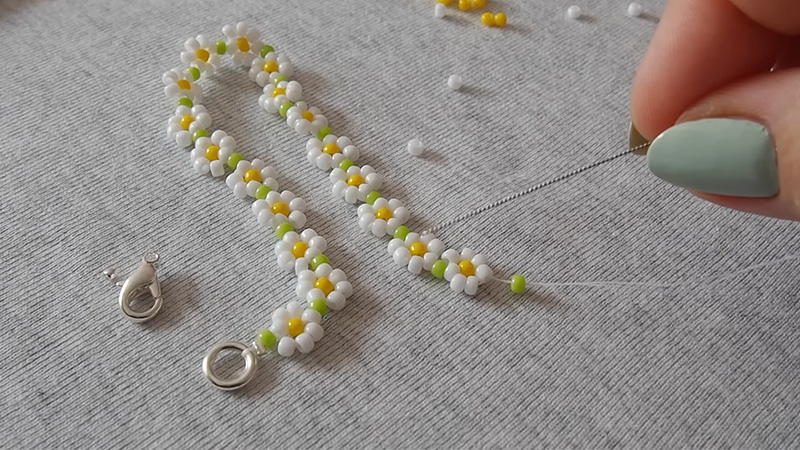
Assemble Your Jewelry
If your clay jewels are intended for jewelry-making, assemble them into necklaces, bracelets, or earrings using appropriate jewelry-making supplies such as cords, wires, clasps, jump rings, and findings. Follow jewelry-making tutorials or your own creative vision.
Enjoy Your Creations
Your handmade polymer clay jewels are now ready to be worn, used in craft projects, or given as unique and personalized gifts.
Share your creations with friends and family or even consider selling them if you’ve developed your craft.
How to Make Paper Stick?
Creating paper sticks is a straightforward and versatile crafting technique that can be used for various projects, including paper lanterns, decorations, and even educational tools.
Here’s a step-by-step guide on how to make paper sticks:
Materials You’ll Need:
- Paper
- Ruler
- Scissors
- Glue
Steps to Make Paper Sticks:
Select Your Paper
Choose the type of paper you’d like to use for your paper sticks. The paper’s size and color will determine the final appearance of your sticks.
Measure and Cut Strips
Use a ruler to measure the desired width for your paper strips. Common widths are around 1 inch (2.54 cm).
Use scissors to carefully cut the paper into strips along the measured lines, creating as many strips as needed.
Fold the Strips
Take one of the paper strips and fold it in half lengthwise to create a crease along the center. Unfold the strip and lay it flat.
Apply Glue
Apply a thin, even layer of glue along one side of the paper strip. You can use a glue stick, craft glue, or double-sided tape for this step.
Roll the Paper
Start rolling the paper strip tightly from one end to the other. The glue side should be on the inside, securing the paper together. Roll until you reach the end of the strip, ensuring it’s tightly wound.
Secure the End
Apply a small amount of glue to the end of the paper strip to seal it shut. Press it firmly to ensure it sticks, holding it for a moment until the glue dries, or use a paperclip to secure it temporarily.
Repeat the Process
Repeat the process with the remaining paper strips, creating as many paper sticks as needed for your project.
Let Them Dry
Allow the paper sticks to dry completely before using them in your project. Drying times may vary depending on the type of glue used.
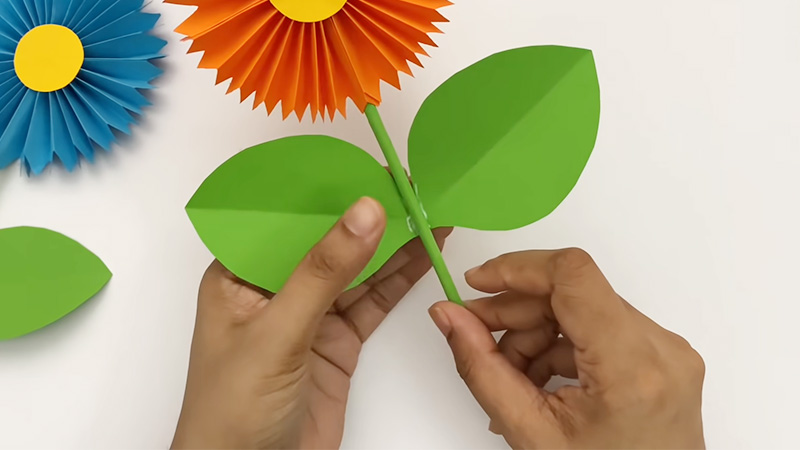
Incorporate into Your Project
With your paper sticks ready, you can incorporate them into various creative endeavors. Use them as handles for paper lanterns, decorative elements in floral arrangements, or as building components in educational crafts.
Enjoy Your Creations
Incorporate your handmade paper sticks into your craft projects to add a unique, personalized touch.
Whether for decoration, education, or any other creative purpose, your paper sticks will enhance the overall aesthetic and functionality of your project.
FAQS
Can I use jewels for crafting projects other than jewelry?
Absolutely! Jewels for crafting can be used in a wide range of creative projects, including embellishing clothing, accessories, greeting cards, scrapbooking, home decor items, and more.
Where can I find stick-on jewels for crafts?
Stick-on jewels for crafts are readily available in most craft stores, online craft retailers, and even some general merchandise stores.
What is jewel craft?
Jewels craft refers to the creative process of crafting with various types of decorative gems, beads, or rhinestones to adorn and enhance projects, such as jewelry, clothing, and home decor.
Can children participate in this craft?
Yes, this craft is suitable for children with adult supervision. It’s a great way to encourage creativity and fine motor skills in kids.
To Recap
A craft with sticks, paper, and little jewels is a wonderfully versatile and accessible form of artistic expression.
It combines the simplicity of wooden sticks, the vibrancy of colored or patterned paper, and the sparkle of tiny jewels to create a wide array of handcrafted treasures.
This craft empowers individuals of all ages and skill levels to channel their creativity, turning everyday materials into exquisite pieces of art.
Whether crafting photo frames, jewelry boxes, or miniature wonders, it fosters patience, precision, and attention to detail.
Moreover, it offers an avenue for personal expression, allowing the infusion of beauty and uniqueness into the mundane, making every creation a testament to one’s imagination and ingenuity.
Leave a Reply