In the intricate world of sewing, understanding specialized terminology is key to mastering the craft. Among these terms, “dragline” is pivotal in achieving precision and finesse in your stitches.
But what is a dragline in sewing? In the context of sewing, a dragline refers to a subtle but significant deviation in the fabric caused by various factors during the stitching process.
It is not merely a flaw but a valuable indicator that guides skilled sewists in adjusting tension, needle position, or fabric handling techniques.
In this exploration, we delve into the nuances of draglines, unraveling the mystery behind their appearance and decoding the signals they provide to enhance your sewing expertise.
Whether you’re a novice navigating the sewing landscape or a seasoned seamstress honing your skills, understanding the dynamics of draglines is crucial to achieving impeccable and professional-looking garments.

What Is A Dragline In Sewing?
A dragline in sewing is a subtle but crucial aspect that can significantly impact the quality of your stitches and the overall appearance of your garment.
To understand a dragline, let’s delve into its definition, causes, and how to address it in your sewing projects.
What Is a Dragline?
In sewing terminology, a dragline refers to a noticeable line or wrinkle that appears on the fabric, typically following the direction of the stitches.
Unlike intentional design elements, draglines are unintended and can disrupt the smooth surface of the fabric.
They may manifest as slightly puckered lines, especially in areas with tension or stress during the stitching process.
Causes of Drag Lines Sewing
Several factors contribute to the formation of draglines in sewing:
Tension Issues
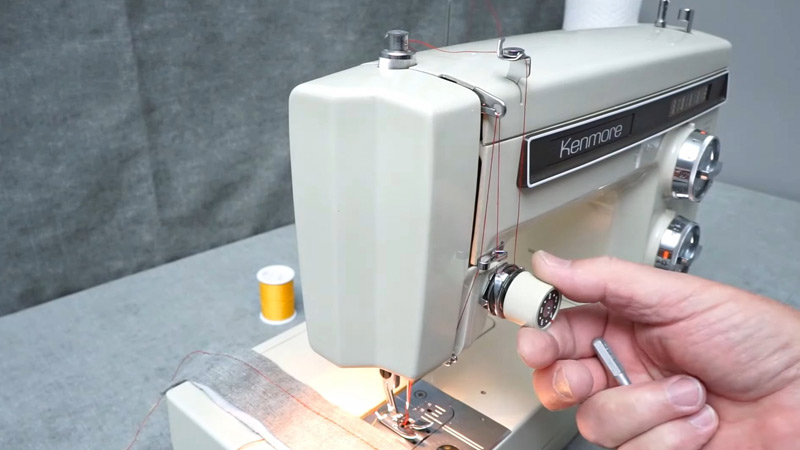
Incorrect thread tension can lead to draglines. If the tension is too tight, it can cause the fabric to pucker, while too loose tension may result in loose stitches and draglines.
Needle and Thread Mismatch
Using the wrong combination of needle and thread can cause draglines. Ensure that your needle size complements the thread weight and fabric type.
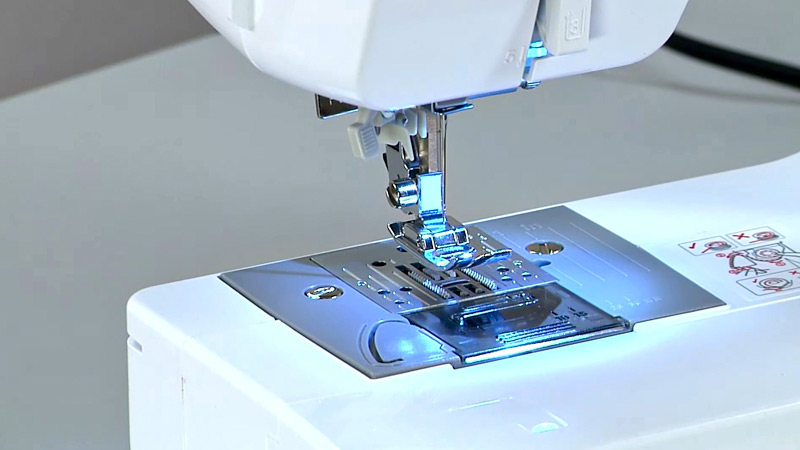
Fabric Handling
Pulling or pushing the fabric through the machine can cause draglines. Allow the machine to feed the fabric naturally without forcing it.
Problems with your sewing machine, such as uneven feeding or misalignment, can contribute to garment draglines. Regular machine maintenance is essential.
Pattern and Fit
Poorly fitted patterns or improper garment construction can lead to draglines, especially in areas with curves and corners.
Recognizing draglines is crucial for addressing them effectively. They often appear in areas with curved seams or where there’s a change in direction.
Observing your fabric after stitching and before pressing can help you spot these subtle imperfections.
Addressing Drag Lines Clothes
Once you identify draglines, here are steps to address and minimize their impact:
Check Thread Tension
Ensure that your machine’s upper and lower thread tensions are correctly adjusted. Experiment with small test swatches to find the optimal tension for your fabric.
Use the Right Needle and Thread
Match your needle size to the fabric weight, and choose a thread that complements both the fabric and needle. This harmonious combination can prevent draglines.
Handle Fabric Carefully
Avoid pulling or pushing the fabric through the machine. Let the machine feed the fabric at its own pace. Use a walking foot attachment for fabrics that tend to drag.
Machine Maintenance
Regularly clean and maintain your sewing machine. Lubricate moving parts according to the manufacturer’s recommendations. A well-maintained machine ensures smoother stitching.
Review Patterns and Fit
Ensure that your patterns are well-fitted and your garment construction follows recommended techniques. Adjustments in pattern layout and sewing techniques can alleviate draglines.
Pressing Techniques
Proper pressing can help reduce the visibility of draglines. Use a pressing cloth and press gently, allowing the heat and steam to relax the fabric.
When troubleshooting draglines, make small adjustments at a time. Test each adjustment on a scrap piece of fabric before applying it to your main project.
How to Fix a Gaping Neckline Without Sewing?
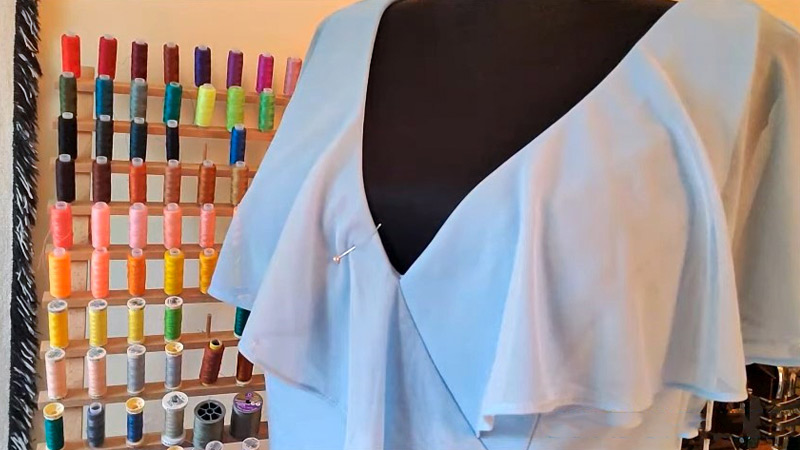
Fixing a gaping neckline without sewing requires creative solutions to achieve a flattering and secure fit. Whether you’re dealing with a low-cut top or a loose neckline, here are some no-sew methods to address the issue:
Double-Sided Fashion Tape
One of the simplest and most effective solutions is using double-sided fashion tape. Apply the tape along the edge of the neckline where the gap occurs. Press the fabric firmly against your skin to create a secure bond.
This temporary fix provides an instant solution and is easily removable without leaving any residue.
Adjustable Bra Straps or Clips
For tops with wide necklines, consider using adjustable bra straps or clips. Attach one end of the strap or clip to the inside of one shoulder seam and the other end to the opposite shoulder seam, pulling the fabric slightly to create a gathered effect.
This closes the gap and adds a stylish detail to your outfit.
Safety Pins or Brooches
Utilize safety pins or decorative brooches to combine the excess fabric at the neckline. Pin the fabric at strategic points, such as the shoulders or near the collarbone, to create a more fitted and visually appealing look. Opt for decorative pins or brooches to add a touch of flair to your outfit.
Cinching with Elastic Bands
If the neckline is loose, you can create a gathered effect by inserting small elastic bands into the side seams.
Gather the excess fabric on each side and secure it with the elastic bands, effectively cinching the neckline. This method adds a subtle detail to your garment and prevents the fabric from gaping.
Layer with a Camisole or Tank Top
Layering with a camisole or tank top is a practical solution for low-cut tops. Choose a complementary color to your outfit and position the camisole underneath the top, adjusting the neckline to your desired level of coverage.
This addresses the gaping issue and adds versatility to your wardrobe.
Use Scarves or Shawls
Incorporate scarves or shawls as stylish accessories to conceal a gaping neckline. Drape the scarf or shawl strategically to cover the exposed areas and create a more modest and layered look. This addresses the fit issue and adds a touch of elegance to your ensemble.
Snap Fasteners or Magnetic Closures
Consider using snap fasteners or magnetic closures for a secure yet removable solution. Attach one side of the fastener to the inside of the neckline and the corresponding side to the fabric on the opposite side.
This lets you open and close the neckline easily while maintaining a polished appearance.
DIY Fabric Inserts
Create fabric inserts using matching or contrasting fabric to fill in the gaps. Cut the fabric into triangular or rectangular shapes, depending on the neckline’s design.
Attach the inserts using fabric glue or adhesive velcro strips, ensuring a secure and seamless integration with the existing garment.
Braided or Tied Details
Introduce braided or tied details to the neckline to customize the fit. Use thin strips of fabric or ribbons to create braids or ties at key points along the neckline. This adds a decorative element and allows you to adjust the tightness to your preference.
Wrap or Tie Styles
If dealing with a wrap-style garment, experiment with different wrapping and tying techniques to secure the neckline. Create knots or bows at strategic points to customize the fit without the need for sewing.
How to Fix Sleeve Fitting Issues Draglines?
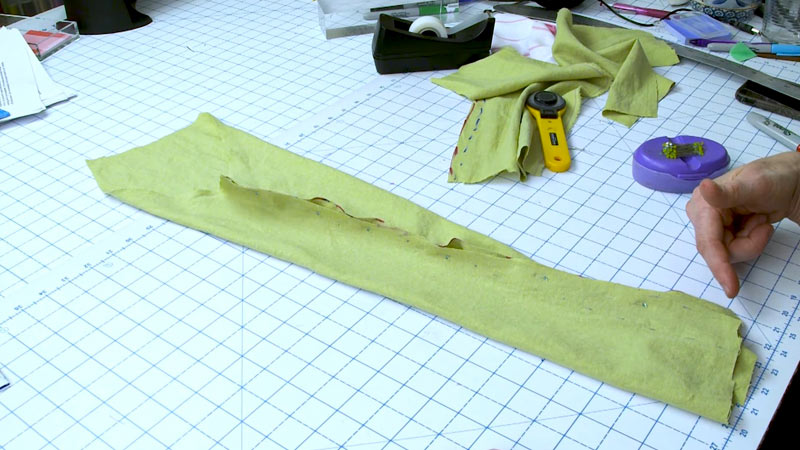
Fixing sleeve fitting issues with draglines involves identifying the causes and adjusting to achieve a more flattering and comfortable fit. Here are steps to address sleeve draglines:
Check Sleeve Cap Ease
Examine the ease in the sleeve cap. If there’s too much ease, it can result in draglines. Adjust the ease by either redistributing it evenly or reducing it slightly, ensuring a better match with the armhole.
Evaluate Armhole Size
An ill-fitted armhole can lead to draglines. Ensure the armhole is the right size for your body. If it’s too tight, consider enlarging it; if it’s too loose, you may need to take it in.
Correct Sleeve Length
Incorrect sleeve length can cause draglines. Ensure the sleeves are the right length for your arms. If they are too long, shorten them; if they are too short, consider adding length.
Adjust Sleeve Cap Height
The height of the sleeve cap should match the armhole shape. If it’s too high or too low, it can cause draglines. Adjust the sleeve cap height by reshaping it to match the armhole.
Review Pattern Shape
Analyze the pattern shape, especially the curve of the sleeve cap. If the pattern is not well-drafted, it can contribute to draglines. Adjust the pattern to create a smoother curve for the sleeve cap.
Correct Shoulder Slope and Check Bicep Ease
Ensure that the shoulder slope on the garment aligns with your natural shoulder slope. If there’s a mismatch, it can lead to draglines. Adjust the shoulder slope on both the garment and the sleeve pattern if necessary.
Examine the ease around the bicep area. Too much or too little ease can cause draglines. Adjust the ease to ensure a comfortable fit without excessive fabric.
Optimize Fabric Choice and Sleeve Cap
The type of fabric you choose can impact the appearance of draglines. Fabrics with some stretch or drape may reduce draglines compared to stiff fabrics. Consider the characteristics of the fabric in relation to the sleeve design.
Consider using sleeve cap supports like shoulder pads or sleeve heads to help maintain the shape of the sleeve cap. This can contribute to a smoother fit and minimize draglines.
Test and Adjust
Sew a muslin or test garment before using your final fabric. This lets you identify fitting issues early on and make necessary adjustments without compromising your main project.
Evaluate the pattern for ease of movement. If the sleeve is restricting arm movement, it can lead to draglines. Adjust the pattern to allow for comfortable mobility.
FAQs
What are draglines in sewing, and why do they occur?
Draglines in sewing refer to subtle wrinkles or lines on fabric caused by various factors during stitching. They occur due to issues like incorrect tension, fabric handling, or pattern fit.
How can I fix draglines in my sewing projects without undoing stitches?
To fix draglines without sewing, use double-sided fashion tape, adjustable bra straps, safety pins, elastic bands, or layering with camisoles. These no-sew solutions address fit issues effectively.
Are draglines a common issue with specific fabrics?
Yes, draglines can be more pronounced in certain fabrics. Fabrics with less drape or stretch may be prone to draglines. Choosing the right fabric for your pattern can help minimize this issue.
Can I prevent draglines while sewing, or is it inevitable?
While it’s challenging to eliminate draglines entirely, you can minimize them by maintaining proper tension, using suitable needles and thread, handling fabric gently, and ensuring a well-fitted pattern.
Are draglines only a concern for experienced sewists, or do beginners encounter them too?
Draglines can affect sewists of all levels. Beginners may face them due to learning curves, while experienced sewists encounter draglines when working with new patterns or fabrics. Understanding their causes helps in effective resolution.
Conclusion
In the intricate dance between fabric and needle, the presence of draglines serves as a silent but instructive partner in the sewing process.
As we conclude this exploration into the realm of draglines, it becomes evident that treating these subtle deviations with attention and understanding is paramount to achieving sewing mastery.
Embracing draglines not as flaws but as informative cues empowers every sewist to refine their techniques and elevate the quality of their creations.
So, the next time you notice a faint trail on your fabric, remember it’s a roadmap guiding you toward stitching perfection.
Through diligent observation and adjustments, you can transform draglines from challenges into opportunities for growth, ensuring that each stitch becomes a testament to your evolving expertise in the art of sewing.
May your sewing journey be marked by the artful navigation of draglines, turning challenges into stepping stones toward unmatched craftsmanship and creativity.
Leave a Reply