The safety of seamstresses and crafters is paramount, making the finger guard on a sewing machine a critical accessory. This protective device is designed to shield fingers from accidental contact with the swiftly moving needle during sewing.
Whether you’re a seasoned artisan or a beginner exploring the realm of sewing, understanding the significance of a finger guard enhances your crafting experience.
It not only prevents potential injuries but also instills confidence, allowing you to focus on your creative endeavors without the fear of accidental needle pricks.
Delving into the question of “What Is Finger Guard on Sewing Machine?” unveils a safety feature that goes beyond utility, offering peace of mind in the pursuit of textile artistry.
What Is Finger Guard On Sewing Machine?
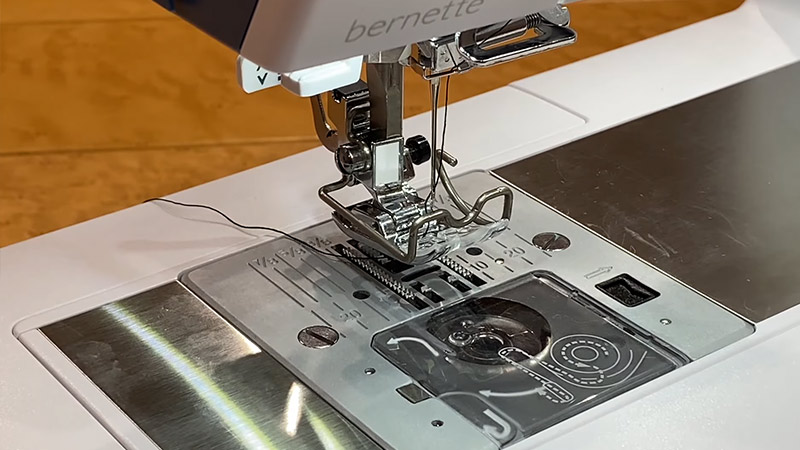
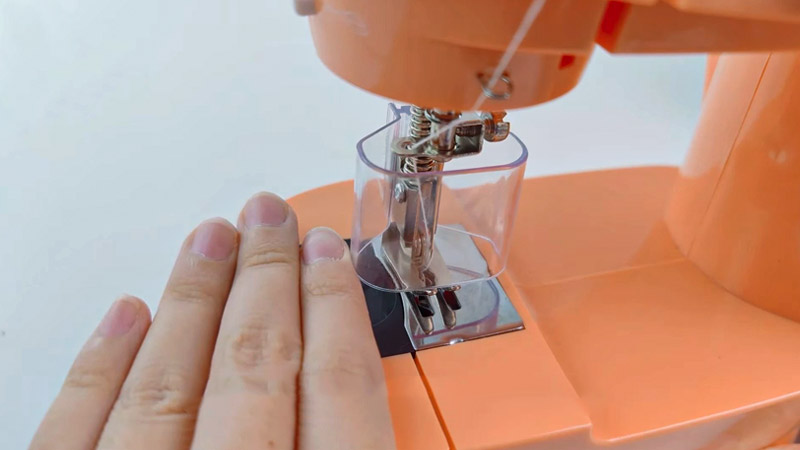
A finger guard for a sewing machine is a crucial safety accessory designed to protect the fingers of the user during sewing. It is typically a small, transparent, or plastic attachment installed near the needle area of the sewing machine.
This guard serves as a barrier, preventing accidental contact between the user’s fingers and the swiftly moving needle.
Especially important for beginners or those working on intricate sewing projects, the finger guard enhances safety by minimizing the risk of painful needle-related injuries.
It acts as a preventive measure, allowing sewers to focus on their craft with confidence, knowing that their fingers are shielded from potential harm.
How To Protect Fingers While Sewing?
Ensuring safety while sewing is paramount, and there are simple yet effective methods to protect your fingers. From using specialized tools to adopting mindful practices, here are seven strategies to safeguard your fingers while sewing:
Invest in a Sewing Machine Finger Guard
Consider installing a sewing machine finger guard as an additional safety measure. These guards are designed to create a protective barrier around the needle area, preventing accidental contact with your fingers.
Wear Safety Gloves
Opt for safety gloves designed for sewing to add an extra layer of protection. These gloves provide a barrier between your fingers and the needle, reducing the risk of injury while maintaining dexterity.
Utilize Sewing Machine Guards
Many sewing machines come with built-in safety features, such as guards or shields. Familiarize yourself with the specific sewing machine guards’ safety mechanisms available on your machine and ensure they are properly in place during operation.
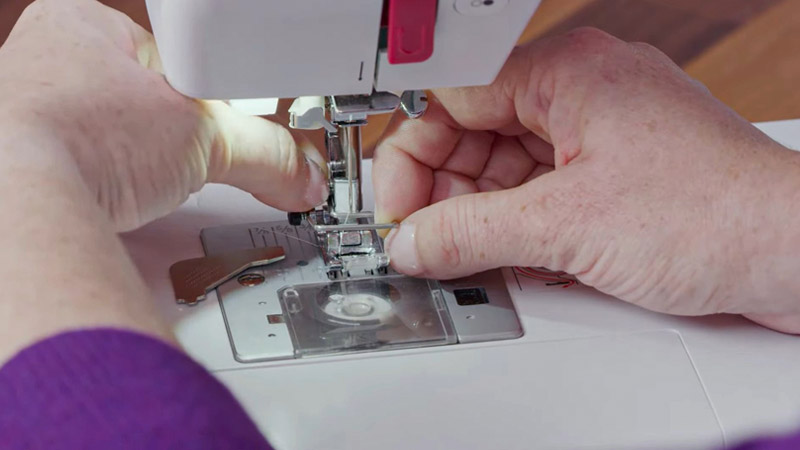
Maintain Proper Hand Position
Practice keeping your hands at a safe distance from the needle while sewing. Maintaining proper hand positioning reduces the likelihood of accidental pricks or injuries, especially when working on intricate details.
Use Tools for Fabric Guidance
Employ tools like tweezers, forceps, or even a stiletto to guide the fabric through the machine. These tools not only aid in precision sewing but also keep your fingers at a safe distance from the needle.
Take Breaks and Rest
Sewing for extended periods can lead to fatigue and decreased focus, increasing the risk of accidents. Take regular breaks to rest your hands, preventing lapses in concentration that could result in injuries.
Educate Yourself on Machine Safety Features
Familiarize yourself with your sewing machine’s safety features and guidelines. Understanding the functions of the sewing machine guard and other safety mechanisms ensures that you can use them effectively to protect your fingers during sewing sessions.
By incorporating these straightforward methods into your sewing routine, you can prioritize safety and minimize the risk of finger injuries, allowing you to enjoy your craft with confidence and peace of mind.
How To Make A Needle Guard Sewing Machine?
Creating a DIY needle guard for your sewing machine is a practical and customizable solution to enhance safety. Here are five simple methods to craft your own sewing machine needle protector:
Plastic Straw Guard
Cut a plastic straw lengthwise and slide it over the needle, creating a protective shield. Secure the ends with tape or glue, ensuring it stays in place while allowing a clear view of your sewing project.
Fabric Scraps Sleeve
Utilize fabric scraps to fashion a sleeve that encases the needle area. Measure and sew the fabric into a snug tube, then slide it over the needle. This soft and flexible guard adds a layer of protection.
Binder Clip Guard
Attach a small binder clip to the machine’s throat plate, creating a makeshift guard. Adjust the position to shield the needle area without obstructing your view, providing a quick and easily adjustable solution.
Masking Tape Barrier
Apply a few layers of masking tape around the needle, creating a barrier. The tape offers a temporary and easily replaceable guard. Ensure it’s securely wrapped to prevent accidental contact with the needle.
Adhesive Bandage Cover
Cut a small piece from an adhesive bandage and affix it around the needle area. The bandage acts as a cushioned guard, providing a soft barrier while remaining easily replaceable for ongoing protection.
These DIY methods for crafting a needle guard allow you to tailor the level of protection to your preferences and sewing needs, ensuring a safer and more comfortable experience at your sewing machine.
How To Make A Finger Guard For Singer Sewing Machine?
Crafting a finger guard for your Singer sewing machine is a practical way to enhance safety and prevent accidental injuries during your sewing sessions. Here are five simple and effective methods to create a universal sewing machine finger guard:
Foam Tubing Sleeve
Cut a piece of foam tubing to the desired length, then slit it lengthwise. Slide the tubing over the edge of the sewing machine where your fingers might come into contact with the needle. The soft and cushioned foam provides a protective barrier.
Adhesive Fabric Bandage
Use an adhesive fabric bandage to create a quick and temporary finger guard. Cut the bandage to the desired size and wrap it around the area near the needle. The bandage acts as a cushion, offering protection while being easily replaceable.
Flexible Plastic Strips
Cut flexible plastic strips from a plastic bottle or sheet and attach them to the sewing machine with adhesive or clips. Ensure they cover the needle area to act as a barrier, providing a clear view of your sewing project while protecting your fingers.
Velcro Straps Guard
Attach small Velcro straps around the edges of the sewing machine near the needle. These straps act as adjustable guards, allowing you to customize the protection according to your preferences while keeping your fingers safe.
Clip-On Binder Dividers
Repurpose clip-on binder dividers as a versatile finger guard. Attach them securely around the needle area using clips or adhesive. The transparent dividers offer visibility and protection simultaneously, ensuring a safer sewing experience.
By incorporating these simple and customizable methods, you can create a finger guard for your Singer sewing machine that aligns with your preferences for safety and comfort. Taking these measures allows you to enjoy your sewing endeavors with added peace of mind.
How To Make An Eye Guard For a Sewing Machine?
Ensuring eye protection while operating a sewing machine is essential for a safe and enjoyable sewing experience. Here are five simple and creative methods to make your eye guard for a sewing machine:
Transparent Plastic Sheet
Cut a piece of clear plastic sheeting and attach it to the sewing machine using clips or adhesive. This method provides a transparent barrier, offering full visibility of your sewing project while protecting your eyes from potential needle-related accidents.
Acrylic or Plexiglass Shield
Acquire a small piece of acrylic or plexiglass and fashion it into a shield that covers the needle area. Secure it in place with adhesive or by attaching it to the machine frame. This sturdy material offers durability and clarity.
Magnetic LED Work Light
Attach a magnetic LED work light to your sewing machine. These lights often come with adjustable arms, allowing you to position the light precisely where needed. This not only illuminates your sewing area but also creates a protective barrier around the needle.
Binder Dividers
Repurpose transparent binder dividers as a makeshift eye guard. Attach them to the sewing machine, positioning them around the needle area. This simple solution provides a clear view while acting as a protective shield.
Adjustable Arm Desk Lamp
Invest in an adjustable arm desk lamp with a magnifying glass. Position the magnifying glass over the needle area to create a protective barrier.
This method not only shields your eyes but also enhances visibility, making intricate sewing tasks more manageable.
By incorporating these creative and straightforward methods, you can fashion an effective eye guard tailored to your sewing preferences.
Prioritizing eye safety ensures a secure and comfortable sewing environment, allowing you to focus on your creative endeavors with confidence.
FAQs
How does a finger guard enhance safety during sewing?
A finger guard creates a physical barrier around the needle area, shielding the user’s fingers from potential accidental pricks. By acting as a protective barrier, it significantly reduces the likelihood of injuries while sewing.
Can a finger guard be customized for different sewing machines?
Yes, many finger guards are adaptable and can be customized to fit different sewing machine models. Adjustable and flexible designs ensure that the guard fits securely around the needle area, protecting various machines.
Are there different types of finger guards available for sewing machines?
Yes, there are various types of finger guards, ranging from foam tubing sleeves and adhesive bandages to flexible plastic strips and clip-on dividers. Crafters can choose the type that best suits their preferences for safety and comfort.
Do finger guards hinder visibility while sewing?
No, well-designed finger guards prioritize transparency and visibility. Materials like clear plastic or transparent dividers allow crafters to maintain a clear view of their sewing projects while ensuring the necessary protection for their fingers.
Are finger guards only for beginners, or should experienced crafters use them too?
Finger guards are essential for crafters of all skill levels. Accidents can happen to anyone, and a finger guard provides an extra layer of protection, offering peace of mind for both beginners and seasoned artisans during their creative sewing endeavors.
Conclusion
The finger guard on a sewing machine serves as a crucial element in creating a safe and secure sewing environment. It acts as a barrier between the nimble fingers of the crafter and the fast-moving needle, minimizing the risk of painful accidents.
Whether using foam tubing, adhesive bandages, or other creative solutions, incorporating a finger guard ensures that your focus remains on the joy of sewing without compromising on safety.
As a staple in the world of textile crafting, the finger guard stands as a testament to the industry’s commitment to fostering a secure and enjoyable creative process for individuals of all skill levels.
Leave a Reply