In the intricate world of knitting, where each stitch is a brushstroke on a canvas of yarn, the term “M1” holds a special place.
Abbreviated from “Make One,” M1 is a pivotal technique that empowers knitters to shape their creations, add captivating patterns, and achieve the perfect fit.
M1 increases involve the artful addition of stitches, unveiling a realm of possibilities for both novice and seasoned knitters alike.
As we delve deeper into this knitting enigma, we will unravel the mysteries of M1, exploring its various forms, applications, and the transformative power it wields within the craft.
What Is M1 in Knitting?
In knitting, “M1” stands for “Make One” and is a common increase technique used to add a new stitch to your knitting without using a pre-existing stitch as a starting point.
This increase is crucial for shaping your knitting projects, creating decorative patterns, or forming buttonholes.
To execute an M1 increase, you typically lift the horizontal strand of yarn that runs between two stitches, place it onto the left-hand needle, and then knit or purl into this lifted strand, depending on your pattern’s requirements. This creates a new stitch, increasing your stitch count by one.
There are variations of M1 increases, such as M1R (Make One Right) and M1L (Make One Left), which result in stitches that slant to the right or left, respectively, creating decorative shaping in your work.
Understanding and using M1 increases correctly is fundamental for producing well-fitting and visually appealing knitwear, making it an essential skill for knitters of all levels.
How to Make an m1p Increase in Knitting?
To make an M1P (Make One Purl) increase in knitting, you are essentially creating a new purl stitch between two existing stitches on your needle, and it slants to the left.
Here’s a step-by-step guide on how to do it:
Materials Needed:
- Knitting needles
- Yarn
Instructions:
1. Position Your Needles
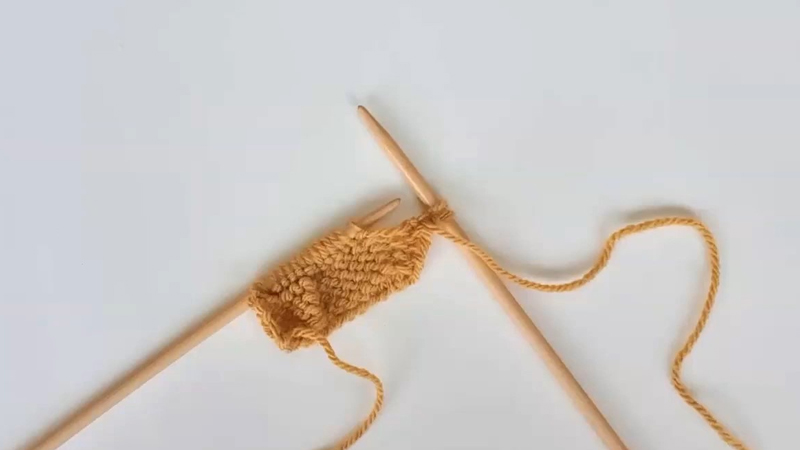
Hold your knitting needles comfortably with your left hand. The stitches you’ve already worked on should be on your left-hand needle, while your right-hand needle should be empty and ready to work the increase.
2. Identify the Stitch
Take a moment to identify the stitch on your left-hand needle into which you want to make the M1P increase. This stitch should be adjacent to the one you’ve just knitted or purled.
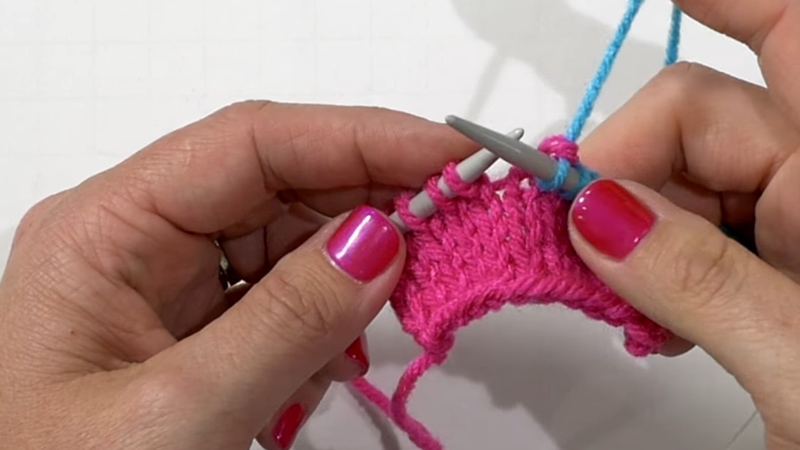
3. Insert the Right Needle
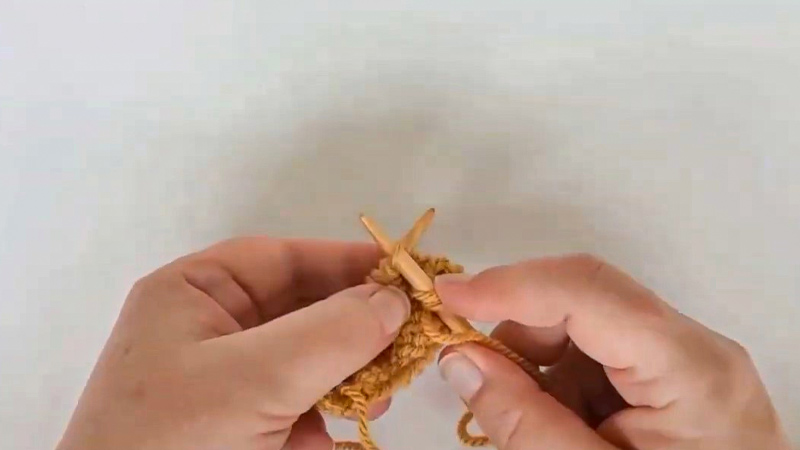
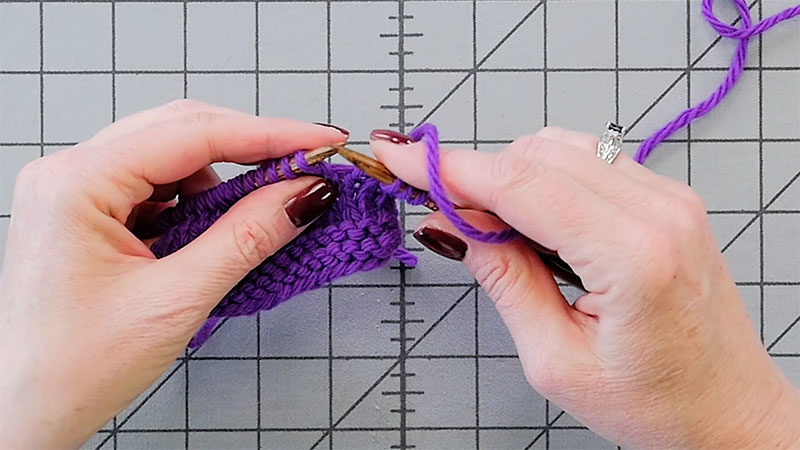
With your right-hand needle, insert it from the front to the back into the strand of yarn that runs between the two stitches.
The right needle should go in between the stitches, entering the strand of yarn from left to right.
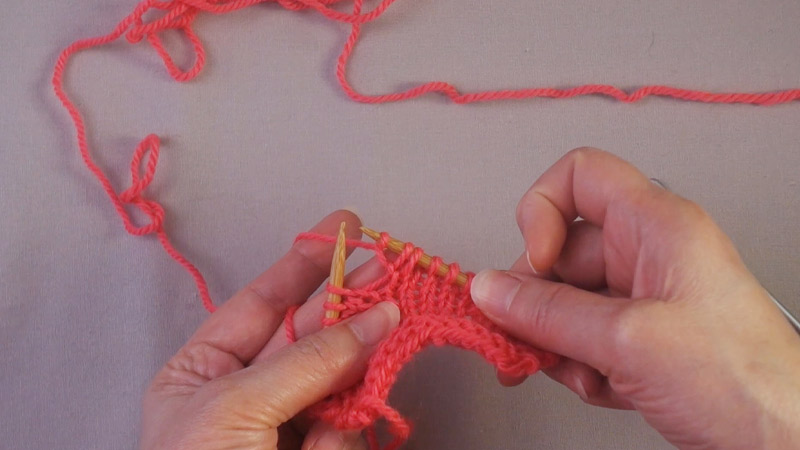
4. Create a Purl Stitch
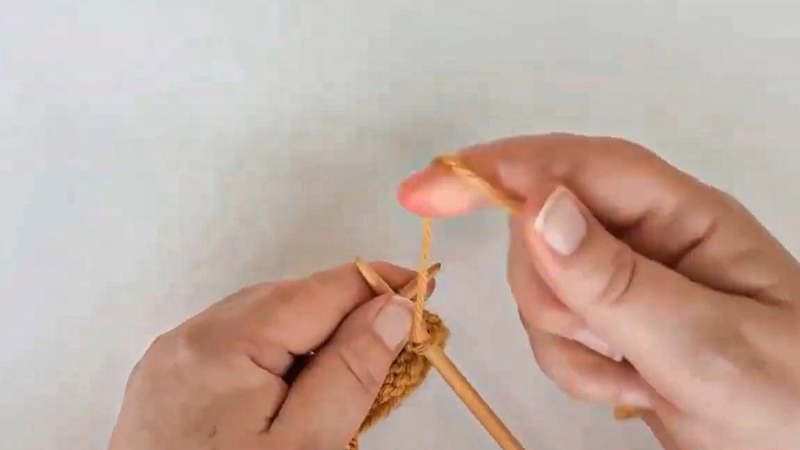
Once the right-hand needle is through the strand, wrap the yarn counterclockwise around the right-hand needle, just like you would for a regular purl stitch. Then, pull the yarn through to the front of your work.
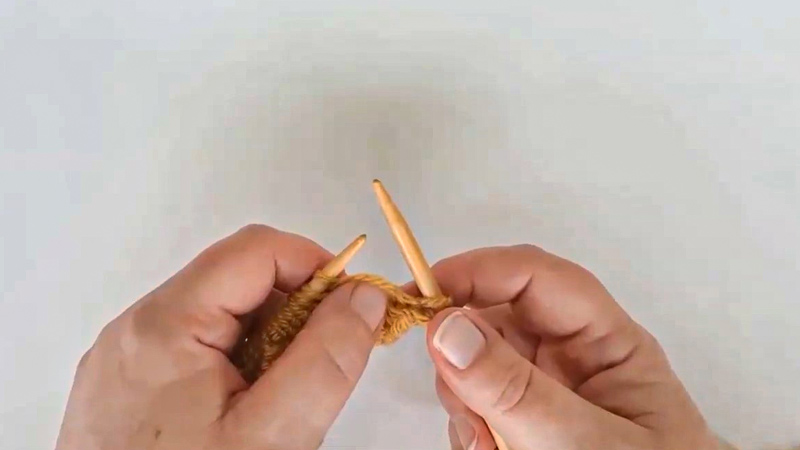
5. Drop the Old Stitch
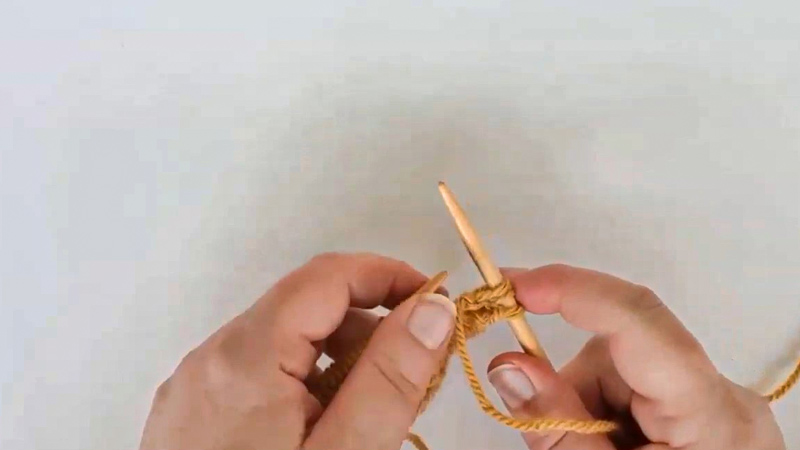
With the new stitch securely on your right-hand needle, carefully slip the original stitch from your left-hand needle. You’ve now successfully made an M1P increase.
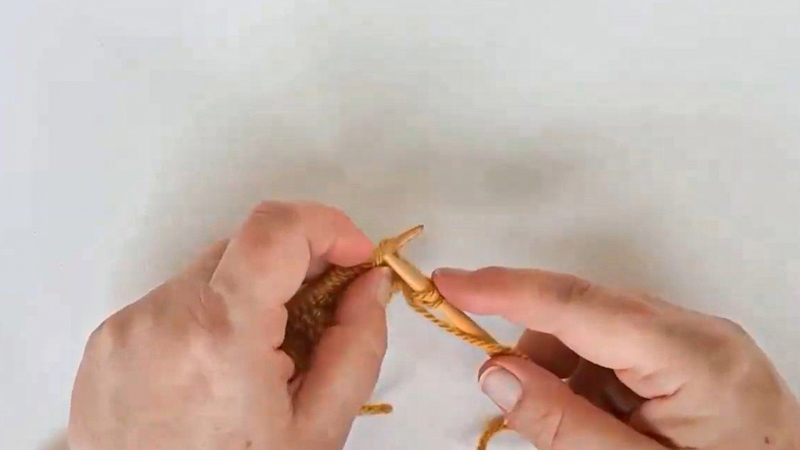
6. Tighten the New Stitch
Ensure that the new stitch you’ve just created is snug on your right-hand needle. You want it to be firm but not overly tight, so your knitting maintains the correct tension.
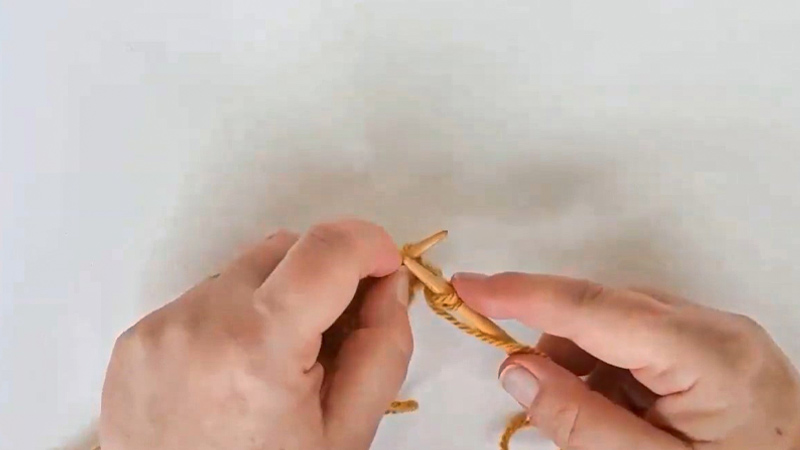
7. Continue Knitting
With the increase made, you can now continue knitting the rest of your row or follow the instructions provided in your pattern.
Keep in mind that maintaining a consistent tension throughout your knitting is essential for achieving a polished finish.
Tips for Successful M1 Increases
Making successful M1 (Make One) increases in knitting is important to maintain a neat and even fabric.
Here are some tips to help you achieve great results:
Choose the Right M1 Variation
There are different variations of the M1 increase, such as M1R (Make One Right) and M1L (Make One Left).
These variations create different slants in your fabric. Choose the one that fits your project’s needs, and be consistent in your choice throughout the pattern.
Use a Lifted Increase for Neatness
If you want a virtually invisible increase, consider using the “lifted” M1 increase. For example, the “Lifted Increase Right” involves lifting the horizontal strand between the stitches, placing it on the left needle, and knitting or purling into the back of it.
Maintain Tension
Ensure that the new stitch you create during the M1 increase is neither too tight nor too loose. Consistent tension will help your work look more polished.
Practice on Scrap Yarn
If you’re new to M1 increases or trying a new technique, practice on a swatch or scrap yarn before working it into your actual project.
This way, you can get a feel for the increase without worrying about making mistakes in your main work.
Count Your Stitches
Keep track of your stitches and increases. It’s easy to lose count, especially in more complex patterns.
Use stitch markers or make a habit of counting periodically to ensure you haven’t missed any increases or accidentally added extras.
Read the Pattern Carefully
Follow the pattern instructions closely. Different patterns may have specific instructions for where and how to make the M1 increases. Pay attention to any charts or written instructions.
Check for Twisted Stitches
After making an M1 increase, double-check that the new stitch isn’t twisted on your needle. A twisted stitch can create an irregular look in your fabric.
Practice Makes Perfect
Like any knitting technique, practice is key. The more you practice M1 increases, the more comfortable and proficient you’ll become. This will help you achieve a consistent appearance in your knitting.
Take Your Time
Don’t rush through M1 increases, especially if they are crucial for the project’s shaping. Take your time to ensure you execute them correctly.
Fix Mistakes Promptly
If you notice a mistake in your M1 increase, consider fixing it right away. Trying to correct a mistake a few rows later can be more challenging and affect the overall look of your work.
Common Mistakes to Avoid
In knitting, there are common mistakes that beginners and even experienced knitters can make.
Here’s a list of these common mistakes to help you avoid them and create more successful and enjoyable knitting projects:
Not Checking Gauge
Skipping the step of checking your gauge can lead to projects that turn out too large or too small. Always knit a gauge swatch to ensure your tension matches the pattern’s requirements.
Not Reading the Pattern Thoroughly
Rushing into a project without fully understanding the pattern instructions can lead to confusion and errors.
Take the time to read through the entire pattern before you begin, and make sure you understand any special techniques or abbreviations used.
Ignoring Abbreviations
Knitting patterns often use standard abbreviations. Not familiarizing yourself with these abbreviations can result in mistakes. Keep a knitting abbreviation reference handy or use the pattern’s glossary.
Forgetting to Count Stitches
Losing track of your stitch count can result in uneven patterns or shaping errors. Use stitch markers, counters, or a simple tally system to keep track of your stitches, especially in complex patterns.
Not Checking for Twisted Stitches
Twisted stitches can create an uneven texture in your fabric. Ensure your stitches are oriented correctly on your needle and not twisted.
Ignoring Yarn Substitutions
Using a different yarn than the one recommended in the pattern can lead to unexpected results. Pay attention to yarn weight, fiber content, and yardage when substituting yarn.
Not Using a Lifeline
In complex or intricate patterns, not using a lifeline (a thread woven through a row of stitches) can be risky. Lifelines can save you from having to rip out entire rows or sections if you make a mistake.
Not Checking Tension Regularly
Your knitting tension can change as you knit, leading to variations in the fabric’s appearance. Periodically check your tension and adjust it as needed to maintain a consistent gauge.
Ignoring Blocking
Blocking your finished project can make a significant difference in its appearance and drape. Don’t skip this important step, especially for lace or intricate patterns.
Not Counting Rows
For projects with multiple pieces or sections, like sleeves or fronts and backs, not counting rows can result in uneven pieces. Keep track of your rows to ensure they match.
Not Fixing Mistakes Early
If you notice a mistake, it’s often easier to fix it sooner rather than later. Don’t be afraid to use techniques like tinking (unknitting) or frogging (ripping out rows) to correct errors promptly.
Not Paying Attention to Tension When Increasing or Decreasing
Increasing or decreasing stitches can affect your tension. Be mindful of maintaining consistent tension when executing these actions.
Not Using Stitch Markers
Stitch markers can help you keep track of pattern repeats or important sections in your knitting. Failing to use them can lead to confusion.
Not Weaving in Ends Securely
Loose or poorly woven-in yarn ends can unravel over time, ruining your hard work. Take the time to weave in ends securely and trim them neatly.
Not Relaxing While Knitting
Tension in your hands and shoulders can affect your knitting. Practice knitting with relaxed hands and take breaks to stretch if needed.
FAQS
Can I use M1 increases for lace knitting projects?
Yes, M1 increases can be used in lace knitting to create decorative patterns and add texture.
Are there any alternative methods for increasing stitches in knitting?
Yes, besides M1 increases, other common methods include yarn overs (YO), knit front and back (KFB), and lifted increases (RLI and LLI).
Can I use M1 increases in crochet projects as well?
No, M1 increases are specific to knitting and cannot be directly applied to crochet.
Do M1 increases work well with textured or bulky yarns?
M1 increases can be used with a variety of yarn types, but it’s important to maintain even tension.
Can M1 increases be used for decreasing stitches in knitting?
No, M1 increases are specifically designed to add stitches. To decrease stitches in knitting, you’ll need to use techniques like knitting two together (K2tog) or slip-slip-knit (SSK), among others.
To Recap
In knitting, the M1 increase stands as a versatile and indispensable tool. From shaping garments to crafting intricate patterns, it empowers knitters to express their creativity with each meticulously executed stitch.
As our journey into the world of M1 in knitting comes to a close, it’s evident that this technique transcends its simplicity, offering endless opportunities for innovation and artistry.
As you continue on your knitting adventures, remember that M1 is not just an abbreviation; it’s a gateway to endless possibilities, a means to transform a simple strand of yarn into something truly extraordinary.
Embrace it, practice it, and let it guide your knitting endeavors to new heights.
Leave a Reply