Embarking on a faux fur sewing project can be a luxurious and rewarding experience, but selecting the appropriate needle is crucial for achieving professional-looking results.
The unique texture and thickness of faux fur present challenges that require careful consideration when it comes to stitching. This comprehensive guide will unravel what needle to sew faux fur and how to install it.
Whether you’re crafting cozy blankets, stylish garments, or plush accessories, the right needle can make all the difference in the outcome of your project.
From avoiding snags to ensuring smooth stitches, we’ll explore the various needle options available and discuss their benefits for faux fur fabrics.
Say goodbye to frustration and hello to a seamless sewing experience as we navigate the world of needles, helping you achieve flawless and envy-worthy faux fur creations.

What Needle To Sew Faux Fur?
Faux fur, often mimicking the look and feel of real fur, poses specific challenges for sewists. Its dense fibers can be prone to snags and puckering, and using the wrong needle can lead to frustration and less-than-ideal results.
To overcome these challenges, it’s essential to select a needle that complements the characteristics of faux fur.
Types of Needles for Faux Fur
Choosing the right needle for sewing faux fur can significantly affect your project’s outcome. Here’s a closer look at various needle types tailored for different faux fur textures and thicknesses:
Universal Needles h4
While great for general sewing, universal needles may find faux fur challenging due to its thickness. Their limited success with dense fabrics makes them less ideal for faux fur projects.
Ballpoint Needles
Tailored for knit fabrics, ballpoint needles can easily navigate stretchy faux fur. The rounded tip is a guardian against snags, smoothly sliding between fibers without piercing.
Stretch Needles
Similar to ballpoint needles, stretch needles complement faux fur with elasticity. The elongated eye accommodates specialty threads and minimizes friction during stitching.
Jeans/Denim Needles
Renowned for durability, jeans needles stand up to the thickness of faux fur. It is ideal for robust projects, like attaching faux fur to heavier fabrics, where a sturdy needle is crucial.
Chenille Needles h4
Featuring a large eye and a sharp point, chenille needles excel with thick fabrics like faux fur. Perfect for adding intricate decorative stitches and detailing to elevate your faux fur creations.
Whether you’re crafting a cozy faux fur blanket or a stylish garment, selecting the right needle ensures a seamless stitching experience and impeccable results.
Choosing the Right Size
Apart from the type of needle, selecting the right size is equally important. The thickness of the faux fur should dictate your needle size choice. A size 90/14 or 100/16 needle is often recommended for standard faux fur. However, thicker varieties may require an even larger size, such as 110/18.
Tips for Successful Faux Fur Sewing
Here are some pro tips to help you sew faux fur without any damage:
Test Stitches on Scrap Fabric
Before diving into your main project, test different needles and stitches on a scrap piece of faux fur. This allows you to observe how the needle interacts with the fabric and make adjustments as needed.
Use a Walking Foot
A walking foot helps feed both the top and bottom layers of fabric evenly, preventing shifting and bunching. It is especially beneficial when working with thick and plush faux fur.
Consider Hand Basting
Hand basting can help align the layers of faux fur before machine stitching. This extra step ensures better accuracy and minimizes the chances of the fabric slipping.
Trim Seam Allowances
Faux fur can be bulky, so trim seam allowances to reduce excess fabric and minimize bulk in seams. This ensures a cleaner finish and makes the garment or project more comfortable to wear.
Faux fur fibers can accumulate in the machine, affecting its performance. Clean your machine regularly to prevent buildup and maintain smooth stitching.
Whether you opt for a ballpoint, stretch, jeans, or chenille needle, consider the fabric’s thickness and characteristics to guide your decision.
How to Sew Faux Fur with a Sewing Machine?
Sewing faux fur with a sewing machine can be a rewarding experience if done with the right techniques and tools. Follow these step-by-step instructions on sewing fur to achieve professional-looking results on your faux fur projects.
Preparation
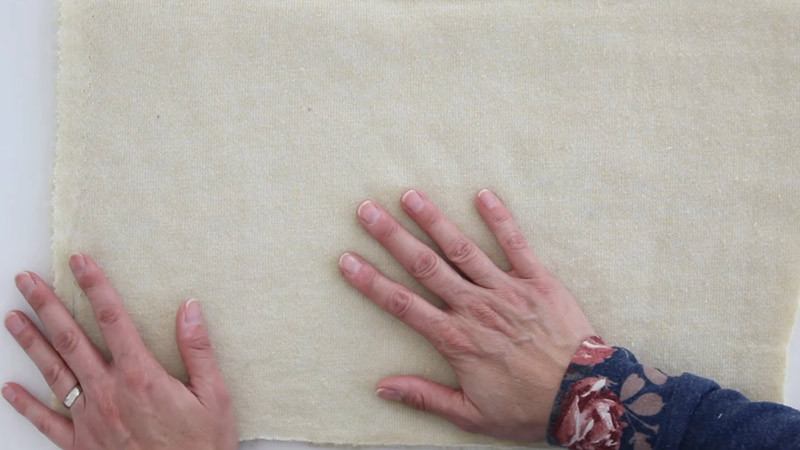
Before you learn how to sew fur together, lay out your faux fur fabric on a clean, flat surface. Brush the fur lightly with a pet brush or your fingers to ensure it’s smooth and free of loose fibers. This step helps minimize shedding during and after sewing.
Pattern Placement
If you’re using a sewing pattern, carefully place and pin it onto the backside of the faux fur. Keep in mind the direction of the fur nap (the direction in which the fur lies), and make sure all pattern pieces align with this direction.
Cutting
Use a pair of sharp scissors to cut the faux fur fabric. Cut only through the backing, avoiding the fur fibers as much as possible. This helps maintain a neat and professional appearance on the fur side.
Choose the Right Needle
Select the appropriate needle for your faux fur type. For standard faux fur, a ballpoint or stretch needle is suitable. If the faux fur is thicker or has a high pile, consider using a jeans or chenille needle for better penetration.
Thread Selection
Choose a thread color that matches or complements the faux fur. A thread that blends well will create discreet stitches, while a contrasting thread can be used for decorative effects.
Install the Chosen Needle
Install the selected needle into your sewing machine according to the machine’s manual. Ensure it is securely in place, and double-check that the machine is threaded correctly.
Set your sewing machine to a slightly longer stitch length than usual. This prevents the faux fur from getting caught in the machine while needling fake fur fabrics, and it helps maintain a smooth seam.
Install a Walking Foot (Optional)
While not mandatory, using a walking foot can greatly assist in sewing faux fur. A walking foot helps feed both the top and bottom layers evenly, preventing fabric shifting and bunching. This is particularly useful when working with the thickness of faux fur.
Pin or Clip Layers Together
Before sewing, pin or clip the layers of faux fur together, ensuring they stay aligned. This step helps prevent slipping or uneven sewing, especially if you’re working with multiple layers.
Start Sewing
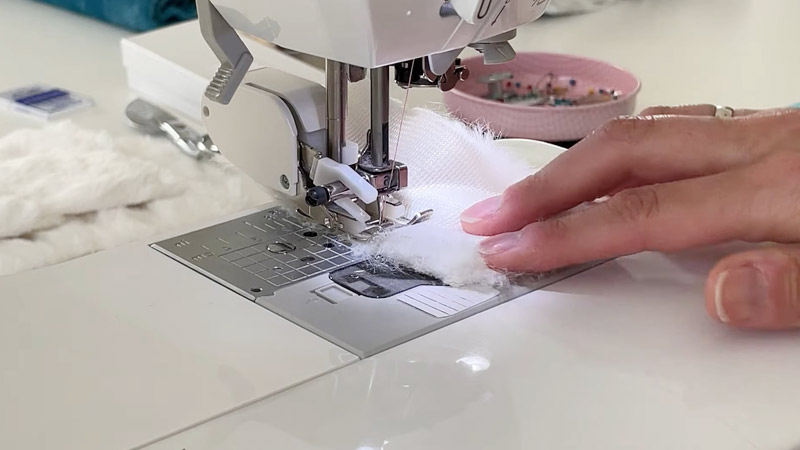
Choose the best sewing machine for faux fur. Begin sewing faux fur along the marked or pinned lines of your pattern. Go slowly, allowing the machine to handle the thickness of the faux fur. If you encounter resistance, use the handwheel to guide the needle through thicker areas manually.
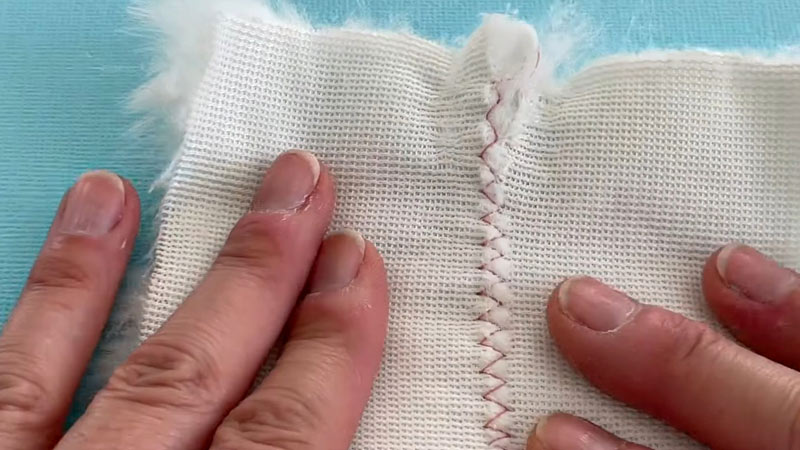
Backstitch at the Beginning and End
Backstitch at the beginning and end of each seam to secure the stitches. This prevents the seams from unraveling over time.
Trim the excess seam allowance with scissors to reduce bulk. Be careful not to cut into the fur fibers.
Check and Adjust
Periodically check the fur side of your project to ensure the fur is lying in the desired direction and that no fibers are caught in the stitching. Use a seam ripper if adjustments are needed.
Final Touches
Once all seams are sewn, brush the faux fur again to remove any loose fibers and give your project a polished finish.
By following these steps and practicing on scrap pieces first, you can sew faux fur confidently with your sewing machine. With the right needle, technique, and a bit of patience, you’ll create stunning faux fur projects that are as beautiful as they are cozy.
How to Make a Fur Mantle?
Creating a fur mantle can add a touch of elegance and warmth to your home decor. Follow these step-by-step instructions to make your own fur mantle that will become a focal point in any room.
Measure and Plan
Determine the dimensions of your fur mantle. Measure the width of your fireplace or the area where you intend to place the mantle. Decide on the desired length, considering the proportions of your space and the fur fabric’s nap direction for a cohesive look.
Cutting the Faux Fur
Lay out the faux fur fabric on a flat surface with the fur side down. Use your measurements to mark and cut the fur fabric to the desired size. Remember to cut through the backing of the fur fabric, avoiding the fur fibers as much as possible to maintain a neat appearance.
Cutting the Lining
If you choose to line your fur mantle, repeat the cutting process with the lining fabric. The lining can add a luxurious feel and help the mantle drape nicely. Cut it to the same dimensions as the faux fur.
If you’re using a lining, pin or clip it to the wrong side of the faux fur, ensuring all edges align. If you’re not using a lining, proceed to the next step.
Sew the Edges
Using a sewing machine, stitch around the edges of the faux fur fabric, leaving a small seam allowance (approximately ½ inch or as desired). If you’re using a lining, sew through both layers. Backstitch at the beginning and end to secure the stitches.
Create the Neck Opening
Determine the location and size of the neck opening. Measure and mark the center point of one edge for the neck opening.
Cut a straight line from the edge towards the center, creating the opening. The opening size depends on personal preference and the style you want to achieve.
Finish the Neckline
To finish the neckline, you can fold the raw edges of the neck opening inward and sew them down for a clean look. Alternatively, you can add a decorative trim or bias binding to the neckline for added flair.
FAQs
What happens if I use the wrong needle for sewing faux fur?
Using the wrong needle for sewing faux fur can lead to various issues, including snags, puckering, and difficulty in stitching. A too-thin needle may break, while one too-thick can leave large, noticeable holes in the fabric.
Can I use a regular sewing machine needle for faux fur projects?
While a regular sewing machine needle can be used for faux fur, it may not be the most effective choice. Faux fur’s dense fibers and thickness often require a specialized needle.
What size is the best needle for sewing faux fur?
The needle size for sewing faux fur depends on the thickness of the fabric. A size 90/14 or 100/16 needle is commonly recommended for standard faux fur.
Do I need a special foot for sewing faux fur on my sewing machine?
While it’s not mandatory, using a walking foot is highly beneficial when sewing faux fur. A walking foot helps feed both the top and bottom layers of fabric evenly, reducing the chances of the fabric shifting or bunching.
How can I prevent faux fur from shedding during and after sewing?
Faux fur can shed fibers during the sewing process, leading to a mess in your sewing machine and work area. To minimize shedding, brush the faux fur lightly before sewing to remove loose fibers.
Conclusion
Mastering the art of faux fur sewing begins with understanding the importance of selecting the right needle for the job.
With the guidance provided in this comprehensive guide, you are now equipped to navigate the intricate world of needles and make informed choices that will elevate your sewing projects to new heights.
As you embark on your faux fur sewing journey, experiment with different needle types and sizes to find the perfect match for your specific project.
Whether you’re a seasoned seamstress or a novice crafter, the right needle can be the key to achieving professional-looking results and transforming your faux fur creations into works of art.
So, armed with your newfound knowledge, dive into your next sewing venture with confidence, knowing that you have the tools to stitch your way to success and create faux fur masterpieces that are as impressive as they are cozy.
Leave a Reply