Embarking on the captivating journey of 3D origami crafts requires more than just artistic finesse; the choice of paper plays a pivotal role in the success of your creations.
Assembling intricate folds and layers demands a paper that strikes the right balance between flexibility and sturdiness. So, what paper should you use for 3D origami?
In this guide, we delve into the world of paper options for 3D origami, exploring textures, weights, and finishes to help you make informed decisions.
We’ll also help you decide how to choose the right type of paper depending on your project type. Whether you’re a seasoned origami enthusiast seeking new challenges or a beginner eager to explore this mesmerizing art form, understanding the nuances of paper selection is key.
Join us as we unravel the mysteries behind the perfect paper for 3D origami and unlock the potential to bring your imaginative creations to life.
What Paper To Use For 3D Origami?
Selecting the ideal paper for 3D origami is a nuanced process that significantly influences the outcome of your creations.
Let’s explore the diverse options available, offering insights into textures, weights, and finishes to help you make informed choices for your 3D origami projects.
Understanding Paper Weight and Thickness
The weight of the paper is a critical factor in 3D origami. Lighter-weight papers are suitable for smaller and more delicate creations, allowing for intricate folding without excessive stress on the paper. Conversely, heavier papers provide stability and support for larger, more elaborate structures.
Standard origami paper typically falls in the range of 70-90 gsm (grams per square meter), but you may experiment with different weights based on your project’s size and complexity.
Exploring Paper Textures
The texture of the paper adds depth and character to your 3D origami creations. Smooth, untextured papers are versatile and easy to fold, making them suitable for beginners.
Conversely, textured paper can enhance the visual appeal of your projects, adding a tactile dimension to the finished piece.
Colorful Choices: Single or Double-Sided?
Origami paper is often available in a variety of single and double-sided options. Single-sided paper is colored on one side and white on the other, offering a clean and uniform appearance.
On the other hand, double-sided paper features color on both sides, allowing for more visually dynamic creations. Your choice depends on the design and whether you want color variations within the folds.
Specialty Papers for Specific Effects
For unique and eye-catching effects, consider specialty papers designed for origami. Metallic, foil or iridescent papers can add a touch of glamour to your 3D origami projects.
Remember that these papers may be more challenging to fold due to their thickness and coating. They are best suited for projects that prioritize aesthetics over intricate folding details.
Origami Kami: A Traditional Favorite
Origami Kami, or traditional origami paper, is a popular choice for 3D origami. It is typically square, comes in various sizes, and has a consistent weight.
The smooth surface of Origami Kami allows for crisp folds, making it suitable for a wide range of projects. Its availability in numerous colors and patterns makes it a versatile option for both beginners and experienced folders.
Tissue Paper: A Delicate Option
Tissue paper, while delicate, can impart a soft and ethereal quality to your 3D origami creations. It is particularly suitable for projects where translucency is desired.
Tissue paper is available in various colors and is often used to craft delicate flowers and other intricate designs. Due to its delicate nature, it may require additional care during the folding process.
Mulberry Paper: Handmade Elegance
Mulberry paper, also known as rice paper, is handmade and possesses a unique texture that adds an element of elegance to your projects. This 3D origami paper is often used for creating intricate details and textures in 3D origami sculptures.
Mulberry paper comes in various weights and can be a wonderful choice for projects that demand a refined finish.
Factors to Consider for Wet-Folding Techniques
Wet-folding is a technique where the paper is dampened slightly during folding, allowing for more sculptural and organic forms.
If you plan to explore wet-folding techniques in your 3D origami, opt for a paper that can withstand some moisture without losing its structural integrity.
Practical Tips for Paper Selection
Embarking on an origami project? Here are some practical tips to guide your paper selection for the ultimate folding experience.
Experimentation is Key
Don’t hesitate to explore a variety of papers for different projects. Each type of paper introduces unique characteristics to the folding process, influencing the final aesthetic of your creation.
Consider Project Size
Tailor the weight of the paper to match the scale and intricacy of your 3D origami masterpiece. Larger structures benefit from sturdier paper, ensuring they maintain their form and stability.
Adapt to Your Skill Level
Beginners, start with standard origami paper and gradually transition to more specialized options as your skills evolve. This progressive approach enhances your comfort and mastery of different folding techniques.
Explore Combinations
Elevate your origami artistry by blending various papers within a single project. Introduce contrast and visual interest by using textured paper for intricate details and smoother varieties for the foundational structure.
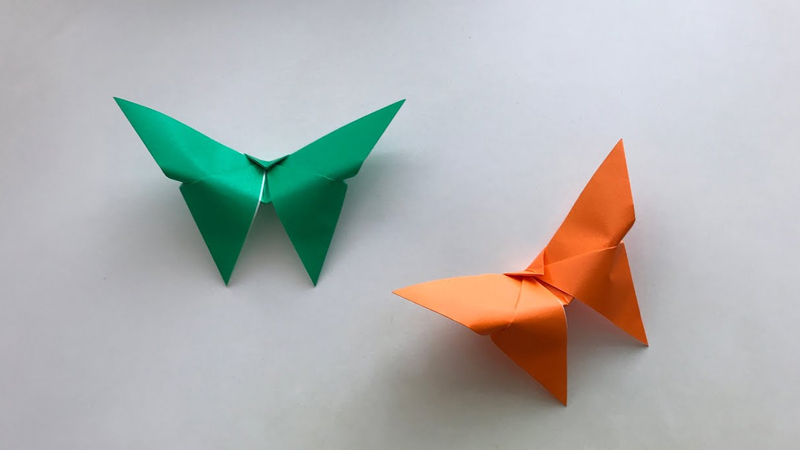
How to Make 3D Origami?
Creating 3D origami is an intricate and rewarding art form that involves folding multiple sheets of paper into modular units and assembling them to form a three-dimensional structure. Follow this comprehensive guide to embark on your 3D origami journey.
Basic Folding Techniques
Mastering the fundamental folding techniques is the gateway to successful origami. These techniques lay the foundation for creating intricate and beautiful 3D origami pieces. Let’s delve into each method:
Valley Folds
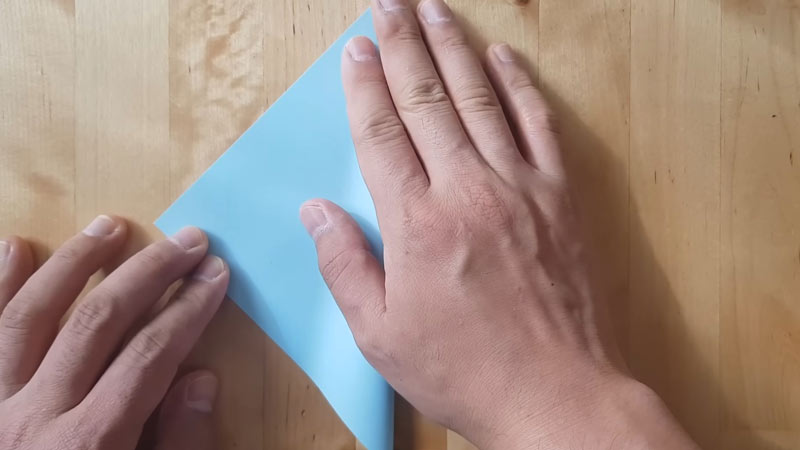
Origami begins with the foundational valley fold. Fold a square sheet of paper inward along the diagonal, forming a distinct “V” shape. Ensure that the open side of the paper faces down during this fold.
The result is a crisp, triangular form that is the starting point for various origami creations.
Mountain Folds
Complementing the valley fold is the mountain fold, adding dimension to your origami creations. Fold the paper along the diagonal, this time with the open side facing up. The fold creates a prominent peak or “mountain” shape.
The interplay of valley and mountain folds introduces depth to your origami models, allowing for intricate and dynamic structures.
Inside Reverse Folds
Transitioning from external to internal manipulation, inside reverse folds add complexity to your origami design. Open a folded paper section and delicately reverse the fold inward, creating a fresh crease.
This technique introduces hidden layers within the paper, allowing for intricate detailing in your models.
Outside Reverse Folds
Building on the concept of reverse folding, the outside reverse fold is performed on the exterior of the paper. Open a folded section and skillfully reverse the fold outward.
This technique allows for the manipulation of surface layers, creating decorative elements and enhancing the overall aesthetic of your origami model.
Creating the Basic Unit
Embarking on your origami journey requires mastering the art of creating the basic unit. Follow these step-by-step instructions to transform a square sheet of paper into the fundamental building block for intricate 3D origami structures:
Start with a Square
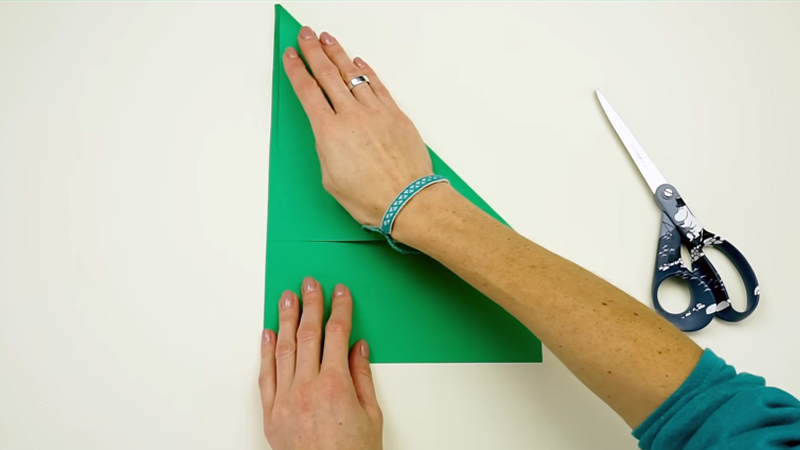
The foundation of your origami masterpiece is a square piece of origami paper. If you don’t have one, ingeniously fold a rectangular sheet into a square, ensuring a symmetrical base, and trim the excess.
The square serves as the canvas for your creative folds. The choice of paper color and size at this stage influences the aesthetic of your final creation.
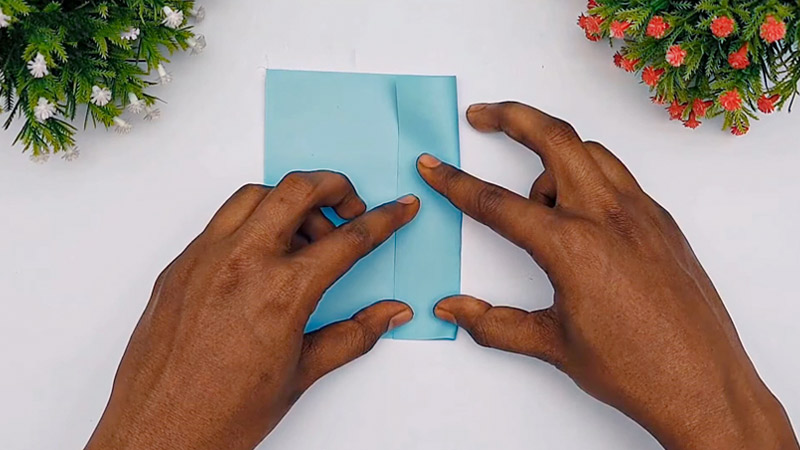
Fold Diagonally
Initiate the folding process with a valley fold. Fold the paper inward along the diagonal, forming a “V” shape, then unfolding to create a crease.
Repeat this step on the opposite diagonal, establishing a cross-like pattern on the paper. The diagonal folds are pivotal for aligning subsequent folds accurately.
Create Horizontal and Vertical Creases
Extend the folding technique by creating horizontal and vertical creases. Fold the paper in half horizontally, then vertically, adding additional creases to the canvas.
These creases act as reference points for subsequent folds, aiding in the symmetrical construction of the basic unit.
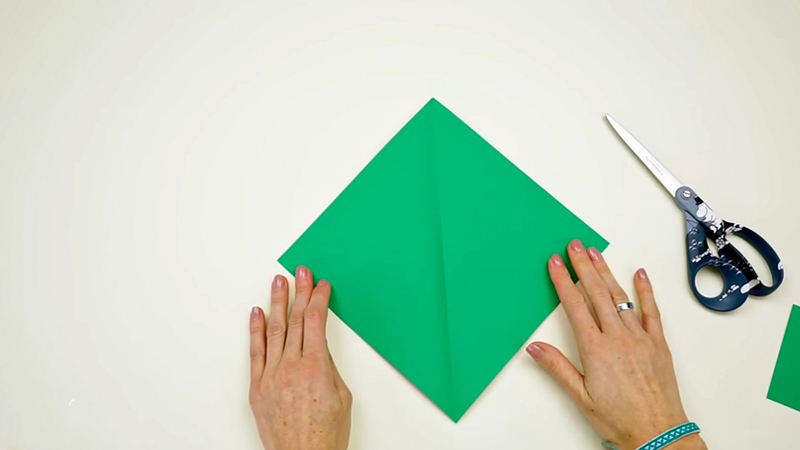
Collapse into a Triangle
Utilize the established creases to collapse the paper into a triangle gracefully. The diagonal folds intersect, transforming the square into a triangular form. This marks a pivotal step in origami, laying the groundwork for intricate layering.
Collapse Again
Elevate the complexity by further collapsing the triangle. Bring the edges towards the center crease, forming a smaller triangle within. This double-fold refines the shape, preparing the basic unit for its final stages.
The secondary collapse refines the structure, creating more intricate folds in subsequent steps.
Finalize the Basic Unit
Complete the transformation by flattening the smaller triangle and folding the bottom corners up. This results in a diamond shape, representing the finalized basic unit.
The diamond structure forms the core element that repeats to construct larger, more elaborate 3D origami designs. The finalization of the basic unit is a moment of accomplishment.
Building Modular Units
Repeat the process to create numerous identical basic units. The number you need depends on the complexity and size of your desired 3D structure.
Connect the units by sliding the flaps of one into the pocket of another. The interlocking design forms a chain of units.
Advanced Techniques
Explore various folding techniques to add depth and complexity to your units. Mixing valley, mountain, inside reverse, and outside reverse folds can create intricate patterns.
Enhance the visual appeal by using different colored papers or textures. Experiment with combinations to create a visually stunning 3D origami piece.
FAQs
Can you use cardstock for origami?
While cardstock is thicker than traditional origami paper, it can still be used for certain origami projects. Cardstock is less flexible than standard origami paper, making intricate folds more challenging.
What size of paper is suitable for 3D origami projects?
A common 3D origami paper size is 6×6 inches (15×15 cm) for standard origami paper. Adjust the size based on the complexity of your project; larger structures may benefit from bigger paper for stability.
Is it possible to use colored paper for 3D origami?
Yes, using colored paper adds vibrancy and character to your 3D origami creations. It’s a great way to introduce contrast and make your projects visually appealing. Experiment with different color combinations for unique effects.
Can I mix different types of paper in one 3D origami project?
Absolutely! Mixing different types of paper adds depth and visual interest to your 3D origami paper craft. For example, combining textured paper for details and smooth paper for the main structure can create a captivating contrast.
Are there specific papers for more complex origami 3D projects?
Consider using sturdier paper to maintain stability for larger and more intricate structures. Some artists prefer specialty origami paper with foil or metallic finishes for added flair. Experimentation is key, so feel free to explore various papers based on your requirements.
Conclusion
In the realm of 3D origami, the choice of paper is more than mere practicality; it becomes the silent collaborator in the artistic process.
As we conclude this exploration into the world of paper selection, remember that each crease and fold is a dance between your vision and the material at hand.
Whether you opt for lightweight, vibrant hues for delicate blossoms or sturdier, textured sheets for intricate sculptures, your choice imparts a unique character to your creations.
The tactile satisfaction of a well-chosen paper adds an extra layer of joy to the artistic journey. So, armed with this newfound knowledge, unleash your creativity and let the right paper elevate your 3D origami projects to new heights.
May each fold be a testament to the harmonious collaboration between imagination and the perfect sheet of paper. Let’s get started with your 3D projects today!
Leave a Reply