Embarking on the creative embroidery journey often involves navigating various technical details, with one common question echoing among enthusiasts: What size is a 5×7 hoop?
In embroidery, hoop sizes play a pivotal role in determining the canvas on which intricate designs come to life.
In this exploration, we delve into the dimensions of the elusive 5×7 hoop, dissecting its measurements and unraveling its possibilities for crafters.
Whether you’re a seasoned embroiderer seeking clarity or a novice eager to grasp the basics, join us on a quest to understand the significance of this specific hoop size.
From the practical implications of selecting the right fabric to its creative freedom, let’s embark on a journey through the dimensions of the 5×7 hoop and discover the boundless creativity it unlocks for embroidery enthusiasts.

What Size Is a 5×7 Hoop?
In this comprehensive guide, we will explore the dimensions, applications, and creative possibilities of the 5×7 hoop.
Understanding the Dimensions
The term “5×7” refers to the dimensions of the embroidery hoop – a rectangle measuring 5 inches in width and 7 inches in height.
These measurements dictate the available stitching area within the hoop, offering ample space for crafting detailed designs while maintaining a manageable size for various projects.
Personalized Gifts
Crafters often turn to the 5×7 hoop when creating personalized gifts. Whether it’s monograms, special messages, or custom designs, this hoop size provides enough space to make a statement while keeping the project manageable.
Home Decor
From throw pillows to wall hangings, the 5×7 hoop is an excellent choice for embroidering home decor items. Its dimensions enable the creation of visually appealing designs that can enhance the aesthetic of any space.
Practical Implications for Crafters
Choosing the right hoop size is crucial for the success of an embroidery project. The 5×7 hoop, with its moderate dimensions, proves to be versatile and practical for a range of applications.
Here are some practical implications for crafters:
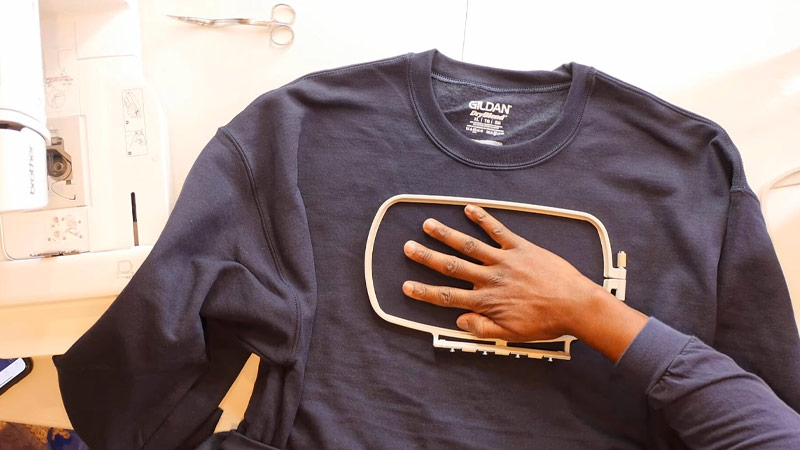
Garment Embellishment
The 5×7 hoop is well-suited for embellishing garments such as shirts, jackets, and hats. Its size allows for the addition of intricate designs without overwhelming the fabric.
Stitching on Varied Fabrics h4
The 5×7 hoop accommodates a variety of fabrics, making it suitable for different projects. Whether you’re working with delicate materials like silk or sturdy fabrics like denim, this hoop size allows for a secure hold without distorting the fabric.
Creative Freedom Unleashed
The 5×7 hoop offers a sweet spot for creative expression, providing enough room for detailed designs without overwhelming the embroiderer. Here’s how this hoop size unleashes creative freedom:
Intricate Detailing
Crafters can delve into intricate detailing with the 5×7 hoop. From delicate floral patterns to complex geometric shapes, this hoop size allows for precision in stitching, making it a favorite among those who appreciate fine details.
Combining Multiple Designs
Crafters can combine multiple smaller designs within the 5×7 hoop, creating unique compositions. This opens the door to endless possibilities, enabling the creation of one-of-a-kind embroidery pieces.
Experimenting with Textures
With ample space to experiment, crafters can play with different textures within the 5×7 hoop. Raised stitches, textured fills, and diverse thread types can be seamlessly incorporated to add depth and interest to the design.
Efficient Batch Production
The 5×7 hoop is ideal for batch production of smaller items. Whether crafting a set of personalized patches or a series of embroidered bookmarks, this hoop size allows for efficient and consistent production.
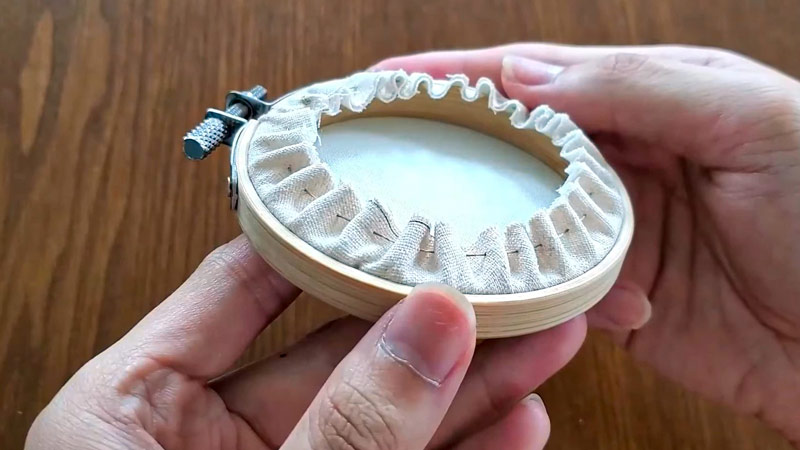
Tips for Working with a 5×7 Hoop

To make the most of a 5×7 hoop, use the appropriate stabilizer to ensure the fabric stays taut and prevents puckering during stitching. Plan the placement of your design within the hoop to ensure it fits well and is centered.
Experiment with different thread types and colors to enhance the visual appeal of your embroidery. Before starting your main project, perform a test stitch to check tension and ensure the design aligns correctly within the hoop.
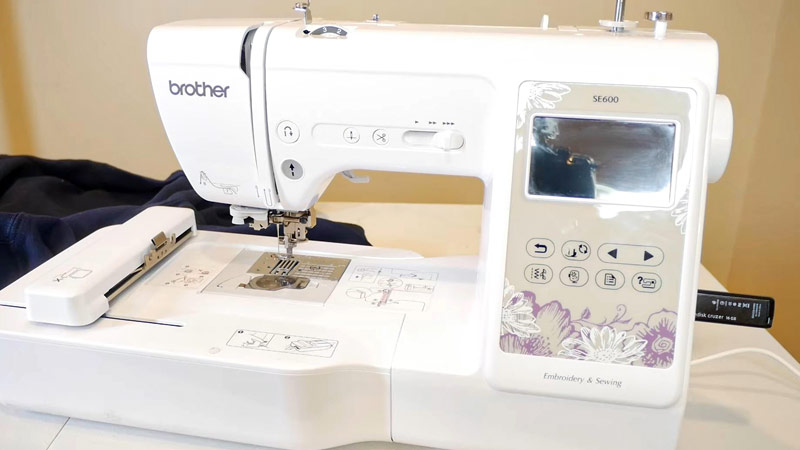
How to Change Hoop Size on Brother SE600?
Changing the hoop size on the Brother SE600 embroidery machine is a straightforward process that allows you to adapt to different project requirements. Follow these step-by-step instructions to adjust the hoop size and maximize your creative possibilities:
Turn On the Machine
Ensure your Brother SE600 embroidery machine is powered on and ready for operation. The machine should be in embroidery mode so you can make changes to the hoop size.
Choose the embroidery design you intend to stitch. The selected design may have default hoop size settings, but you can customize these settings based on your project’s needs.
Access the Edit Screen
Navigate to the “Edit” screen on the machine’s display. This screen allows you to make various adjustments to your chosen design, including changing the hoop size.
Open the Hoop Settings
Look for an option or icon that represents hoop settings. This may be labeled as “Hoop” or “Frame” on the menu. Select this option to access the hoop size settings for the chosen design.
Choose a New Hoop Size
You’ll see a list of available hoop sizes compatible with your Brother SE600 within the hoop settings. Scroll through the options and choose the size that best suits your project.
The sizes may include options like 4×4, 5×7, or other dimensions depending on the hoops you have for your machine.
Adjust Design Placement
Once you select the new hoop size, the machine may prompt you to confirm the change. After confirmation, you may need to adjust the placement of your design within the new hoop dimensions. Use the on-screen controls to move, rotate, or resize the design as needed.
Check Stitch Area
Before proceeding, check the stitch area preview on the screen to ensure that your design fits comfortably within the selected hoop size. This preview allows you to see how the design will be stitched within the defined boundaries of the chosen hoop.
If you are satisfied with the new hoop size and design placement, look for an option to save your changes. This ensures the machine will use the selected hoop size when you start embroidering.
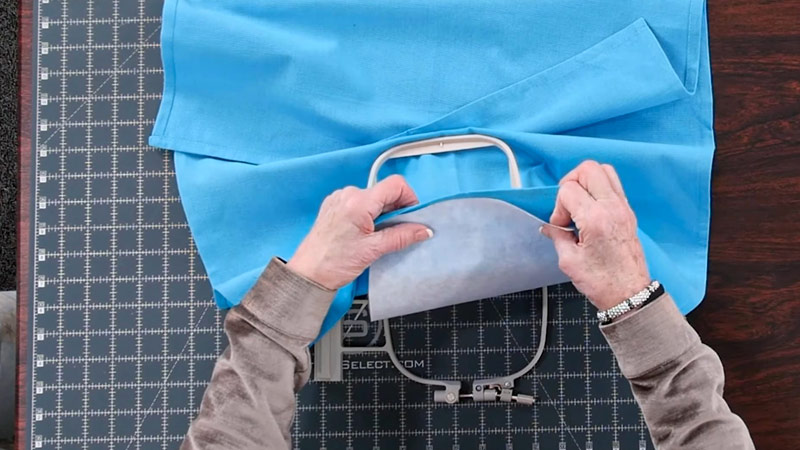
Load the Fabric and Hoop
Prepare your fabric by securing it in the chosen hoop size. Make sure the fabric is taut and well-positioned within the hoop. Attach the hoop to the embroidery arm of the machine.
Thread the machine with the desired embroidery thread color, following the machine’s threading guides. Ensure that the bobbin is also properly loaded.
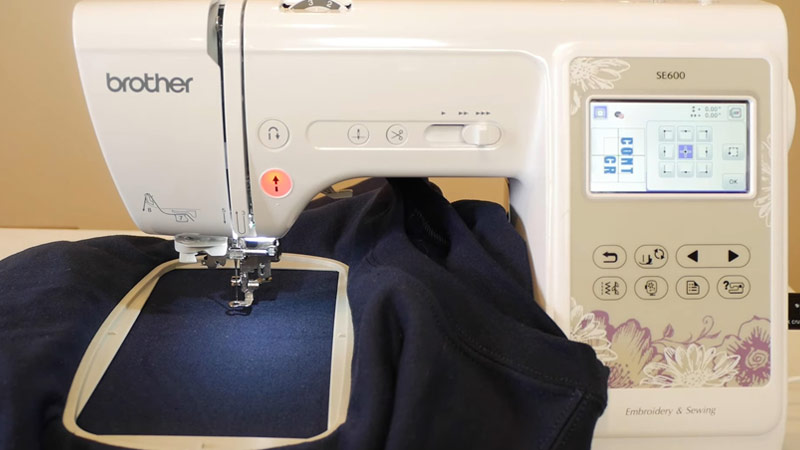
Start Embroidering
Once everything is set up, press the start button to initiate the embroidery process. The Brother SE600 will now stitch the design within the selected hoop size, bringing your creative vision to life.
While the machine is in operation, keep an eye on the stitching process to ensure everything progresses smoothly. Pause or stop the machine if adjustments are needed during the embroidery.
Finish and Remove Hoop
Once the embroidery is complete, carefully remove the hoop from the machine. Gently detach the fabric from the hoop, and your embroidered project is ready for further finishing touches.
By following these steps, you can easily change the hoop size on your Brother SE600 embroidery machine, opening up a world of possibilities for different project sizes and designs.
Common Embroidery Hoop Sizes in Inches
Hoops provide a stable and taut surface for stitching, facilitating the creation of intricate designs on fabric. Understanding the common embroidery hoop sizes in inches is essential for crafters to choose the right tool for their projects.
4-inch Hoop
A 4-inch embroidery hoop is one of the smaller options available. It is ideal for tiny projects, such as small motifs, patches, or delicate details on garments. Crafters often choose this size for intricate work that requires precision and a compact stitching area.
5-inch Hoop
The 5-inch hoop offers more space than the 4-inch, making it suitable for slightly larger projects. It remains a popular choice for smaller designs, making it versatile for various applications, including personalized gifts and embellishing clothing items.
6-inch Hoop
Stepping up in size, the 6-inch hoop provides a more substantial stitching area. This siza is excellent for medium-sized designs, allowing crafters to explore more intricate patterns while still maintaining a manageable size for various projects like home decor and small accessories.
7-inch Hoop
The 7-inch hoop offers even more room for creativity. It is suitable for larger designs and provides ample space for creating visually striking embroidery on garments, tote bags, and other fabric items. This size is favored by those who want a balance between detail and a more substantial canvas.
8-inch Hoop
Moving into larger projects, the 8-inch hoop is well-suited for designs requiring more space. This size is popular for embroidery on larger garments, such as the back of jackets or the front of hoodies. It offers versatility for creating bold and eye-catching designs.
10-inch Hoop
The 10-inch hoop is considered a larger embroidery hoop and is often chosen for sizable projects. Crafters may opt for this size when working on intricate designs that demand a broader canvas. It is commonly used for creating statement pieces on items like throw pillows and wall hangings.
12-inch Hoop
Stepping into the larger end of the spectrum, the 12-inch hoop is chosen for even more expansive projects. It is suitable for ambitious designs, large monograms, or detailed compositions that benefit from the additional space.
Experienced embroiderers often favor this size to make a bold impact.
14-inch Hoop
The 14-inch hoop is among the largest commonly used sizes in embroidery. It is chosen for projects that demand significant space, such as intricate tapestries or sizable wall art.
Crafters who enjoy working on grand and detailed designs find the 14-inch hoop to be a valuable tool.
16-inch Hoop
At the upper end of common hoop sizes, the 16-inch hoop provides a substantial stitching area. This size is typically reserved for large-scale projects where intricate detailing is still desired.
Crafters working on expansive embroidery pieces often opt for the 16-inch hoop to accommodate their creative vision.
Choosing the Right Size
The choice of embroidery hoop size depends on the project’s specific requirements. Smaller hoops are ideal for delicate work and smaller designs, while larger hoops provide more space for intricate detailing on sizable canvases.
It’s essential for crafters to consider the scale of their designs and the intended application when selecting the appropriate hoop size.
FAQs
What Types of Projects Are Suitable for a 5×7 Hoop?
The 5×7 hoop is versatile and suitable for various projects. It’s commonly used for garment embellishment, personalized gifts like monograms, home decor items, and efficient batch production of smaller embroidered items such as patches and bookmarks.
Can I Use the 5×7 Hoop on Different Fabrics?
Yes, the 5×7 hoop accommodates a variety of fabrics. Whether you’re working with delicate materials like silk or sturdy fabrics like denim, the hoop’s size allows for a secure hold without distorting the fabric. Just ensure that you choose the appropriate stabilizer for each type of fabric.
How Do I Prevent Puckering in a 5×7 Hoop Project?
To prevent puckering, using the right stabilizer and ensuring the fabric is properly tensioned within the hoop is crucial. Experiment with different stabilizers based on the fabric type, and make sure to secure the fabric adequately to maintain a smooth stitching surface.
Can the brother SE600 use a 5×7 hoop?
Yes, the Brother SE600 can use a 5×7 hoop for embroidery, providing versatility for larger designs. Determining the best 5×7 embroidery machine depends on individual preferences and needs.
What is the best 5×7 embroidery machine?
Determining the best 5×7 embroidery machine depends on individual preferences and needs. Popular options include the Brother SE600, Janome Memory Craft 500E, and Singer Quantum Stylist EM200.
Conclusion
The 5×7 hoop emerges as a versatile and indispensable tool in the realm of embroidery, offering a canvas that strikes a harmonious balance between size and detail. Its dimensions open doors to many creative possibilities, allowing artisans to bring their visions to life with precision and flair.
From crafting personalized gifts to embellishing garments with intricate designs, the 5×7 hoop is a valuable asset for beginners and experienced embroiderers.
As we wrap up our exploration, it becomes clear that understanding the dimensions of the 5×7 hoop is not merely a technical detail but a key to unlocking the full potential of embroidery artistry.
Let this journey through dimensions inspire your next embroidery masterpiece as you confidently navigate the threads of creativity within the boundaries of this enchanting hoop size.
Leave a Reply