Sewing enthusiasts often encounter moments of frustration when their trusted sewing machine starts producing garbled stitches instead of the neat, precise lines they desire.
These unpredictable tangles of thread, irregular patterns, or messy seams can disrupt projects, waste precious fabric, and test one’s patience.
Understanding why sewing machines garble is crucial for anyone who wants to master the art of sewing.
In this guide, we’ll explore the common culprits behind this issue, offering insights into the intricacies of thread tension, needle health, machine maintenance, and more.
By uncovering the root causes and learning how to address them, you can embark on a journey toward uninterrupted, flawless stitching.
What Is Sewing Machine Garbling?
“Sewing machine garbling” refers to a situation where a sewing machine produces stitches that are messy, uneven, or irregular.
Instead of neat, uniform stitches, the machine may create loops, tangles, or irregular patterns in the fabric. Garbling can occur for various reasons, including issues with threading, tension, needle condition, and machine maintenance.
It’s a common problem that can be frustrating for sewers, as it can lead to wasted time and materials. Identifying and addressing the cause of the garbling is essential for achieving high-quality sewing results.
Why Is My Sewing Machine Garbling?
If your sewing machine is producing garbled stitches, it can be frustrating and lead to a lot of wasted time and materials.
There are several potential reasons for this issue, and identifying the cause can help you resolve it effectively.
Here are some common reasons why your sewing machine may be garbling:
Improper Threading
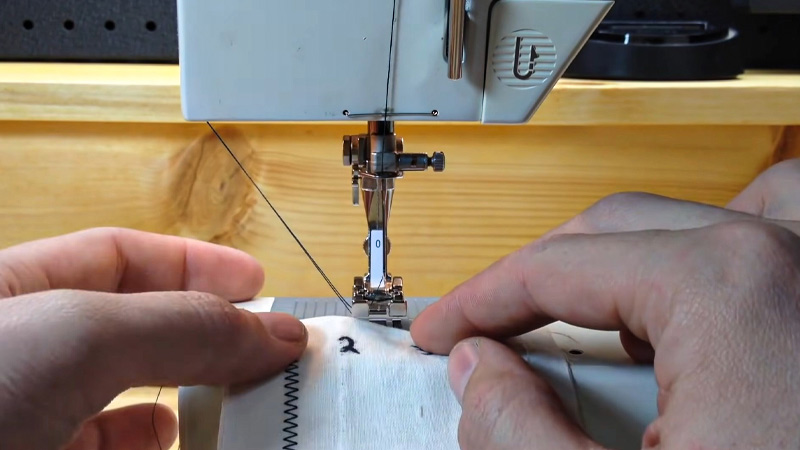
Proper threading is the foundation of successful sewing. Carefully follow the threading diagram in your sewing machine’s manual, ensuring the thread passes through all necessary guides, tension disks, and the needle’s eye.
If the thread is not correctly threaded, it can easily become tangled or create uneven stitches.
Tension Issues
Tension controls the tightness of your stitches. If the upper or lower thread tension is set incorrectly, you’ll likely encounter problems.
Too much tension in the upper thread can cause it to snap, while too little tension can result in loose, looped stitches underneath the fabric. Consult your manual to learn how to adjust tension properly.
Needle Problems
A needle that is dull, bent, or damaged can lead to garbled stitches. Make sure you select the right type and size of needle for your fabric. Replace the needle regularly, especially if you’re sewing through heavy or abrasive materials.
Bobbin Issues
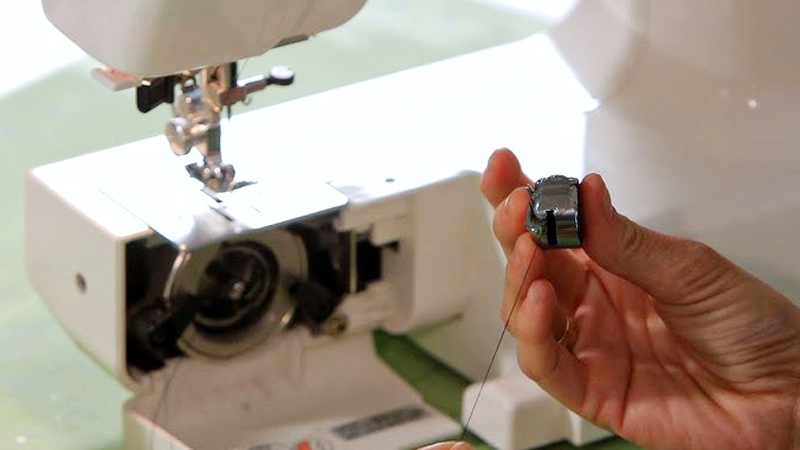
Problems with the bobbin, such as uneven winding or improper insertion, can disrupt the sewing process.
Ensure that the bobbin thread is wound evenly and that it’s inserted in the correct orientation. Follow your machine’s instructions for bobbin placement.
Feed Dogs
The feed dogs are responsible for moving the fabric through the machine evenly. Dirty or malfunctioning feed dogs can cause the fabric to bunch up or move unevenly, resulting in garbled stitches.
Clean and lubricate the feed dogs as recommended in your machine’s manual.
Thread Quality
Using low-quality or old thread can lead to thread breakage and irregular stitches. Invest in good-quality thread that matches your fabric type.
Keep thread spools stored away from direct sunlight and humidity to maintain their quality.
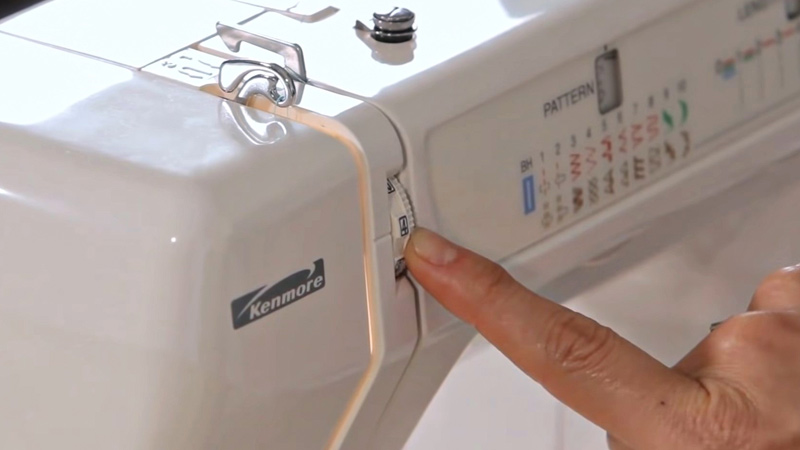
Incorrect Stitch Settings
Selecting the wrong stitch type or stitch length can cause issues. Always choose the appropriate stitch for your project and fabric.
Additionally, make sure your stitch length is suitable; shorter stitches are often better for lightweight fabrics, while longer stitches work well with thicker materials.
Machine Maintenance
Neglecting machine maintenance can lead to various sewing problems, including garbled stitches.
Refer to your sewing machine’s manual for guidance on cleaning, oiling, and general maintenance tasks. Regular maintenance can prolong the life of your machine and ensure consistent performance.
Bobbin Tension
The bobbin’s tension should complement the upper thread’s tension. If it’s too tight or too loose, it can cause stitching issues.
Consult your manual for instructions on adjusting bobbin tension, and make small adjustments until you achieve balanced stitches.
Thread and Needle Mismatch
Using thread and needle combinations that are not compatible can result in garbling.
Refer to your machine’s manual or consult online resources to understand the appropriate pairings for your specific sewing project.
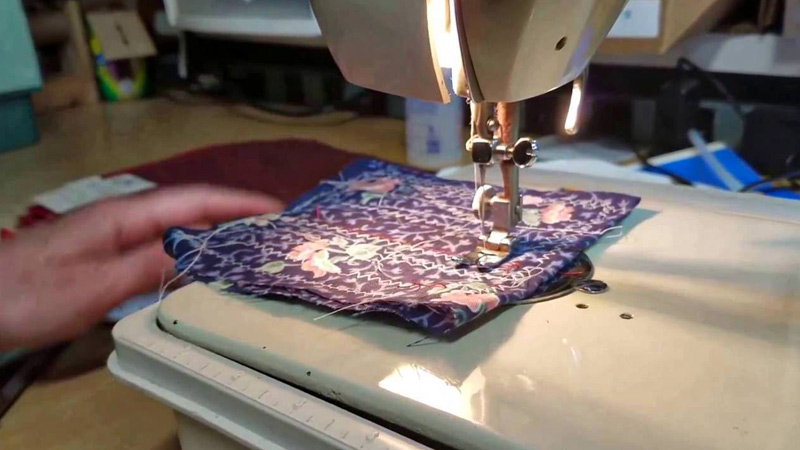
Fabric Issues
Certain fabrics, like very lightweight or stretchy materials, may pose challenges when sewing.
Consider using appropriate stabilizers, interfacing, or adjusting your machine’s settings to accommodate these fabrics. Experiment with test pieces to find the best settings for each fabric type.
User Error
Sewing requires patience and precision. Rushing through a project or neglecting to double-check settings can lead to garbled stitches.
Take your time, especially when starting a new project or working with unfamiliar fabrics.
How Do You Fix Garbled Stitches?
Fixing garbled stitches on a sewing machine requires systematic troubleshooting to identify the specific issue causing the problem.
Here’s a step-by-step guide to help you resolve the issue:
Stop Sewing
If you notice garbled stitches, stop sewing immediately to prevent further damage or complications.
Cut the Threads
Carefully cut the threads above and below the fabric to separate the garbled stitches. This will make it easier to work with the fabric and address the problem.
Rethread the Machine
Start by rethreading both the upper thread and the bobbin thread. Follow the threading instructions provided in your sewing machine’s manual.
Make sure the threads are properly seated in all guides, tension disks, and the needle’s eye.
Check the Needle
Inspect the needle for any signs of damage, such as bends, blunted tips, or burrs. Replace the needle with a new one if necessary, ensuring that you choose the correct type and size for your fabric.
Check Thread Quality
Ensure that you are using high-quality thread that matches the fabric you’re sewing. Cheap or old thread can lead to stitching problems.
Adjust Tension
Recheck the tension settings for both the upper thread and the bobbin thread. Balanced tension is crucial for proper stitching.
Make slight adjustments if needed, referring to your sewing machine’s manual for guidance.
Clean the Machine
Remove the bobbin case and needle plate to clean out any accumulated lint, debris, or tangled threads in the bobbin area. A clean machine operates more smoothly.
Bobbin Check
Examine the bobbin and bobbin case for any issues. Ensure the bobbin is wound evenly and inserted correctly. Adjust the bobbin tension if necessary, following your machine’s instructions.
Stitch Settings
Confirm that you have selected the appropriate stitch type and length for your project. Some stitches may require different settings or accessories.
Test on Scrap Fabric
Before resuming your project, test the machine on a scrap piece of the same fabric to ensure that the issue has been resolved. Adjust settings as needed until you achieve consistent, even stitches.
Slow and Steady
When you start sewing again, take it slow and maintain a consistent pace. Rushing through the stitching can lead to more garbled stitches.
Professional Service
If the problem persists despite your efforts, or if you suspect a mechanical issue with your sewing machine, consider taking it to a professional technician for a thorough inspection and repair.
How Can You Prevent Sewing Machine Garbling?
Preventing sewing machine garbling involves a combination of regular maintenance, proper technique, and careful attention to the machine’s settings.
Here are some steps you can take to help prevent garbled stitches:
Follow Proper Threading Procedures
Take your time to thread the machine correctly, making sure the thread passes through all designated guides and tension disks.
Avoid rushing this step, as improper threading is a common cause of stitching issues.
Maintain Balanced Tension
Understand how tension settings work on your machine. Experiment with different settings on scrap fabric to find the right balance for different types of fabrics.
Regularly check and adjust the tension as needed during your sewing projects.
Use Quality Needles and Thread
Invest in high-quality needles and thread. Choose needles based on the fabric’s weight and type, and select threads that are strong and compatible with your sewing machine.
Using low-quality materials can lead to a range of stitching problems.
Regularly Change Needles
Get into the habit of changing needles frequently, especially if you’re working on a big project or with tough fabrics.
A sharp, new needle ensures cleaner and more accurate stitches.
Wind Bobbins Evenly
When winding bobbins, ensure that the thread winds smoothly and evenly. Unevenly wound bobbins can cause inconsistent tension, leading to garbled stitches.
Take the time to wind bobbins properly before starting a new project.
Keep the Machine Clean
Make it a routine to clean your machine after every project or at least once a week if you sew regularly.
Use a small brush to remove lint, dust, and debris from the feed dogs, bobbin area, and shuttle. A clean machine runs more efficiently.
Perform Routine Maintenance
Follow the manufacturer’s guidelines for maintenance, including oiling and lubricating the machine.
Regular maintenance not only extends the lifespan of your sewing machine but also ensures it functions at its best.
Select the Right Stitch
Take a moment to consider the type of stitch and stitch length needed for your project. Adjust these settings according to the fabric’s thickness and your desired outcome.
This small step can make a big difference in the quality of your stitches.
Pay Attention to Fabric Choice
Before sewing, evaluate the fabric’s characteristics and adjust your machine’s settings accordingly.
Delicate or stretchy fabrics may require special attention, such as stabilizers or specific presser foot attachments.
Practice
Avoid rushing through projects. Maintain a steady and controlled sewing pace. Let the machine feed the fabric, and resist the urge to pull or push it through.
Proper technique minimizes stress on the machine and promotes even stitching.
Test on Scrap Fabric
Always start with a test stitch on a scrap piece of fabric, especially if you’re working with a new type of fabric or making adjustments to your machine’s settings.
This allows you to fine-tune the settings before starting on your actual project.
Stay Attentive
Keep a watchful eye on the sewing process. If you notice any irregularities, stop and investigate before continuing. Catching and addressing issues early can prevent more significant problems down the line.
FAQs
What causes garbled stitches on a sewing machine?
Garbled stitches can result from issues such as improper threading, incorrect tension settings, dull or damaged needles, and inadequate machine maintenance.
Can using low-quality thread lead to garbling?
Yes, using low-quality or old thread can contribute to garbled stitches. High-quality thread that matches the fabric type is essential for smooth sewing.
How often should I change the sewing machine needle?
It’s recommended to change the needle after every 8-10 hours of sewing or at the beginning of a new project. A dull needle can lead to garbled stitches.
What role does tension play in preventing garbling?
Proper tension ensures that the upper and lower threads work together smoothly. Balanced tension settings help prevent garbling and result in clean, even stitches.
Is regular machine maintenance important in preventing garbled stitches?
Yes, regular maintenance, including cleaning, oiling, and checking for worn parts, is crucial. A well-maintained machine operates more efficiently and produces better stitches.
To Wrap Up
In the world of sewing, the quest for perfectly stitched creations is a pursuit filled with passion and creativity. Yet, the frustrating occurrence of garbled stitches can often disrupt this artistic journey.
By understanding the intricate interplay of threading, tension, and machine maintenance, one can troubleshoot and prevent garbling.
Remember, a well-maintained machine, quality materials, and a discerning eye for detail are the keys to seamless sewing experiences.
With this knowledge in hand, you’re equipped to transform your sewing endeavors from moments of exasperation into a satisfying and rewarding creative process.
May your future projects be marked by precision, finesse, and the joy of crafting something truly exceptional.
Leave a Reply