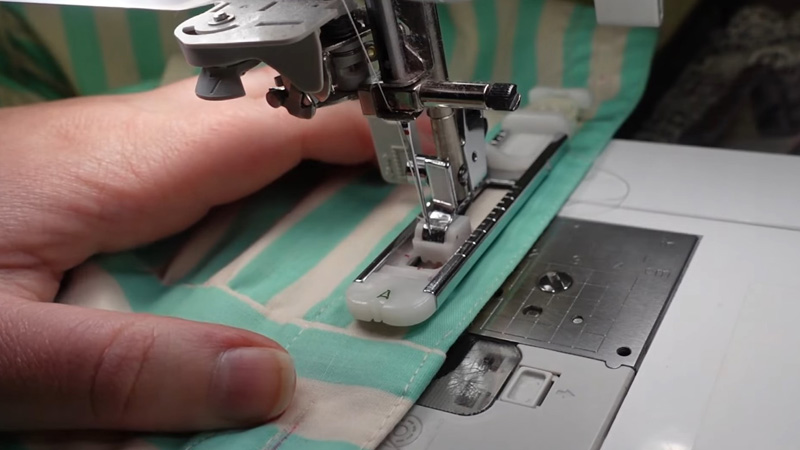
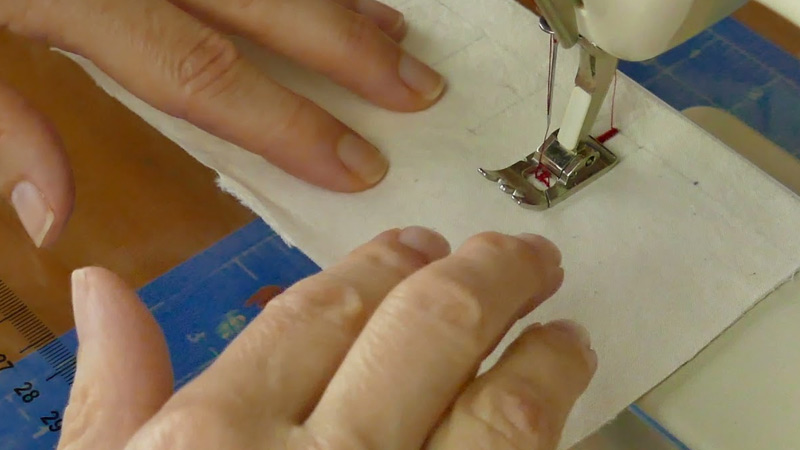
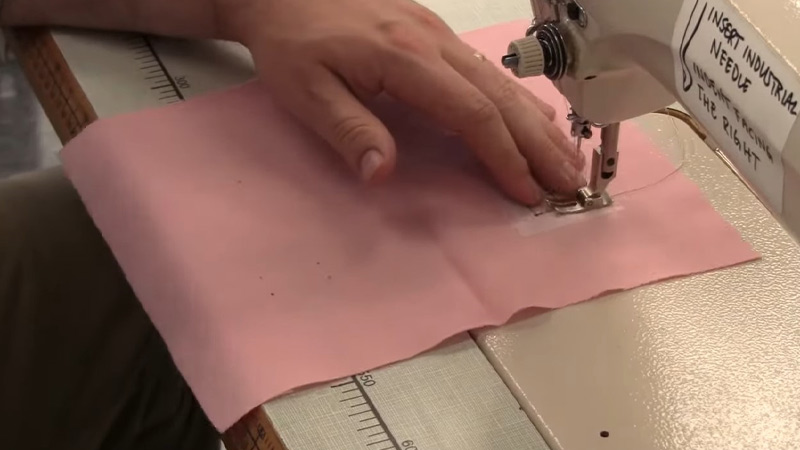
Buttonholes are crucial in sewing, providing a secure closure for buttons on garments. Two commonly employed techniques are the 4-step buttonhole and the 1-step buttonhole functions on sewing machines.
The distinction lies in the approach to creating these essential openings. The 4-step method involves four distinct stages, granting users more control and customization options.
On the other hand, the 1-step buttonhole is a streamlined, automated process, completing the task in a single step.
As both methods cater to different preferences and skill levels, understanding the nuances between these techniques is vital for seamstresses and hobbyists alike.
4-Step Buttonhole vs 1-Step? -The Differences
Buttonholes are essential components of garment construction, providing a functional and aesthetic way to secure buttons on clothing items.
Sewing machines offer different methods for creating buttonholes, with the 4-step and 1-step buttonhole functions being two common options.
Each method has its advantages and considerations, catering to various preferences and skill levels in the world of sewing.
Comparison of 4-Step Buttonhole and 1-Step Buttonhole:
| Feature | 4-Step Buttonhole | 1-Step Buttonhole |
| Number of Stages | Four distinct steps: Mark, Left Side, Bottom, Right Side | Completed in a single step |
| Ease of Use | Generally requires more manual adjustments, involving turning the dial or buttonhole lever for each step | Typically simpler and more automated, requiring fewer manual adjustments |
| Precision and Control | Allows for greater control over each step, enabling fine-tuning of buttonhole size and stitch density | The potential for variations between steps depends on the user’s skill and attention to detail |
| Machine Compatibility | Available on a wide range of sewing machines, including basic and intermediate models | Commonly found on more advanced models, may not be available on entry-level machines |
| Skill Level Required | Suitable for beginners with practice, as it requires mastering each step individually | Beginner-friendly, less skill-dependent due to automated process |
| Time Efficiency | Slower due to multiple steps, may require practice for faster execution | Faster, as the entire process is automated, ideal for high-volume buttonhole production |
| Versatility | May offer more customization options, allowing for creative variations in buttonhole styles | Standardized, may have limited variations, typically produces a consistent buttonhole style |
| Consistency | The potential for variations between steps depends on the user’s skill and attention to detail | Consistent results with less variability, suitable for mass production and uniform buttonholes |
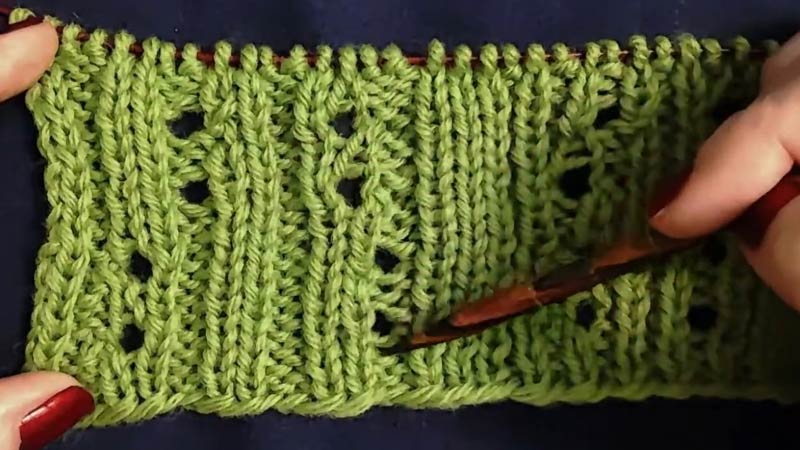
Types of Buttonholes
Buttonholes come in various types, each designed to suit different garments, fabrics, and aesthetic preferences.
Here’s an overview of some common types of buttonholes:
Standard Buttonhole
The standard buttonhole, a staple in garment construction, is characterized by its utilitarian rectangular shape with practical, straight sides.
This versatile design makes it suitable for a broad range of fabrics and clothing items. Its simplicity in structure and ease of creation make the standard buttonhole a reliable choice for everyday garments, ensuring secure button fastenings without unnecessary embellishments.
While its primary focus is functionality, the straightforward nature of the standard buttonhole also allows for subtle variations to accommodate different design preferences and fabric types.
Keyhole Buttonhole
The keyhole buttonhole takes a step beyond functionality by introducing a distinctive keyhole shape, often found on dress shirts.
This unique design not only serves a practical purpose by reinforcing the button area but also adds a touch of sophistication to the garment.
The elongated keyhole shape provides additional stability to prevent fraying around the button, making it a preferred choice for dressier attire.
This buttonhole type showcases a blend of form and function, making it an appealing option for those seeking a balance between practicality and aesthetic appeal in their button closures.
Round-End Buttonhole
Characterized by its rounded ends, the round-end buttonhole deviates from the conventional rectangular shape.
This design choice is particularly suitable for lightweight fabrics where a softer, more subtle closure is desired.
Additionally, the round-end buttonhole is often chosen for its decorative appeal, adding a touch of elegance to garments.
While maintaining functionality, this buttonhole type introduces a visual element that can enhance the overall aesthetic of the clothing item, making it a popular choice for projects where both form and function are important considerations.
Bound Buttonhole
The bound buttonhole represents an advanced and refined technique in buttonhole construction.
This method involves enclosing the buttonhole with fabric strips, creating a neat and tailored finish.
The use of fabric strips not only adds durability but also imparts a high-end, couture look to the buttonhole.
Commonly seen in bespoke and tailored garments, the bound buttonhole requires precision and attention to detail, making it a choice for those with advanced sewing skills.
This buttonhole type is favored for projects where an elevated and polished appearance is paramount.
Eyelet Buttonhole
The eyelet buttonhole stands out as a primarily decorative option, emphasizing aesthetics over pure functionality.
Strengthened with intricate embroidery stitches, this buttonhole serves as a focal point in garment design.
While not as commonly used for securing buttons, the eyelet buttonhole adds a level of craftsmanship and artistic flair to clothing items.
It is often employed in projects where the decorative aspect of the button closure is given precedence, making it a creative choice for those seeking to elevate the visual appeal of their garments.
Key Buttonhole
The key buttonhole shares similarities with the keyhole buttonhole but distinguishes itself with a more pronounced circular or oval opening.
This variation is often chosen for its heightened design appeal, providing a unique and eye-catching feature to garments.
The circular shape adds a touch of sophistication and can be strategically placed to enhance the overall aesthetic of the button closure.
While retaining functionality, the key buttonhole serves as a creative choice for those seeking a distinctive and stylish element in their garment design, making it a favored option for projects where visual impact is a priority.
Piped Buttonhole
The piped buttonhole elevates the visibility of the button closure by incorporating narrow fabric piping around its edges.
This decorative technique enhances the buttonhole’s appearance, creating a refined and polished effect.
Piping can be chosen in a contrasting color or material, providing an additional dimension to the garment.
While the primary purpose of the buttonhole remains functional, the addition of piping introduces a decorative element that draws attention to this essential closure.
Commonly used for special occasions or projects where detailing is crucial, the piped buttonhole offers a tailored and sophisticated finish to garments.
Continuous Bound Buttonhole
A variation of the bound buttonhole, the continuous bound buttonhole takes the refinement a step further by using a single fabric strip that runs continuously around the edges.
This meticulous approach results in a polished and seamless appearance, showcasing precision in craftsmanship.
This buttonhole type is often selected for high-end or bespoke garments where attention to detail is paramount.
While it requires advanced sewing skills, the continuous bound buttonhole contributes to a tailored and professional finish, making it an excellent choice for those seeking an elevated and sophisticated look in their button closures.
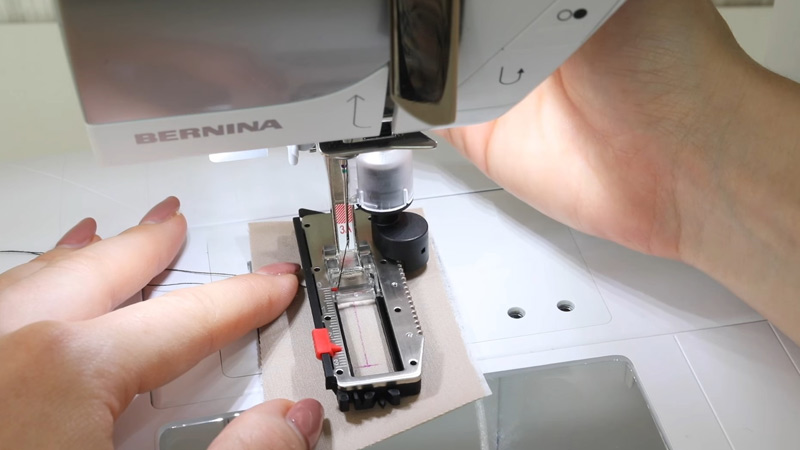
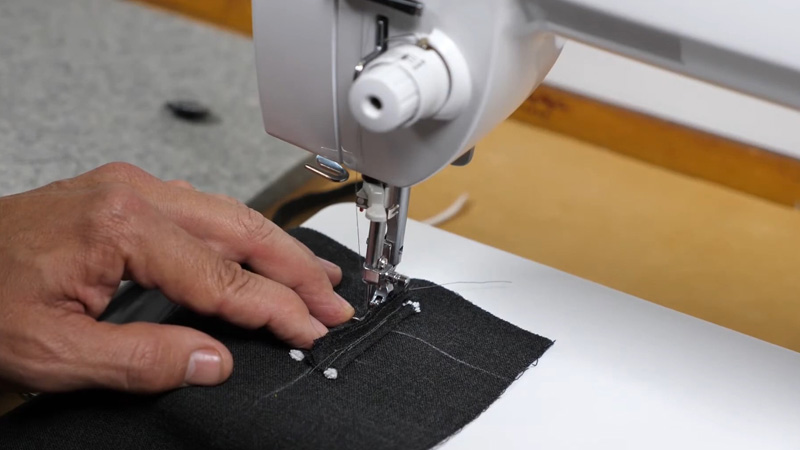
Machine-Generated Buttonhole
The machine-generated buttonhole represents the convenience and efficiency offered by modern sewing machines.
Produced automatically by machines equipped with buttonhole functions, this method is available in various styles, such as the 1-step or 4-step buttonhole.
Ideal for those seeking a time-saving and consistent approach, machine-generated buttonholes are commonly found in mid-range to advanced sewing machines.
The automated process ensures uniformity in size and stitch density, making it suitable for mass production or projects where efficiency is a priority.
FAQs
What’s the main difference between 4-step and 1-step buttonholes?
The number of stages; 4-step involves four distinct steps, while 1-step completes it in one go.
Which is better for beginners?
1-step buttonhole, as it’s more automated and beginner-friendly.
Can I customize more with 4-step buttonholes?
Yes, 4-step allows greater customization in size and appearance.
Are 4-step buttonholes on entry-level machines?
Yes, they’re available on a wide range of machines, including entry-level ones.
Which is quicker, 4-step or 1-step?
1-step is generally more time-efficient, completing the process in a single step.
Wrap Up
The choice between a 4-step and 1-step buttonhole hinges on individual preferences, skill levels, and project requirements.
The 4-step buttonhole offers greater control and customization, allowing for precision in each stage, and making it suitable for those with a penchant for detail.
On the other hand, the 1-step buttonhole provides a more streamlined, automated process, catering to beginners and those prioritizing efficiency.
Whether seeking intricate design options or a straightforward approach, both methods contribute to the rich tapestry of sewing techniques, showcasing the versatility of modern machines and the adaptability of these essential closures in garment construction.
Leave a Reply