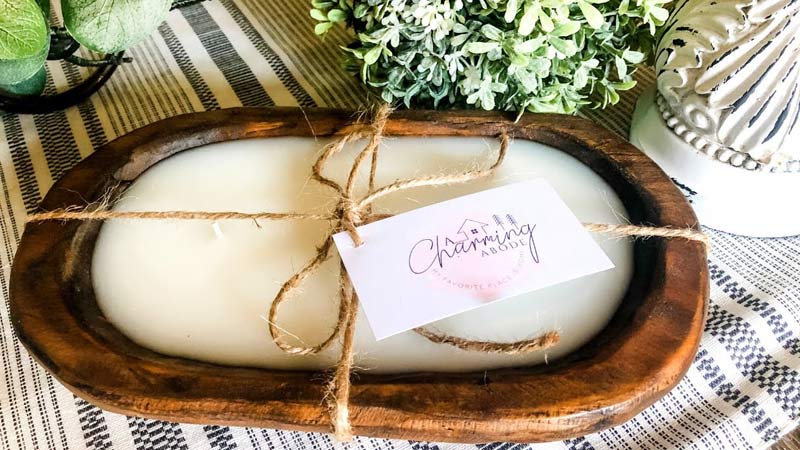
Dough bowl candles are candles that are poured into dough bowls, which are large, shallow wooden bowls that were traditionally used for mixing dough. These candles have become popular in recent years for their rustic, homey aesthetic and their versatility as candle containers.
However, it is important to seal dough bowls before using them as candle containers. This is because the wood in a dough bowl is porous, meaning that it can absorb liquids, including melted wax.
If the bowl is not properly sealed, the wax can seep into the wood, making it difficult to remove and potentially damaging the bowl.
In addition, an unsealed dough bowl can release harmful chemicals into the air as the candle burns, which can be dangerous to inhale. Sealing the bowl helps to prevent these issues and ensures that the dough bowl candle burns safely and effectively.
Gather Supplies
To seal a dough bowl for use as a candle container, you will need the following supplies:
Wood sealer
This is a product that is specifically designed to seal the wood and protect it from moisture. There are several types of wood sealers available, including oil-based, water-based, and polyurethane-based sealers. Choose a sealer that is appropriate for the type of wood you are using and that is compatible with candle making.
Brush or Roller
You will need a brush or roller to apply the wood sealer to the dough bowl. Choose a brush or roller with a width that is appropriate for the size of your dough bowl.
Sandpaper
You will need fine grit sandpaper to smooth out the surface of the dough bowl before sealing it. This will help the sealer to adhere better to the wood and create a smoother finish.
Cloth
You will need a clean, dry cloth to wipe down the dough bowl before sealing it. This will help to remove any dust or debris from the surface of the bowl.
Optional
gloves and a dust mask. If you are sensitive to certain chemicals or if you simply want to protect your hands and respiratory system, you may want to wear gloves and a dust mask when working with a wood sealer.
Prepare the Dough Bowl
Before sealing your dough bowl, it is important to prepare the bowl properly to ensure that the sealer adheres well to the wood and creates a smooth finish.
To prepare the dough bowl:
Sand the surface of the bowl
Use fine-grit sandpaper to sand the surface of the bowl. This will help to create a smooth finish and remove any rough or jagged edges.
Wipe down the bowl
Use a damp cloth to wipe down the bowl and remove any dust or debris from the surface. This will help the sealer to adhere better to the wood. Be sure to wipe the bowl thoroughly, paying particular attention to any crevices or grooves in the wood.
Once you have prepared the dough bowl, it is ready to be sealed. Be sure to follow the manufacturer’s instructions for the wood sealer that you are using and take any necessary precautions, such as wearing gloves and a dust mask.
Apply Wood Sealer
To apply the wood sealer to your dough bowl:
Follow the Manufacturer’s Instructions
Read the instructions on the wood sealer carefully and follow them to the letter. Different sealers have different application methods, drying times, and precautions, so it is important to follow the instructions provided by the manufacturer.
Use a Brush or Roller
Use a brush or roller to apply the wood sealer to the dough bowl. Choose a brush or roller with a width that is appropriate for the size of your bowl. Apply the sealer in thin, even coats, taking care to cover the entire surface of the bowl.
Allow the Sealer to Dry
Once you have applied the wood sealer, allow it to dry according to the manufacturer’s recommendations.
This typically takes several hours to a full day, depending on the type of sealer and the humidity and temperature of your environment. Avoid using the dough bowl or placing anything on it until the sealer has fully dried.
After the first coat of sealer has dried, your dough bowl is ready for a second coat. Follow the same steps as above to apply a second coat of sealer to the bowl. Be sure to allow the second coat to dry completely before using the dough bowl as a candle container.
Sand and Apply a Second Coat
Once the first coat of wood sealer has dried completely, it is time to apply a second coat. This will help to further protect the dough bowl and create a smoother, more durable finish.
To apply a second coat of sealer:
Sand the Surface
Use fine grit sandpaper to lightly sand the surface of the dough bowl. This will help the second coat of sealer to adhere better to the wood and create a smoother finish.
Apply the Sealer
Use a brush or roller to apply a second coat of wood sealer to the dough bowl. Be sure to follow the manufacturer’s instructions for applying the sealer and take any necessary precautions.
Allow the Sealer to Dry
Once you have applied the second coat of sealer, allow it to dry according to the manufacturer’s recommendations.
This typically takes several hours to a full day, depending on the type of sealer and the humidity and temperature of your environment. Avoid using the dough bowl or placing anything on it until the sealer has fully dried.
After the second coat of sealer has dried, your dough bowl is ready to be used as a candle container. If desired, you can apply a third coat of sealer for added protection.
Be sure to follow the same steps as above to apply a third coat of sealer, and allow it to dry completely before using the dough bowl as a candle container.
Finish Up
Once the second coat of wood sealer has dried completely, your dough bowl is ready to be used as a candle container. If you want to add an extra layer of protection to your dough bowl, you can apply a third coat of sealer.
To do this, follow the same steps as you did for the first two coats, using a brush or roller to apply a thin, even coat of sealer to the bowl and allowing it to dry according to the manufacturer’s recommendations.
Once you have applied the final coat of sealer and it has dried completely, your dough bowl is ready to be used as a candle container. Be sure to follow all safety precautions when making and burning candles, and never leave a burning candle unattended.
If you are using the dough bowl for the first time as a candle container, you may want to do a test burn to ensure that it burns safely and evenly.
To do this, place the wick in the center of the bowl, light the candle, and observe the burn for a few hours. If the candle burns evenly and the wick stays centered, the dough bowl is ready to be used as a candle container.
If the candle burns poorly or the wick becomes misaligned, you may need to adjust the wick size or the amount of fragrance oil you are using.
Comparison of Different Types of Wood Sealers for Dough Bowls
| Sealer Type | Pros | Cons |
|---|---|---|
| Oil-based sealer | Provides a durable finish that is resistant to water and stains | May not be as durable as oil-based sealers, and may not provide as smooth a finish |
| Water-based sealer | Easy to clean up, dries quickly, low VOCs (volatile organic compounds) | May yellow over time, and may release harmful fumes when drying |
| Polyurethane-based sealer | Provides a durable, glossy finish that is resistant to water and stains | May yellow over time, may release harmful fumes when drying |
FAQs
You can test the surface of your dough bowl to see if it is already sealed by placing a few drops of water on the surface. If the water beads up and does not soak into the wood, the bowl is already sealed. If the water soaks into the wood, the bowl is not sealed and will need to be sealed before using it as a candle container.
It is generally recommended to use the type of sealer that is recommended by the manufacturer of your wood sealer. Different types of sealers may have different properties and may not work as effectively on certain types of wood. Additionally, using a different type of sealer may void any warranties or guarantees provided by the manufacturer.
It is generally not recommended to use a dough bowl that has already been used for food as a candle container. This is because the bowl may have absorbed food particles or bacteria that could potentially contaminate the wax or release harmful chemicals into the air as the candle burns. If you want to use a dough bowl as a candle container, it is best to purchase a new or unused bowl specifically for this purpose.
Conclusion
Sealing your dough bowl before using it as a candle container is an important step in the candle-making process.
Sealing the bowl helps to protect the wood from moisture, prevents harmful chemicals from being released into the air as the candle burns, and ensures that the dough bowl candle burns safely and effectively.
There are several things to consider when sealing a dough bowl, including the type of wood sealer to use, the application method, and the drying time.
Be sure to follow the manufacturer’s instructions for the wood sealer you are using and take any necessary precautions, such as wearing gloves and a dust mask.
In addition, it is always a good idea to do a test burn of your dough bowl candle before using it extensively to ensure that it burns safely and evenly.
By following these tips and precautions, you can create beautiful and aromatic dough bowl candles that will bring warmth and ambiance to your home.
Leave a Reply