Embroidery, a timeless art form, breathes life into fabric through intricate stitches and vibrant colors. However, the true beauty of these masterpieces can be further enhanced with thoughtful framing.
“How Do You Frame an Embroidery Canvas?” invites you into the world of framing, offering a guide that transforms your embroidered creations into refined pieces of art.
In this tutorial, discover the essential steps, from selecting the right hoop to securing the fabric elegantly. Framing not only protects your needlework but also elevates its visual impact, turning each stitch into a captivating display.
Unveil the secrets to showcasing your embroidery with grace and sophistication.
How Do You Frame an Embroidery Canvas? A Step-By-Step Guide
Framing an embroidery canvas is a great way to showcase your needlework and protect it from dust and damage.
Here’s a step-by-step guide on how to frame an embroidery canvas:
Materials You’ll Need
- Embroidery canvas
- Wooden embroidery hoop (appropriate size for your canvas)
- Scissors
- Needle and thread
- Fabric glue or hot glue gun
- Ribbon or twine for hanging
- Backing material (optional)
- Iron (optional)
Step 1: Prepare Your Work
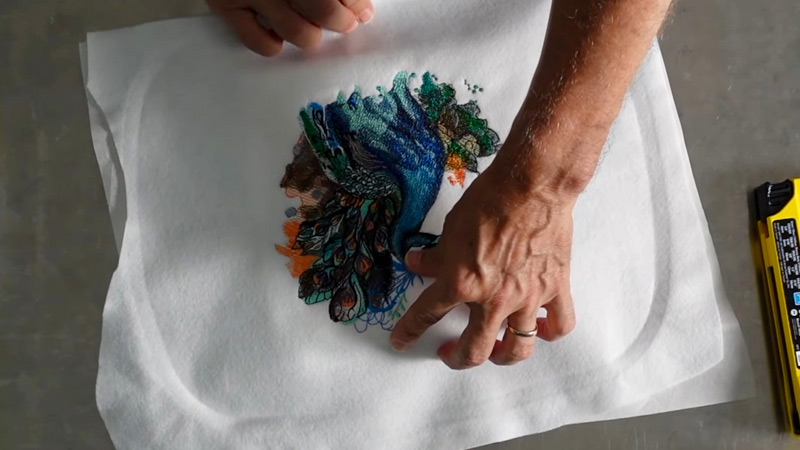
Before framing, ensure your embroidery canvas is clean and free of dirt or stains. If there are wrinkles, gently iron the fabric to create a smooth surface.
Step 2: Choose the Right Hoop
Select a wooden embroidery hoop that fits the size of your canvas. Ensure the hoop is clean and in good condition for framing.
Step 3: Position the Canvas
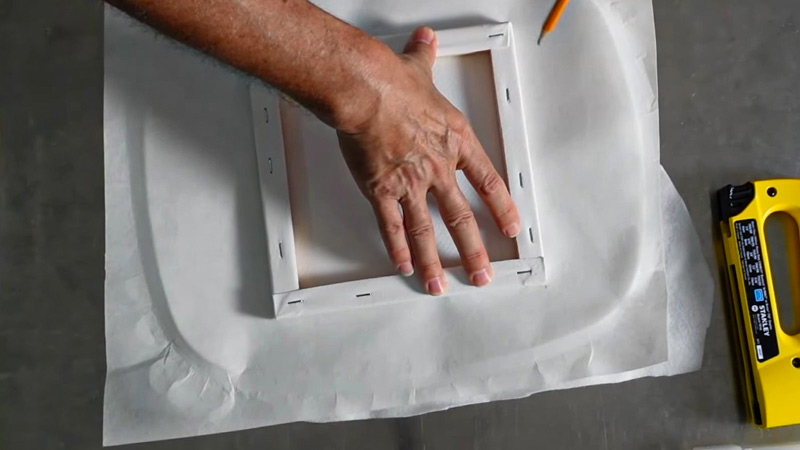
Place the embroidery canvas on a flat surface with the design facing up. Center the inner hoop over the desired section of your embroidery.
Step 4: Secure with Outer Hoop
Position the outer hoop over the inner hoop, sandwiching the fabric. Press down firmly and tighten the screw on the outer hoop to secure the fabric in place.
Step 5: Trim Excess Fabric
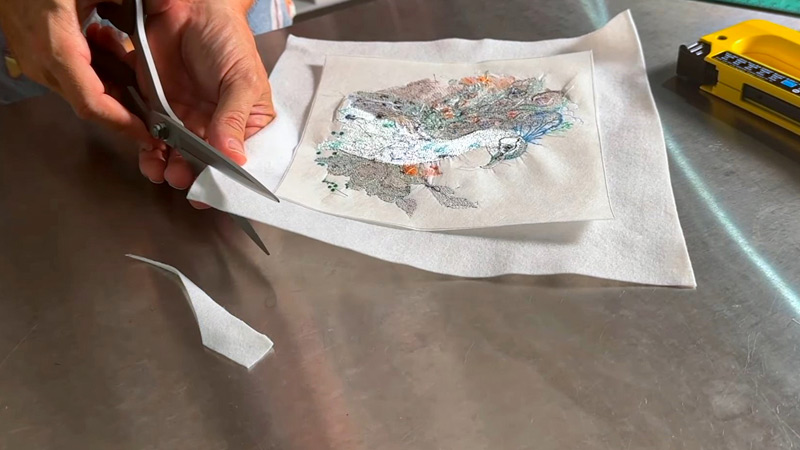
Trim the excess fabric around the hoop, leaving about an inch beyond the hoop’s edge.
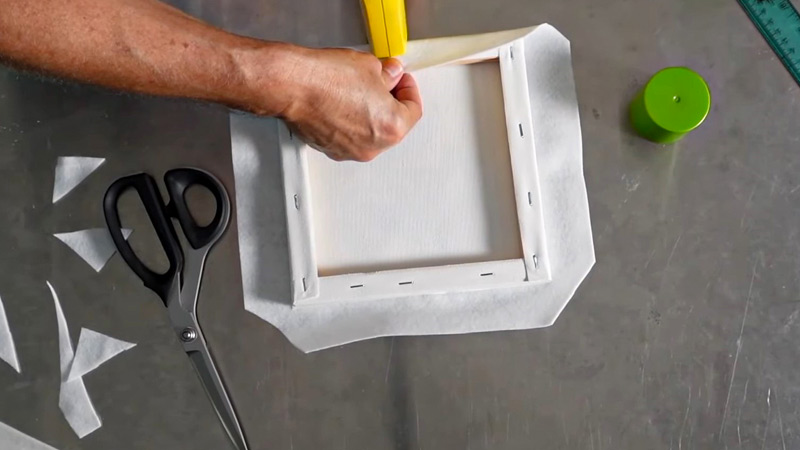
Step 6: Fold and Secure Fabric
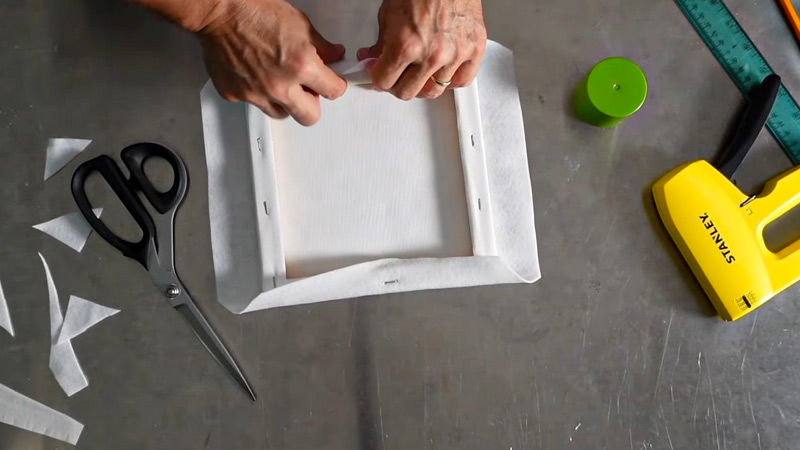
Fold the excess fabric to the back of the hoop. Use a needle and thread to stitch the fabric in place along the inner edge of the outer hoop. Alternatively, use fabric glue or a hot glue gun, being cautious not to use too much glue.
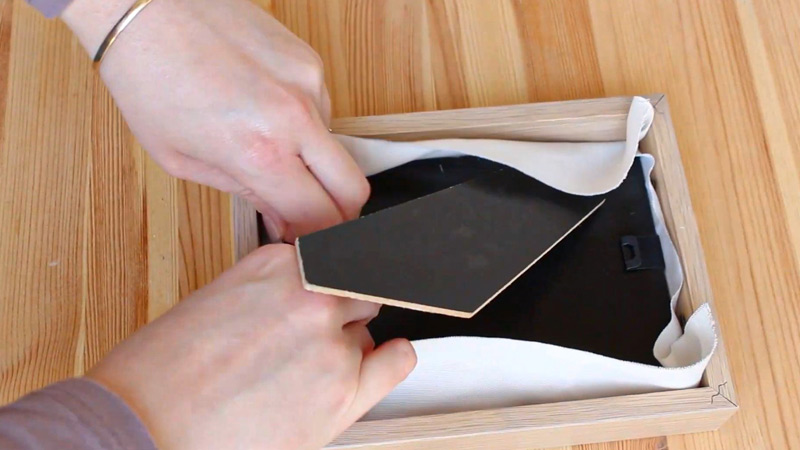
Step 7: Back the Embroidery (Optional)
For extra protection, add a backing material to the back of the framed embroidery. Cut the backing material to the size of the hoop and attach it securely.
Step 8: Attach Hanging Ribbon or Twine
Cut a piece of ribbon or twine and tie it to the screw on the outer hoop. This serves as your hanger.
Step 9: Inspect and Adjust
Check the front of your framed embroidery for any visible wrinkles or irregularities. Make adjustments to ensure the fabric is taut and the design is well-centered.
Step 10: Hang or Display
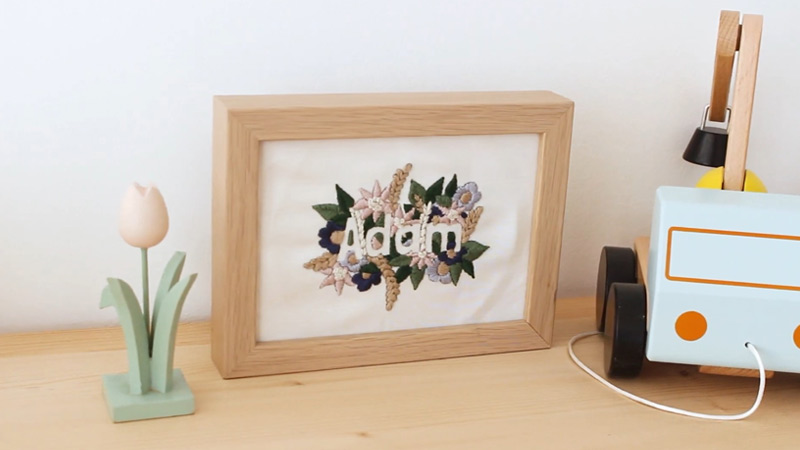
Your framed embroidery is now ready to be hung on the wall or displayed. Choose a location away from direct sunlight to prevent fading.
Why Is Framing Essential in Elevating the Beauty of Embroidery Art?
Framing serves as an essential element in elevating the beauty of embroidery art, contributing to the overall aesthetics and presentation of the intricate needlework.
Here are several key reasons why framing is crucial in enhancing the appeal of embroidery:
Presentation and Professionalism
Framing provides a finished and polished look to embroidery, giving it a professional appearance. It transforms the textile art into a piece that is ready for display in various settings.
Protection from Damage
A frame acts as a protective barrier, shielding the embroidery from dust, dirt, and potential physical damage. This preservation ensures the longevity of the artwork.
Focal Point Emphasis
The frame draws attention to the embroidery, creating a focal point that captures the viewer’s gaze. It directs attention to the intricate details and craftsmanship of the artwork.
Enhancement of Colors and Details
The right frame can complement the colors of the embroidery, enhancing the overall visual appeal. Additionally, it can help showcase the finer details of the stitches and patterns.
Versatility in Display
Framing offers versatility in how the embroidery is displayed. It can be hung on walls, placed on easels, or even exhibited on tabletops, allowing for a variety of display options to suit different environments.
Preservation of Fabric Integrity
Proper framing helps maintain the fabric’s integrity by preventing sagging or distortion over time. The fabric is held taut within the frame, ensuring that the original shape and design of the embroidery are preserved.
Contextual Integration
The frame provides a defined boundary for the artwork, allowing it to seamlessly integrate into different interior design contexts. This makes framed embroidery suitable for a wide range of spaces, from homes to galleries.
Ease of Handling and Transportation
Framing facilitates the handling and transportation of embroidery art. It adds a protective layer that minimizes the risk of accidental damage during movement or storage.
Increased Perceived Value
A well-framed embroidery piece tends to be perceived as more valuable and significant. The framing adds a sense of importance to the artwork, making it more likely to be appreciated and respected by viewers.
Personalization and Style
Frames come in various styles, materials, and finishes, allowing for personalization that complements the artist’s vision or the theme of the embroidery. This customization contributes to the overall aesthetic appeal.
What Are the Key Considerations When Framing an Embroidery Canvas?
Framing an embroidery canvas involves several key considerations to ensure a successful and visually appealing presentation.
Here are essential factors to keep in mind:
Selecting the Right Hoop
Choose a wooden embroidery hoop that is appropriately sized for your canvas. The hoop should securely hold the fabric without distorting its shape.
Cleaning and Ironing
Ensure that your hands are clean before handling the embroidery, and iron the fabric to remove any wrinkles. Clean hands prevent dirt transfer while ironing creates a smooth surface for framing.
Checking the Hoop for Cleanliness
Examine both the inner and outer hoops for cleanliness and any sharp edges that could potentially damage the fabric. Sand or smooth out any rough spots.
Centering the Design
Place the embroidery canvas on a flat surface and center the inner hoop over the desired section of the design. Ensuring proper alignment is crucial for a balanced presentation.
Tightening the Hoop Appropriately
Tighten the outer hoop sufficiently to hold the fabric taut, but avoid over-tightening, as it may distort the fabric. A snug fit is essential for a neat and polished finish.
Trimming Excess Fabric
Trim the excess fabric around the hoop, leaving about an inch beyond the hoop’s edge. This provides enough material for securing the fabric to the back of the hoop without risking fraying.
Securing the Fabric
Use a needle and thread to stitch the excess fabric to the back of the hoop, or use fabric glue or a hot glue gun. Be cautious not to use too much glue to prevent seepage onto the front of the embroidery.
Optional Backing Material
Consider adding a backing material to the back of the framed embroidery for additional protection. Ensure the backing material is clean and securely attached to the hoop.
Choosing a Hanging Method
Select a piece of ribbon or twine to serve as a hanger. Tie it to the screw on the outer hoop, allowing for easy hanging. Ensure the chosen hanger complements the overall style of the framed embroidery.
Inspecting for Wrinkles and Irregularities
Before finalizing the framing, carefully inspect the front of the framed embroidery for any wrinkles or irregularities. Smooth out the fabric to ensure a clean presentation.
Consideration of Display Location
Choose a suitable location for displaying the framed embroidery, keeping in mind factors such as lighting conditions and protection from direct sunlight to prevent color fading.
FAQs
Is it possible to frame an embroidery canvas without a hoop?
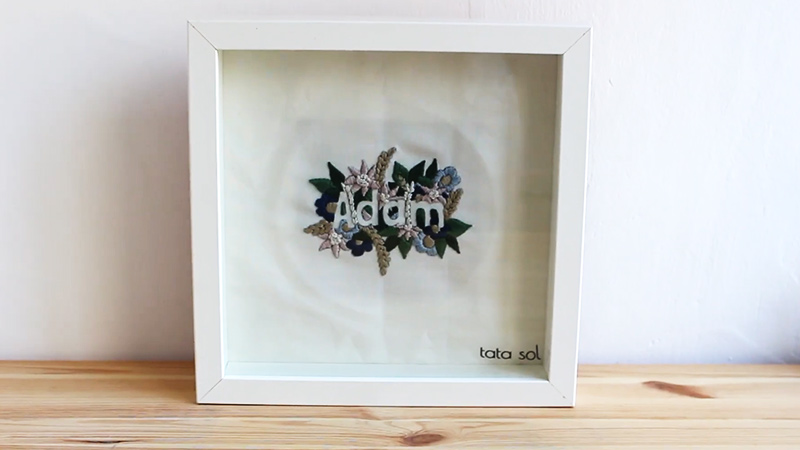
Yes, while a hoop is traditional, alternative framing methods like shadow boxes or traditional frames with glass can be used depending on personal preference.
How can I remove wrinkles from an already framed embroidery?
If wrinkles persist after framing, carefully remove the embroidery from the frame, gently iron the fabric on the reverse side, and reframe it once the fabric is smooth.
What type of lighting is ideal for displaying framed embroidery?
Choose ambient or indirect lighting for displaying embroidery. Avoid harsh, direct sunlight to prevent fading and damage to the fabric and stitches over time.
How do I store framed embroidery to prevent damage when not on display?
Store framed embroidery in a cool, dry place, away from direct sunlight and fluctuations in temperature. Use protective covers or wrap in acid-free tissue paper to prevent dust and damage.
Are there specific considerations for framing 3D or textured embroidery projects?
When framing textured or 3D embroidery, ensure the framing method allows enough space to preserve the raised elements. Consider shadow boxes for added depth and protection.
To Recap
Framing an embroidery canvas transcends mere presentation; it is an art that enhances the soul woven into each stitch.
As we’ve explored the intricacies of this process, from choosing the right hoop to securing the fabric with finesse, we unveil a transformative journey.
Beyond preservation, framing imbues your needlework with a refined allure, beckoning admiration. The framed embroidery, carefully hung or displayed, becomes more than a craft; it is a testament to dedication and creativity.
Embrace the beauty of your handiwork, now elegantly framed, and share it with the world—a tapestry of artistry that transcends time and stitches, weaving stories for generations to come.
Leave a Reply