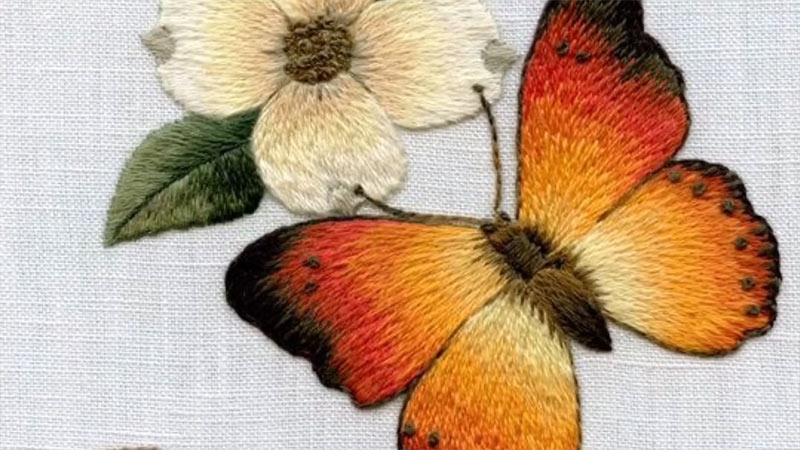
Embarking on the intricate journey of embroidery, the question of “How do you soften embroidery?” emerges, unveiling a realm where craftsmanship meets comfort.
Softening embroidered pieces goes beyond aesthetics, delving into the tactile experience of needlework.
This inquiry invites us to explore seven simple methods, each addressing the challenge of achieving not just visual appeal but also enhanced touch and pliability.
From gentle washing techniques to steam treatments, the quest for softer embroidery stitches delves into the delicate balance between preserving the meticulous work and elevating the overall feel of the finished creation.
Join us as we unravel the art of softening embroidery, enhancing the sensory delight of each meticulously crafted stitch.
How Do You Soften Embroidery?
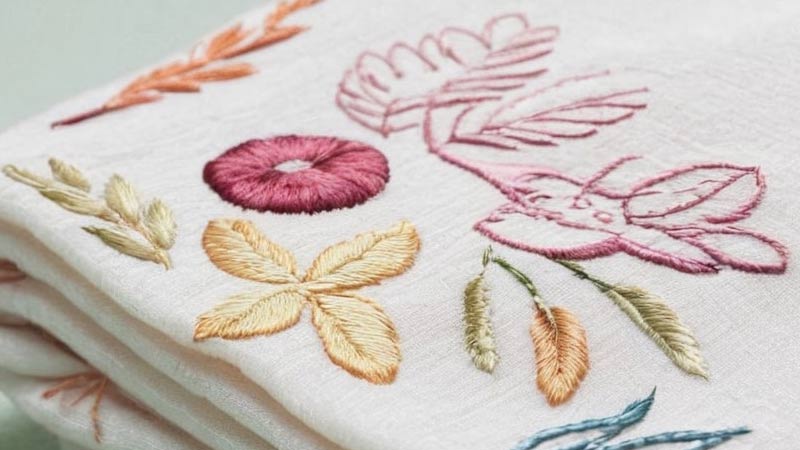
Transforming stiff embroidery into a soft and supple masterpiece involves delicate techniques.
Discover seven simple methods to soften your needlework, from addressing how to soften stiff fabric to specifically softening stiff cotton fabric.
These techniques not only enhance the tactile quality of your embroidery but also contribute to its overall drape and comfort.
Gentle Washing
Begin by washing your embroidered piece with a mild detergent. Use cold or lukewarm water and avoid harsh chemicals. Gently agitate the fabric to encourage softening.
Fabric Softeners
Introduce fabric softeners during the wash to enhance the softness of the fabric. Follow the product instructions and ensure it is suitable for the type of fabric used in your embroidery.
Air Drying
Opt for air drying instead of using a dryer. Allow your embroidery to naturally dry, and reshape it while damp to maintain its original form and softness.
Steam Treatment
Use a handheld steamer to lightly steam the back of your embroidery. This method helps relax the fibers and contributes to a softer feel without compromising the stitches.
Ironing with a Cloth
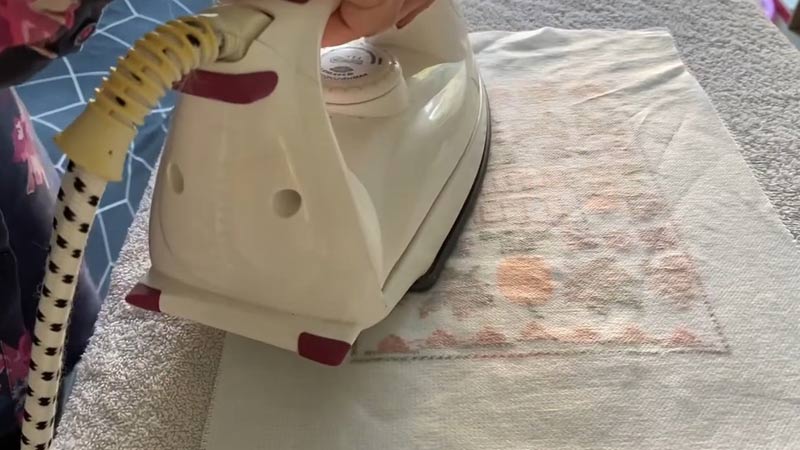
Iron the embroidery on a low heat setting, placing a thin cloth between the iron and the fabric. This protects the stitches while helping to soften the fabric.
Commercial Softeners
Explore commercial fabric softeners specifically designed for delicate fabrics. Apply according to the product instructions to achieve optimal softness.
Repeat Softening Techniques
If needed, repeat the softening techniques until you achieve the desired softness. Be patient, as some fabrics may require multiple treatments for optimal results.
Implementing these methods not only addresses the question of how to soften stiff fabric but also ensures that your embroidered creations are not only visually appealing but also pleasant to the touch.
How To Soften Aida Cloth?
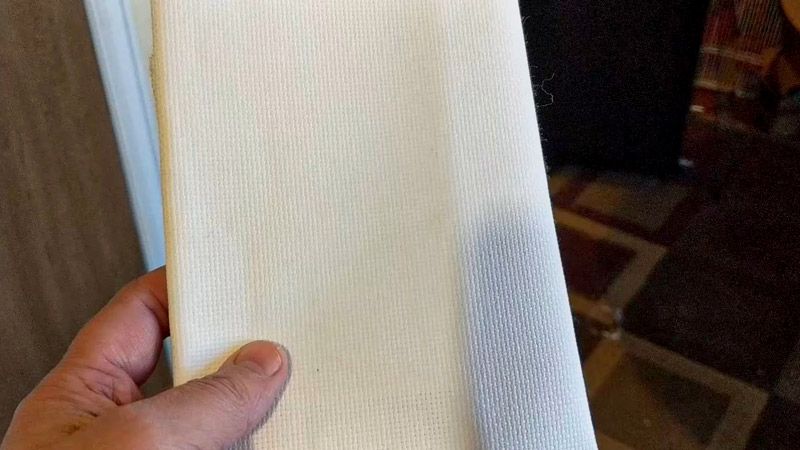
Transforming the rigidity of Aida cloth into a softer, more pliable fabric can elevate your cross-stitching experience. Here, we delve into seven simple methods addressing how to make Aida cloth softer.
From gentle washing to steam treatments, these techniques not only enhance the tactile quality of your fabric but also contribute to a more comfortable and enjoyable stitching process.
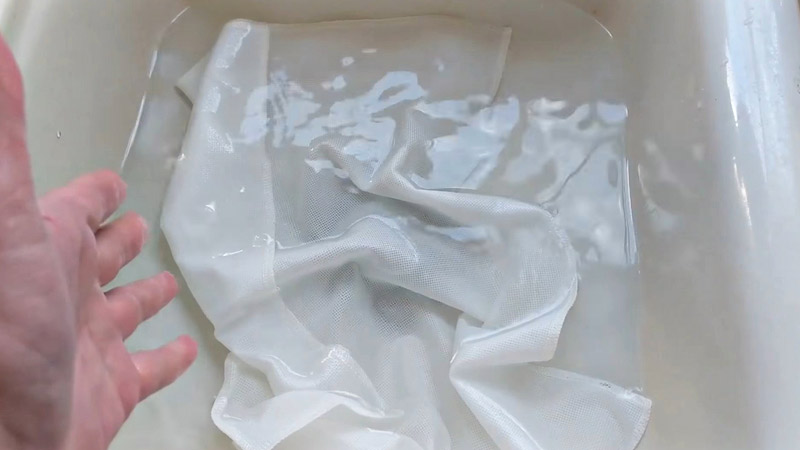
Warm Water Soak
Immerse the Aida cloth in warm water with a mild detergent. Allow it to soak for about 30 minutes. Gently agitate the water to encourage the fibers to loosen, promoting softness.
Fabric Softener Rinse
Add a small amount of fabric softener to the final rinse when washing the Aida cloth. This step enhances softness and gives the fabric a more comfortable feel for your hands as you work.
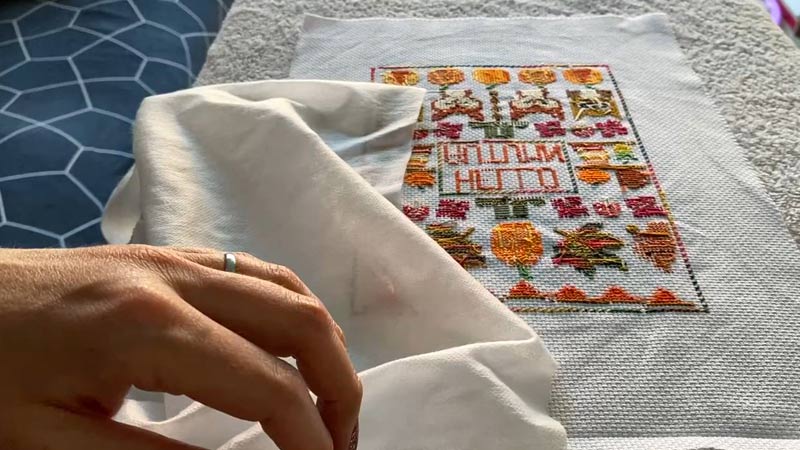
Air Drying
After washing, air-dry the Aida cloth instead of using a dryer. Lay it flat to maintain its shape and prevent unnecessary stress on the fibers, contributing to a softer finish.
Ironing with a Cloth
Iron the Aida cloth on a low heat setting, placing a thin cloth between the fabric and the iron. This helps relax the fibers, softening the fabric without compromising the visible holes.
Steam Treatment
Utilize a handheld steamer to lightly steam the Aida cloth. This method relaxes the fibers and contributes to a softer feel, making the fabric more pliable and comfortable to work with.
Repeat Softening Techniques
If the desired softness isn’t achieved initially, consider repeating the softening techniques until you reach the optimal level of softness. Some fabrics may require multiple treatments.
Commercial Fabric Softeners
Explore commercial fabric softeners designed for delicate fabrics. Follow the product instructions, incorporating these softeners into your washing routine to maintain the softness of the Aida cloth.
Applying these methods not only addresses the question of how to soften stiff Aida cloth but also enhances the overall stitching experience, making your cross-stitching projects more enjoyable and yielding softer, more pliable fabric.
What Makes An Aida Cloth Stiff?
Aida cloth is a popular choice for cross-stitch and embroidery due to its distinctive grid pattern and ease of use. The stiffness of Aida cloth is influenced by various factors in its composition and manufacturing process.
Here are seven situations that contribute to the stiffness of Aida cloth
Thread Count
A significant determinant of Aida cloth stiffness is the thread count, representing the number of threads per inch.
Lower thread count Aida tends to be stiffer, as the process of creating holes by removing threads during weaving results in a denser and less flexible fabric.
Material Composition
Aida cloth is typically composed of cotton or a blend of cotton and synthetic fibers. The specific combination and quality of these fibers contribute to the fabric’s stiffness. Pure cotton Aida may feel softer compared to blends with synthetic fibers.
Weave Structure
The weave structure employed in Aida cloth production plays a crucial role. The distinctive grid pattern is created through weaving, and the chosen structure influences the fabric’s stiffness. The tight, grid-like weave contributes to the overall rigidity of the cloth.
Starching or Sizing
Some Aida fabrics undergo treatments like starching or sizing during manufacturing to enhance stiffness. These treatments involve adding substances to the fabric to provide temporary stiffness, aiding in maintaining the integrity of the grid pattern during stitching.
Fabric Thickness
The thickness of the Aida cloth also affects its stiffness. Thicker Aida fabrics may feel stiffer due to the increased density of the material. However, thicker fabrics can offer more durability and support for intricate stitching.
Finish Treatments
Certain finish treatments applied to Aida cloth contribute to its stiffness. These treatments may include chemical finishes that enhance the fabric’s stability and make it easier for crafters to work with. Over time, the impact of these finishes on stiffness may diminish with use.
Manufacturing Process
The overall manufacturing process, including how the Aida cloth is woven and treated, influences its stiffness.
Variations in production methods can result in different levels of rigidity, offering crafters a range of options based on their preferences and project requirements.
The stiffness of Aida cloth is a multifaceted characteristic influenced by thread count, material composition, weave structure, treatments, thickness, finish treatments, and the manufacturing process.
Crafters can choose from a variety of Aida cloths to find the right balance of stiffness for their specific embroidery projects.
Conclusion
In the realm of embroidery, softness becomes a tactile testament to the artistry of needlework. As we conclude the exploration into “How do you soften embroidery?” it becomes clear that the journey goes beyond visual aesthetics.
These seven simple methods not only preserve the integrity of stitches but also contribute to a more enjoyable and comfortable stitching experience.
Whether through warm water soaks, fabric softener rinses, or air drying, the commitment to achieving softer embroidery transforms each project into a touchable masterpiece.
Softened embroidery stitches not only please the eye but invite the hands to linger, creating a harmonious fusion of visual delight and tactile satisfaction in the world of needlecraft.
Leave a Reply