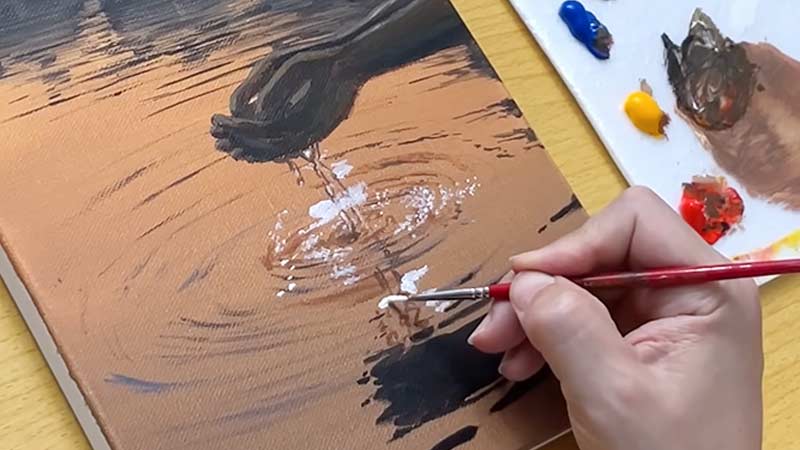
Discover the enchanting art of creating a glitter effect with this comprehensive guide. Whether you’re using traditional pencils and paper or digital tools, unlocking the secrets to drawing mesmerizing glimmers of light will elevate your artistic prowess.
This step-by-step tutorial unveils techniques to simulate the dazzling allure of glitter particles, guiding you through brush customization, shading, and layering.
From selecting a color palette to perfecting reflections, each stage is crafted to bring sparkle to life. Embrace creativity, experiment with geometric shapes, and master the nuances of adding depth and highlights.
Unleash the magic as you learn How to Draw a Glitter Effect that captivates and illuminates.
How to Draw Glitter Effect? A Step-By-Step Guide
Creating a glitter effect in digital art involves simulating the sparkling and reflective nature of glitter particles.
Here’s a general guide on how to draw a glitter effect using common digital art tools:
Start with a New Canvas
Open your preferred digital art software and create a new canvas. Consider the dimensions and resolution based on your project requirements.
Set the Background
Choose a background color or image that complements your design. Dark backgrounds often enhance the visibility of glitter effects.
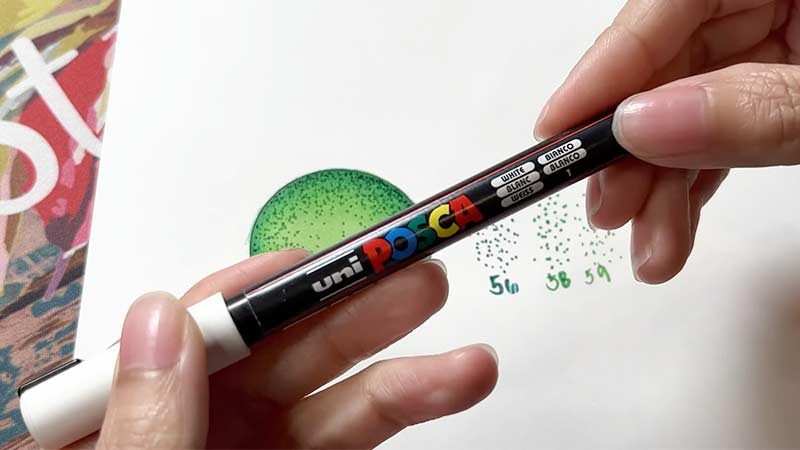
Customize Your Brush
Create a new brush or modify an existing one to emulate the random and sparkling characteristics of glitter particles. Adjust parameters such as size, shape, scattering, and opacity.
Base Glitter Layer
Begin by adding a base layer of glitter using your customized brush. Vary the size and density of glitter particles across the canvas for a more natural appearance.
Choose a Color Palette
Select a color palette for your glitter. Glitter can take on a multitude of colors or be tailored to match a specific theme within your artwork.
Highlights and Shadows
Add highlights and shadows to individual glitter particles. Using a slightly lighter color for highlights and a slightly darker color for shadows adds depth and realism.
Duplicate Layers
Duplicate the glitter layer to intensify the effect. Experiment with different blending modes to enhance the sparkle. This can help achieve a more dynamic and eye-catching result.
Adjustment Layers
Implement adjustment layers, such as Levels or Curves, to fine-tune the overall brightness and contrast of the glitter. This step contributes to achieving a balanced and visually appealing glitter effect.
Diversify Particle Shapes
Introduce different shapes and sizes of glitter particles to avoid uniformity. Some particles can be dots, while others may be elongated or irregular in shape, creating a more realistic and varied appearance.
Background Interaction
Ensure that the glitter interacts seamlessly with the background. Adjust the luminosity and color intensity of the glitter based on the background tone.
Add Reflections
Create small reflections on individual glitter particles. This can be accomplished by adding tiny dots or lines to simulate light reflecting off the surfaces, enhancing the overall realism of the effect.
Layer Organization
Arrange the layers thoughtfully. Glitter layers should be positioned above the background but can be below other elements in your artwork to ensure proper layering.
Final Adjustments
Fine-tune the overall look by making adjustments to colors, saturation, and contrast. Experiment with additional effects like blurs or glows to achieve the desired level of visual impact.
Save and Share
Save your work and export the final image in the desired format. Consider sharing your glitter-infused masterpiece with the world!
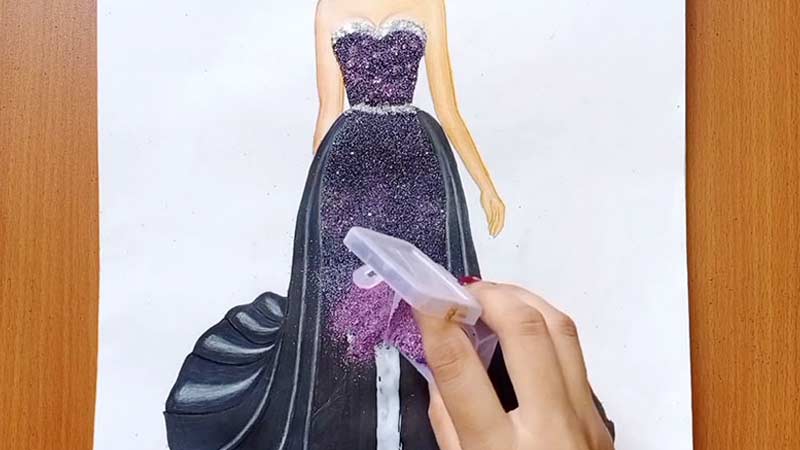
How to Draw Glitter Effect With Pencil?
Creating a glitter effect with a pencil involves employing shading, highlights, and texture to simulate the sparkling and reflective nature of glitter particles.
Here’s a detailed step-by-step guide on how to draw a glitter effect with a pencil:
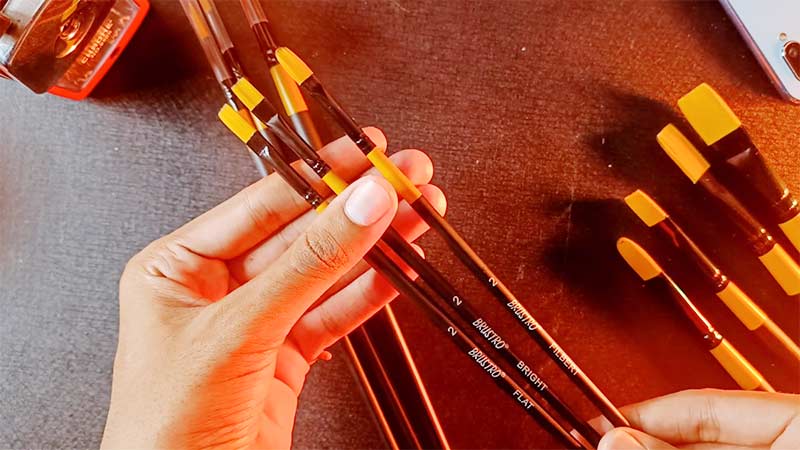
Materials Needed
- Set of pencils (ranging from 2H to 8B)
- Quality drawing paper
- Eraser (preferably a kneaded eraser)
- Blending stump or tortillon
Steps:
Prepare Your Workspace
Ensure your workspace is clean and well-lit. Sharpen your pencils for precise details in your drawing.
Identify Light Source
Determine the direction of the light source. Knowing this helps in placing highlights and shadows on the glitter particles.
Create a Base Drawing
Begin with a light sketch or outline of the area where you want the glitter effect. This could be a specific shape or part of a larger drawing.
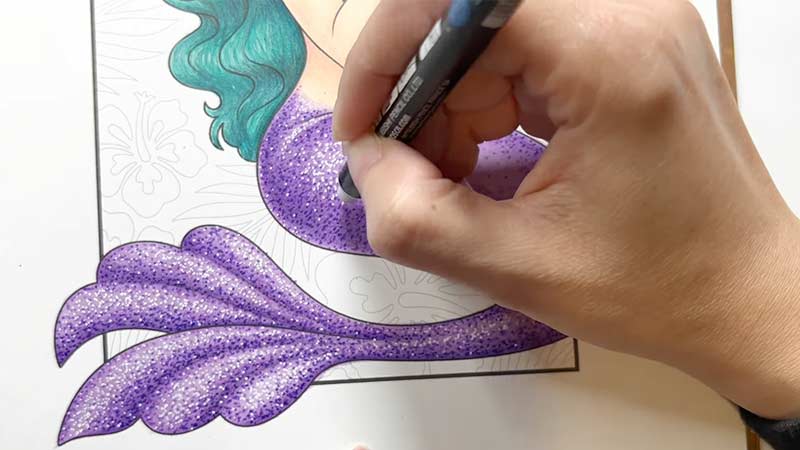
Draw Glitter Particles
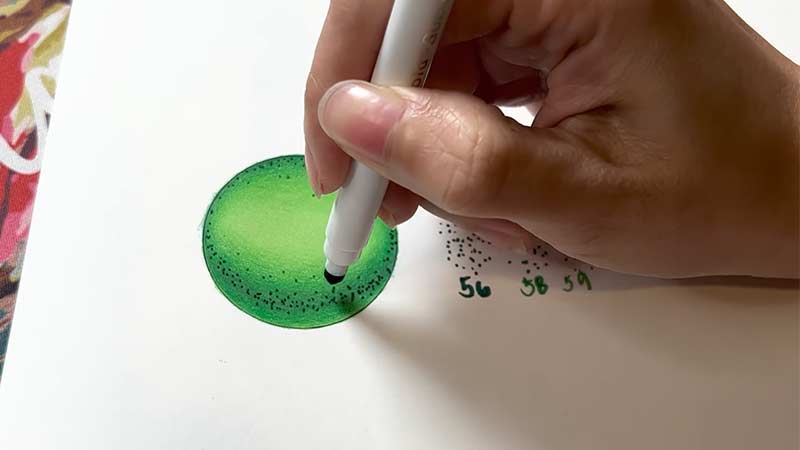
Use a sharp pencil to draw small, irregular shapes to represent individual glitter particles. Vary the size and spacing to achieve a natural and random appearance.
Add Shading
Shade one side of each glitter particle to create depth. The shaded side should be the one facing away from the light source.
Create Highlights
Use an eraser, preferably a kneaded eraser, to lift off some graphite on the opposite side of the shading. This creates highlights and mimics the reflective nature of glitter.
Vary Pencil Pressure
Experiment with the pressure applied to the pencil. Use harder pressure for darker areas and lighter pressure for highlights. This variation adds dimension to your drawing.
Blend with a Blending Stump
Utilize a blending stump or tortillon to smooth out transitions between shades. This helps create a polished and realistic appearance.
Repeat the Process
Continue adding glitter particles, shading, and highlights until you achieve the desired sparkle. Pay attention to the distribution of particles for a balanced and natural look.
Consider Background
Adjust the shading and highlights based on the background. A darker background may require more pronounced highlights for contrast.
Fine-Tune Details
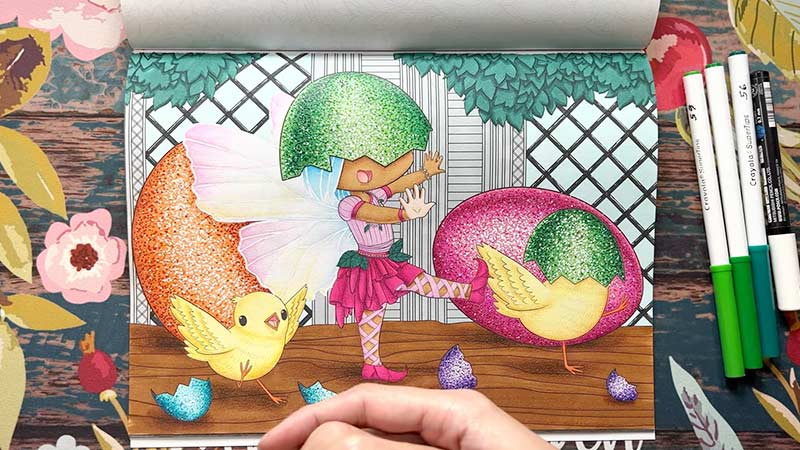
Add smaller sparkles within larger particles. Refine edges and make any necessary adjustments to enhance the overall glitter effect.
Evaluate and Adjust
Step back from your drawing occasionally to assess the overall effect. Make any necessary adjustments to achieve the desired level of sparkle and realism.
Protect Your Drawing
Once satisfied, consider using a fixative spray to protect your pencil drawing from smudging.
How to Draw a Sparkle?
Drawing a sparkle is a delightful and versatile element that can add a touch of magic to your artwork.
Whether you’re creating an illustration, adding highlights to a character’s eyes, or decorating a scene, here’s a step-by-step guide on how to draw a sparkle:
Materials Needed
- Pencil or pen
- Paper or sketchbook
Steps:
Start with a Focal Point
Decide where you want the sparkle to appear in your drawing. This could be on an object, a character’s eye, or within a scene.
Draw a Central Dot
Begin by drawing a small dot at the center of where you want the sparkle. This dot serves as the focal point from which the rays of light will radiate.
Radiating Lines
Extend short, straight lines outward from the central dot. These lines represent the rays of light. Keep them symmetrical and evenly spaced around the dot.
Vary Line Lengths
To create a more dynamic and natural look, vary the lengths of the lines. Some lines can be slightly longer than others. This variation adds movement and energy to the sparkle.
Create a Burst Effect
Extend a few lines slightly further than the others to create a burst effect. This enhances the dynamic and vibrant appearance of the sparkle.
Define the Dot
Reinforce the central dot by making it slightly darker or adding a small circle around it. This adds contrast and draws attention to the center of the sparkle.
Optional Glare or Highlight
Consider adding a small glare or highlight on one side of the dot. This extra touch can further emphasize the source of light and enhance the sparkle effect.
Clean Up and Refine
Clean up any stray lines and refine the shape of the sparkle. Ensure that the lines are crisp and well-defined.
Experiment with Size
Experiment with the size of the sparkle based on your artistic needs. Smaller sparkles work well for fine details, while larger ones can make a more significant visual impact.
Consider Context
Keep in mind the context of your drawing. Adjust the size and style of the sparkle to match the overall theme and style of your artwork.
Practice Variations
Practice drawing sparkles in different sizes and styles. Experiment with variations to find the sparkle design that works best for your specific artistic vision.
FAQs
Do I need advanced drawing skills to create a glitter effect?
Basic drawing skills are beneficial, but this guide accommodates various skill levels. Practice and experimentation will enhance your abilities.
Can I draw a glitter effect on any background?
Yes, but adjust shading and highlights based on the background color. Light backgrounds may require darker shading for contrast.
How do I choose the right colors for the glitter effect?
Opt for high-saturation colors. Experiment with different shades to achieve the desired sparkle.
Can I draw a glitter effect with a regular pencil?
Yes, a regular pencil can be used. Experiment with pencil pressure and shading techniques to create a sparkle.
To Recap
Mastering the art of drawing a glitter effect unveils a world of radiant possibilities. This guide has equipped you with the skills to infuse your creations with the enchanting allure of glitter particles, whether on traditional paper or digital canvases.
From crafting custom brushes to understanding shading nuances, each step has been a journey toward creating dazzling visuals. As you experiment with color palettes, layering, and reflections, your artistic expression flourishes.
Remember, the key lies in embracing creativity, refining details, and enjoying the mesmerizing impact of glitter.
With newfound proficiency, go forth and illuminate your artwork, adding a touch of magic that captivates and shines.
Leave a Reply