Embarking on a sewing project only to find that the automatic threader on your Brother sewing machine isn’t functioning can be disheartening. However, fear not, as resolving this issue is often a matter of understanding common troubleshooting steps.
In this comprehensive guide on “How To Fix Automatic Threader On Brother Sewing Machine,” we will explore seven practical methods to address the malfunction, ensuring that your sewing experience remains smooth and uninterrupted.
From clearing debris to checking needle alignment, each step is designed to empower you with the knowledge to troubleshoot and rectify automatic threader issues, allowing you to continue your creative endeavors with confidence.
How To Fix Automatic Threader On Brother Sewing Machine?
When your Brother sewing machine’s automatic needle threader encounters issues, resolving them can be a straightforward process.
Explore seven simple methods below to troubleshoot and how to fix the automatic threaders on the Brother sewing machine, ensuring a smooth sewing experience.
These steps on how to fix the automatic needle threader on the Brother sewing machine are designed to address common problems and get your Brother sewing machine back in working order.
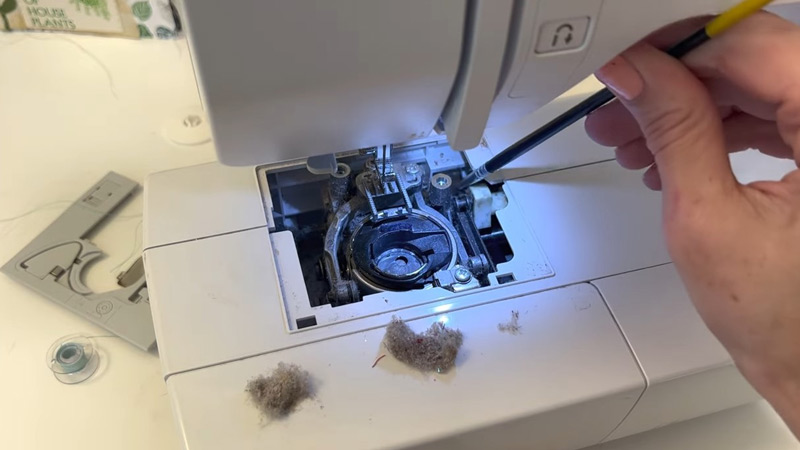
Clearing Debris
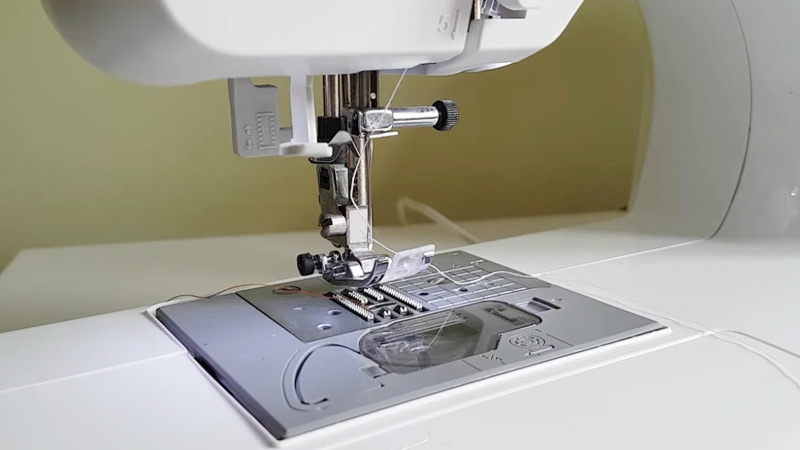
Gently remove any accumulated dust or lint near the needle and threader mechanism. Utilize a small brush or compressed air to clean the area thoroughly, as debris can impede the automatic threader’s functionality.
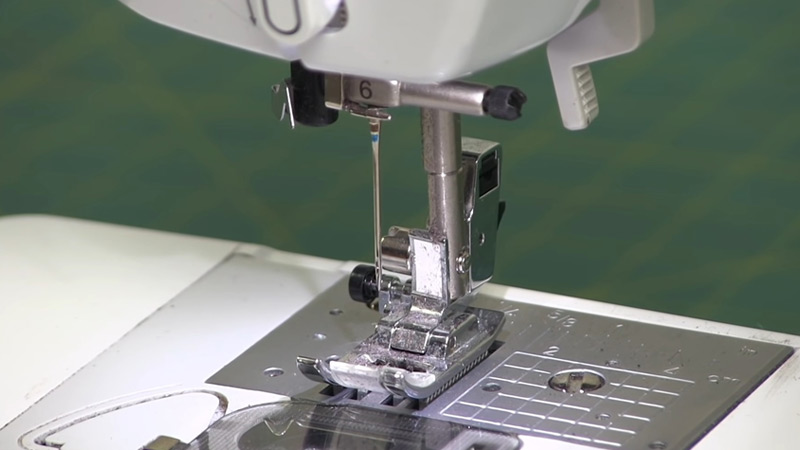
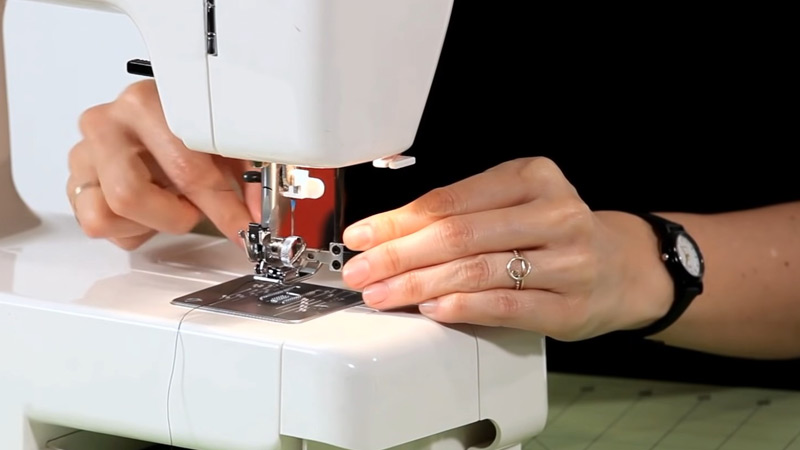
Proper Needle Placement
Ensure the needle is correctly positioned and fully inserted into the needle holder. Incorrect needle alignment can hinder the automatic threader. Double-check the needle type and size recommended for your specific Brother sewing machine model.
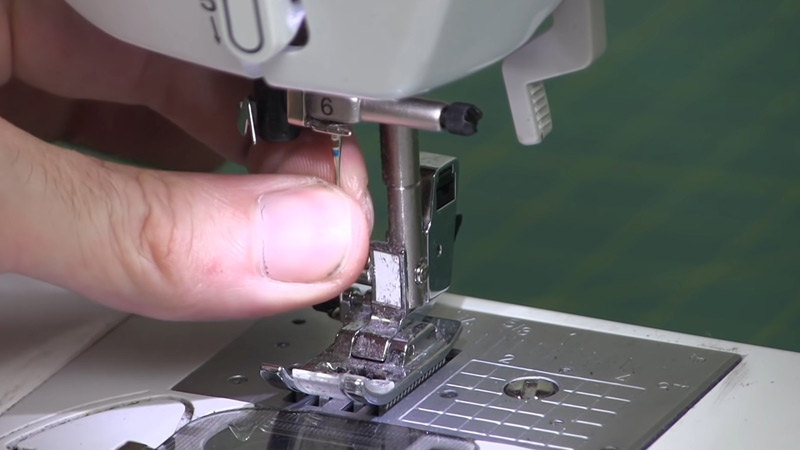
Inspect for Bent Needles
Examine the needle closely for any bends or damage. A bent needle can disrupt the automatic threader’s operation. Replace the needle if necessary, choosing a high-quality needle compatible with your Brother sewing machine.
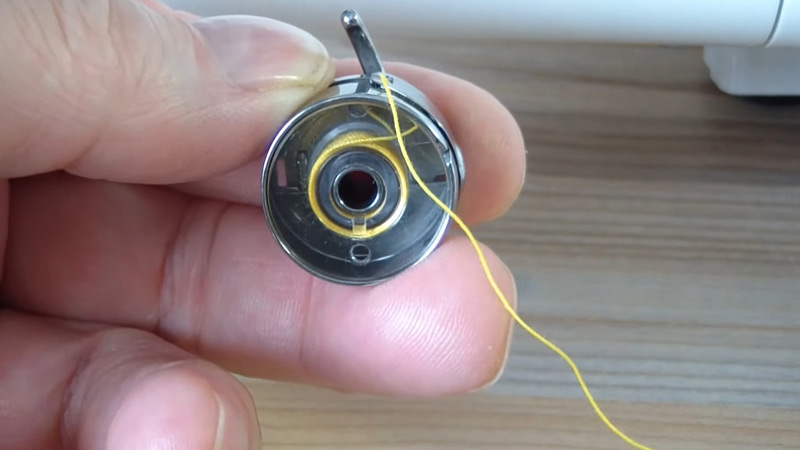
Thread Quality Matters
Use good-quality thread suitable for your fabric. Low-quality or frayed thread can cause issues with the automatic threader. Thread the machine with a fresh, high-quality thread to ensure smooth functioning.
Check Thread Tension
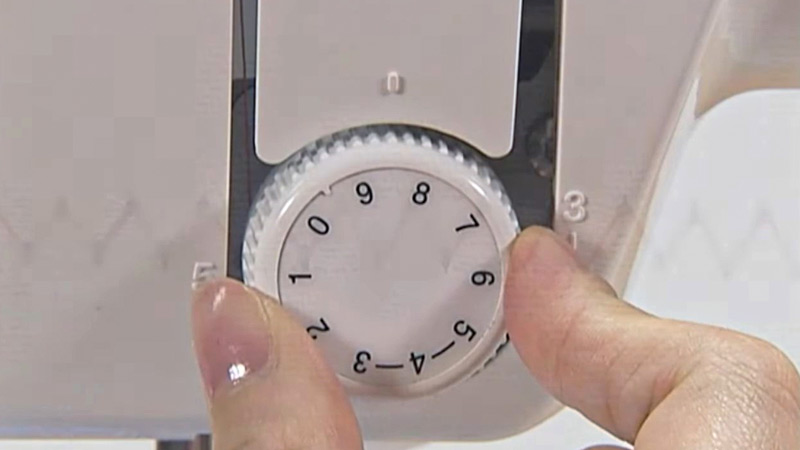
Incorrect thread tension can affect the automatic threader. Ensure the machine is correctly
FAQthreaded, and the tension is set according to the recommended settings for your sewing project. Adjust the tension dial if necessary.
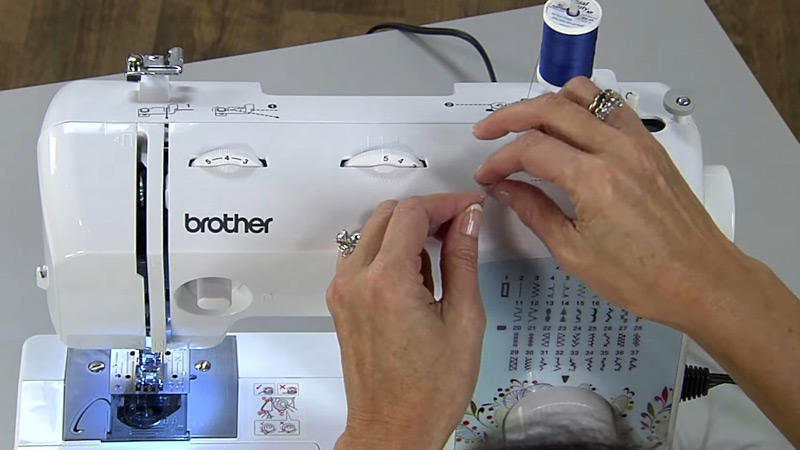
Verify Machine Settings

Confirm that your Brother sewing machine is set to the correct stitch and needle position for the task at hand. Incorrect settings may cause the automatic threader to malfunction. Consult your machine’s manual for guidance on optimal settings.
Professional Servicing
If issues persist, consider seeking professional servicing. A trained technician can diagnose and address underlying mechanical problems with the automatic threader, ensuring its optimal performance.
These seven methods provide practical solutions for fixing the automatic threader on your Brother sewing machine.
By addressing common issues such as debris, needle alignment, and thread quality, you can maintain the efficiency of the automatic threader and enjoy uninterrupted sewing sessions.
Why is My Brother’s Automatic Threader Not Working?
If your Brother sewing machine’s automatic needle threader is not working, it can be frustrating. However, understanding the potential reasons behind this issue can help you troubleshoot and address the problem.
Here are seven common reasons why your Brother automatic needle threader might not be working, along with suggested solutions.
Debris Accumulation
The automatic needle threader may not function if there’s debris or lint around the needle and threader area. Clean this area thoroughly using a small brush or compressed air to ensure smooth operation.
Needle Misalignment
Incorrect needle placement or a misaligned needle can prevent the automatic threader from working correctly. Ensure the needle is properly inserted into the needle holder and is aligned as per the machine’s specifications.
Bent Needle
A bent needle can impede the threader’s movement. Inspect the needle for any bends or damage. Replace it with a straight and high-quality needle suitable for your Brother sewing machine.
Thread Quality Issues
The low-quality or frayed thread may cause the automatic threader to malfunction. Use fresh and high-quality thread to prevent any disruptions in the threader’s smooth operation.
Incorrect Thread Tension
Improper thread tension can affect the automatic needle threader. Ensure that the machine is correctly threaded and the tension is set according to the recommended settings for your sewing project.
Machine Settings Mismatch

Incorrect settings on your Brother sewing machine, such as the wrong stitch or needle position, can lead to the automatic needle threader not working. Verify that the settings align with your intended sewing project.
Mechanical Issues
If the automatic threader continues to malfunction, there might be underlying mechanical problems. Seeking professional servicing from a trained technician can help diagnose and address any mechanical issues affecting the threader.
By considering these seven reasons, you can troubleshoot and identify the cause of your Brother automatic needle threader not working, enabling you to implement the appropriate solutions for a seamless sewing experience.
How To Fix Automatic Threader On Singer Sewing Machine?
Encountering issues with the automatic threader on your Singer sewing machine can disrupt your sewing experience. Fortunately, resolving the automatic threader not working brother often involves simple troubleshooting steps.
Explore these seven effective ways to fix the automatic threader on your Singer sewing machine, ensuring smooth and hassle-free sewing sessions.
Clear Thread Path
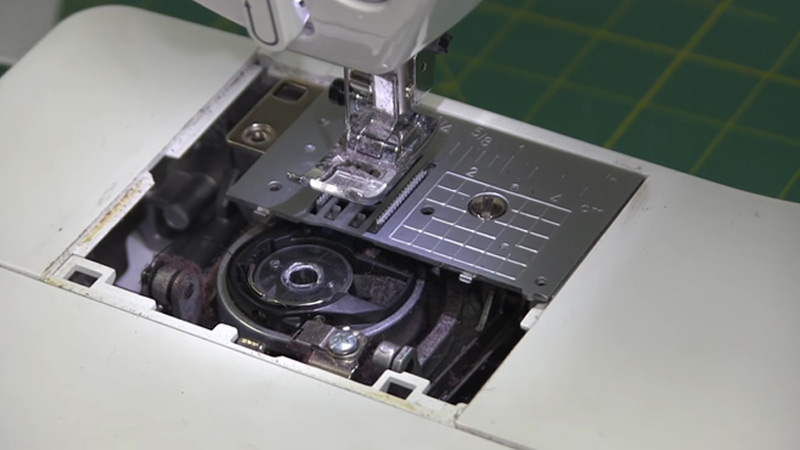
Ensure the thread path is clear of any obstructions. Gently remove tangled or stuck threads around the automatic threader mechanism to allow for proper functioning.
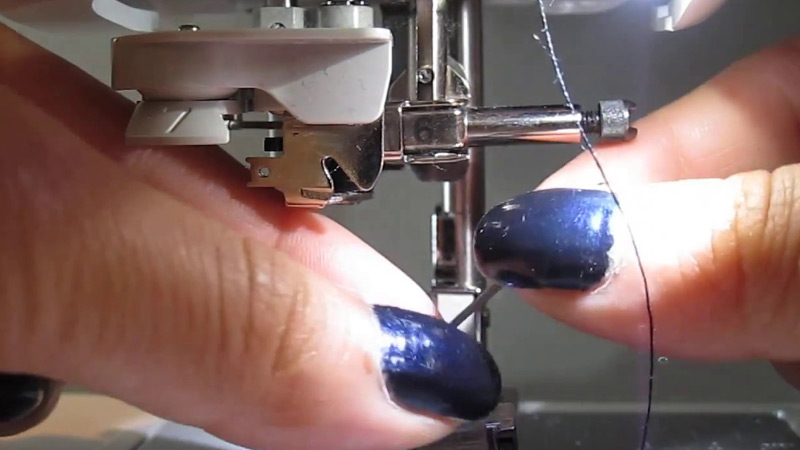
Verify Needle Position
Confirm that the needle is in the correct position. Incorrect needle alignment can hinder the automatic threader. Adjust the needle to the highest position before attempting to use the threader.
Check Needle Condition
Inspect the needle for any bends or damage. A bent needle can prevent the automatic threader from working. Replace the needle with a new, straight one suitable for your Singer sewing machine.
Thread Quality Matters
Utilize high-quality thread suitable for your fabric. Low-quality or frayed thread can lead to issues with the automatic threader. Thread the machine with fresh, good-quality thread to ensure optimal performance.
Proper Thread Tension
Verify that the thread is correctly tensioned. Incorrect thread tension can affect the automatic threader’s functionality. Adjust the tension settings according to your Singer sewing machine’s specifications.
Machine Cleaning
Regularly clean your Singer sewing machine, including the automatic threader area. Dust and lint accumulation can hinder the threader’s movement. Use a small brush or compressed air for thorough cleaning.
Professional Servicing
If issues persist, consider seeking professional servicing. A trained technician can diagnose and address underlying mechanical problems with the automatic threader, ensuring its optimal performance.
By following these seven methods, you can troubleshoot and fix the automatic threader on your Singer sewing machine, ensuring that it operates smoothly and efficiently during your sewing projects.
How To Fix A Needle Threader?
Dealing with Brother needle threader not turning issue on your Brother sewing machine can be a frustrating experience. However, resolving the brother sewing machine needle threader often involves simple troubleshooting steps.
Explore these seven effective ways to fix the needle threader on your Brother sewing machine, ensuring smooth and hassle-free sewing sessions.
Clear Debris and Tangles
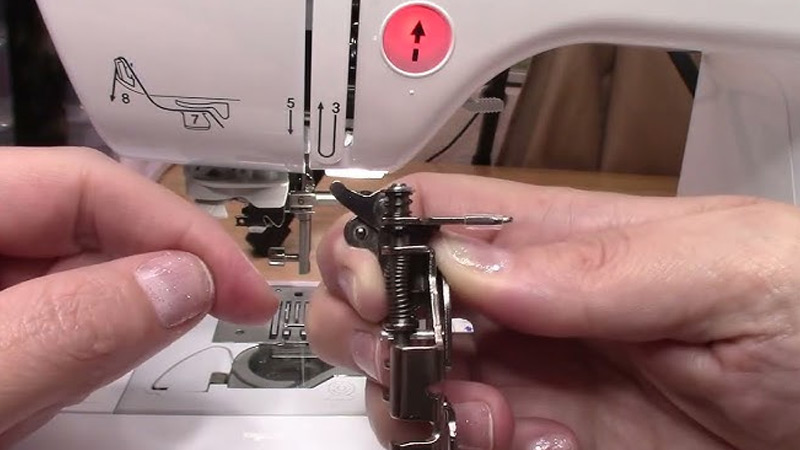
Begin by inspecting the needle threader area for any accumulated debris or tangled threads. Use a small brush or compressed air to gently remove any obstructions, ensuring that the threader mechanism operates smoothly.
Proper Needle Positioning
Ensure the needle is in the correct position for the needle threader to engage. Adjust the needle to the highest position before attempting to use the threader, allowing for proper alignment and functionality.
Needle Condition Check
Examine the needle for any bends, dullness, or damage. A damaged needle can impede the needle threader’s operation. Replace the needle with a new, straight needle suitable for your Brother sewing machine.
Thread Quality Selection
Choose high-quality thread appropriate for your fabric. Poor-quality or frayed thread can lead to issues with the needle threader. Using fresh and good-quality thread ensures a smooth threading process.
Thread Tension Adjustment
Verify that the thread is correctly tensioned according to your Brother sewing machine’s specifications. Incorrect thread tension can affect the needle threader’s ability to pass through the needle eye.
Lubricate Moving Parts
Apply a small amount of sewing machine oil to the moving parts of the needle threader. Lubricating these components can enhance their flexibility and reduce friction, contributing to smoother needle threading.
Professional Maintenance
If issues persist, consider seeking professional maintenance. A qualified technician can inspect and address any underlying mechanical problems with the needle threader, ensuring optimal performance for your Brother sewing machine.
By following these seven methods, you can troubleshoot and fix the needle threader on your Brother sewing machine, addressing common issues and maintaining a seamless sewing experience.
FAQs
Can I fix the automatic threader myself?
Yes, many issues can be resolved through DIY troubleshooting. Our guide provides seven practical methods to help you identify and fix problems with the automatic threader on your Brother sewing machine.
How do I clear debris from the automatic threader?
Use a small brush or compressed air to gently remove dust or lint around the needle and threader area. Thorough cleaning can often restore the smooth functionality of the threader.
What should I do if the needle is misaligned with the threader?
Ensure the needle is correctly positioned at its highest point before attempting to use the threader. Proper needle alignment is crucial for the automatic threader to engage successfully.
Can a bent needle affect the automatic threader?
Absolutely. A bent needle can impede the threader’s movement. Regularly inspect and replace the needle with a straight and high-quality one compatible with your Brother sewing machine.
When should I seek professional servicing for the automatic threader?
If DIY methods do not resolve the issue, or if there are underlying mechanical problems, consider seeking professional servicing. A trained technician can diagnose and address more complex issues for optimal performance.
Conclusion
In navigating the intricacies of fixing the automatic threader on your Brother sewing machine, you’ve equipped yourself with invaluable insights into troubleshooting common issues.
Whether it’s clearing debris, verifying needle alignment, or seeking professional maintenance, these methods ensure that your sewing machine operates at its best.
As you implement these solutions, you not only resolve the current issue but also gain a deeper understanding of the inner workings of your machine.
Now, armed with the knowledge shared in this guide, you can confidently overcome automatic threader challenges, ensuring a seamless and enjoyable sewing journey with your Brother machine.
Leave a Reply