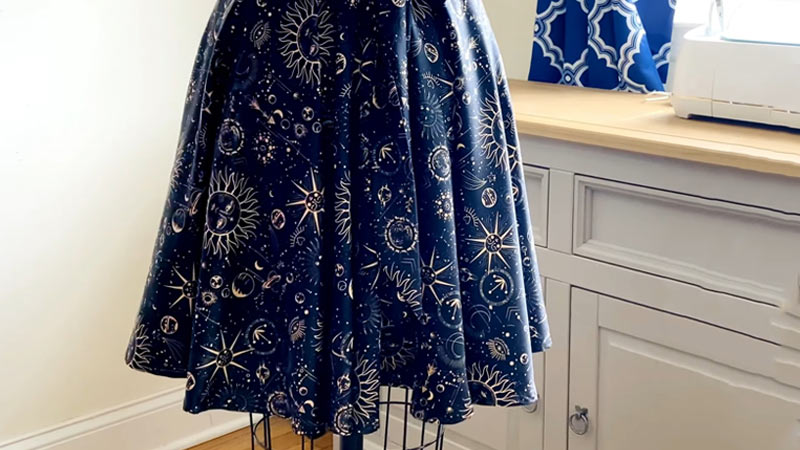
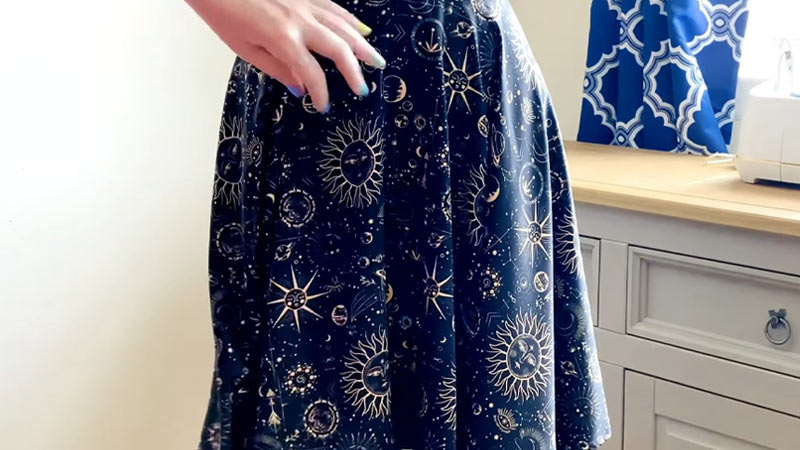
Embarking on the journey of creating a circle skirt with directional fabric promises a venture into the realm of both fashion and craftsmanship.
This project combines the elegance of a classic circle skirt with the added allure of a directional print, resulting in a garment that not only flatters the silhouette but also showcases the dynamic flow of the chosen fabric.
Through meticulous measurements, pattern creation, and thoughtful cutting, this guide navigates the process, ensuring that the directional design aligns seamlessly.
The fusion of creativity and skill culminates in a unique and visually captivating circle skirt, where every stitch and curve harmonize to accentuate the fabric’s distinctive pattern.
How to Make a Circle Skirt With Directional Fabric?
Making a circle skirt with directional fabric can add an interesting and dynamic element to your garment.
Directional fabric refers to a pattern or print that has a specific orientation, meaning the design flows in a particular direction.
When working with directional fabric for a circle skirt, it’s essential to pay attention to pattern placement to achieve a cohesive and visually appealing result.
Here’s a step-by-step guide on how to make a circle skirt with directional fabric:
Materials Needed:
- Directional fabric (amount depends on your measurements and desired length)
- Measuring tape
- Pattern paper or newspaper
- Pencil
- Scissors
- Elastic for the waistband
- Sewing machine
- Pins
- Iron
Instructions:
Take Measurements
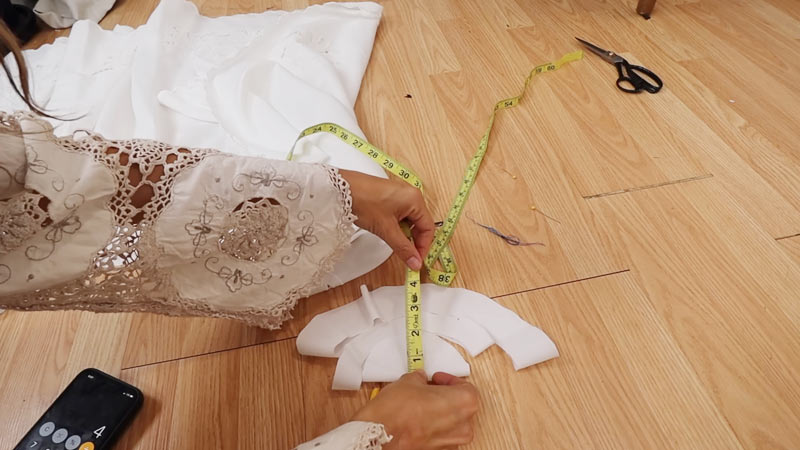
Before diving into the creation process, accurately measure your waist and determine the ideal length for your skirt.
Note down these measurements, as they will serve as the foundation for crafting a well-fitted and proportionate circle skirt.
Create the Pattern
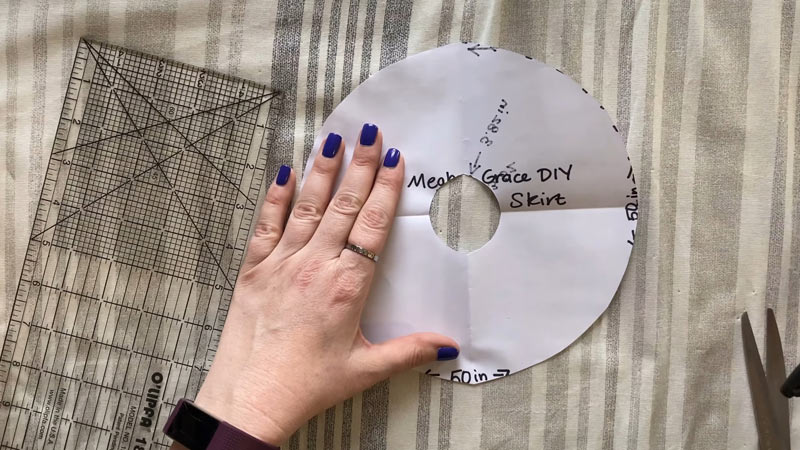
To begin creating the pattern, you need to know how to fold fabric for a circle skirt and start by folding the chosen pattern paper or newspaper in half.
From the folded corner, carefully measure and mark half of your waist measurement along the top edge. Similarly, measure the desired length of your skirt from the same corner along the side edge.
Connect these marked points with a gracefully curved line, forming both the waistline and hemline of the skirt. Once satisfied with the shape, cut along the lines, and when unfolded, the pattern will reveal the full circle shape.
Cut the Fabric
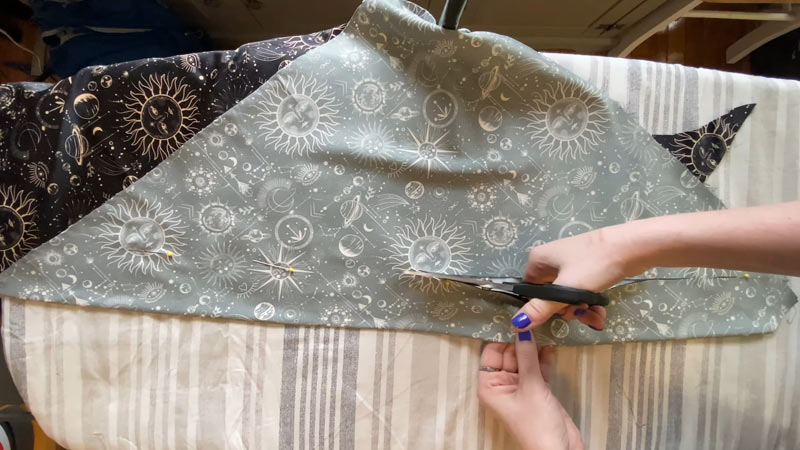
Do not know how to cut a circle skirt? Lay your directional fabric flat with the right side facing up.
Pay close attention to the orientation of the print, ensuring it aligns with your vision for the finished skirt.
Carefully position and pin the pattern onto the fabric, making deliberate choices about how the directional design will flow across the skirt.
Take your time when cutting to ensure precision and maintain the intended alignment of the print.
Sew the Side Seams
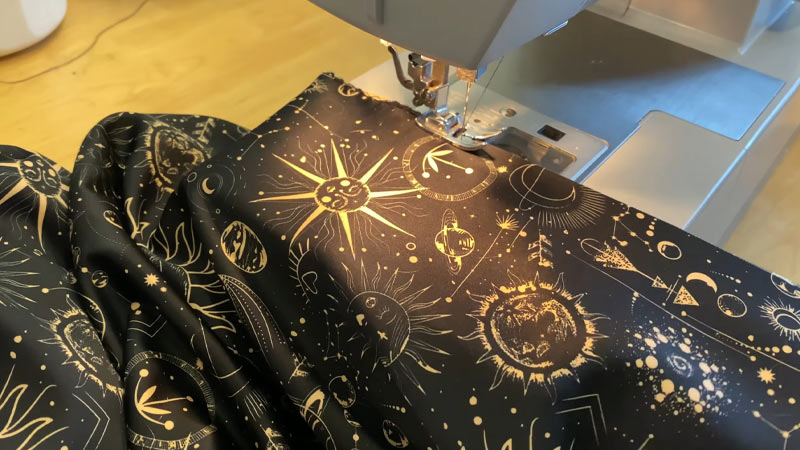
Bringing the fabric together, sew the side seams with the right sides facing each other, using a straight stitch.
This step transforms the cut fabric into a seamless tube-like structure, laying the groundwork for the skirt’s overall form.
Create the Waistband
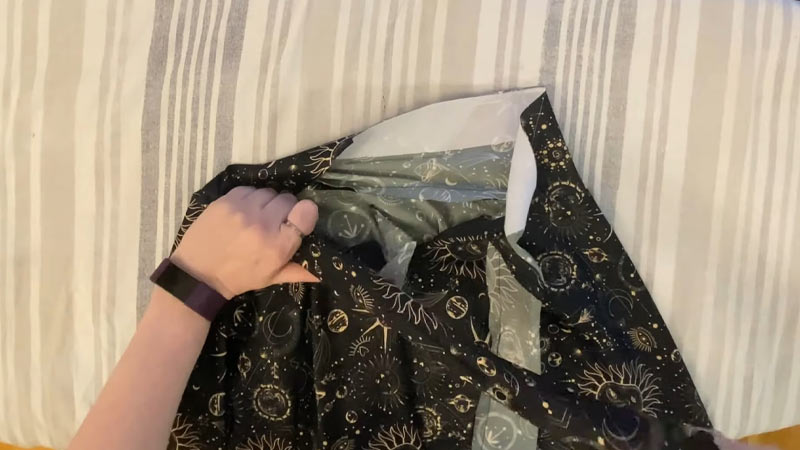
For the waistband, measure and cut a piece of elastic that comfortably fits around your waist. Fold the top edge of the skirt over the elastic, leaving a small opening to insert the elastic.
Sew the waistband securely, taking care to leave the designated opening. Insert the elastic into the waistband, ensuring a snug fit, and sew the opening closed.
This step not only provides structure but also ensures a comfortable and personalized fit.
Hem the Skirt
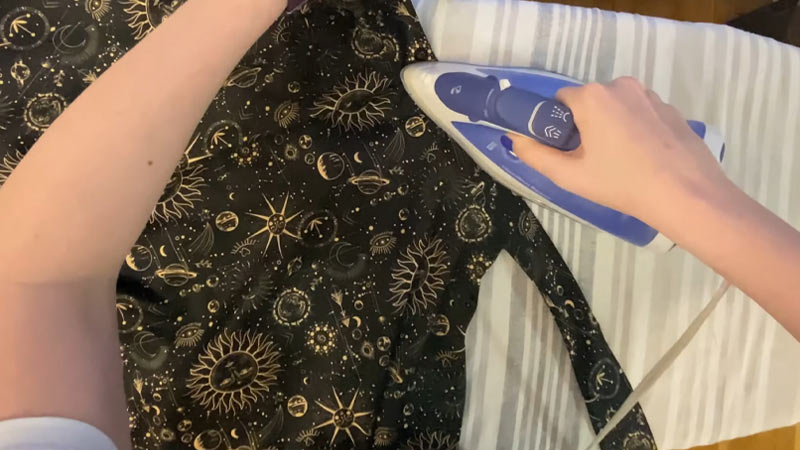
Refine the look of your circle skirt by neatly hemming the bottom edge. Fold the fabric over and press it with an iron, creating a clean and polished finish. Sew the hem in place using a straight stitch, adding the final touch to the overall construction.
Finish and Adjust
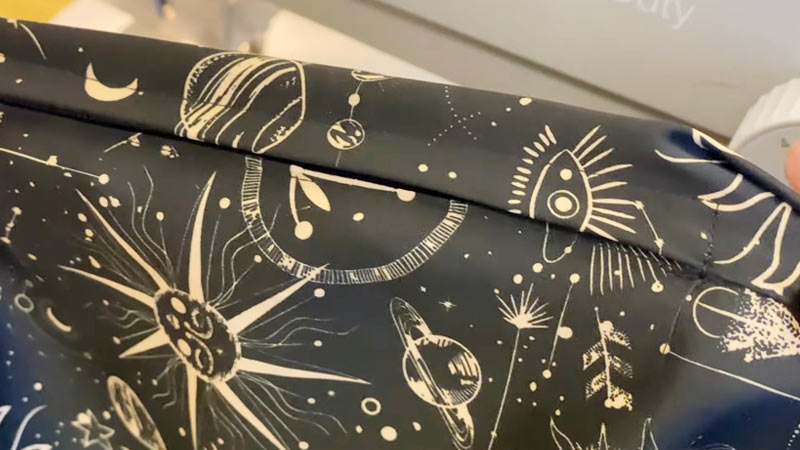
As you approach the completion of your circle skirt, take a moment to inspect the finished product. Trim any loose threads for a clean appearance.
Additionally, make any necessary adjustments to guarantee that the directional fabric aligns seamlessly along the seams and hem.
This attention to detail will enhance the visual impact of your circle skirt, showcasing the unique flow and directionality of the fabric pattern.
How to Style a Circle Skirt Made With Directional Fabric?
Styling a circle skirt made with directional fabric offers an exciting opportunity to complement the garment’s unique design and showcase your flair.
Here are some tips on how to style a circle skirt with directional fabric:
Solid-colored Tops
When selecting solid-colored tops, consider hues that harmonize with the colors present in the directional fabric.
This not only maintains a sense of balance but also allows the intricate patterns of the skirt to be the focal point.
Solid tops in complementary shades create a sophisticated and cohesive ensemble, making the outfit visually appealing without overwhelming the overall look.
Fitted or Cropped Tops
Opting for a fitted or cropped top enhances the feminine silhouette and emphasizes the waistline, creating an elegant and flattering profile.
Tucking in the top accentuates the natural curve of the skirt, providing a polished and put-together appearance.
This combination of a fitted or cropped top with a circle skirt not only defines the figure but also adds a touch of modernity to the outfit.
Coordinating Accessories
Accessories play a crucial role in tying the entire look together. Choose accessories that echo the colors or theme of the directional fabric.
A statement belt can cinch the waist while matching earrings or a handbag that picks up on the colors in the print adds a thoughtful touch. This coordination ensures a cohesive and well-thought-out ensemble.
Neutral Footwear
Neutral footwear acts as a subtle backdrop, allowing the circle skirt to take center stage. Opt for classic options like nude heels or flats that seamlessly blend with the overall color palette.
By keeping the footwear neutral, the attention remains on the bold patterns of the skirt, creating a well-balanced and visually pleasing appearance.
Play with Layers
Layering introduces versatility to your outfit, making it adaptable for different occasions and weather conditions.
Experiment with a denim jacket for a casual and playful look, a cardigan for added warmth, or a stylish blazer for a more polished appearance.
Layering not only adds depth to the outfit but also allows you to express your style while staying comfortable and chic.
Keep Makeup Simple
When donning a striking directional print, opt for a simple makeup approach. Neutral tones or a classic red lip can effortlessly complement the outfit without overshadowing the vibrant fabric.
A subtle makeup palette ensures that the attention remains on the intricate details of the skirt, allowing the overall look to exude sophistication and balance.
Consider the Occasion
Tailor your styling choices to suit the occasion. For a casual day out, embrace a playful aesthetic by pairing the circle skirt with a graphic tee and sneakers.
To elevate the ensemble for a more formal setting, choose a blouse and heels, adding a touch of elegance.
Adapting your outfit to the event ensures that you not only look stylish but also feel appropriately dressed for the occasion.
Experiment with Knots
Inject a playful element into your outfit by experimenting with knots. Tie a knot on the side of a longer top to add visual interest.
This not only introduces a stylish and laid-back vibe but also complements the flared silhouette of the circle skirt, creating a well-coordinated and effortlessly chic look.
Mix and Match Prints
For the adventurous fashion enthusiast, mixing prints can be an exciting experiment. Exercise caution, however, to ensure that the prints harmonize rather than clash.
While it’s generally safer to pair a directional print with a smaller, subtler pattern, blending different prints can add a fashion-forward edge to your ensemble when done thoughtfully.
Confidence is Key
Above all, styling a circle skirt with directional fabric requires confidence. Embrace your unique style and let the bold design of the skirt be a genuine expression of your individuality.
Whether you opt for classic pairings or daring combinations, wear your outfit with confidence, and let the distinctive pattern speak volumes about your personal fashion flair. Confidence is the ultimate accessory that enhances the allure of any ensemble.
FAQs
Can I use any type of fabric for a circle skirt with directional print?
Absolutely! You can choose various fabrics, but ensure they are suitable for garments and can hold the shape of a circle skirt. Lightweight fabrics with good drapes work well.
How do I ensure the directional print aligns correctly on the skirt seams?
Pay attention to pattern placement when cutting the fabric. Pin the pattern thoughtfully, aligning the directional design along the seams. Take your time to achieve a seamless flow across the skirt.
Can I make a circle skirt without a sewing machine?
Yes, it’s possible to hand-sew a circle skirt, but a sewing machine makes the process faster and more efficient. Choose a straight stitch for side seams and hems.
To Recap
In the journey of crafting a circle skirt with directional fabric, the intersection of creativity and technical skill has resulted in a wearable masterpiece.
The careful consideration of pattern placement and precise cutting has brought forth a garment that not only flatters the wearer but also celebrates the unique dynamics of the chosen fabric.
The circle skirt, with its gracefully flowing silhouette, becomes a canvas for the directional print, showcasing its beauty in motion.
As the final stitches are made and loose threads trimmed, the completed skirt stands as a testament to the fusion of design and craftsmanship, inviting admiration for the seamless integration of form and fabric in this personalized creation.
Leave a Reply