Transforming a simple bed sheet into a stylish kimono is an exciting and eco-friendly project that anyone can tackle.
By upcycling cotton sheets, you not only reduce landfill waste but also breathe new life into forgotten fabrics. Imagine the satisfaction of wearing a chic, custom-made kimono that once served as humble bed linen.
The process is straightforward and rewarding, even for those new to sewing. You’ll start by selecting a 100% cotton sheet, as it absorbs natural dyes beautifully.
With a few simple steps, including scouring and mordanting, you’ll prepare your fabric to showcase vibrant plant dyes and intricate leaf patterns. This creative endeavor not only saves money but also offers a personalized touch to your wardrobe.
Whether you’re crafting a unique gift or adding a versatile piece to your collection, making a kimono from a bed sheet combines sustainability with style, offering endless possibilities for personal expression.
What Is a Kimono?
A kimono, in the realm of current fashion, is a versatile garment often seen as a drapey jacket, duster, or coat. Characteristically, it features a structure predominantly composed of rectangular pieces.
Historically rooted in Japanese culture, the traditional kimono varies greatly from these modern interpretations. Contemporary kimonos offer stylish alternatives as layering pieces, enhancing casual and formal outfits alike.
Pair them with a t-shirt and jeans or use them as chic cover-ups for dresses or swimsuits. If you’re seeking a budget-friendly wardrobe addition, consider crafting your kimono from everyday items like bed sheets.
Easy 8 Steps on How to Make a Kimono From a Bed Sheet?
Creating a kimono from a bed sheet combines creativity with eco-consciousness. Follow these simple steps to transform a cotton sheet into a stylish garment.
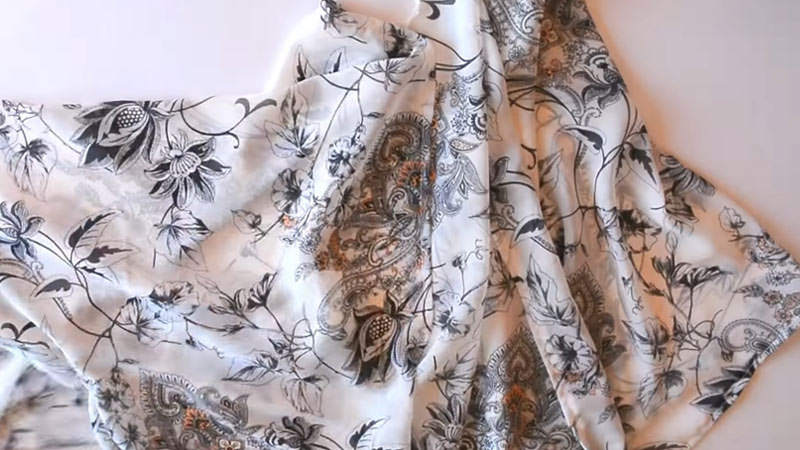
1. Choose Your Bed Sheet
Select your bed sheet based on the desired aesthetic of your kimono. Consider colors and patterns that match the mood you want to convey.
Fabric weight and breathability are essential for creating a comfortable garment. A flat sheet offers a consistent texture throughout your project.
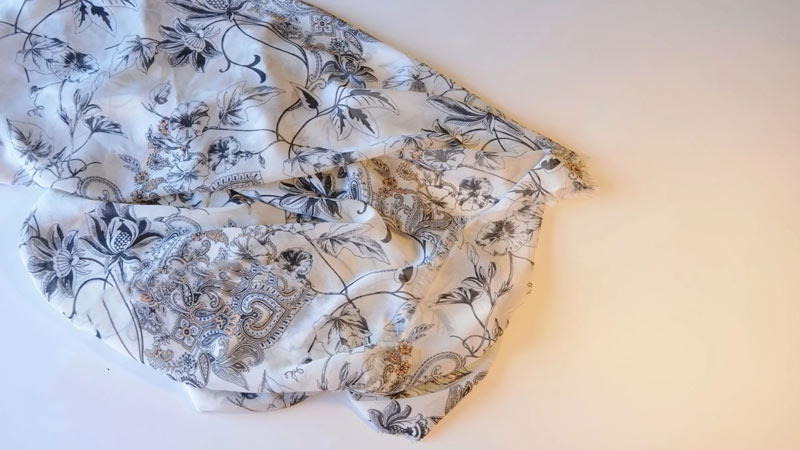
2. Measure and Cut
Place your bed sheet flat on a clean surface to remove wrinkles. Use a measuring tape to determine the kimono’s length from shoulders to hem.
Customize this length according to your preference, then carefully cut along the marked line, ensuring precision.
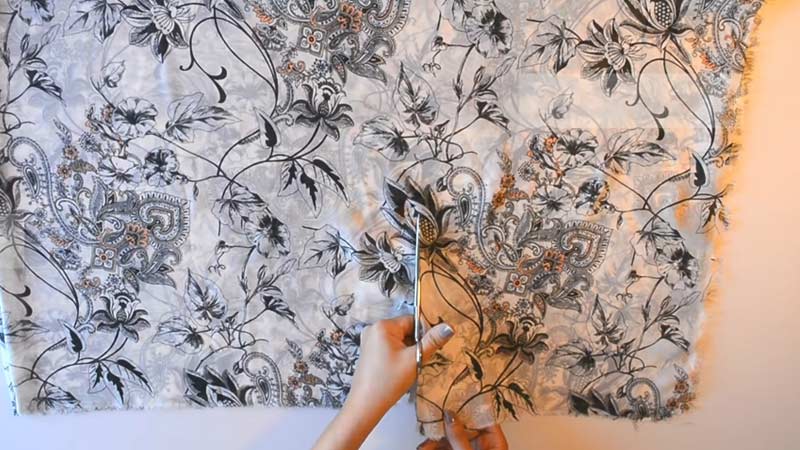
3. Form the Body
Fold the cut sheet in half lengthwise to create the body of the kimono. Cut a rectangle from the folded edge to shape the neckline.
Ensure the neckline is wide enough for comfort and ease when putting on the garment. This step sets the foundation for the kimono’s structure.
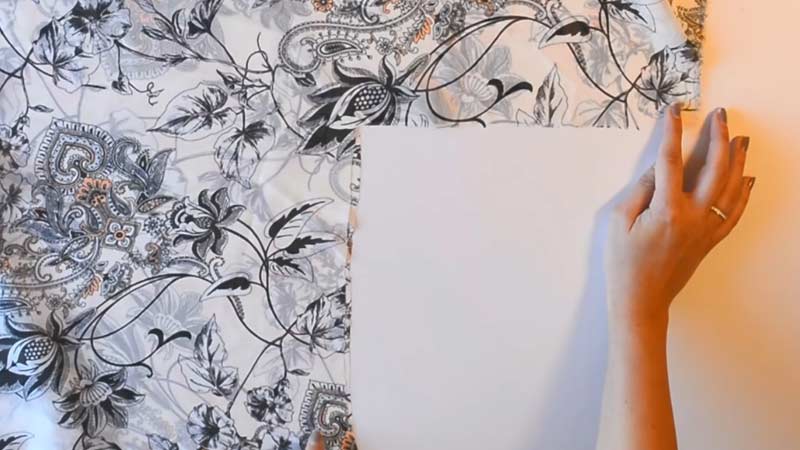
4. Shape the Sleeves
Measure and mark the desired sleeve length, typically around elbow length for a casual look. Cut a T-shape on each side, with the horizontal part as the sleeve length. The vertical part forms the sides of the kimono. This gives your creation a chic appearance.
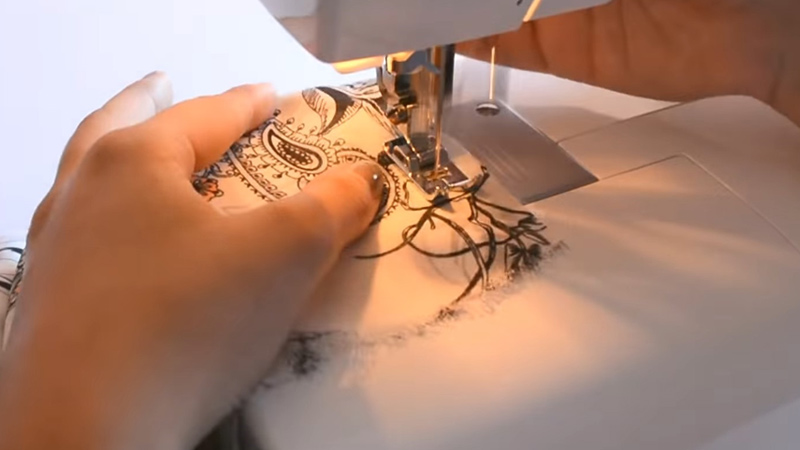
5. Sew the Seams
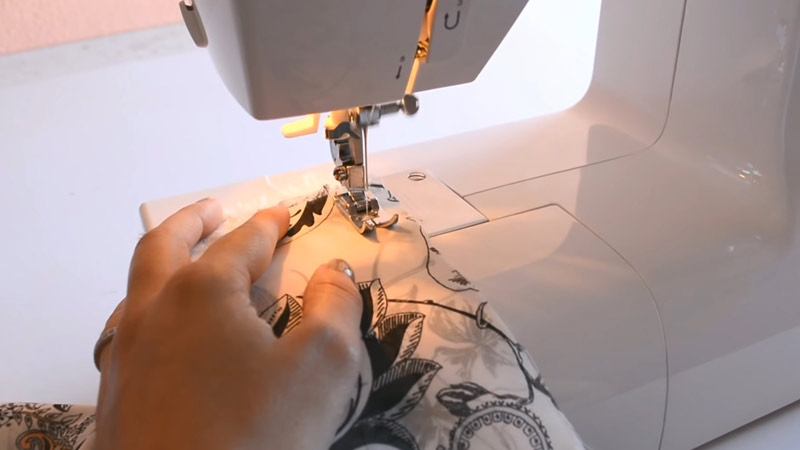
Open the sheet and place it with the inside out. Pin the side seams from wrist to hem, then sew them together for durability. Hem the bottom edge to prevent fraying, ensuring your kimono stays looking polished.
6. Finish the Edges
Pay attention to the neckline by folding under the fabric and stitching it in place. This creates a clean and finished edge. For added refinement, hem the sleeve openings neatly.
7. Add a Belt
Enhance your kimono’s design with a belt or obi, created from a strip of the bed sheet. Wrapping it around your waist and tying it in a bow at the back not only secures the kimono but also adds a touch of elegance.
8. Iron and Final Touches
Iron your kimono to achieve a smooth, wrinkle-free look. This final touch ensures a neat finish. Once ironed, try on your kimono to check fit and make any necessary adjustments. This ensures both style and comfort.
DIY Kimono No Sew -How to Make a Kimono Without Sewing by Yourself
Transform a bed sheet into a chic kimono with a few easy steps. You don’t need sewing skills to create a stylish garment.
Choose Your Fabric
Pick a fabric that matches your desired style and comfort. A lightweight bed sheet or large scarf adds elegance with its color or pattern. Drape quality influences both comfort and aesthetic appeal.
Measure and Cut
Lay the fabric on a flat surface, free of wrinkles. Find the center, then cut a straight line from it to one edge to form the front opening. This cut sets the kimono’s length and offers a creative starting point.
Create Sleeves
Decide on sleeve length, often elbow-length. Extend two straight lines from the front opening’s sides to form the sleeves. This step shapes your kimono and adds flair.
Test the Fit
Drape the fabric over your shoulders and arms for a fit check. Adjust as needed by cutting or folding the fabric to ensure comfort and style.
Secure the Seams with Fabric Glue or Tape
Use fabric glue or tape for assembly, starting from the bottom hem up to sleeve openings. Press edges together for stable seams without sewing.
Finish the Edges
For a refined look, apply fabric glue or tape on raw edges of the front opening, sleeves, and bottom hem. This step prevents fraying and enhances the garment’s lifespan.
Allow to Dry
Follow the drying instructions of the adhesive method used. Complete drying is essential for wearability and durability.
Customize
Express your personality by customizing the kimono. Embellishments like fringe, beads, or patches can make it one-of-a-kind.
Wear and Enjoy
Once dried, the kimono is wearable. Pair it with your favorite outfit for a versatile look, perfect for both casual and formal occasions.
Easy Kimono Pattern Free
Designing an easy kimono pattern opens up a world of creative possibilities.
Whether you’re a beginner or an experienced DIY enthusiast, here are some ideas for simple kimono patterns for free:
Color-Blocked Kimono
Using a color-blocked design, create a modern look by combining contrasting or complementary colors. Consider bold hues for a striking appearance or softer tones for subtle playfulness. Play with color combinations on the front, back, and sleeves to personalize your garment.
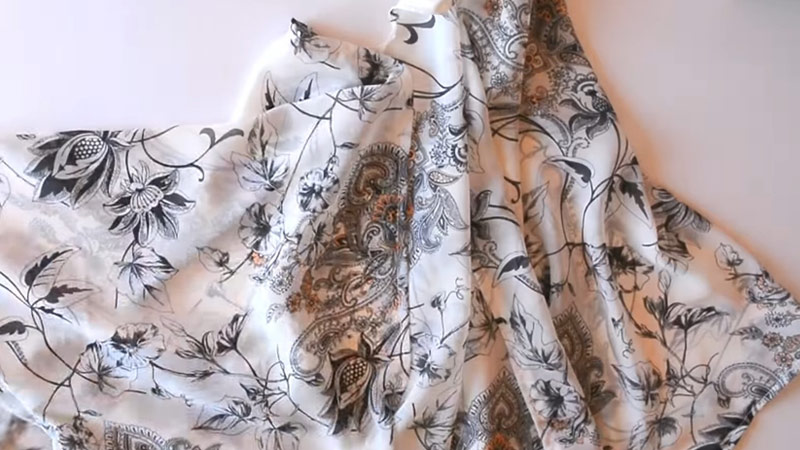
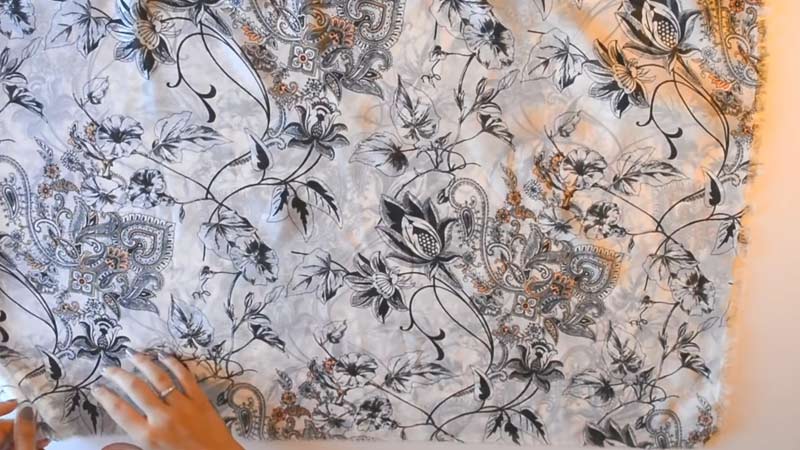
Floral Print Kimono
Select a floral print fabric for an elegant charm that remains timeless. You can choose dainty flowers for simplicity or bold blooms for a captivating look. Floral patterns embrace versatility, making your kimono suitable for various occasions.
Striped or Geometric Patterns
Bring a contemporary vibe with striped or geometric fabrics. Horizontal or vertical stripes enhance silhouette length, while geometric shapes add an edgy aesthetic. Choose this pattern if you love clean lines and a fashion-forward style.
Shibori Tie Dye Kimono
Dive into Shibori tie dye techniques to add creativity to your project. The organic nature of tie dye ensures each kimono is a unique piece. Try various folding and tying methods for effects that range from subtle to bold.
Ombre Effect Kimono
An ombre effect adds sophistication with fabric in shades transitioning from light to dark. This design provides depth and versatility, perfect for various occasions. The subtle gradient enhances visual interest.
Lace Trim Kimono
Lace trims along the edges can elevate your kimono’s design. This addition brings extra elegance and femininity to the garment. The mix of lace and fabric texture creates a romantic vibe, ideal for special events or everyday wear.
Batik Inspired Kimono
Explore the beauty of batik patterns by integrating them into your kimono design. Use wax-resistant dye techniques to craft unique designs. Embrace this ancient art form for cultural depth and a handmade touch that tells a story.
Polka Dot Kimono
Capture a retro charm with polka dot patterns for a playful design. Small dots offer subtlety, while larger ones stand out. This classic choice adds whimsy and chicness to your kimono.
Japanese Inspired Prints
Honor kimono origins with traditional Japanese prints like cherry blossoms or cranes. These fabrics imbue cultural significance and authenticity. Choose these prints for timeless elegance and an homage to Japanese culture.
Monochromatic Kimono
Design a sleek kimono with a single color for a clean, sophisticated look. Monochromatic designs integrate seamlessly into any wardrobe. This approach showcases silhouette and fabric, highlighting understated elegance.
Patchwork Kimono
Channel creativity with a patchwork kimono using varied fabrics or scraps. This eclectic style exposes your fabric collection and creates a standout garment. Embrace the bohemian aesthetic that exudes individuality and charm.
FAQs
Questions about making kimonos from bed sheets often arise as you explore this creative endeavor. Here are some common inquiries to guide you.
How much fabric do I need for a kimono?
Typically, about 2 to 3 yards of fabric suffice for making a kimono. Using a standard bed sheet, like a twin or full-size, provides ample material for an adult kimono. Ensure the sheet measures roughly 60 by 80 inches to accommodate all pieces.
Can you make a kimono out of a blanket?
Transformation of a blanket into a kimono is indeed possible. As long as it’s lightweight and has some drape, a blanket serves as a suitable fabric choice. Look for blankets that are not too thick or heavy, ensuring comfort and ease of movement in the finished garment.
How long does it take to make a kimono?
Completion typically ranges from 1 to 3 hours. If opting for the sewing method, the time varies based on skill level and complexity of design. A no-sew method hastens the process considerably, possibly completing your project within an hour.
What is the difference between a kimono and yukata?
Kimono and yukata serve distinct purposes, although both originate from Japan. Traditional kimonos are formal and crafted from luxurious fabrics, often worn for ceremonies. Yukata, on the other hand, are more casual robes made of lighter fabric, fit for summer festivals.
What is a sleeping kimono called?
The term “nemaki” is used for a sleeping kimono. It’s typically made from lightweight, breathable cotton, ideal for comfort and relaxation. Nemaki are often simpler in design than formal kimonos, prioritizing function over style.
To Recap
Creating a kimono from a bed sheet is a fantastic way to upcycle materials while adding a unique piece to your wardrobe.
Whether you choose the sewing method or the no-sew approach, the process is accessible and fun.
You can explore various designs and styles, from vibrant tie-dye patterns to elegant lace trims, making each kimono a reflection of your personal taste.
This project not only encourages creativity but also promotes sustainability by reducing waste. So grab a bed sheet, unleash your imagination, and enjoy crafting a stylish and eco-friendly garment that you’ll be proud to wear.
Leave a Reply