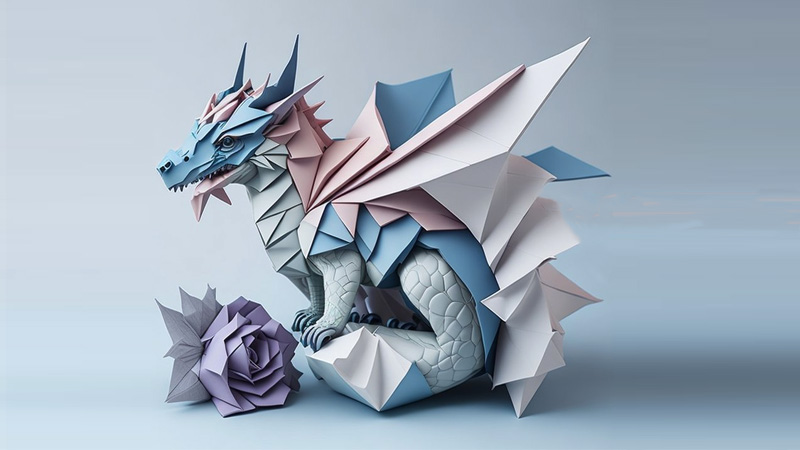
Unleash your creativity and embark on a whimsical journey as we delve into the enchanting world of paper crafting to create your very own paper dragon.
Dragons have long captivated our imaginations, and now, you can bring these mythical creatures to life with nothing more than paper, scissors, and a touch of imagination.
So, how to make a paper dragon? In this step-by-step guide, we will unveil the secrets to crafting a stunning paper dragon that will grace your desk, shelves, or any space with its majestic presence.
Whether you’re an experienced paper crafter or a complete beginner, this project offers a delightful adventure in creativity suitable for all ages.
From folding intricate scales to shaping fearsome claws, every detail of your paper dragon will come to life under your skillful hands. So, gather your supplies, clear a workspace, and let’s embark on this magical journey together to create a paper dragon.
How to Make a Paper Dragon?
Creating a paper dragon is a delightful craft project that allows you to unleash your creativity. Here’s a step-by-step guide on how to make a paper dragon:
Materials You’ll Need
- Colored paper (various colors for body, wings, and details)
- Scissors
- Glue or adhesive
- Googly eyes (optional)
- Markers or colored pencils (for decorating)
- Pencil (for tracing)
Body and Head
Start by creating the dragon’s body. Roll a sheet of colored paper into a cylinder to form the body. Create the dragon’s head separately by shaping another piece of paper into a cone-like structure.
Tail and Limbs
Cut additional pieces of paper to form the dragon’s tail, legs, and arms. These can be long and slender or stubby, depending on your design preference.
Wings
Cut out two wing shapes from colored paper. These can be shaped like elongated teardrops. Add details like scales or patterns to the wings using markers or colored pencils.
Assembly
Glue the dragon’s head to one end of the body cylinder. Attach the legs and arms to the body as desired. Add the tail to the opposite end of the body.
Wings and Tail Finishing
Attach the wings to the sides of the dragon’s body using glue. Ensure they are evenly spaced. If desired, create a fin-like shape at the end of the dragon’s tail and attach it.
Eyes and Details
Add googly eyes to the dragon’s head for a whimsical touch. Alternatively, draw eyes with markers. Use markers or colored pencils to add facial features, scales, and any other decorative details to your dragon.
Final Touches
Allow your dragon to dry completely if you’ve used glue. Adjust any details or colors to your liking.
Display Your Paper Dragon
Your paper dragon is now ready to be displayed proudly on your desk, shelf, or anywhere you desire. Feel free to customize your paper dragon with your own unique color choices and creative touches.
Whether it’s a fierce fire-breathing dragon or a friendly and whimsical creature, let your imagination soar as you craft your very own paper dragon masterpiece.
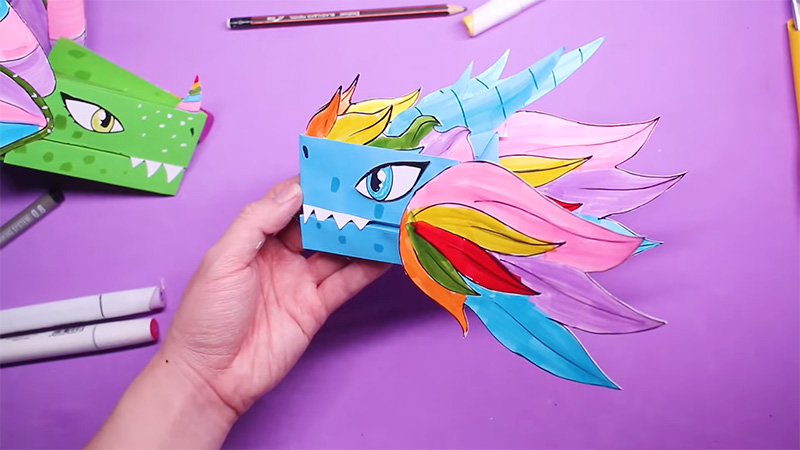
How to Make a Printable Paper Dragon?
To make a printable paper dragon, follow these steps:
Materials Needed
- A computer with design software or access to dragon printable templates.
- Printer and high-quality paper (preferably cardstock for durability).
- Scissors or a craft knife.
- Glue or double-sided tape.
- Coloring materials (optional).
Select or Design a Printable Dragon Template
You can find printable dragon templates online or create your own using graphic design software. Ensure that the template is appropriate for printing and cutting.
Print the Dragon Template
Load your printer with the chosen paper (cardstock works best for durability). Print the dragon template onto the paper.
Cut Out the Dragon Pieces
Use scissors or a craft knife to carefully cut out all the dragon pieces, including the body, wings, head, tail, and limbs.
Fold and Score
If your dragon template includes fold lines, use a ruler and a blunt edge (like the back of scissors) to score along these lines. This will make folding easier and cleaner.
Assemble the Dragon
Follow the instructions provided with your template, if available. Typically, you’ll start by folding along the indicated lines and then gluing or taping the pieces together. Assemble the dragon’s body, head, wings, tail, and limbs according to the template’s design.
Color and Decorate (Optional)
If your dragon template is uncolored, use coloring materials like colored pencils, markers, or crayons to add your preferred colors and details to the dragon.
Let it Dry
If you used glue, allow your paper dragon to dry completely before handling or displaying it. Once your paper dragon is complete and dry, proudly display it on your desk, shelf, or any other location you choose.
Creating a printable paper dragon is a fun and creative project that allows you to personalize the dragon’s appearance according to your imagination.
Whether it’s for a child’s playtime or as a decorative item, your paper dragon will add a touch of whimsy and wonder to any space.
How to Make a Fire-Breathing Paper Dragon?
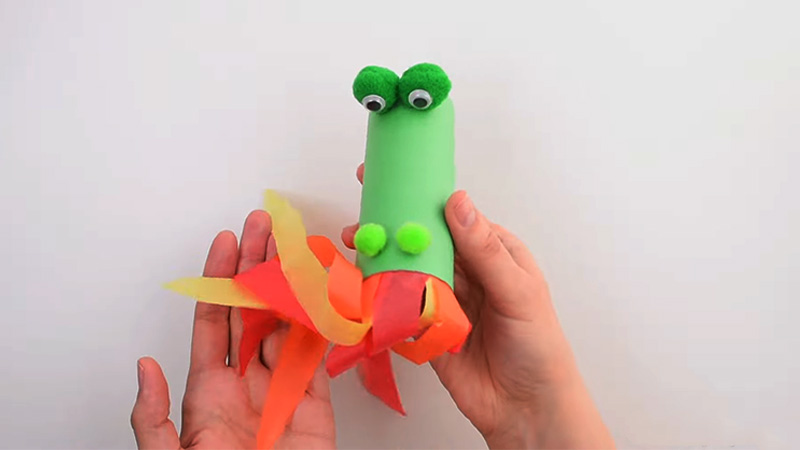
Creating a fire-breathing paper dragon that appears to breathe fire from its nose and mouth is a fun and imaginative craft project. Here’s a step-by-step guide to make one:
Materials You’ll Need
- Colored paper or cardstock (for dragon’s body and features)
- Red, orange, and yellow tissue paper or cellophane
- Googly eyes or white paper for eyes
- Glue or adhesive
- Scissors
- Markers or colored pencils (for decorating)
- Craft knife (for advanced details, adult supervision required)
Create the Dragon’s Body
Cut out the dragon’s body shape from colored paper or cardstock. Customize the size and color to your preference.
Make the Dragon’s Features
Cut out the dragon’s head, wings, legs, and tail from colored paper. These pieces can be designed with your desired shapes and colors.
Assemble the Dragon
Glue the dragon’s features onto its body. Attach googly eyes or cut out eye shapes from white paper and draw pupils.
To create a 3D effect for the dragon’s mouth and nose, use a craft knife to carefully cut openings where you want the fire to emerge (typically the mouth and nostrils).
Prepare the Fire-Breathing Effect
Cut small pieces of red, orange, and yellow tissue paper or cellophane. These will represent the flames.
Attach the Fire Effect
Glue the tissue paper or cellophane pieces inside the openings you created for the dragon’s mouth and nostrils.
Overlap them to give the appearance of fire. Use markers or colored pencils to add scales, patterns, or additional details to the dragon’s body.
Let it Dry
Allow your paper dragon to dry completely, especially if you used glue. Once dry, your dragon is ready to be displayed. Place it on a table, shelf, or any location where it can show off its fire-breathing prowess.
Your fire-breathing paper dragon is now complete! The colorful tissue paper or cellophane flames will create a striking and whimsical effect.
This craft project is great for imaginative play, as a decoration, or as part of a fantasy-themed display. Enjoy the magical presence of your fire-breathing dragon!
FAQs
For most paper animal crafts, use colored construction paper, cardstock, or origami paper. These materials are sturdy and come in various colors, making them ideal for creating imaginative creatures.
Yes, you can find templates and patterns for a wide range of paper animals online or in crafting books. These templates provide a helpful starting point for your creations.
Absolutely! Paper crafting is an excellent creative activity for children. It enhances their fine motor skills, encourages imaginative play, and allows them to express themselves artistically.
Basic tools include scissors, glue, markers, and colored pencils. For more intricate designs, you might also use a craft knife and a cutting mat.
Yes, you can make 3D paper animals by folding and assembling multiple pieces of paper.
Origami, for example, is a form of paper folding that can result in intricate 3D animal figures. There are also pop-up paper animal templates available for a three-dimensional effect.
Conclusion
Congratulations! You’ve successfully embarked on a captivating journey through the art of crafting and brought a paper dragon to life.
Your paper dragon can be a guardian of your creativity, a source of inspiration, or a fantastic addition to your collection of paper crafts. Remember that crafting is not just about the final product; it’s about the joy and satisfaction you find in the process.
Feel free to experiment with different colors, sizes, and styles to create a whole family of paper dragons. Share your creation with friends and family, and inspire others to embark on their creative journeys as well.
Crafting a paper dragon is not just a project; it’s a testament to your artistic spirit and the magic that can be found in the simplest of materials. Keep exploring, keep creating, and may your imagination forever soar on the wings of your paper dragon.
Leave a Reply